How do I create my first Zap with Moloni ON
To create your first Zap, use the Moloni ON "New Document" trigger and the Google Sheets action that adds a row. This way, every time a new document is created in Moloni ON, Zapier adds a row to your spreadsheet.
Prerequisites
Before you start, make sure you have:
- Your Moloni ON account connected to Zapier.
- A Google Sheets spreadsheet with a column for each piece of data you want to save, for example number, date, customer and total.
Follow these steps:
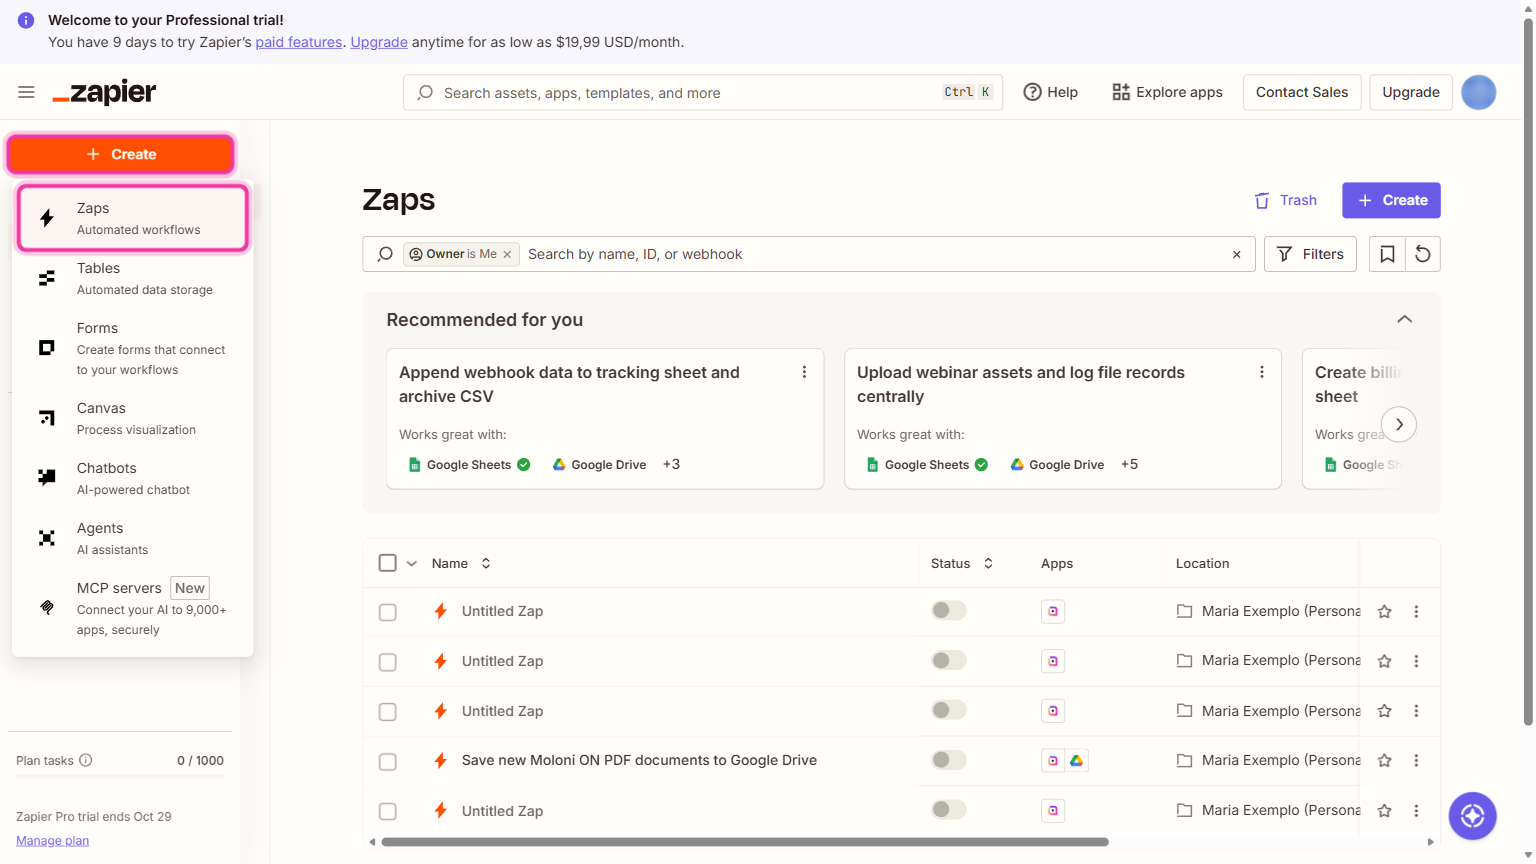
1. A Zap is an automation with at least two steps: the Trigger, which is what happens in Moloni ON, and the Action, which is what Zapier does next. To create a new Zap, log in to Zapier, click Create and choose Zaps.
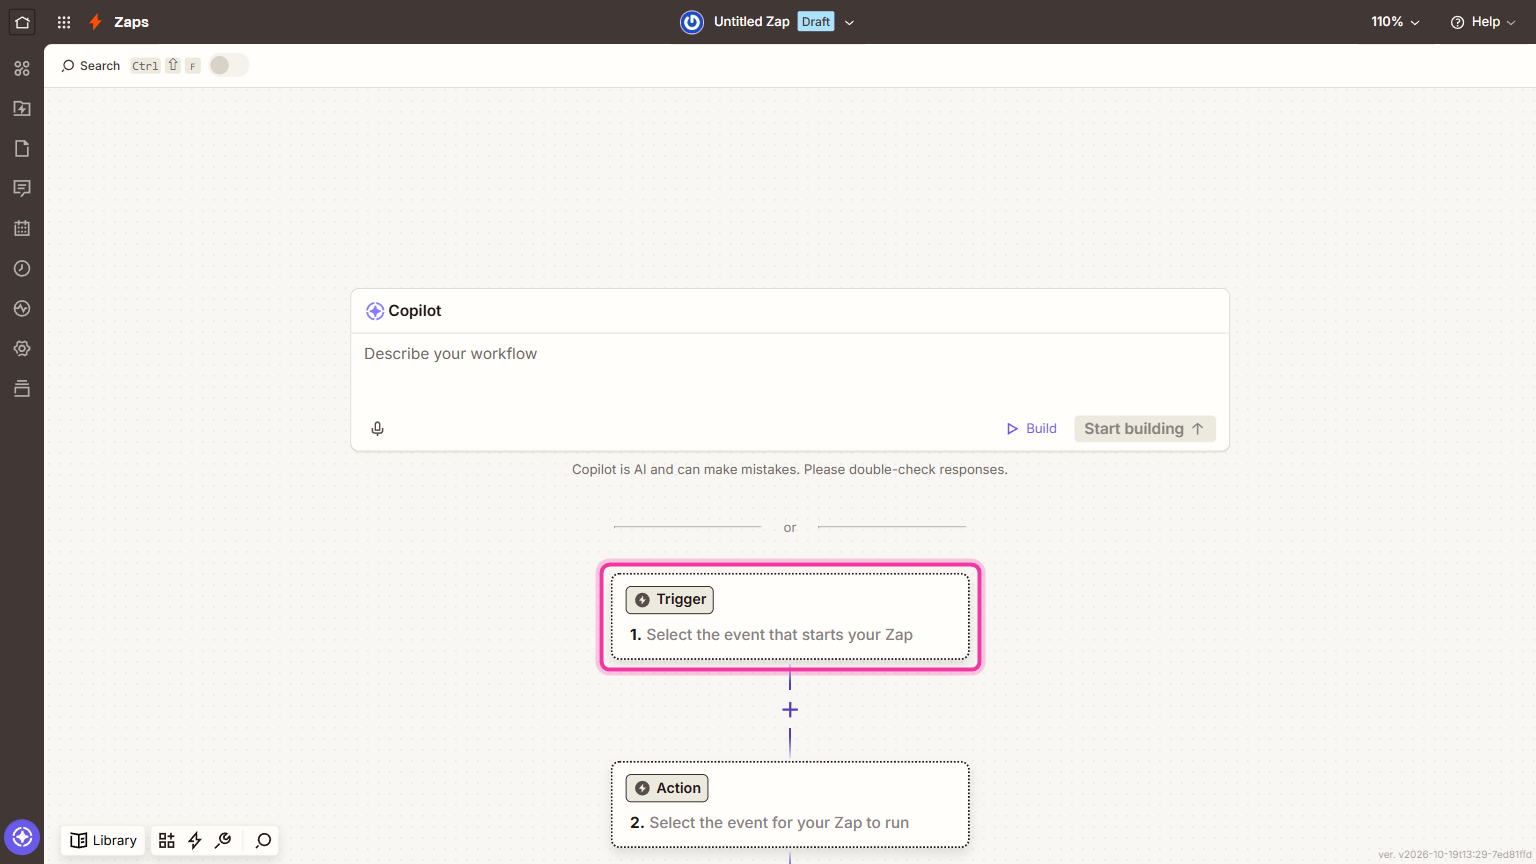
The editor opens with an empty Zap, with the Trigger step at the top and the Action step below it. Click the Trigger step to set it up.
2. In the trigger, choose the Moloni ON app and, in the Trigger event field, the New Document event.
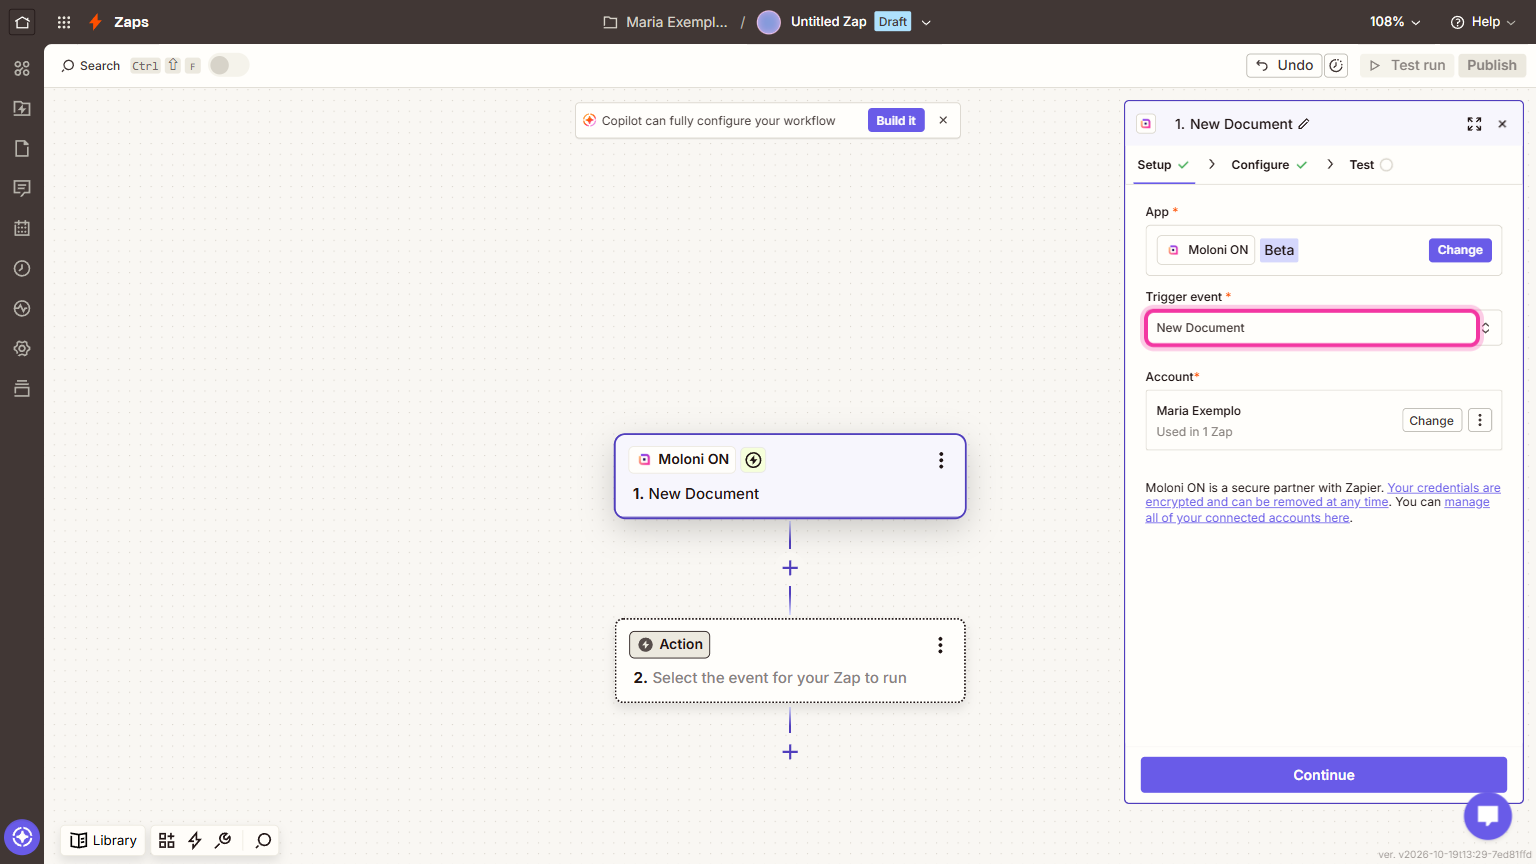
3. In the Account field, check that the Moloni ON account is selected and click Continue. In the Configure tab, choose the company in the Company field.
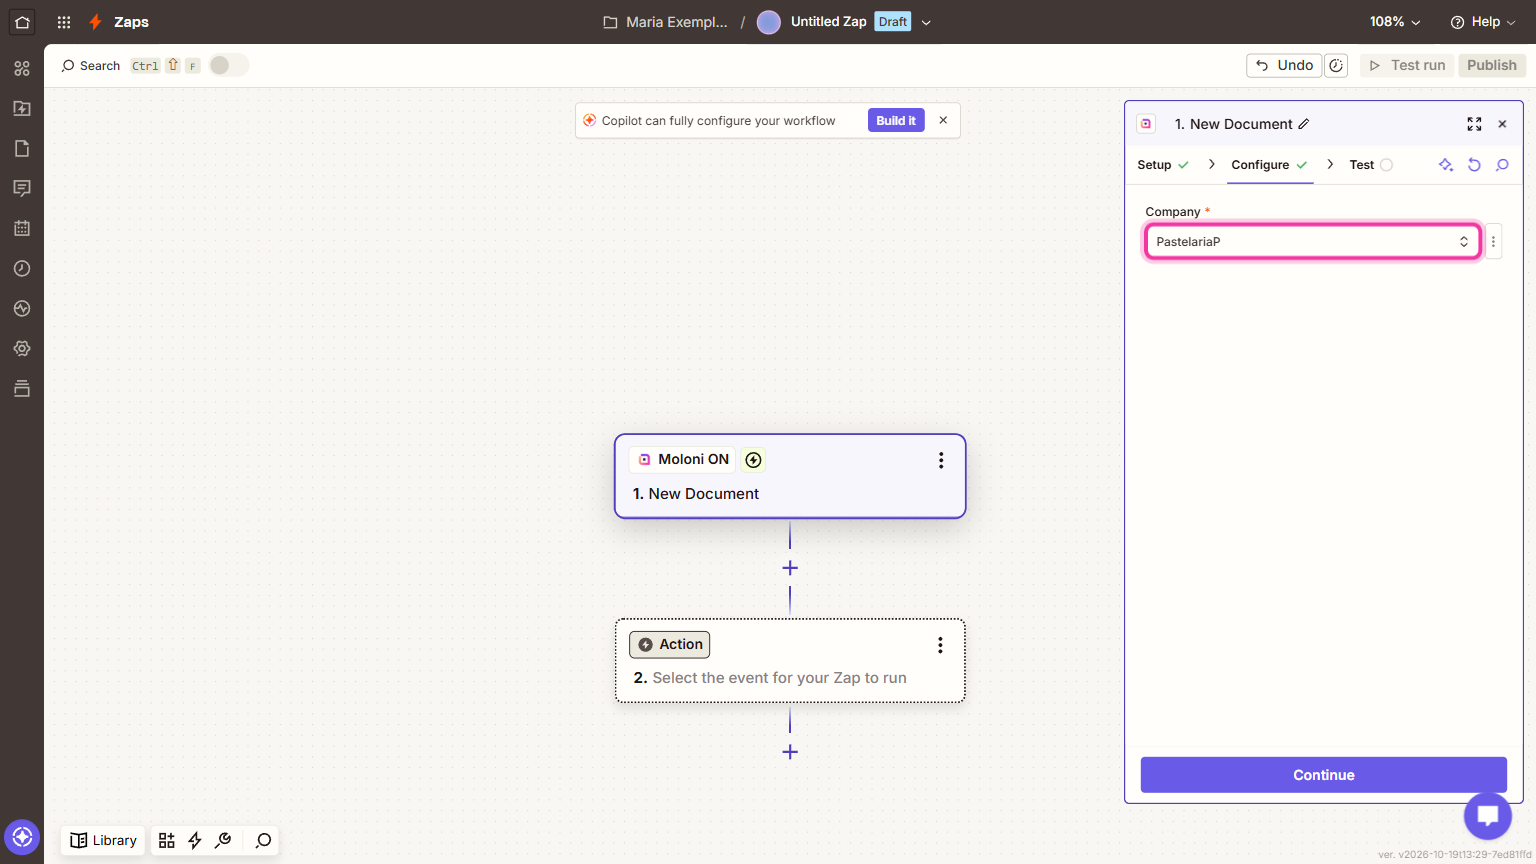
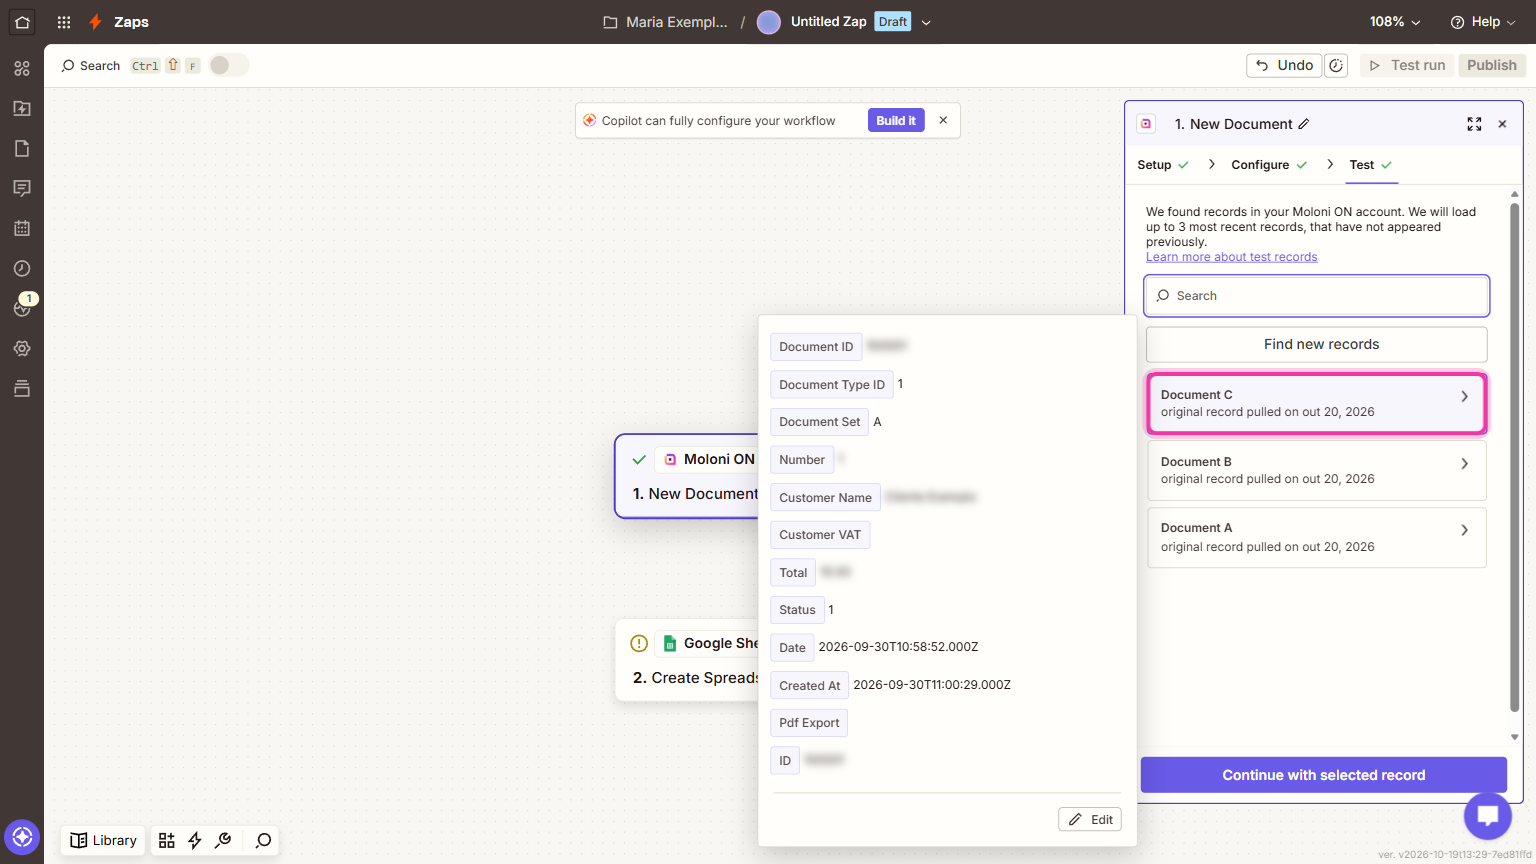
4. Click Continue and, in the Test tab, click Test trigger. Zapier looks for the three most recent documents in the company and shows the data of each one. These are real documents from the company, not sample data. Choose a document and click Continue with selected record.
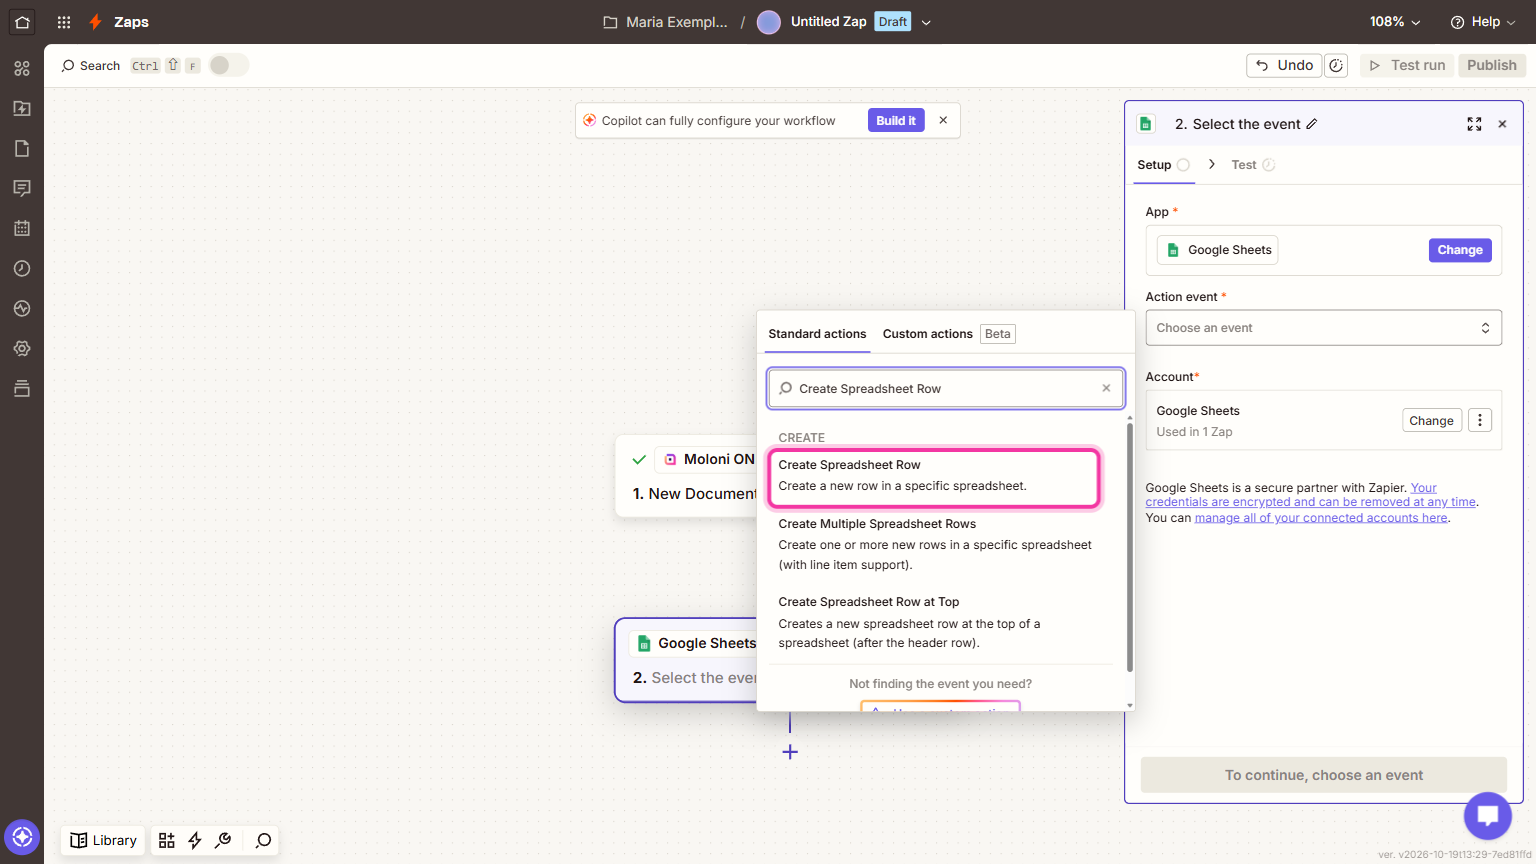
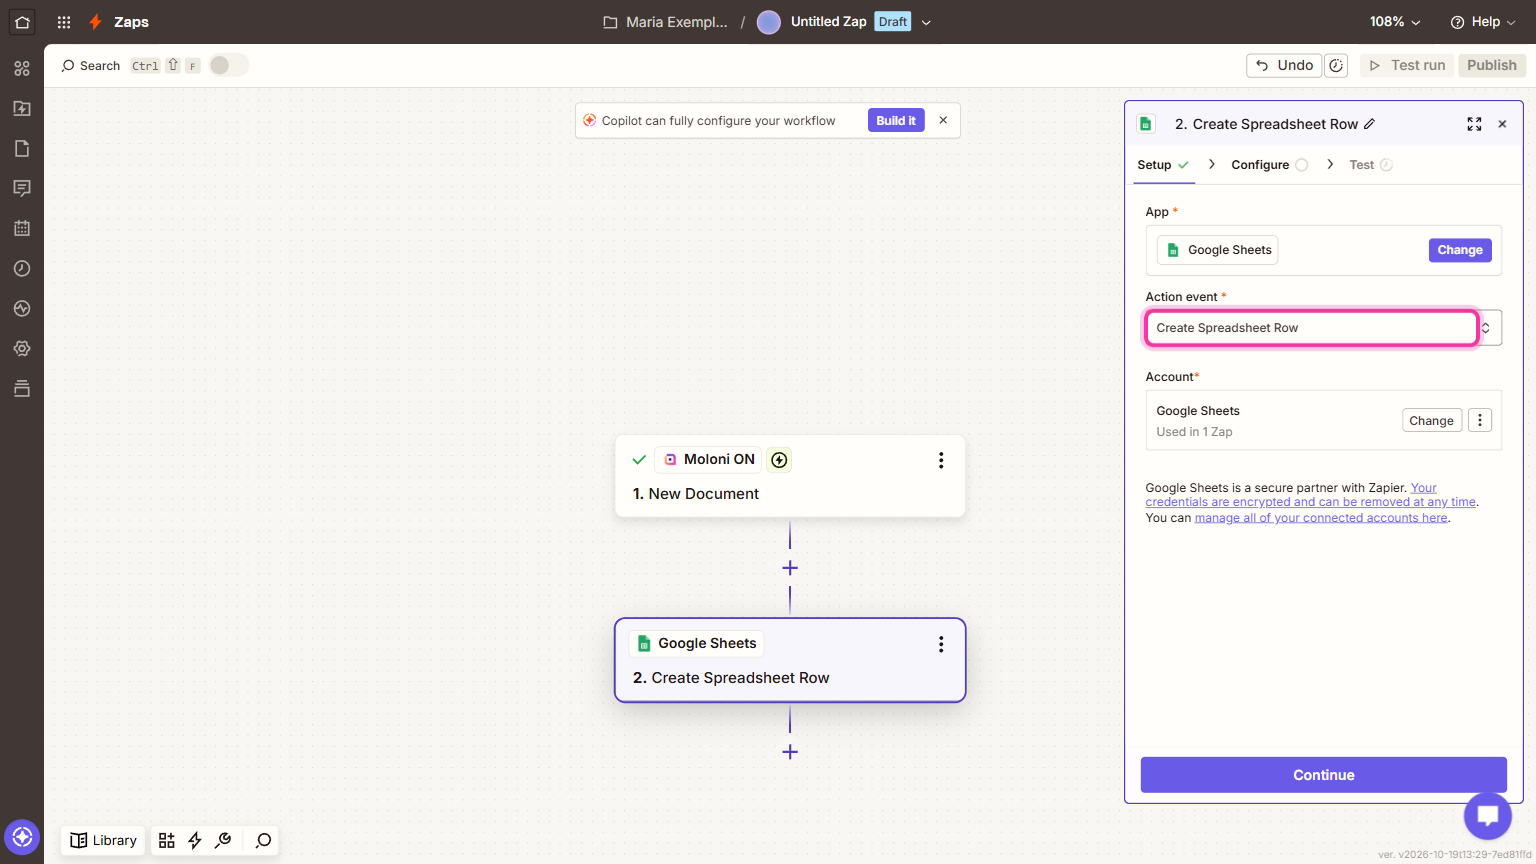
5. In the action, choose the Google Sheets app and, in the Action event field, the Create Spreadsheet Row event.
Check the Google Sheets account and click Continue.
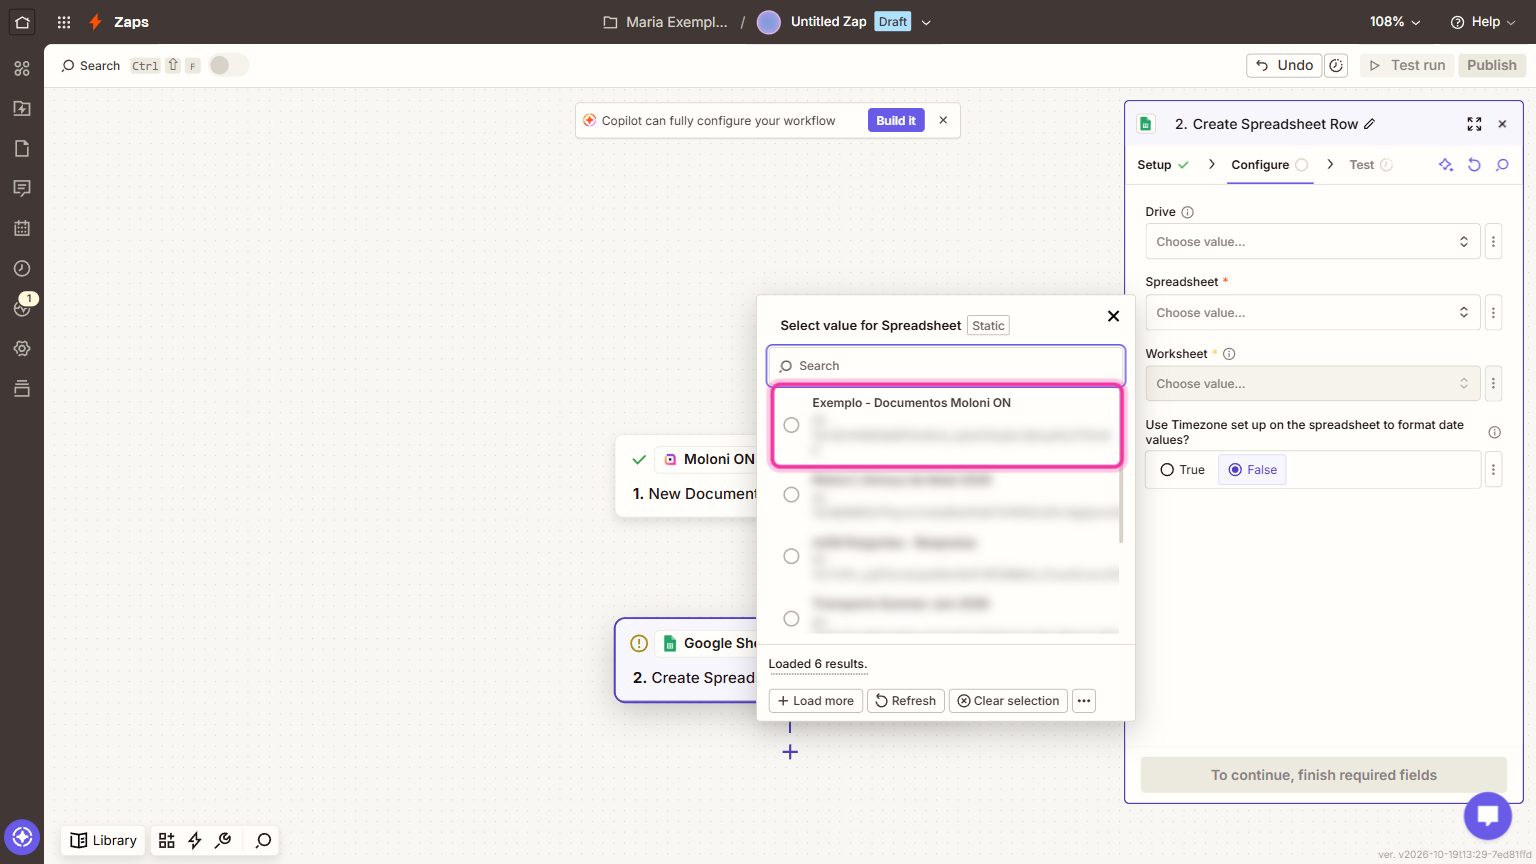
6. In the Configure tab, choose the spreadsheet in the Spreadsheet field and the sheet in the Worksheet field.
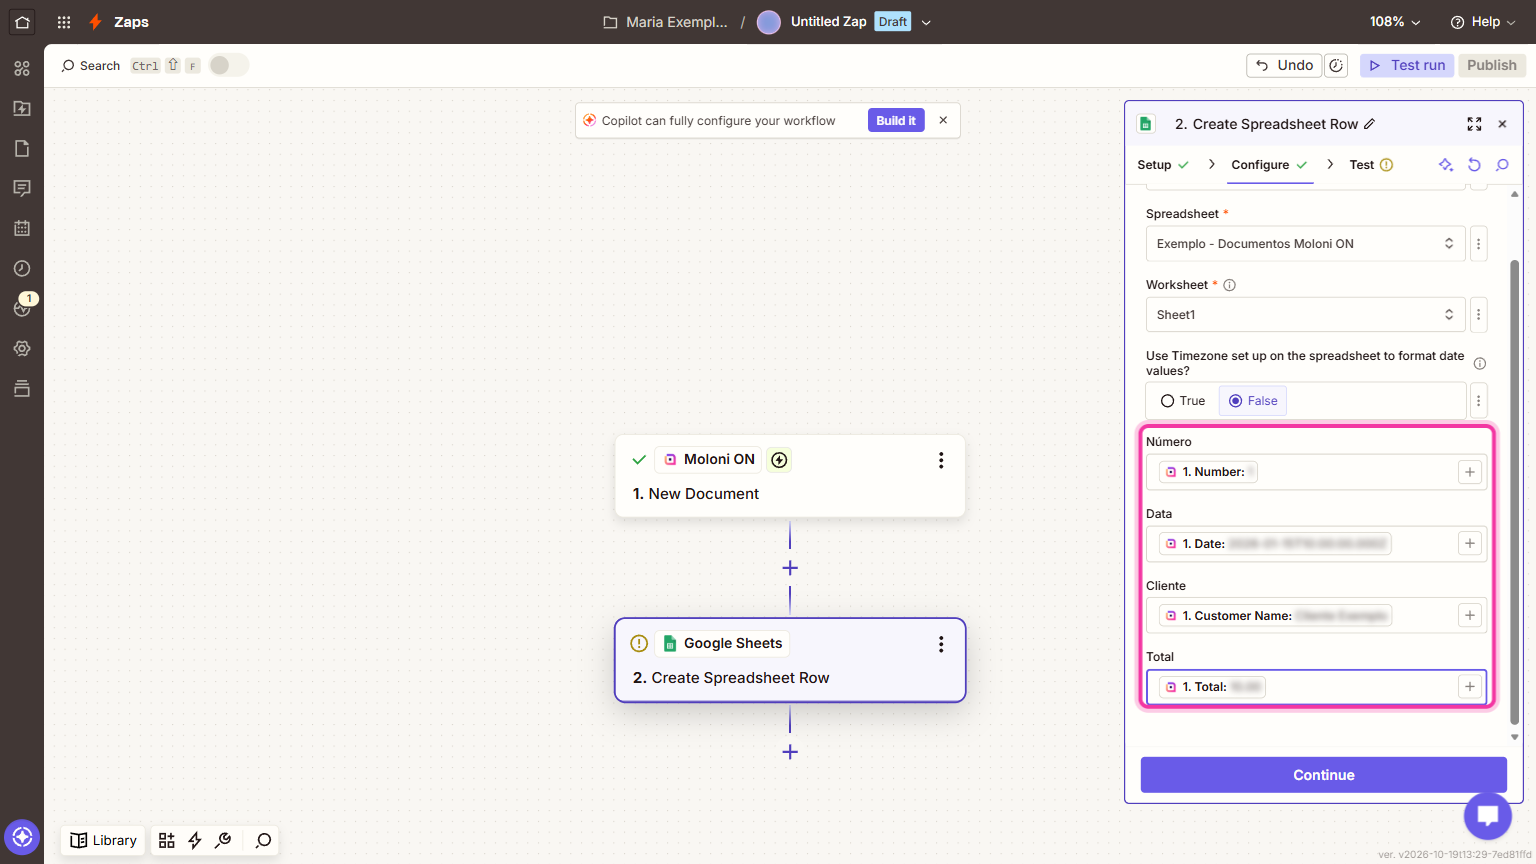
7. Fill in each column with the matching document data. Instead of typing the value by hand, choose the field from the list of trigger data.
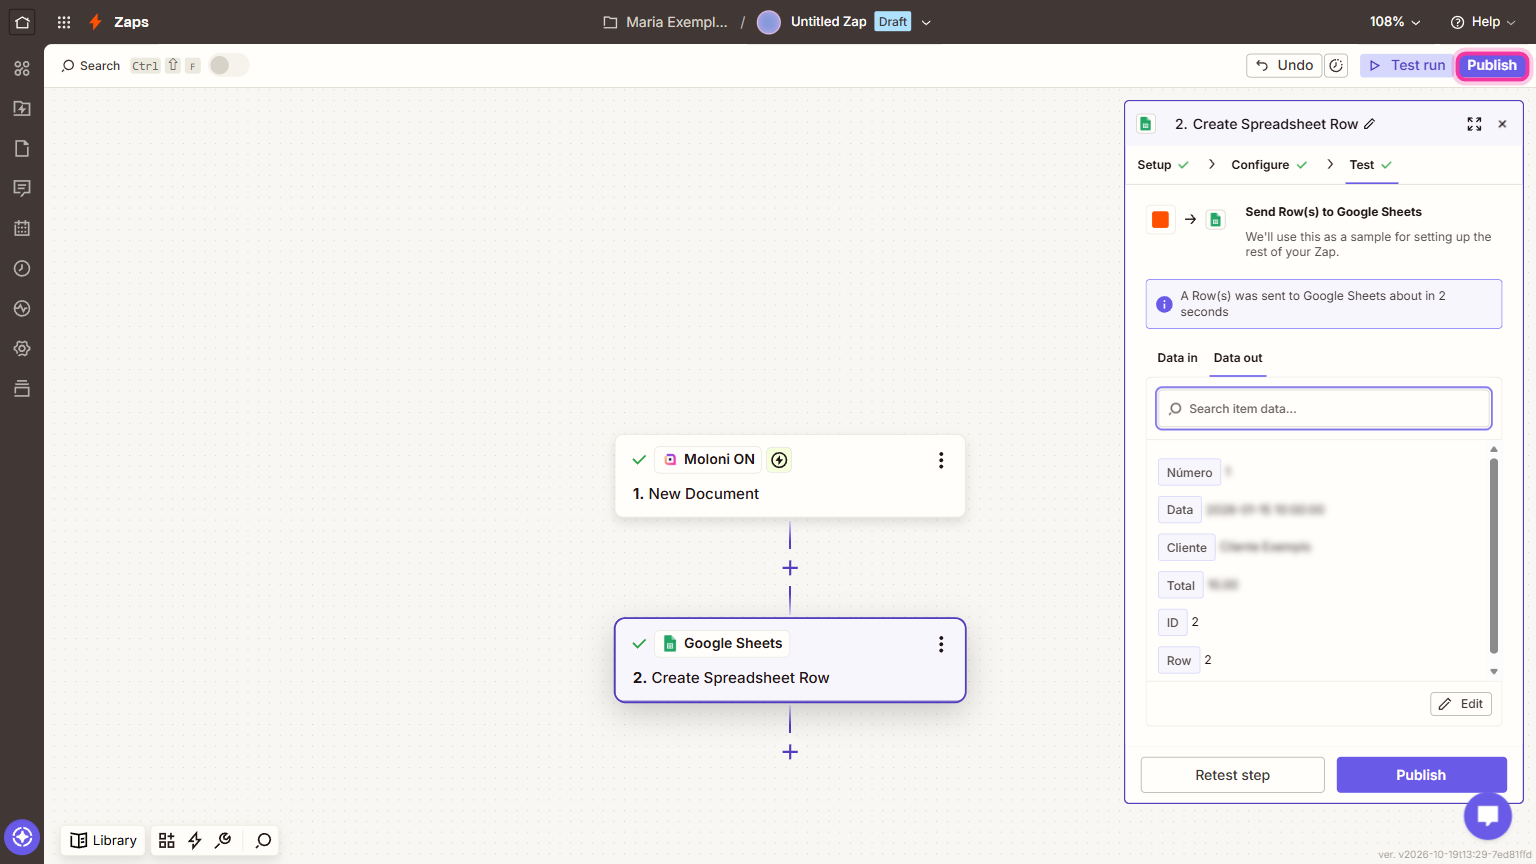
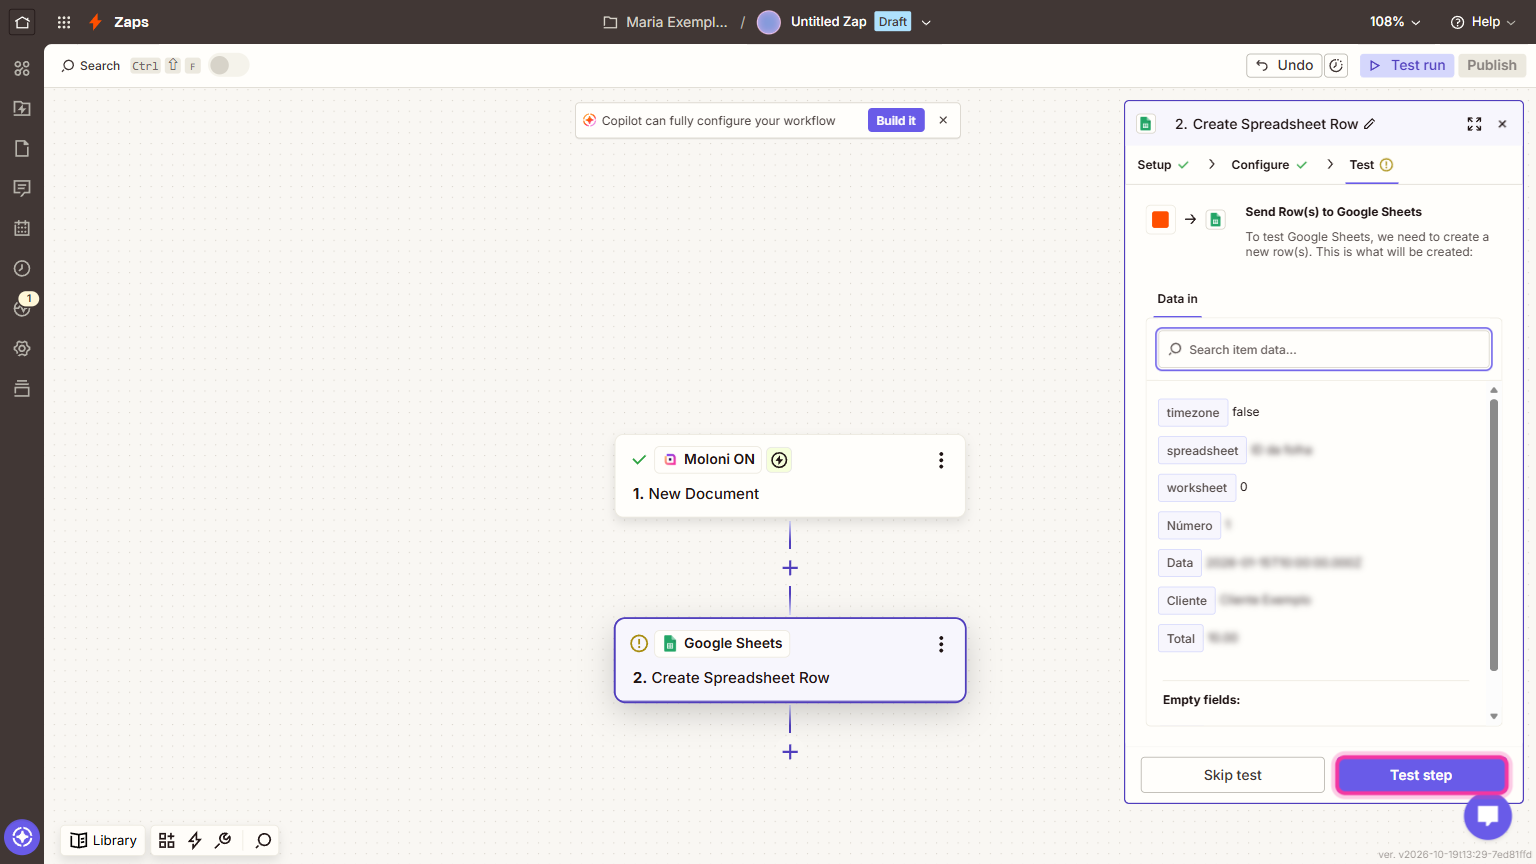
8. Click Continue and, in the Test tab, click Test step. Zapier shows the data it will send and adds a row to the spreadsheet.
When the test finishes, Zapier tells you the row was sent to Google Sheets.
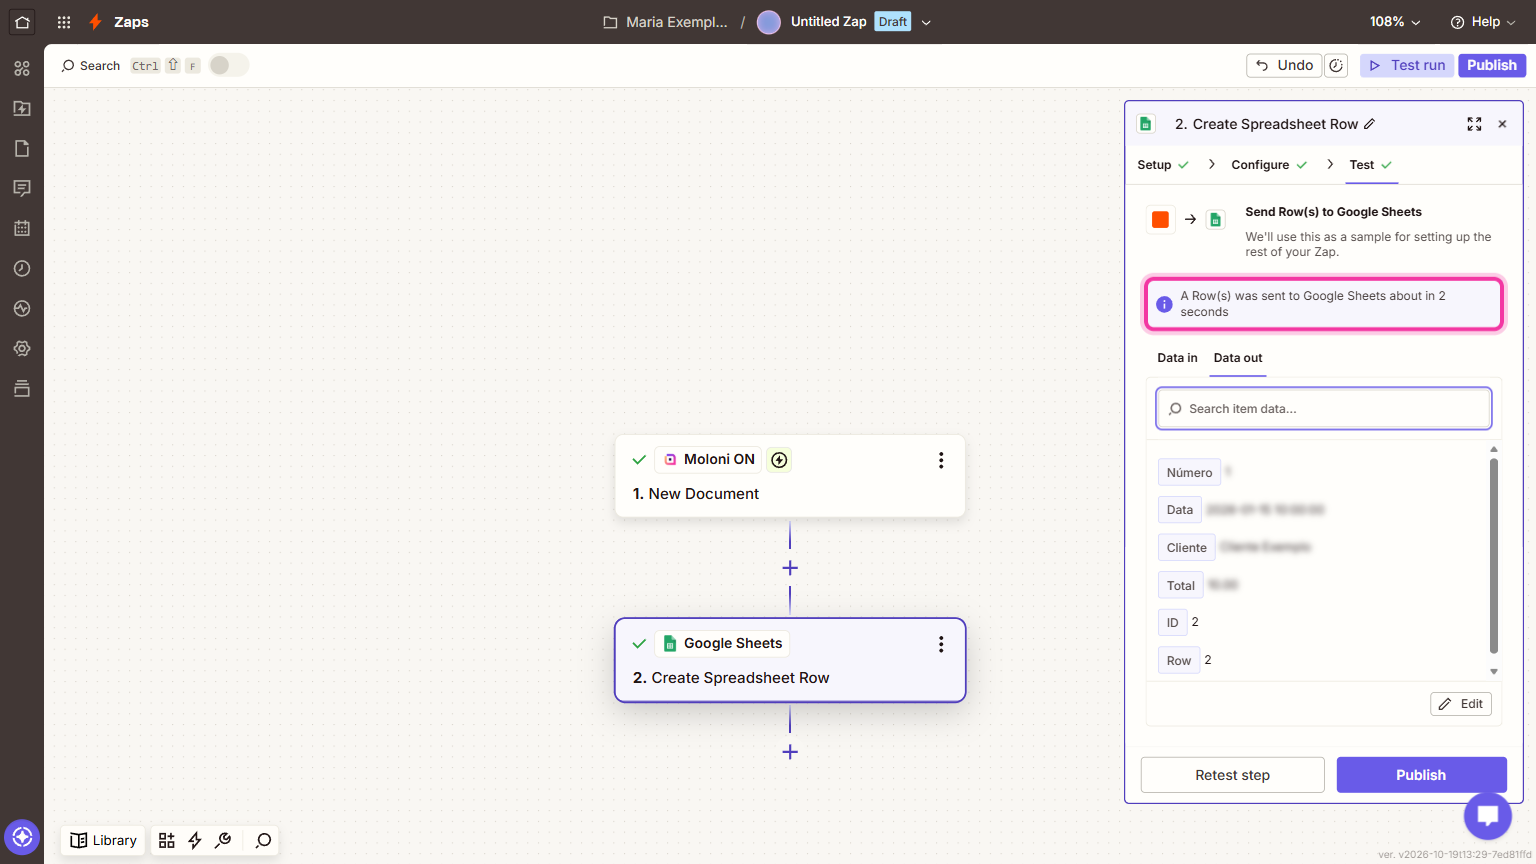
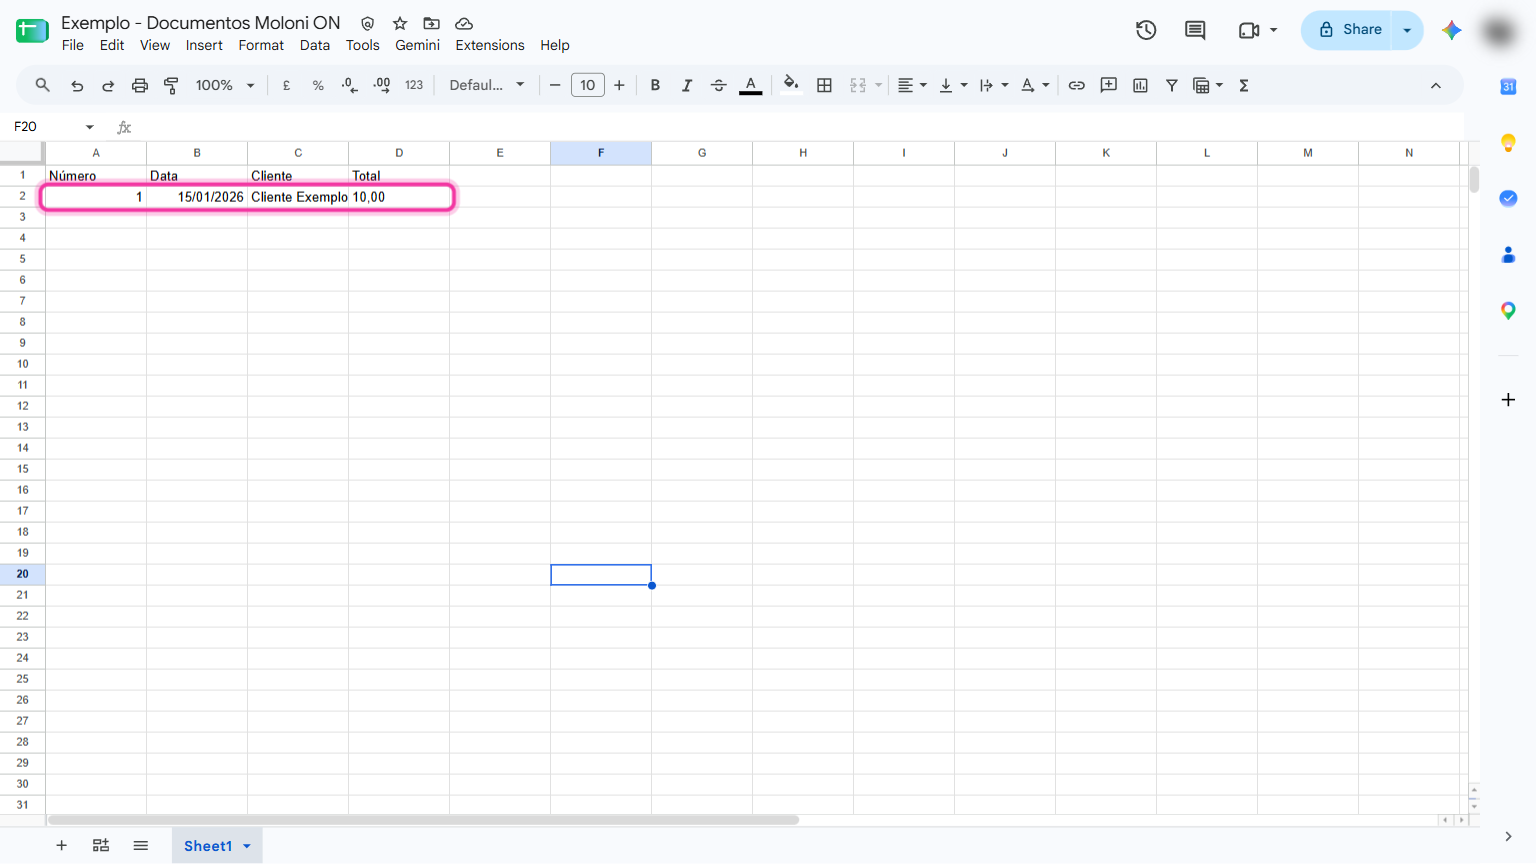
Open the spreadsheet and check that the row appeared.
9. To turn the Zap on, click Publish, at the top right of the editor.