How do I connect my Moloni ON account to Zapier
To connect your Moloni ON account to Zapier, choose the Moloni ON app in a Zap, log in to your Moloni ON account and authorise access. You only need to do it once, because the connection renews itself and you can use it in all your Zaps.
Prerequisites
Before you start, make sure you have:
- A Zapier account.
- A Moloni ON account with the company you want to automate.
- The API add-on active on that company. If you want to use triggers, it also needs the webhooks add-on active. Without these add-ons, the company does not appear in Zapier.
Follow these steps:
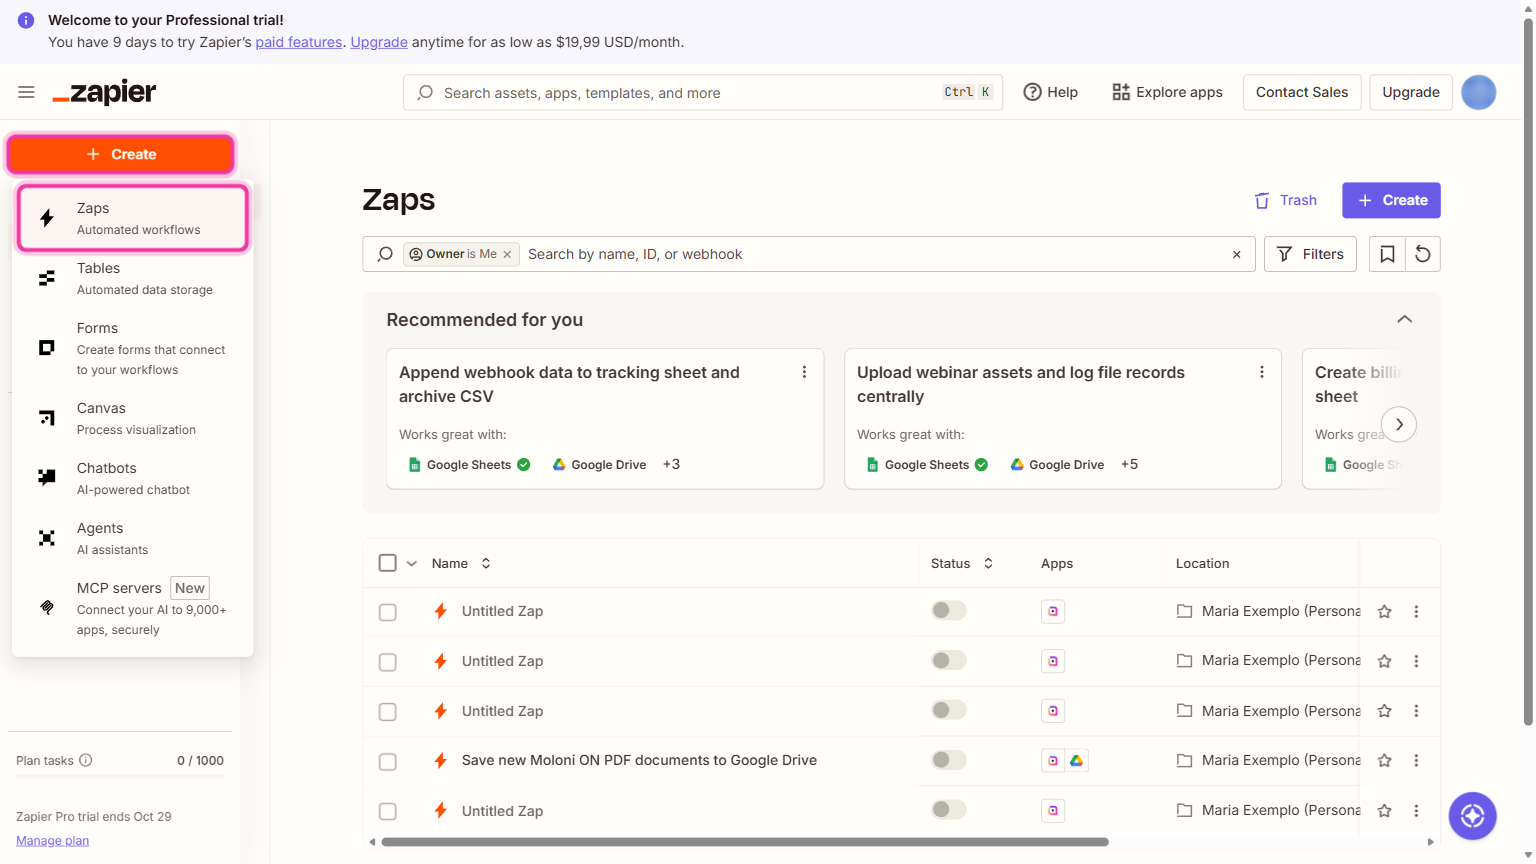
1. A Zap is an automation with at least two steps: the Trigger, which is what happens in Moloni ON, and the Action, which is what Zapier does next. To create a new Zap, log in to Zapier, click Create and choose Zaps.
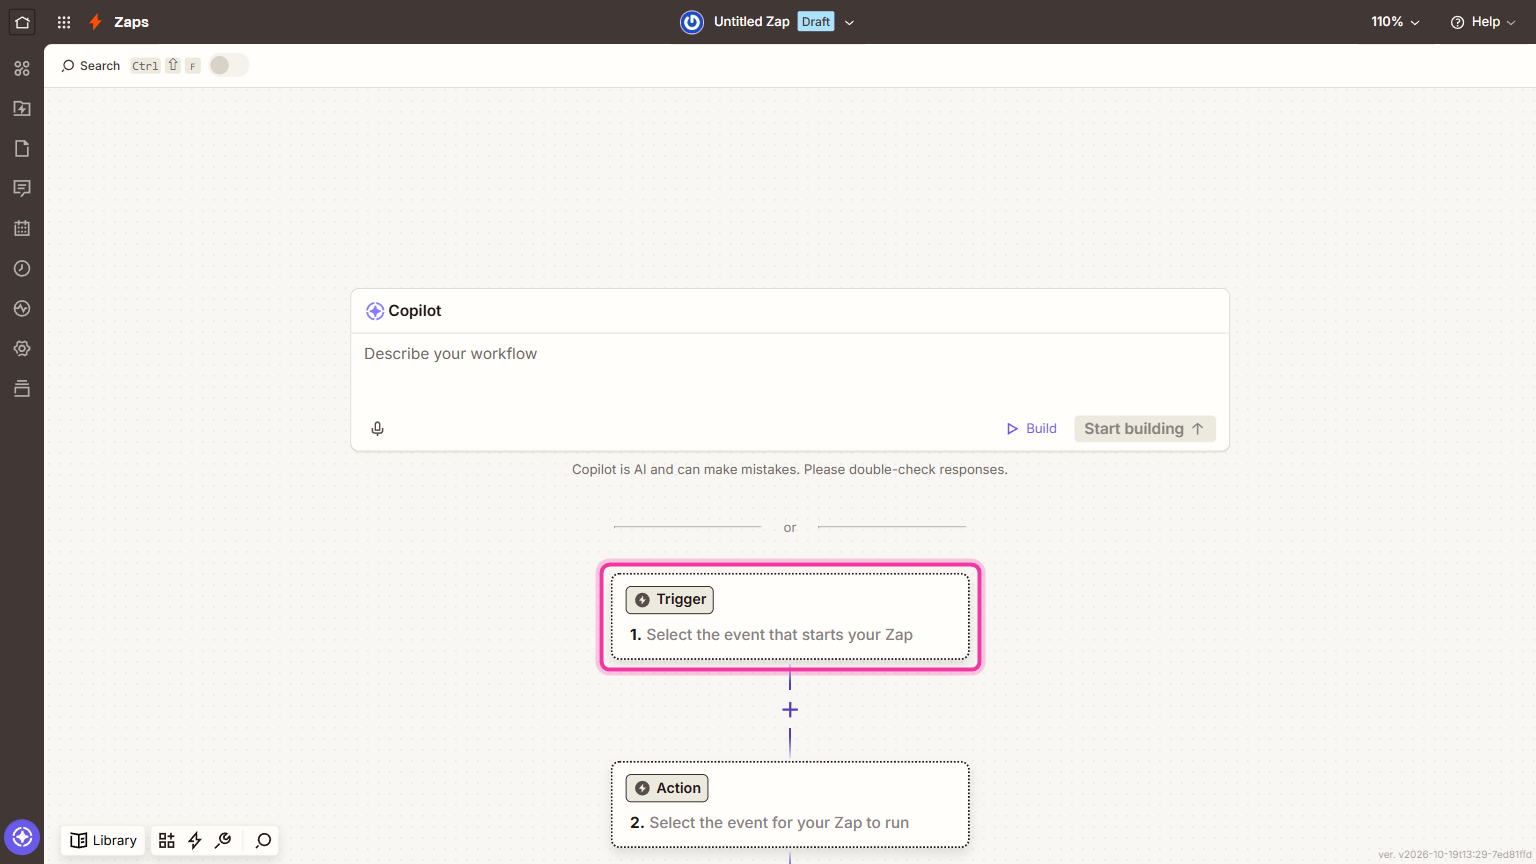
In the editor, click the Trigger step.
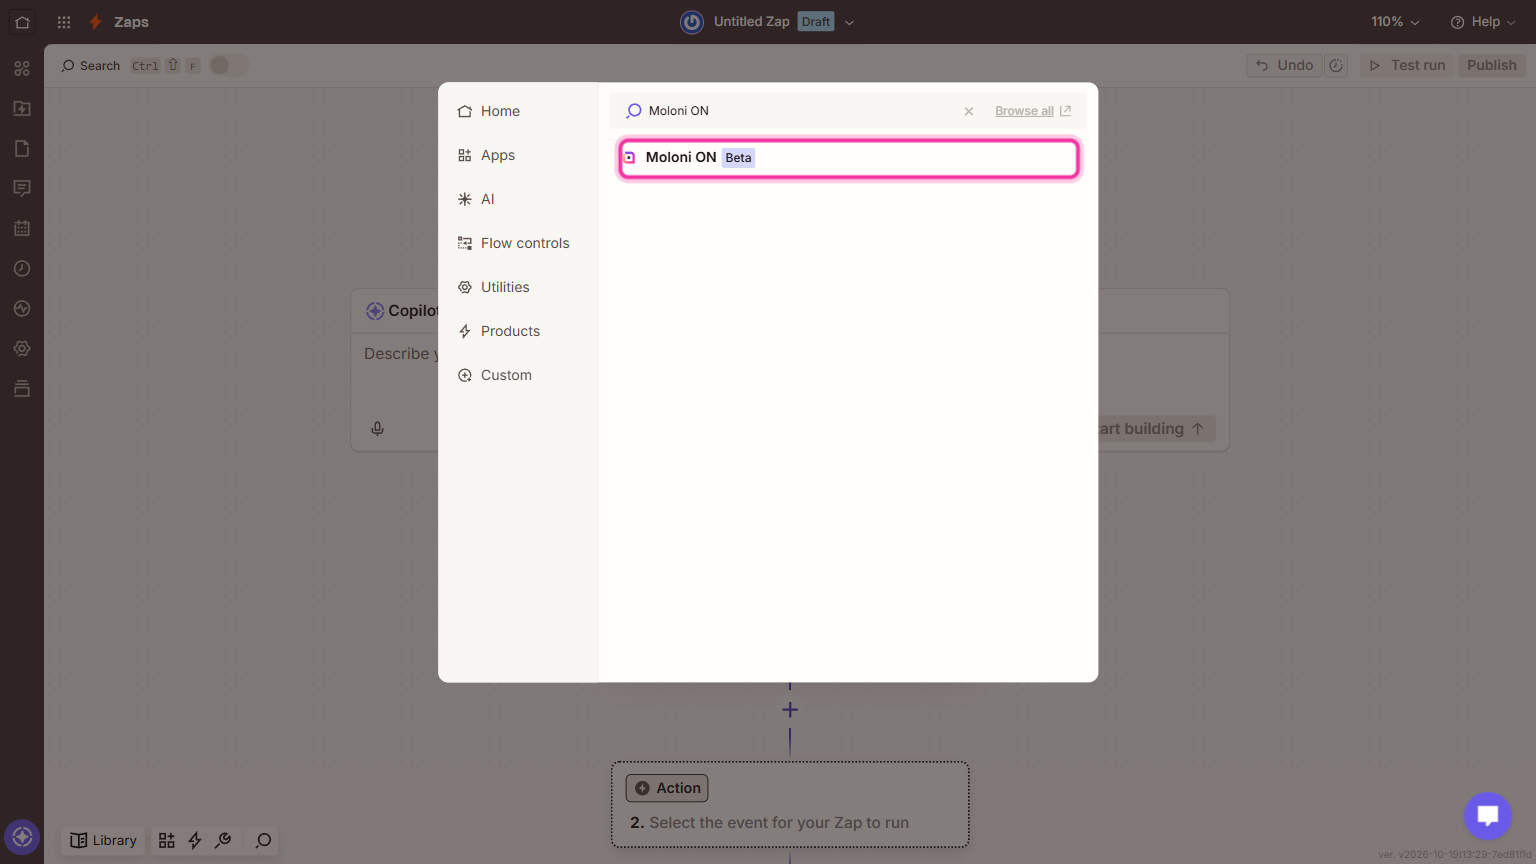
Search for Moloni ON and select the app. If you already have a Zap, open it and click the trigger or action step where you want to use Moloni ON.
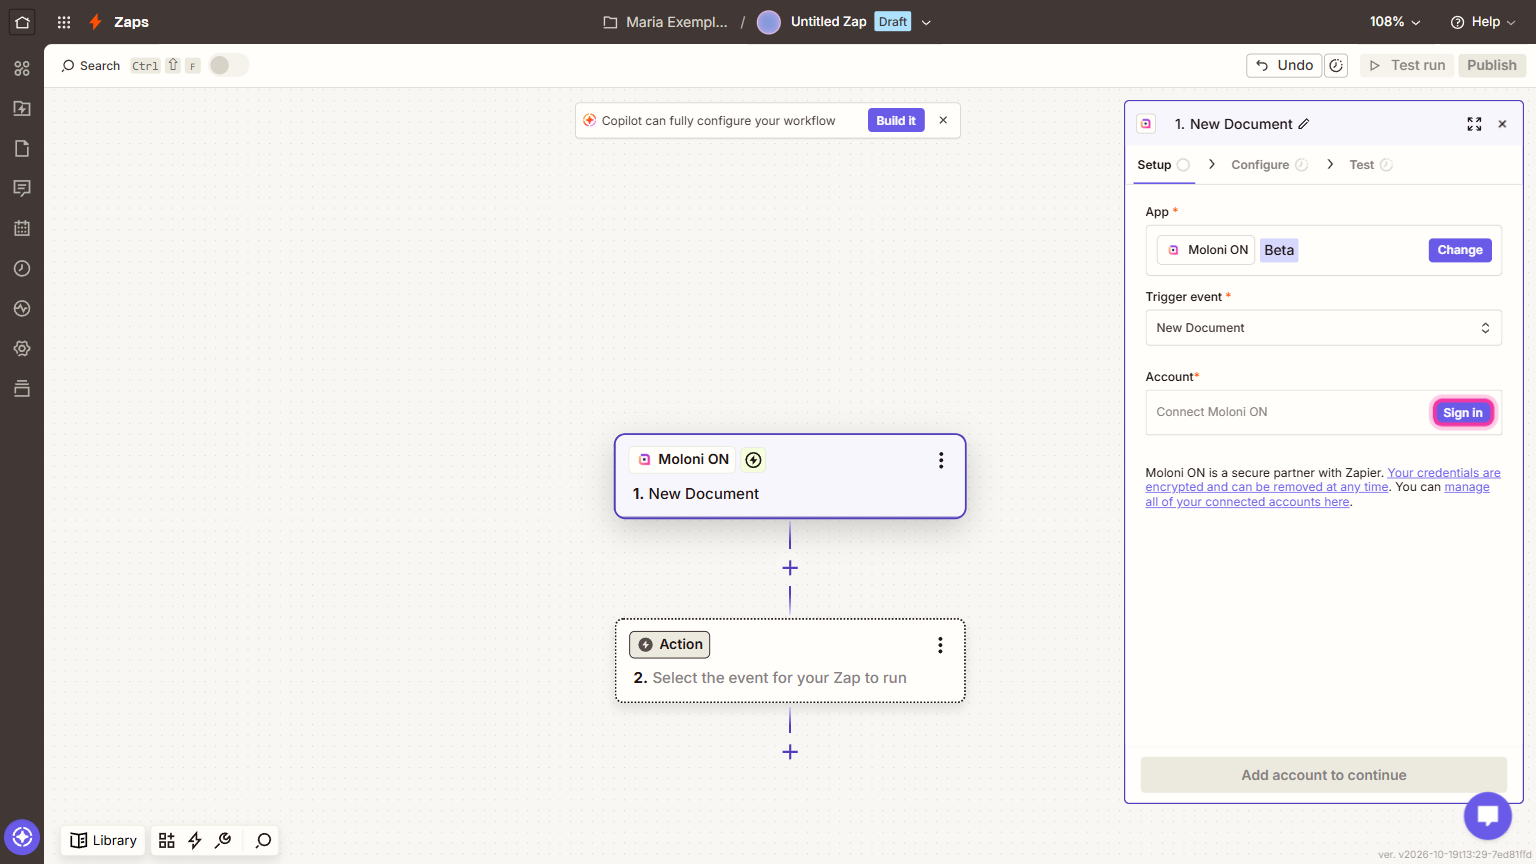
2. Choose the trigger event, for example New Document. In the Account field, click Sign in.
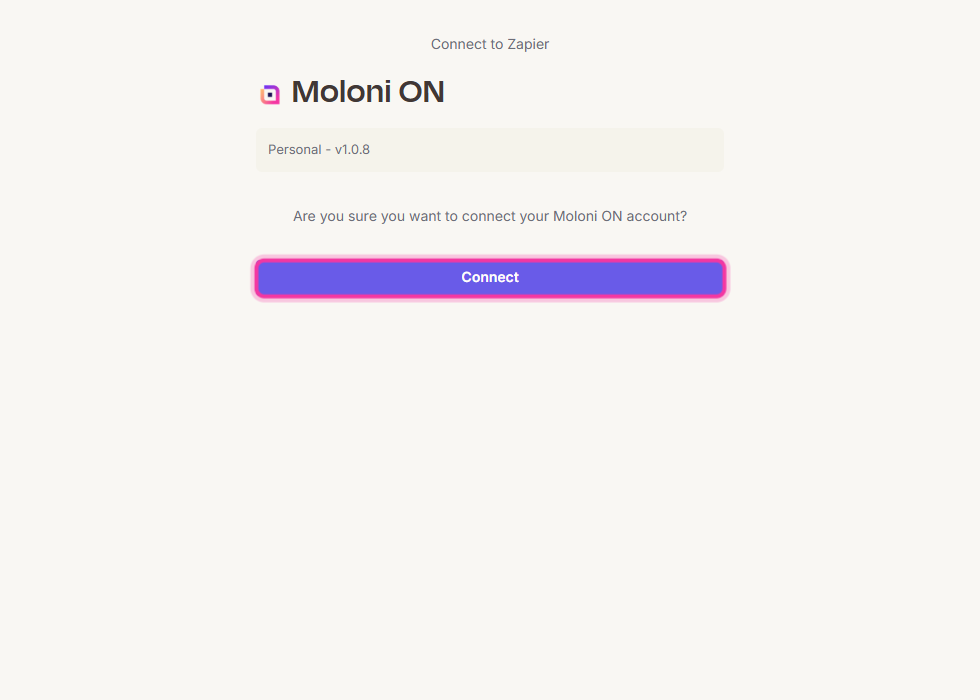
3. Click Connect.
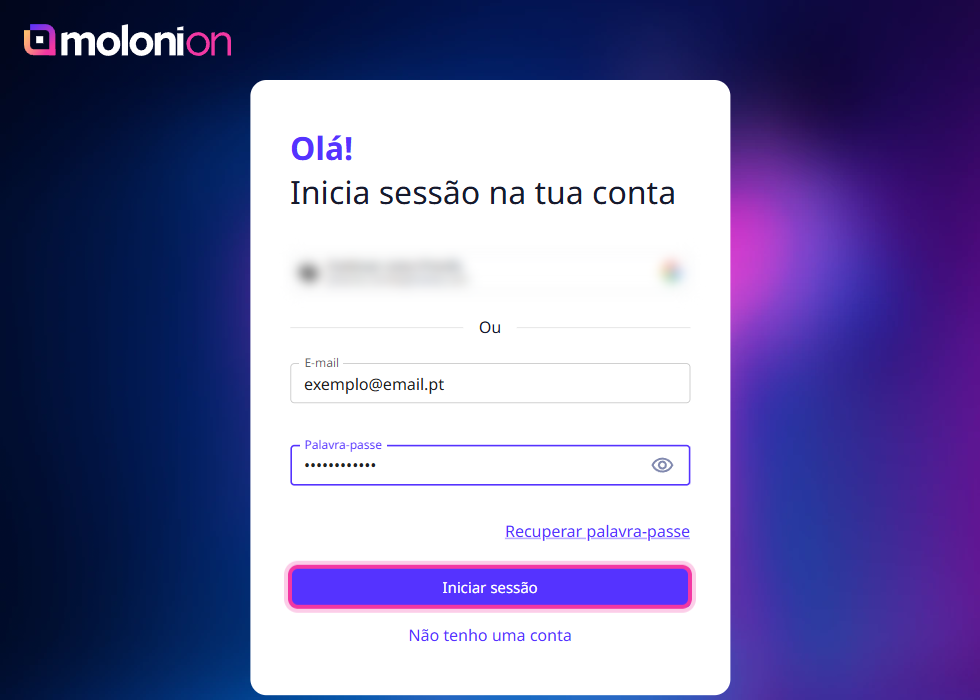
4. Log in to your Moloni ON account and enter the 2FA verification code.
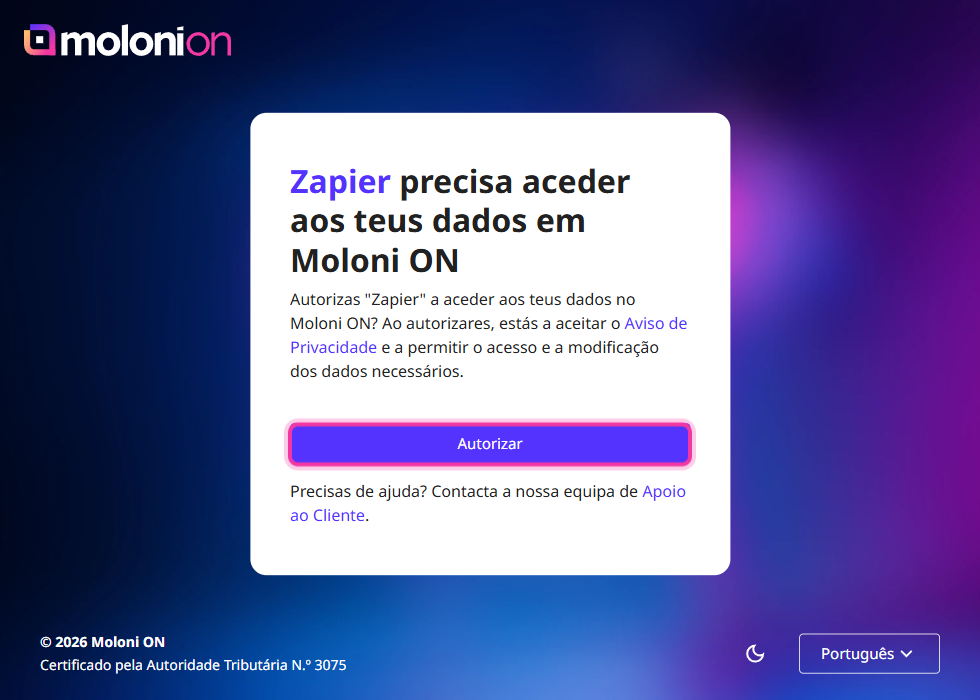
5. Authorise Zapier to access your account by clicking Authorise.
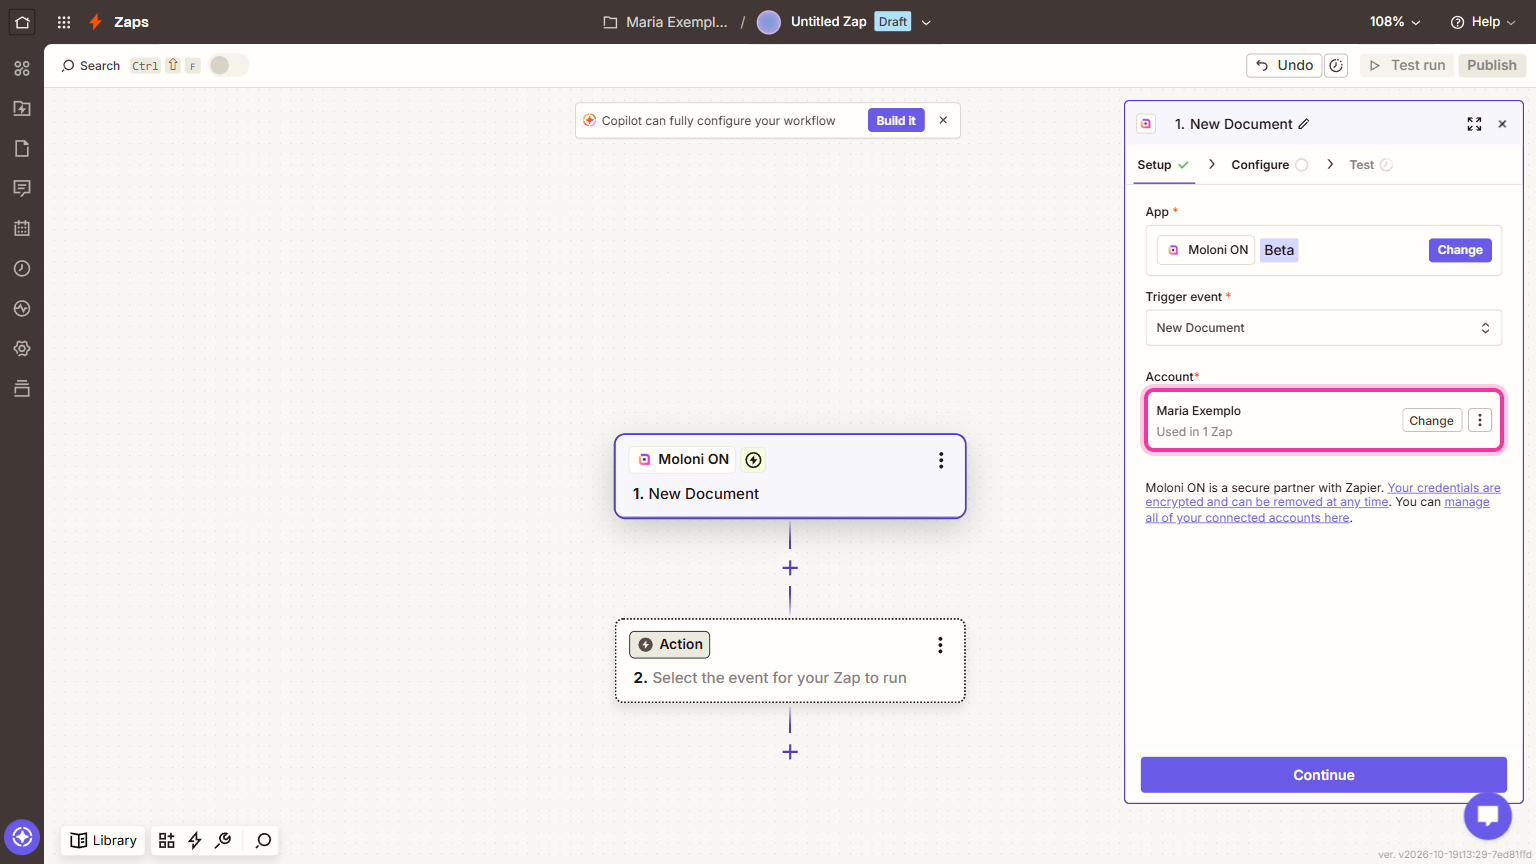
6. Go back to Zapier. The connected account now appears in the Account field.
Choose the company
Every trigger and action asks for the company. Click Continue to move to the Configure tab and open the Company field.
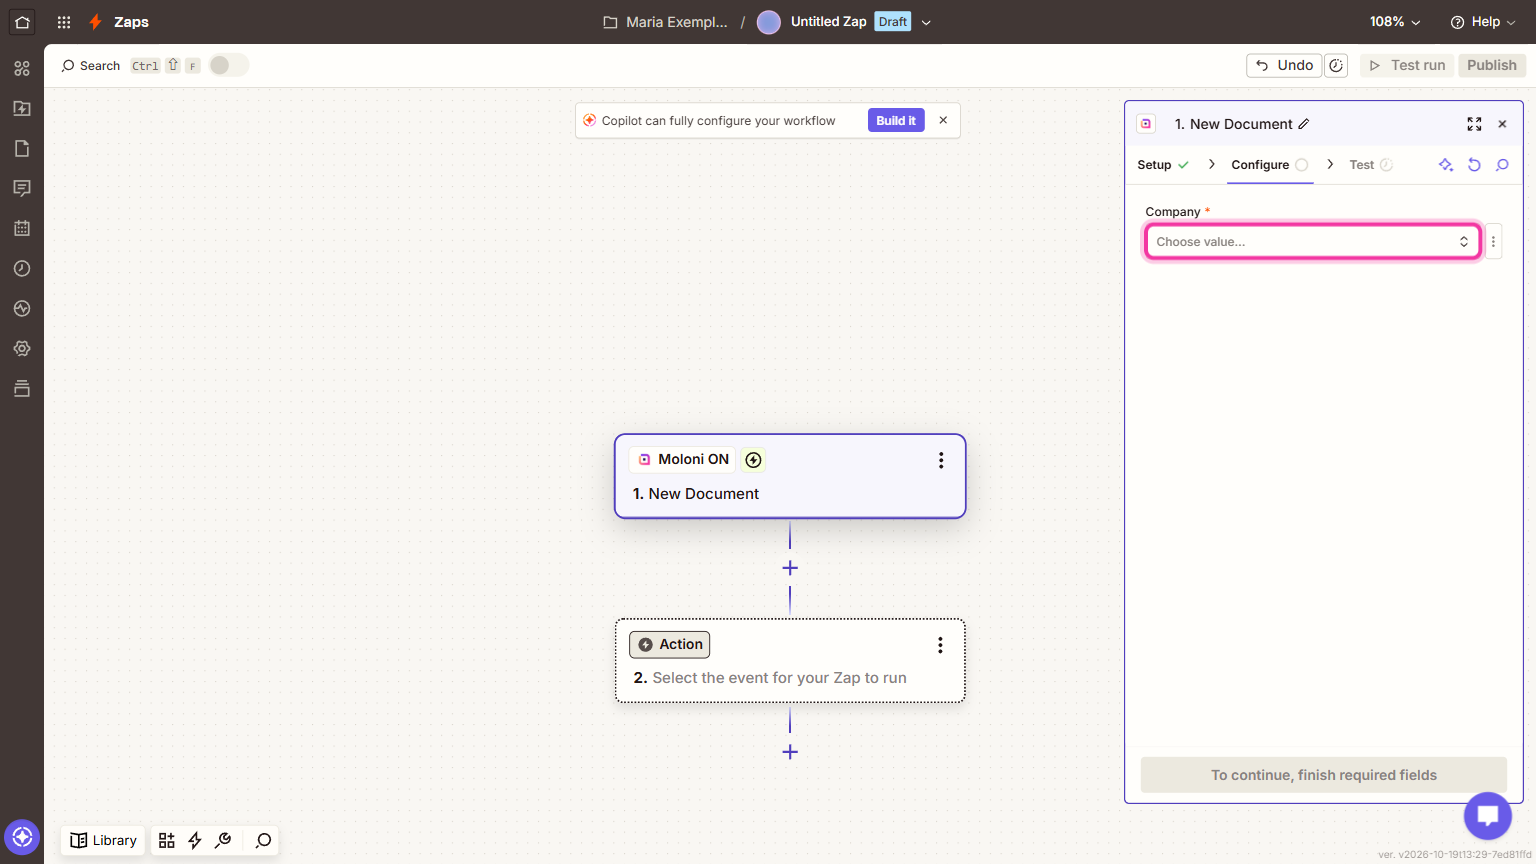
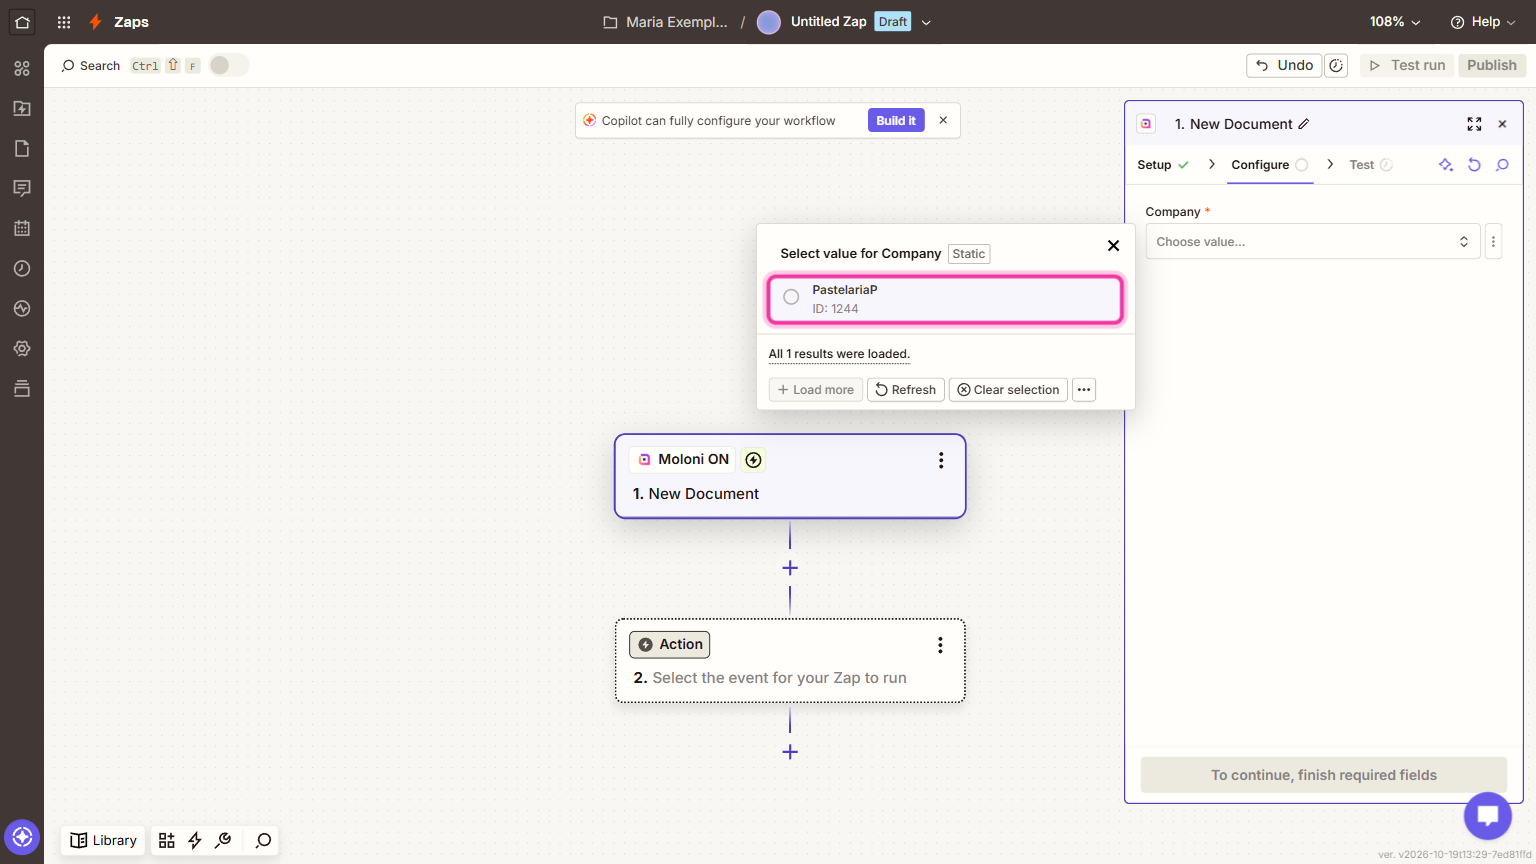
Choose the company where you want the Zap to work. Only companies with the API add-on active appear. If your company does not appear, see the troubleshooting FAQ.
Available triggers and actions
After connecting the account, you choose the trigger or action you want to use in the Zap. The full, up-to-date list of Moloni ON triggers and actions is on the Moloni ON app page on Zapier, in the Triggers & Actions tab. You can filter by Triggers or by Actions and open each option to see what it does.