Quick settings for documents
Follow these steps:
1. On the main dashboard, in the Set up document issuance section, enter your company address and click Save and continue.
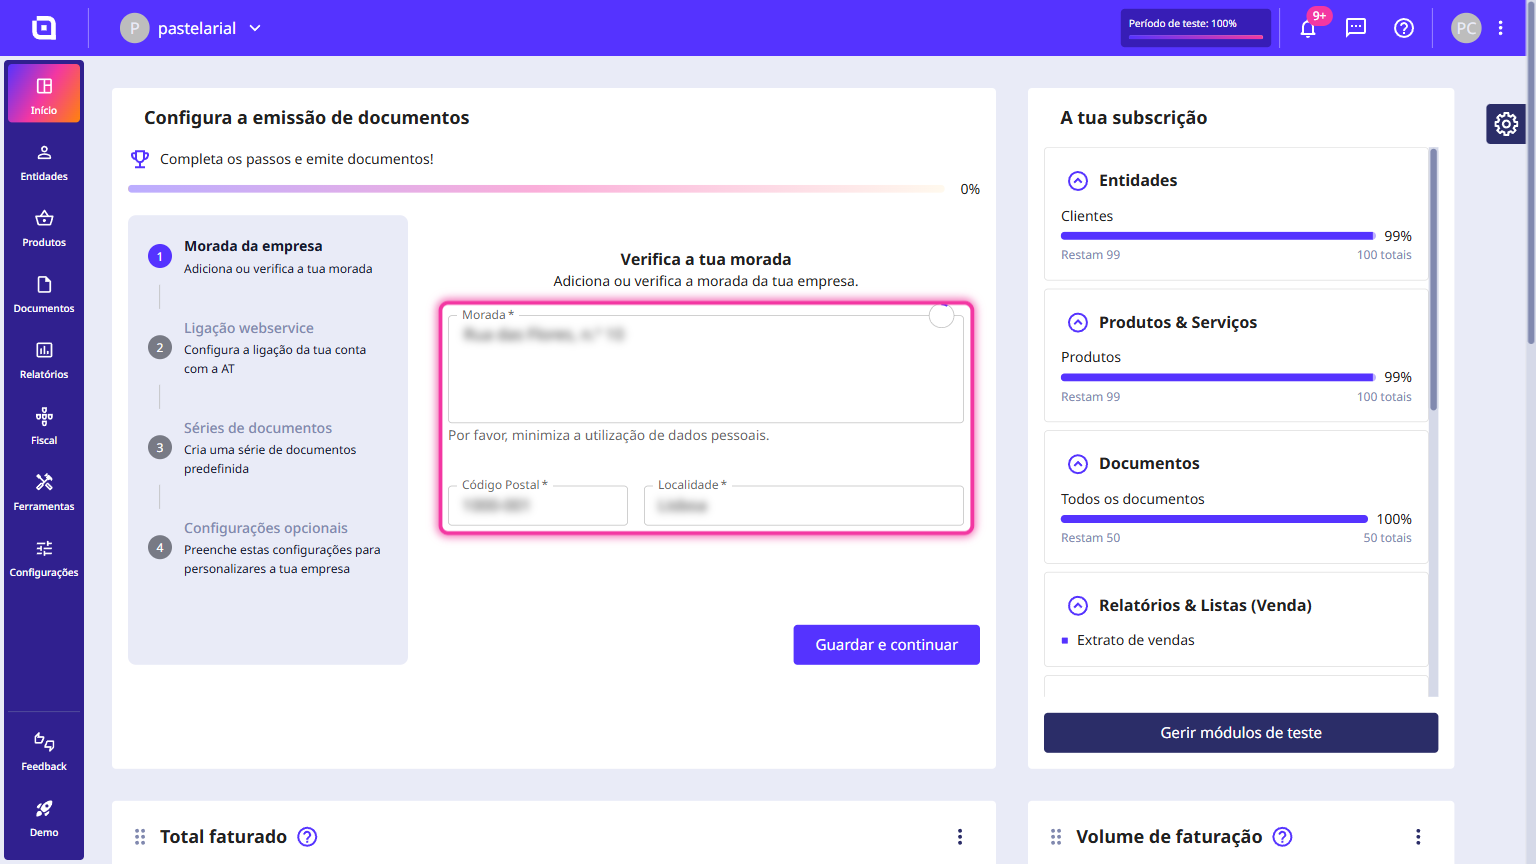
2. Now you need to configure the connection with the TA. Choose one of the following options:
Automatic setup: Choose this option if you haven’t created a user on the TA portal yet. Enter your details and we will handle everything: we’ll create a new user with the necessary communications for you.
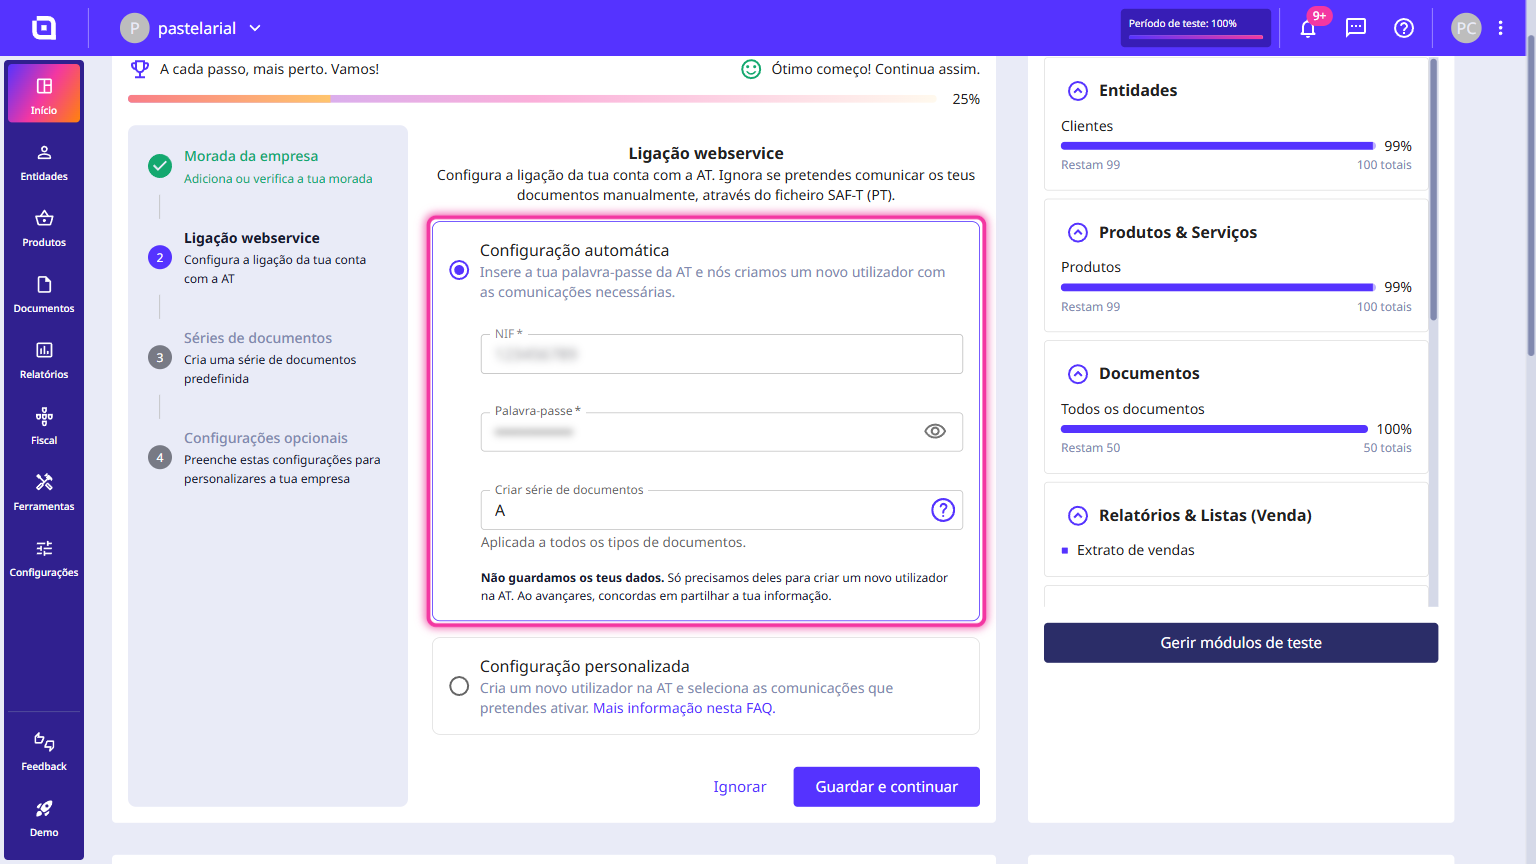
Custom setup: Choose this option if you already have a user created on the TA portal. Enter your details and select the communications you wish to activate.
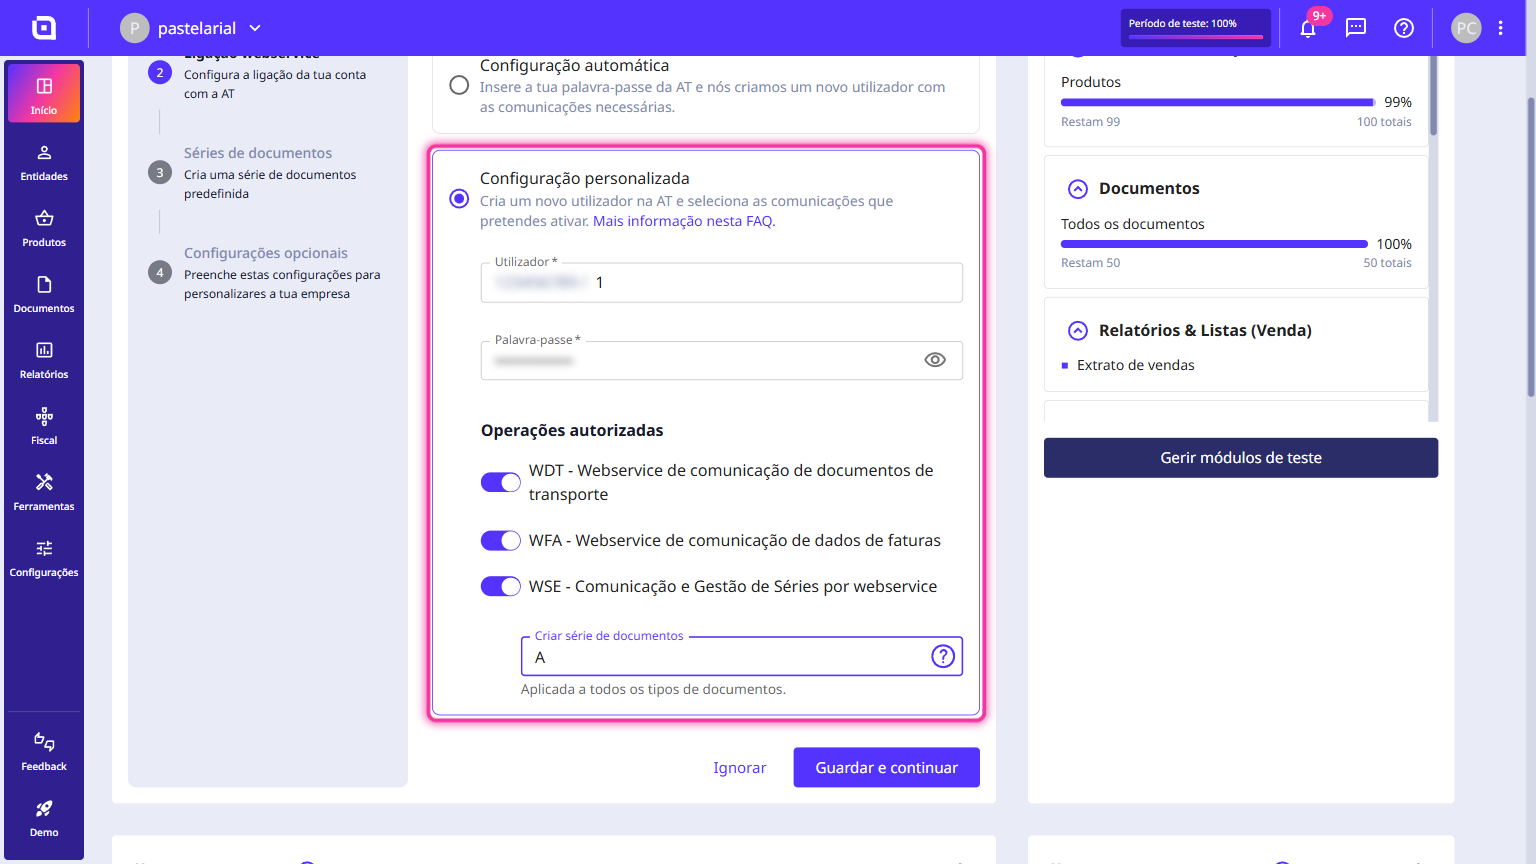
3. When you are finished, click the Save and continue button.
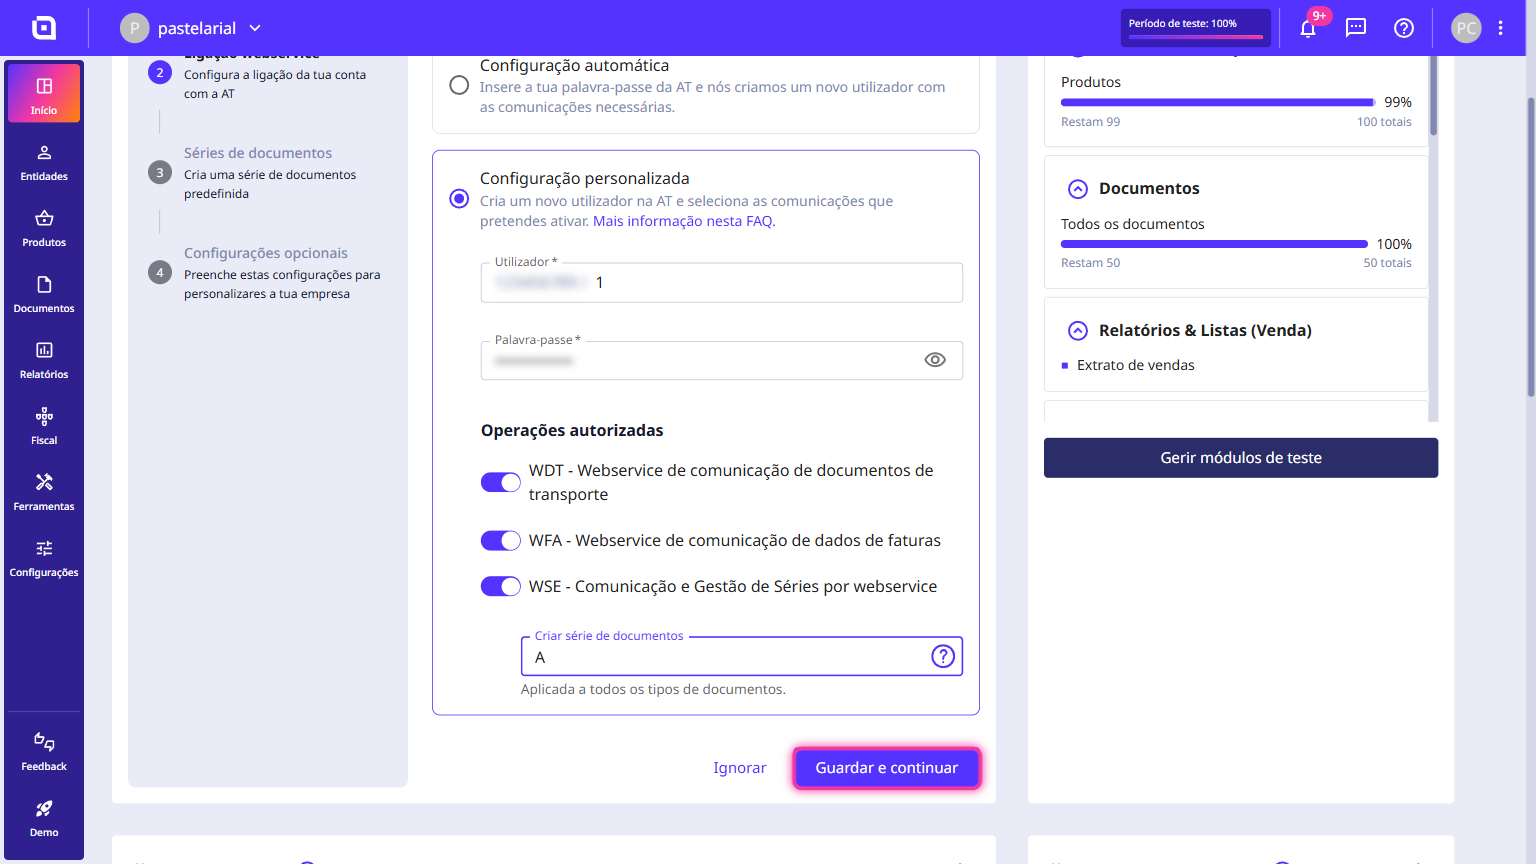
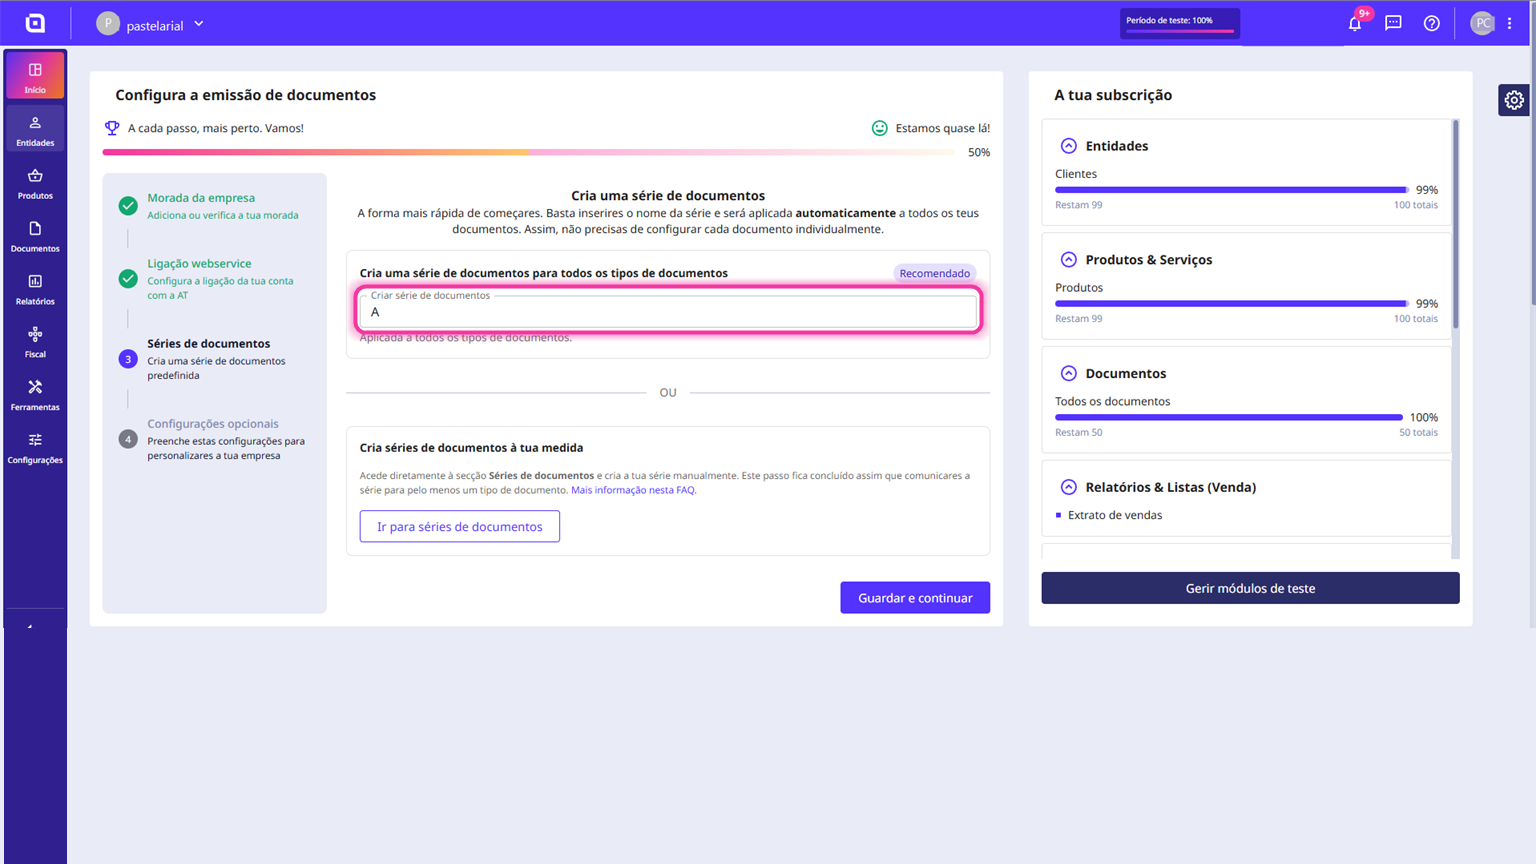
4. Next, move on to creating a document set. In the Create document set field, enter the name you wish to assign to the set.
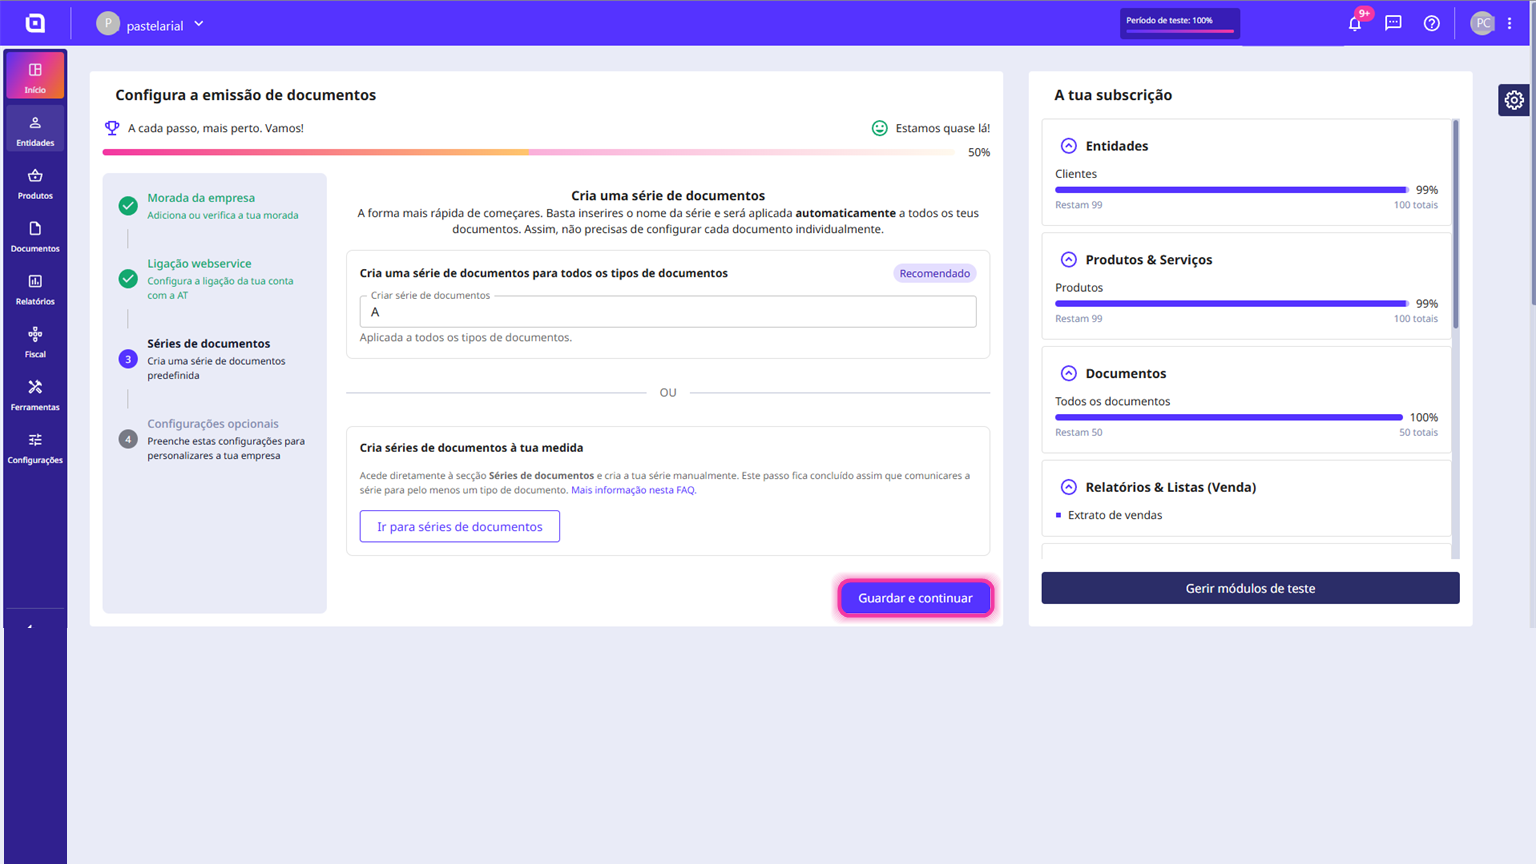
5. When you are finished, click the Save and continue button.
Your account is now ready to issue documents. To issue an invoice, please refer to this guide.