How to connect your WooCommerce store with Moloni ON
Follow these steps:
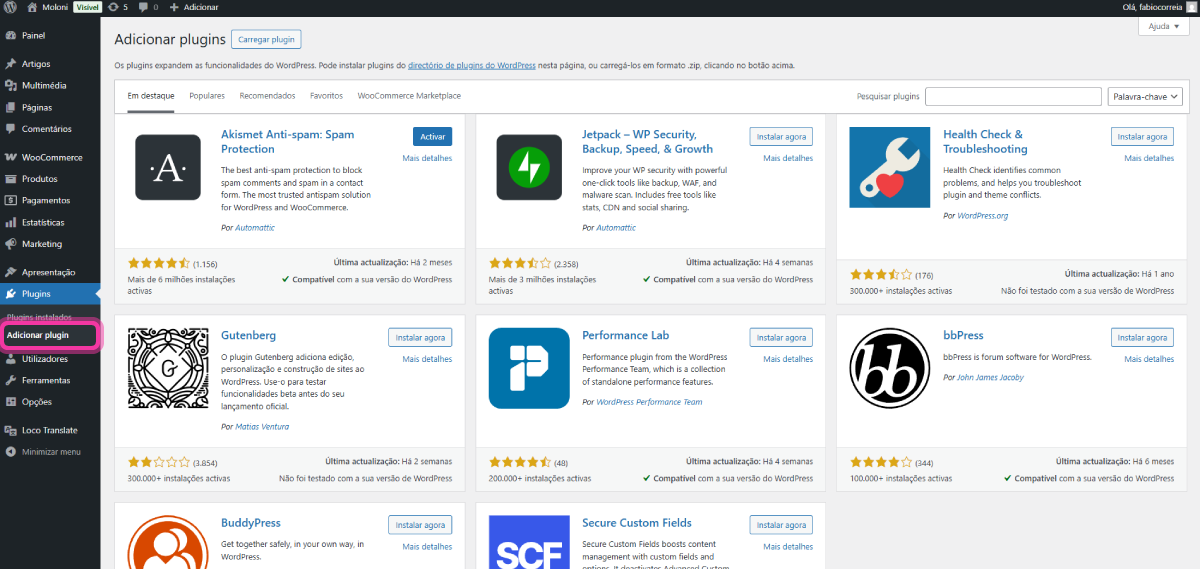
1. Go to your WordPress site and click on Plugins.

2. Click on Add Plugin.
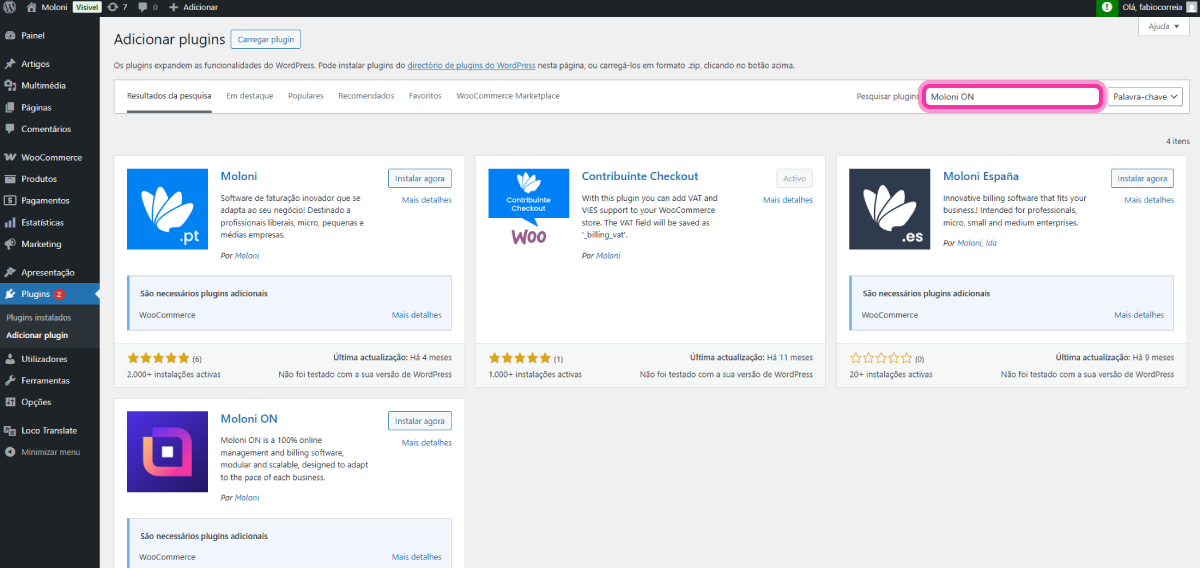
3. Search for Moloni ON.
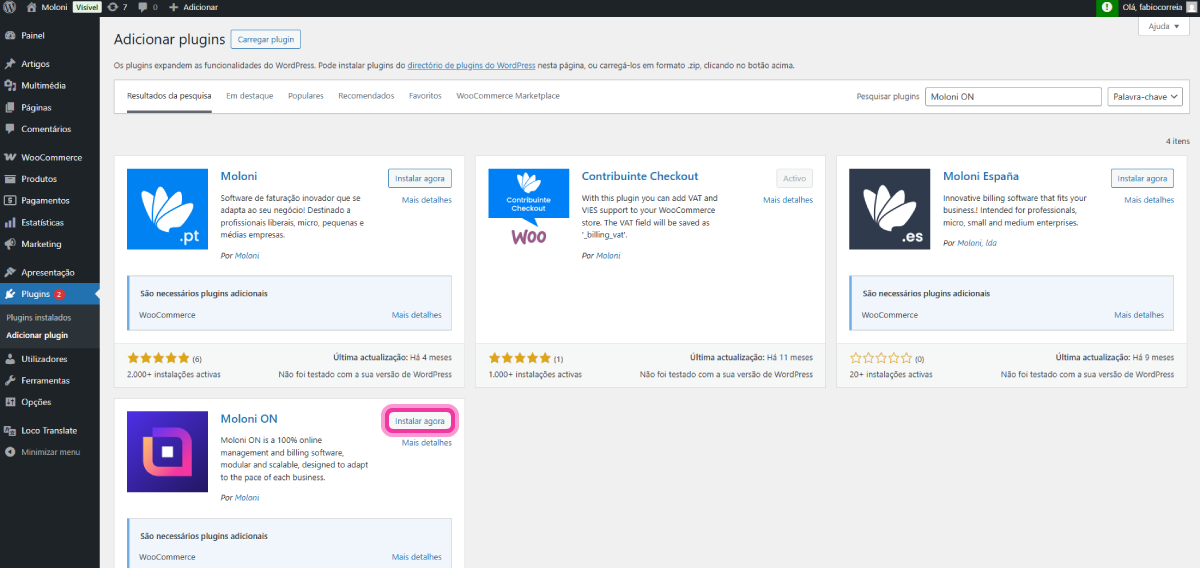
4. Click the Install now button.
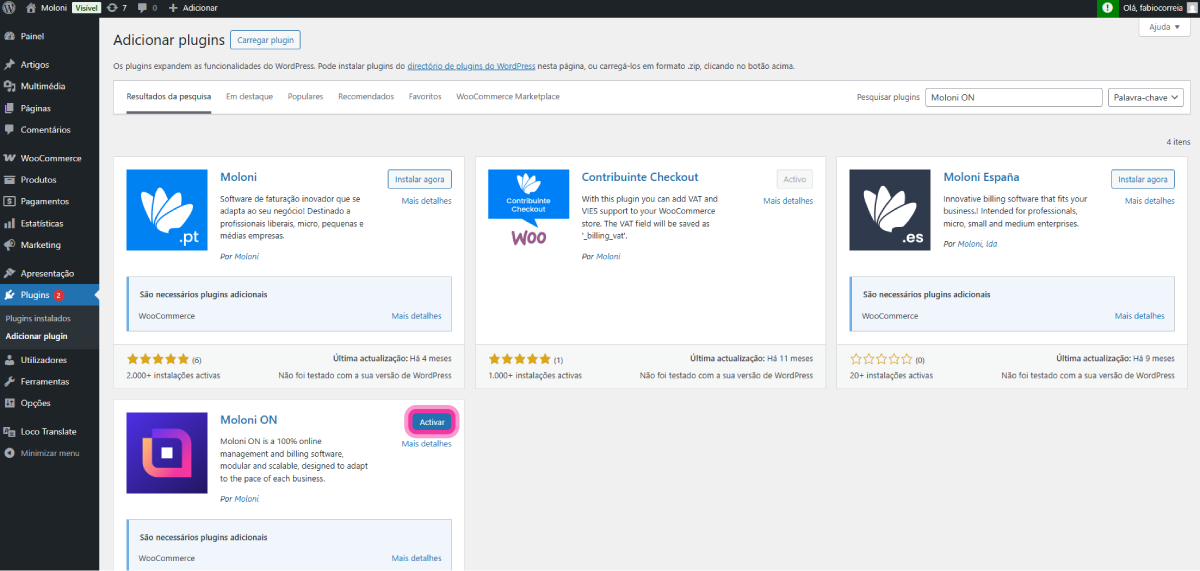
5. The plugin has been installed successfully. Click the Activate button.
Next step: you must log in to the Moloni ON plugin.
How to log in to the Moloni ON plugin
Logging in to the Moloni ON plugin on WooCommerce is quick and easy.
Follow these steps:
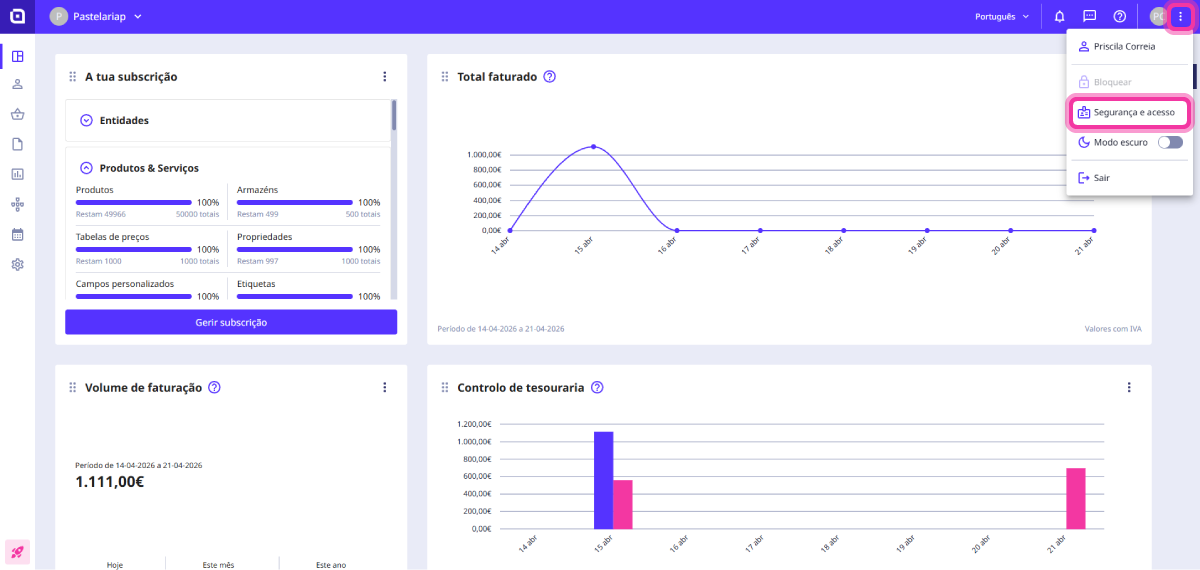
1. In the Moloni ON Client Area, access the user menu and click on Security and access.
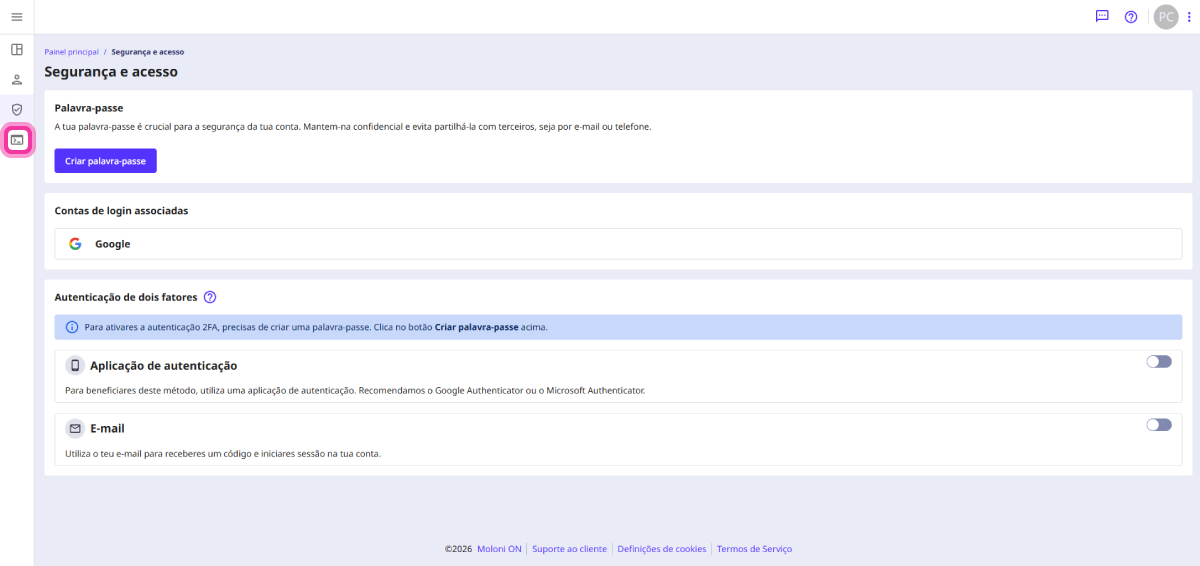
2. Access the API section, the 5th icon in the side menu.
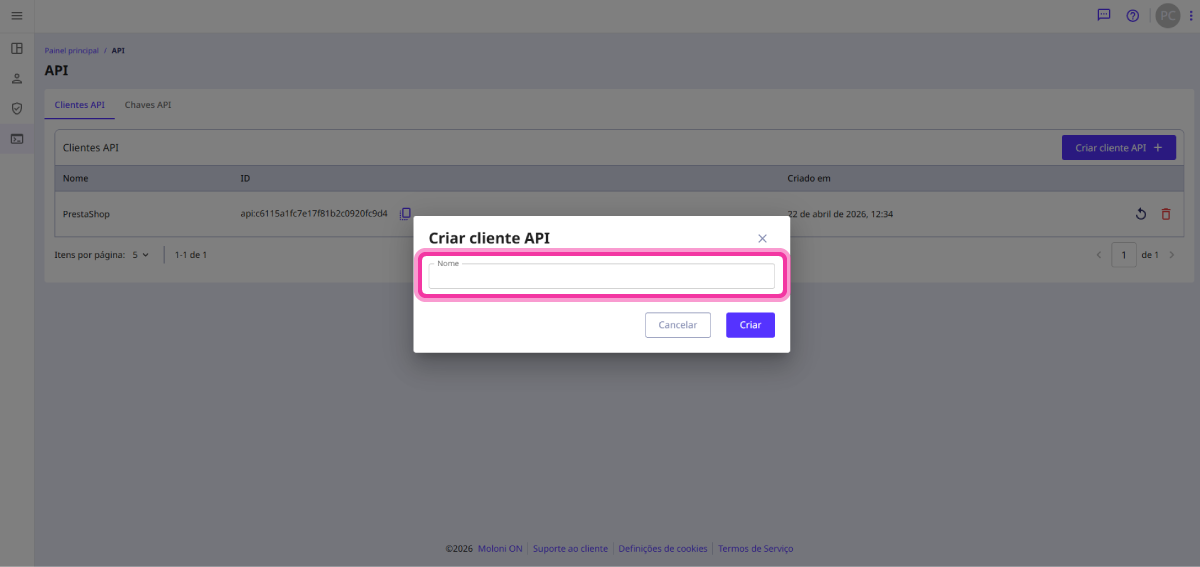
3. Click the Create API client button.

4. Enter the name you want to use.
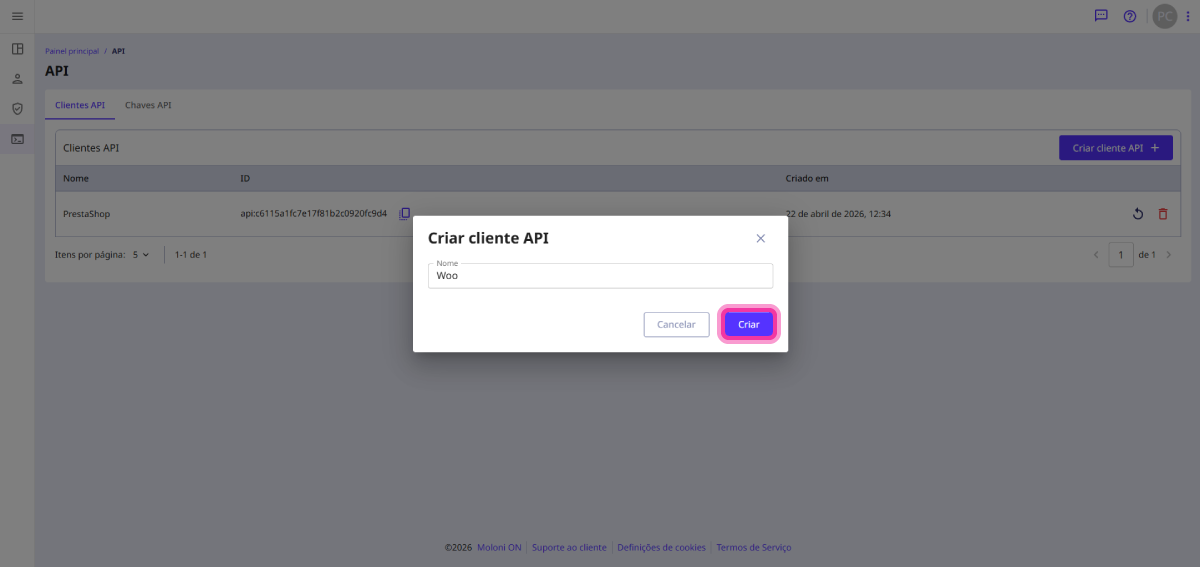
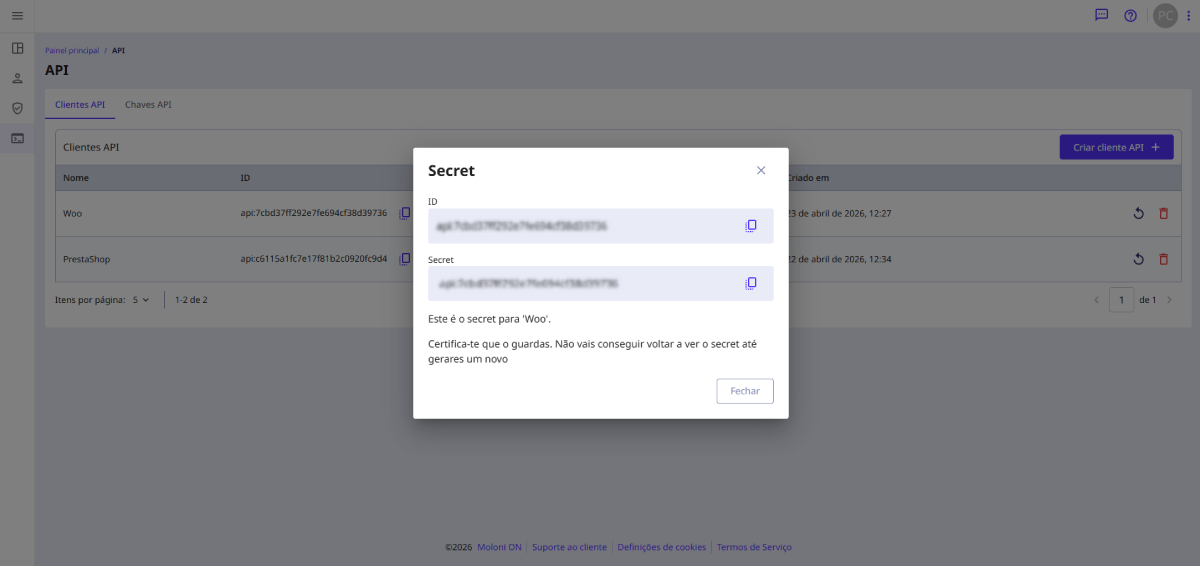
5. Click the Create button. API access credentials will be generated, which should be copied and entered into the WooCommerce platform.
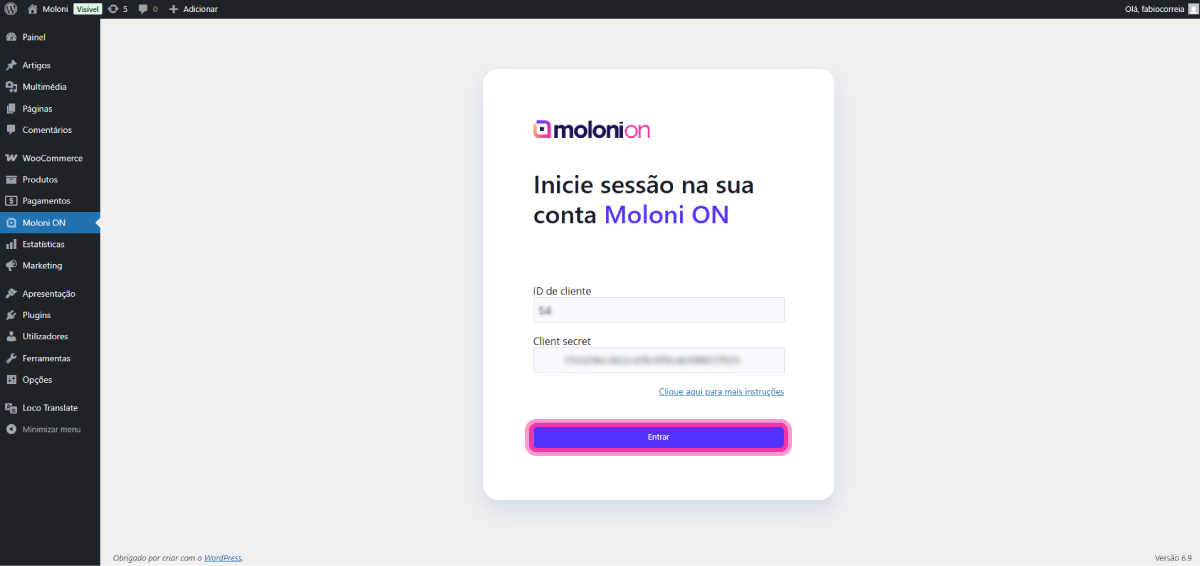
6. Access your WordPress site and click on Moloni ON.
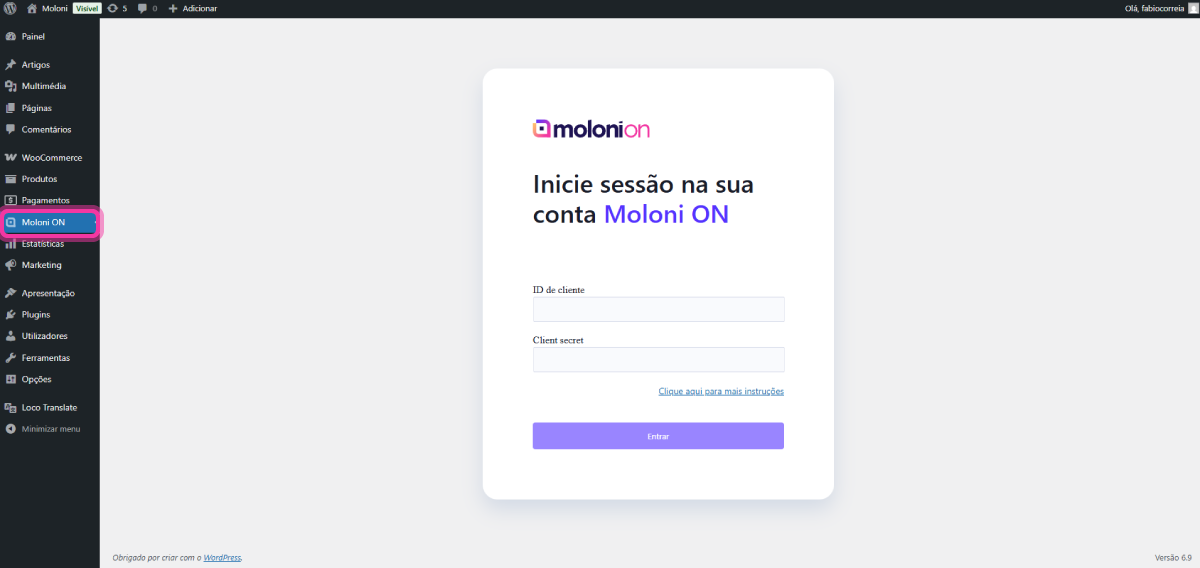
7. Enter the API access details created previously and click Login.
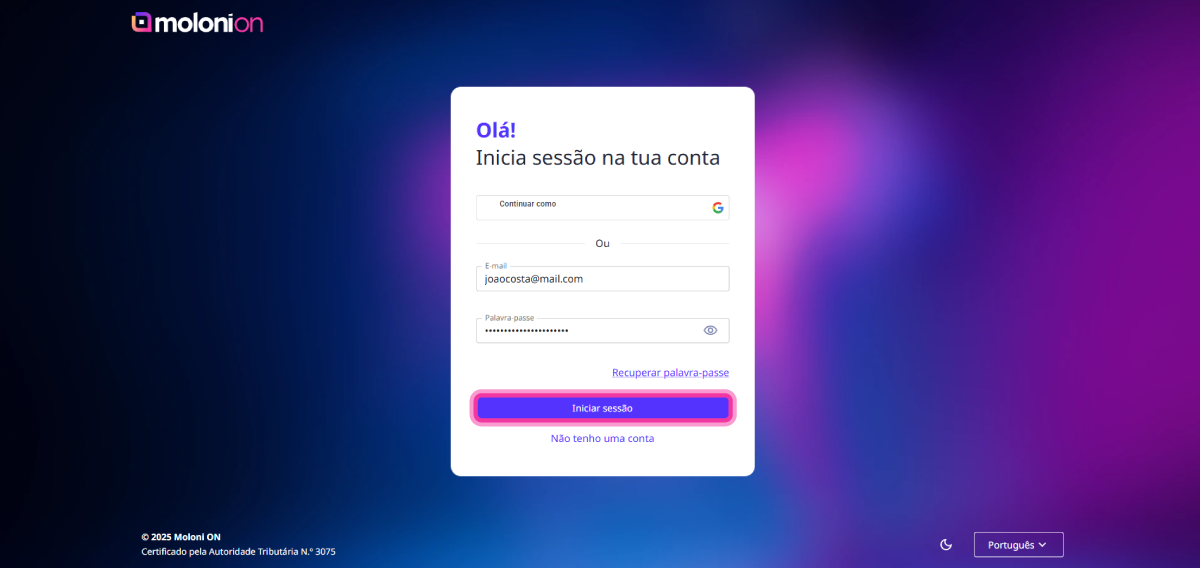
8. Enter your Moloni ON login details and click Login.
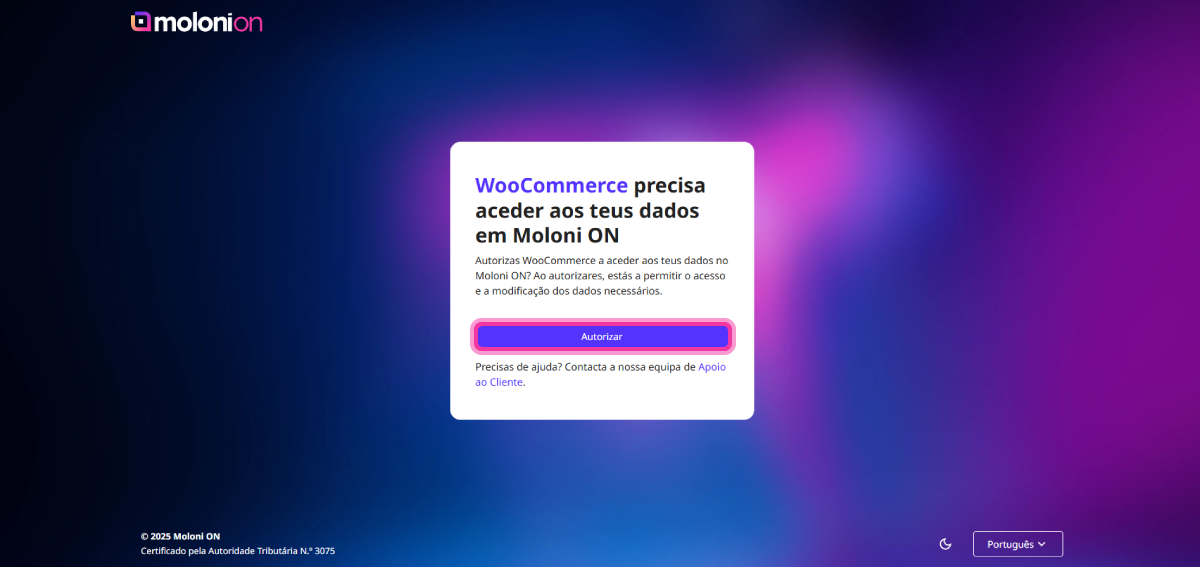
9. Click the Authorise button.
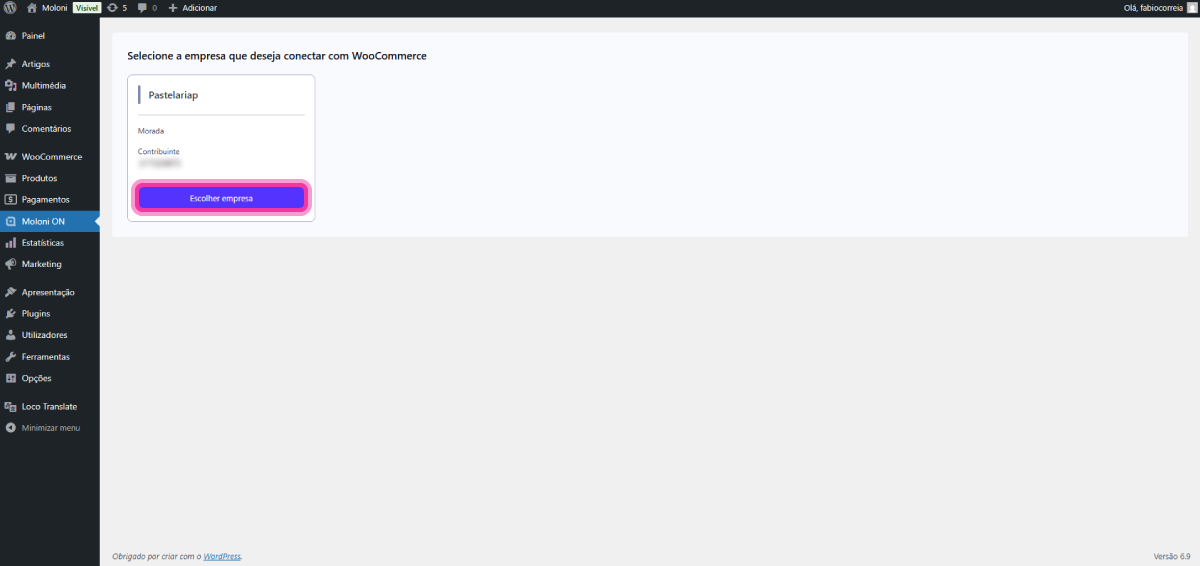
10. Select the company you wish to link with WooCommerce.
You have successfully logged in.
How to configure the Moloni ON plugin in WooCommerce
In the Settings tab, you can select your account options.
Follow these steps:
1. In the Document section, in the Document type field, you can select the type of document you want to issue in Moloni ON.
2. In the Document status field, you can select how you want the documents to be issued: either closed or as a draft, so you can edit them before closing. During the trial period, we advise you to select "draft" and handle them manually in Moloni ON until everything is configured. It is important to note that if the total values do not match on both platforms, the document is created in Moloni ON as a draft.
3. In the Document set field, you can select the desired series for the issued documents.
4. In the Shipping info field, you can select whether you want to include shipping data in the orders. Selecting this option will reveal a new field where you must choose the desired address.
5. In the Send e-mail field, you can select whether the document is automatically sent by email once it is closed.
6. In the Document - Exemptions section, you can define the information regarding exemptions to be applied to your sales within and outside the European Union.
7. In the Documents - Products section, you can define the warehouse from which the stock of the products invoiced in the documents will be deducted. If you select "default", the stock will be deducted from the product's default warehouse.
You can also define the unit of measurement to be assigned to the products. This unit is used for creating products in the Moloni ON account if a sold product does not yet exist in the account.
8. In the Documents - Customers section, you can define customer-related information. You can set the language, customer prefix, payment method, among others. These fields are used for creating customers in the Moloni ON account.
In the Customer's number prefix field, you can add a prefix to the customer code. Each customer must have a unique code, and by adding this prefix — for example, 'WOO' — the customer code will be displayed as 'WOO_1'. This tool allows for easy identification of customers created through the integration.
9. In the Hooks section, you can add a column to your orders that allows for the quick download of PDF documents.
10. In the Advanced section, you can set the date from which pending orders appear in the main list.
You can also enter the email address where notifications of any errors in document creation will be sent.