How to connect your Shopify store with Moloni ON
Follow these steps:
1. Access the Shopify App Store via this link.
2. Search for Moloni ON.
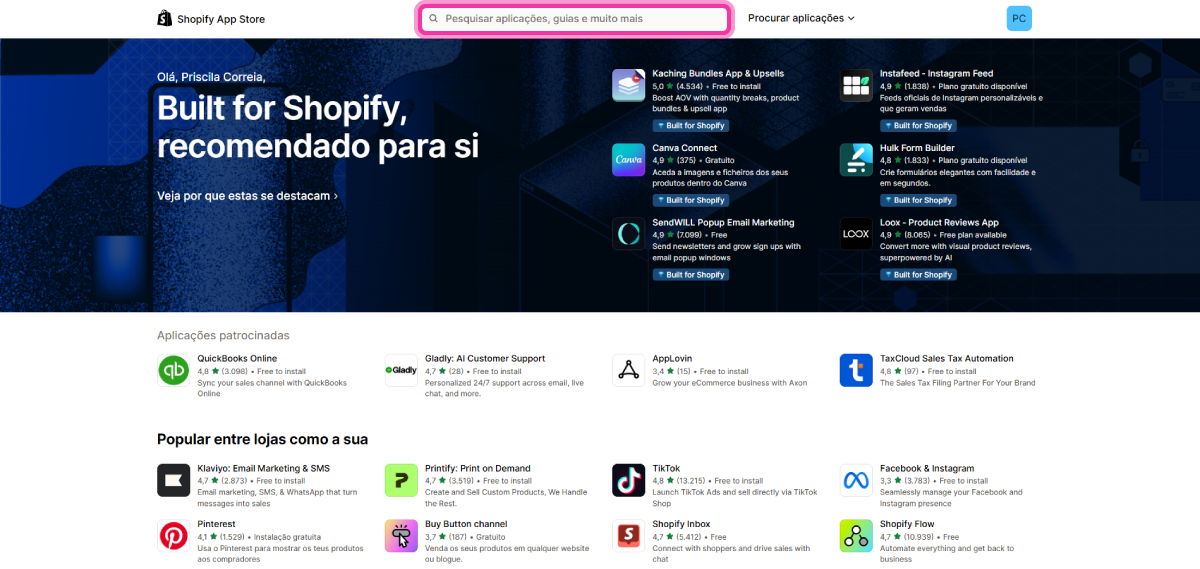
3. Select Moloni ON.
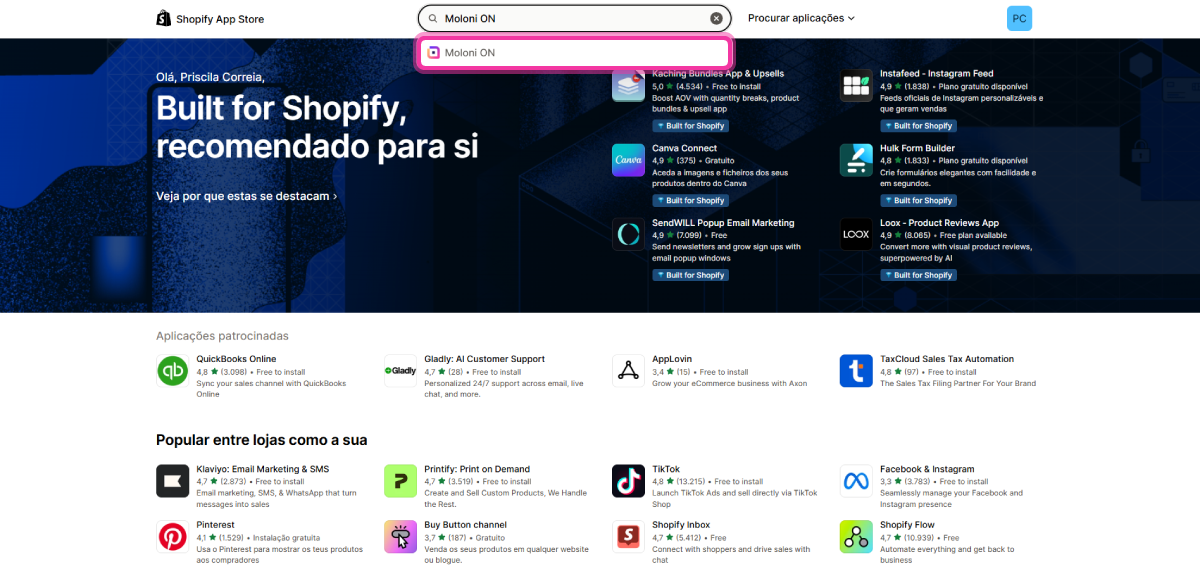
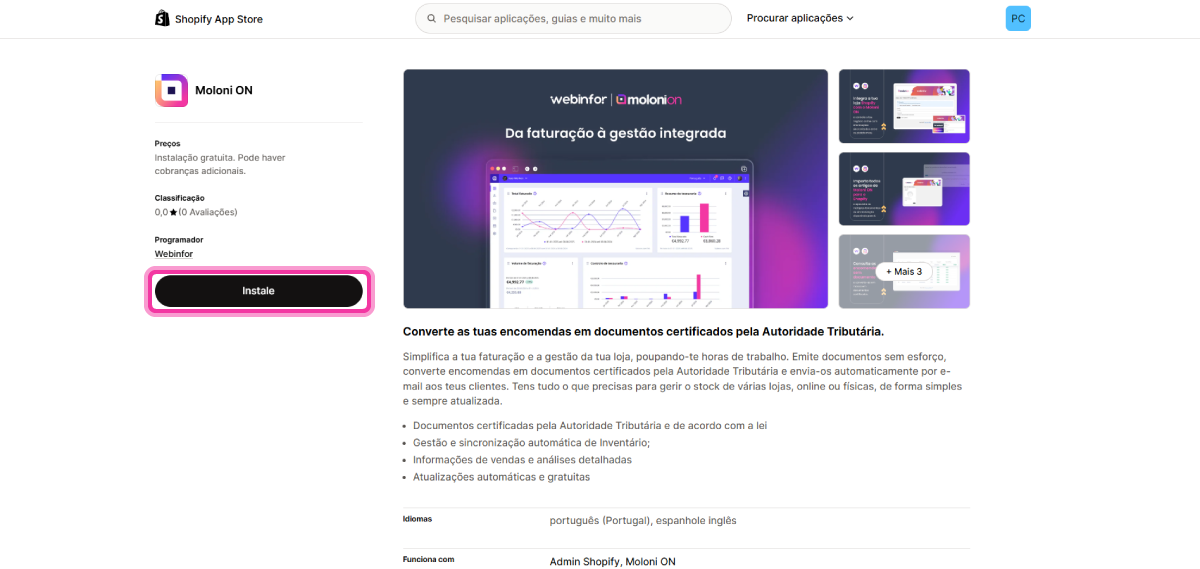
4. Click the Install button.
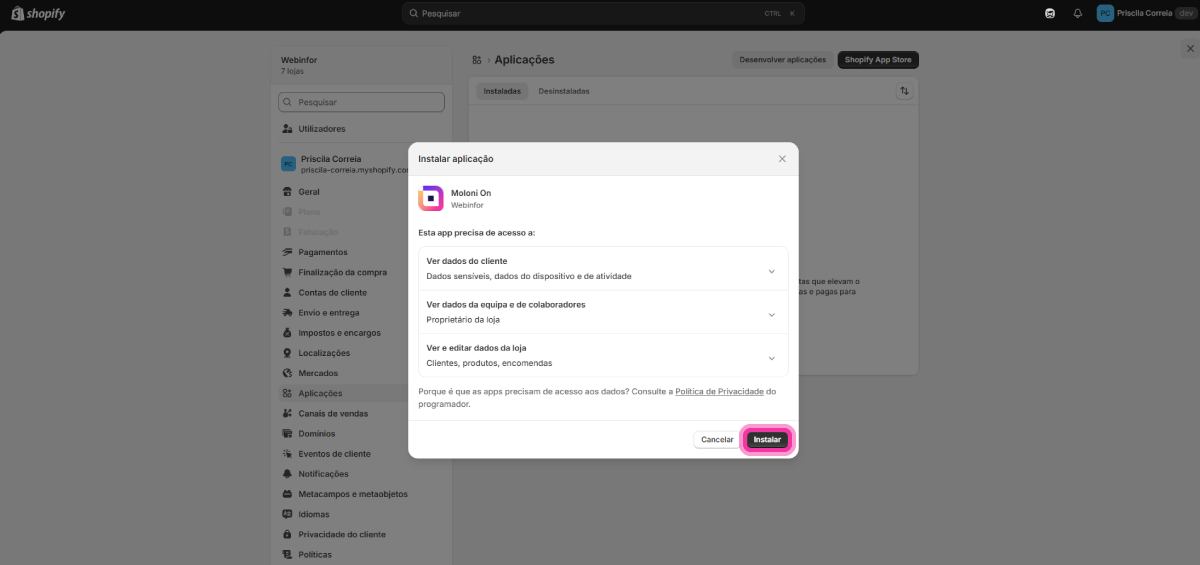
5. Click the Install button again to confirm.
How to log in to the Moloni ON plugin
Before connecting the plugin, you need to generate access credentials within Moloni ON.
Follow these steps:
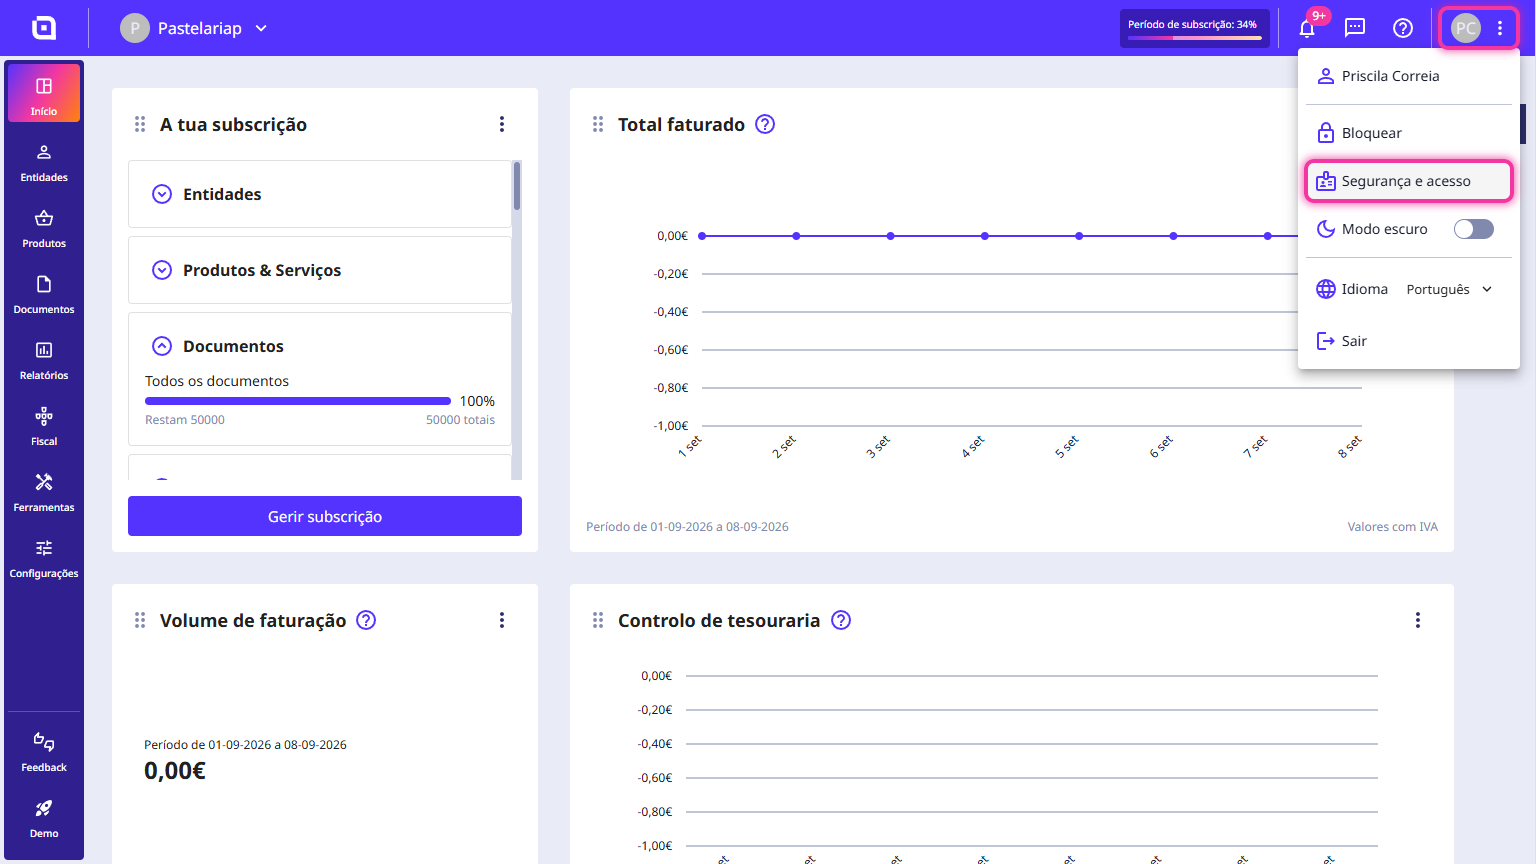
1. In the Moloni ON Client Area, go to the user menu and click Security and access.
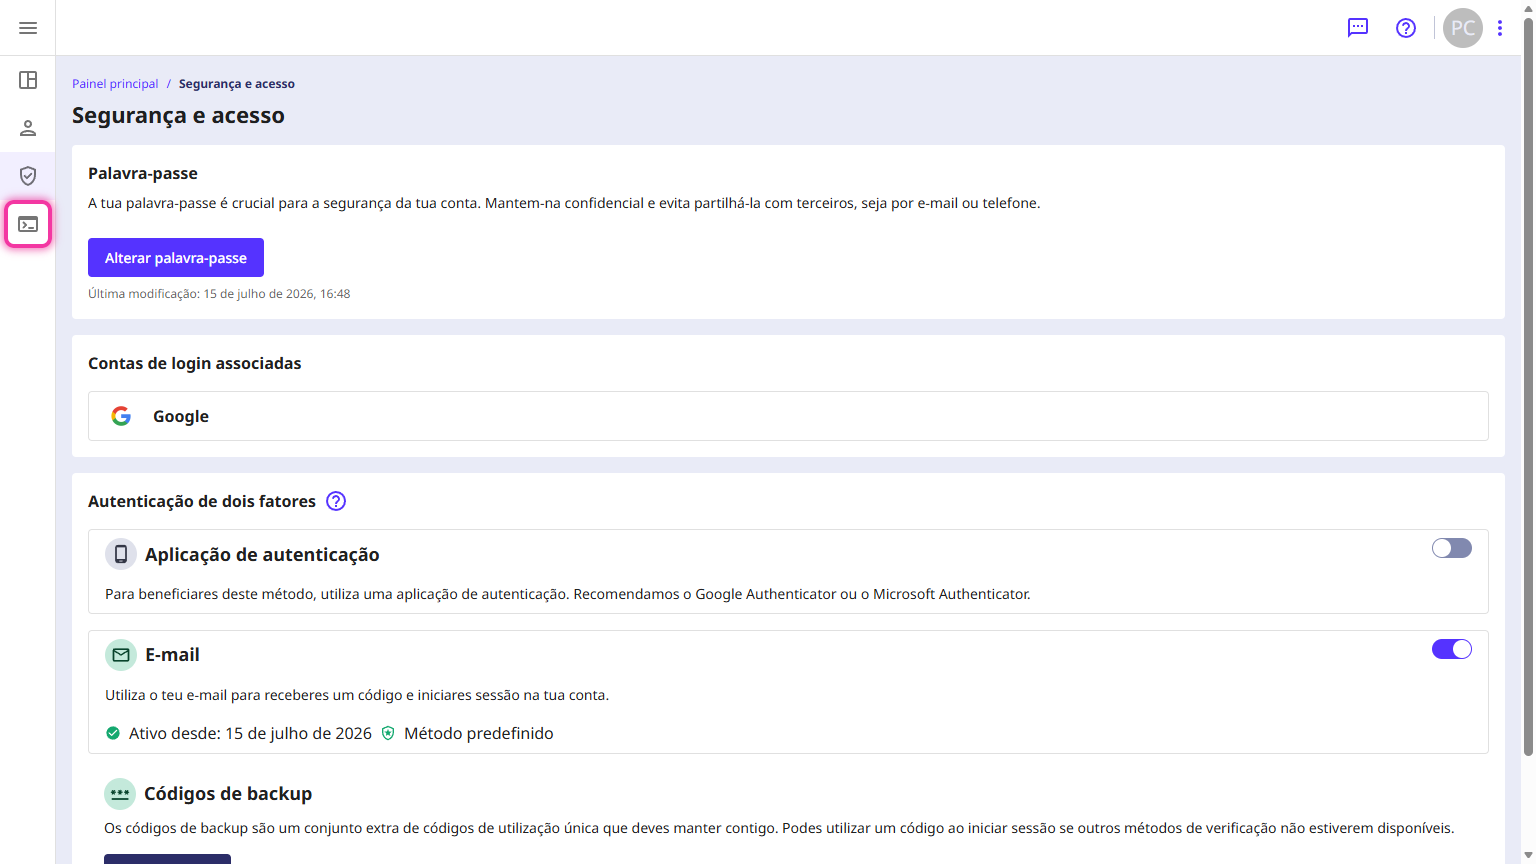
2. Go to the API section, the 4th icon on the side menu.
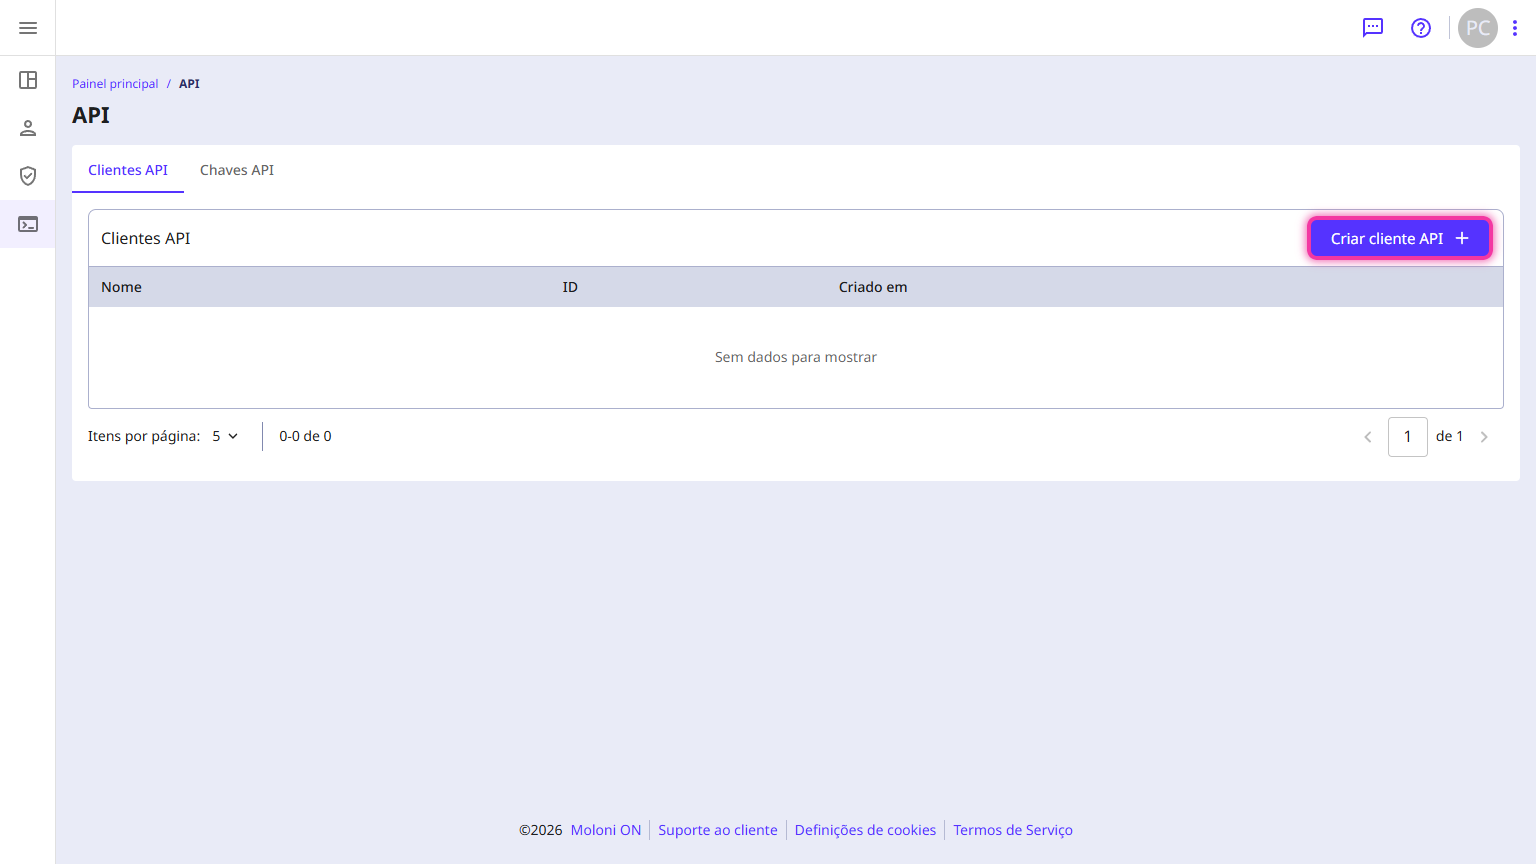
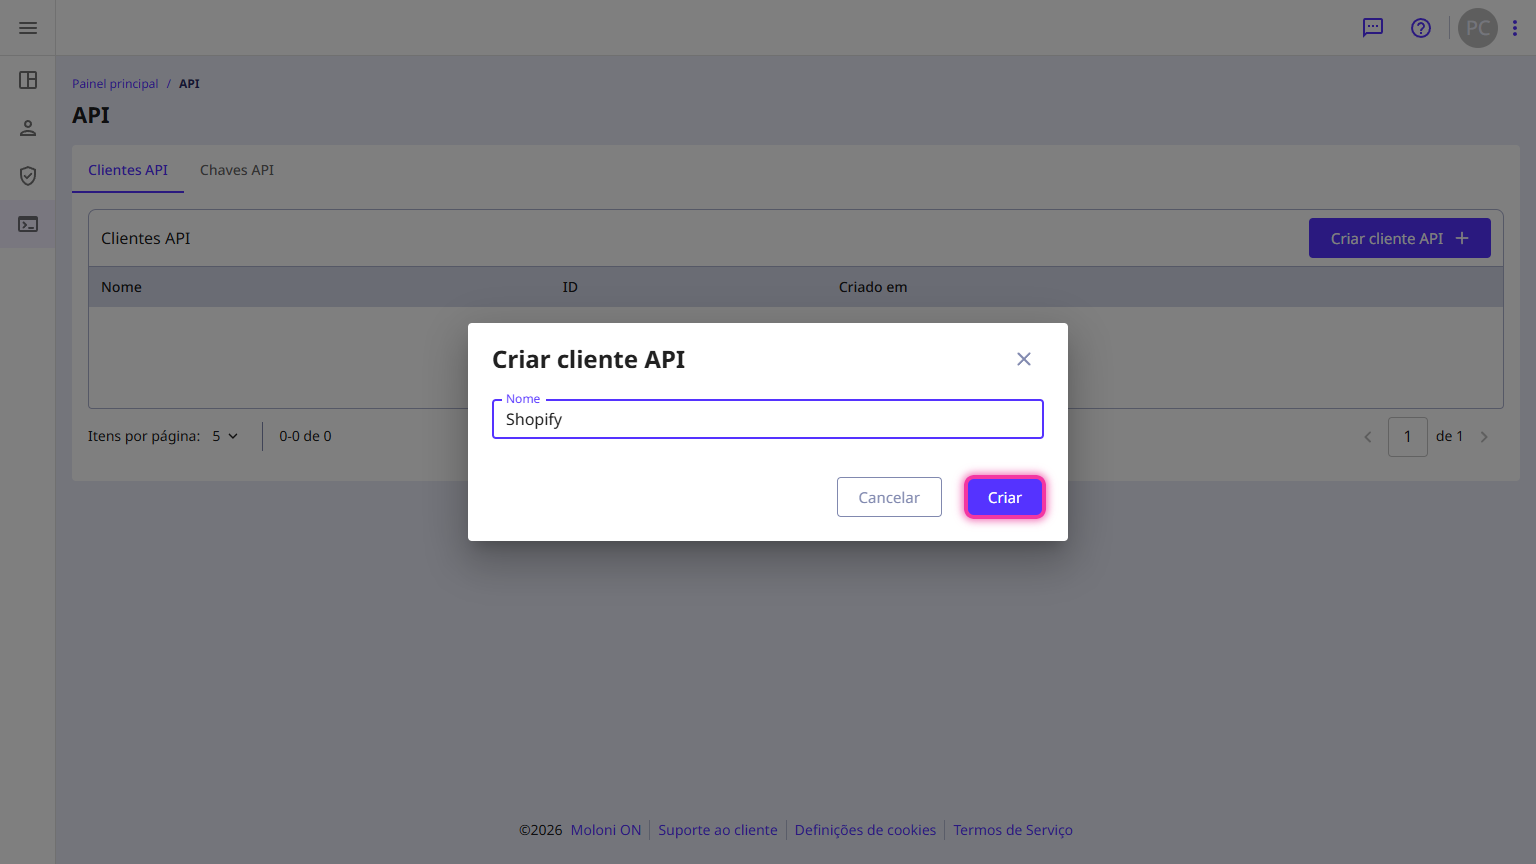
3. Click the Create API client button.
4. Enter your desired name.
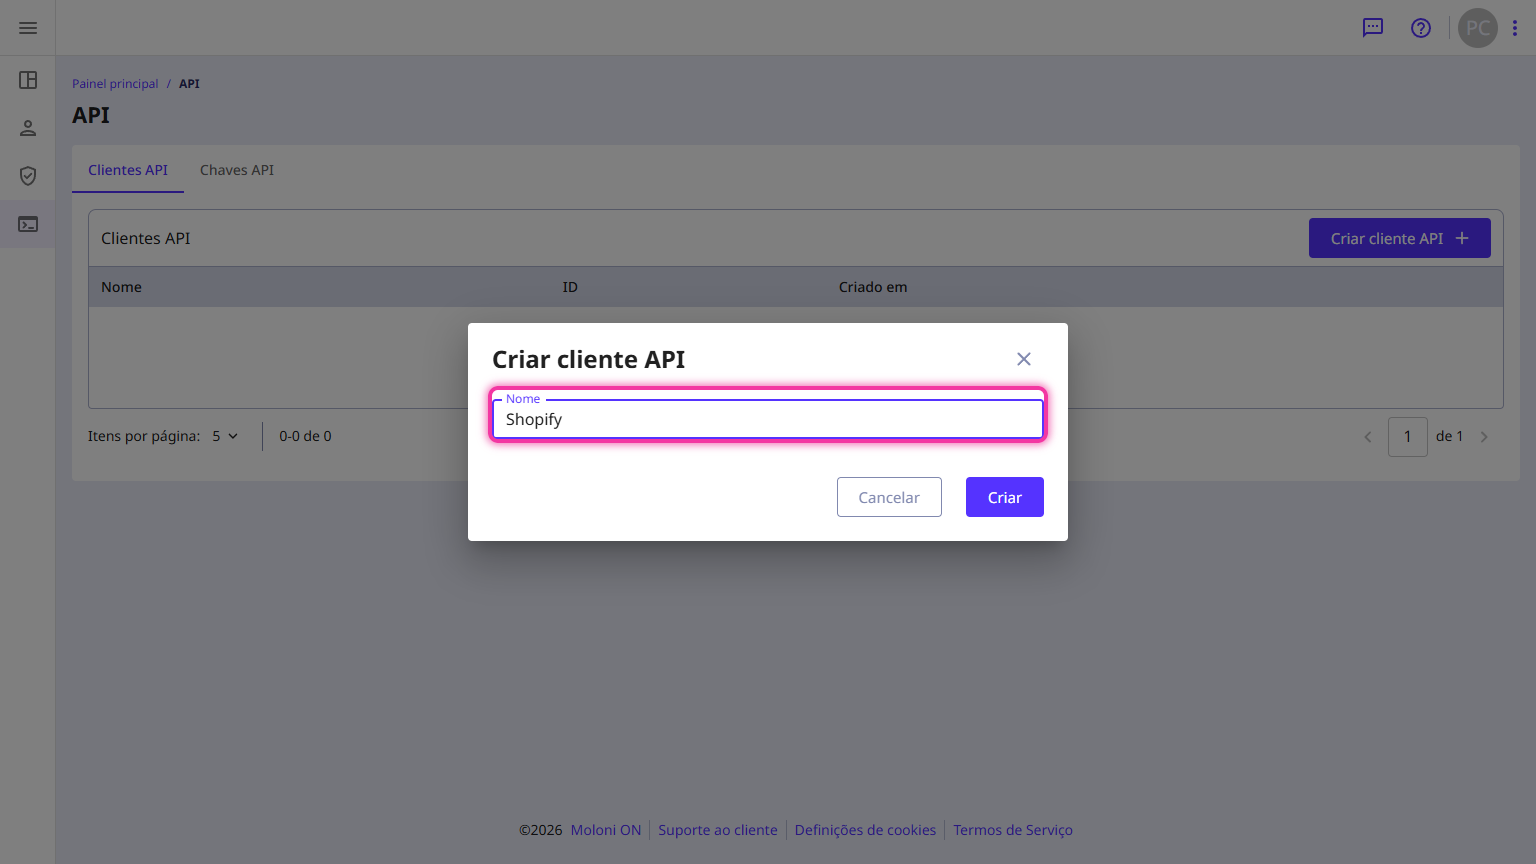
5. Click Create. API access details will be generated; these must be copied and entered into your Shopify store.
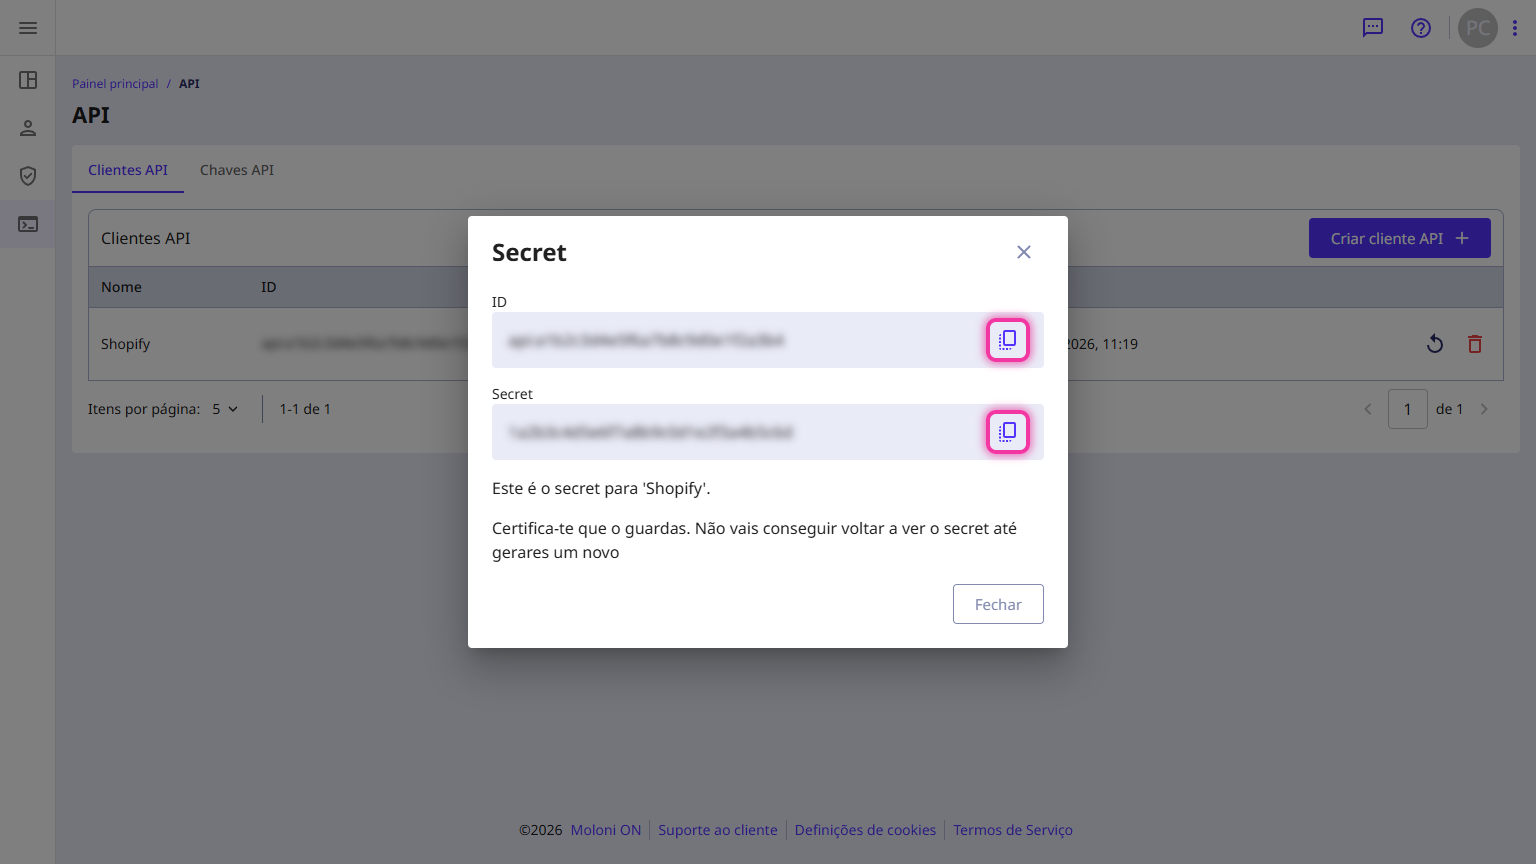
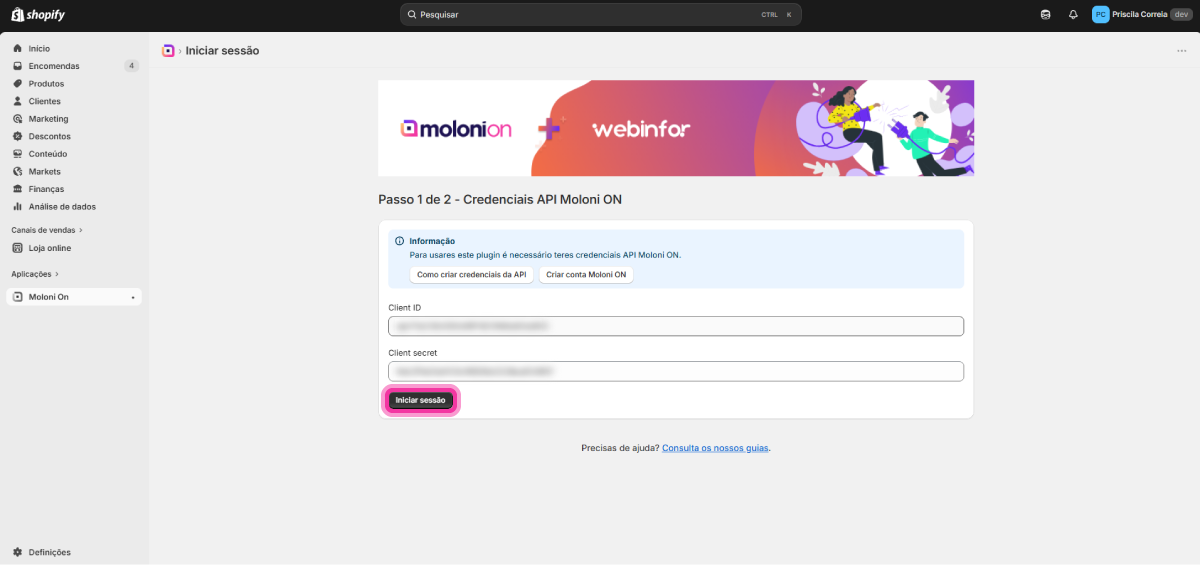
6. Return to your Shopify store. Enter the API access details created previously and click Log in.
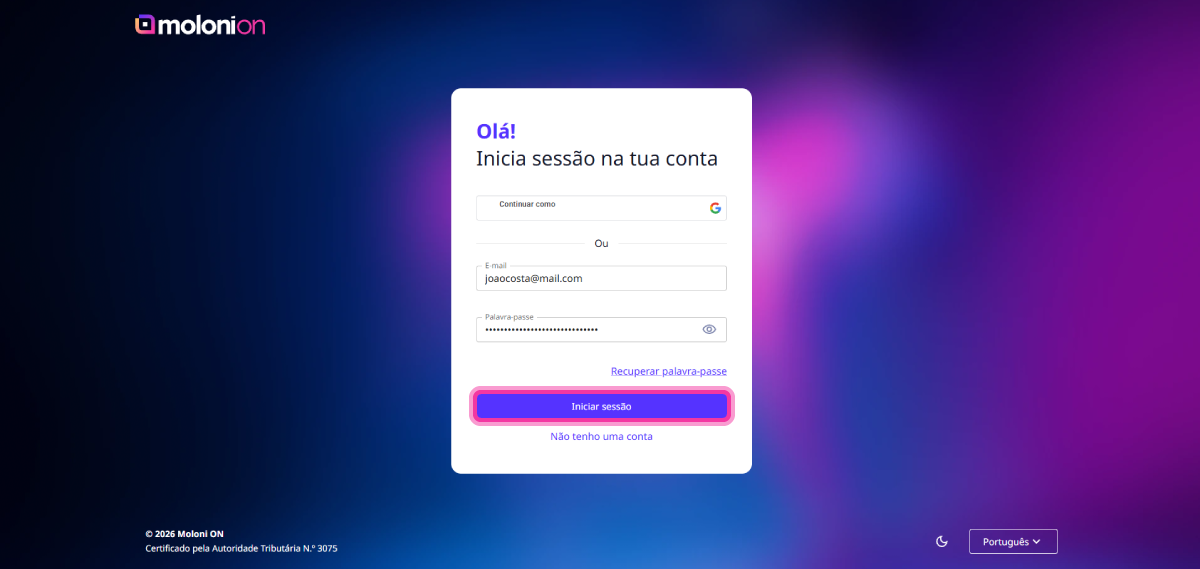
7. Enter your Moloni ON login credentials and click Log in.
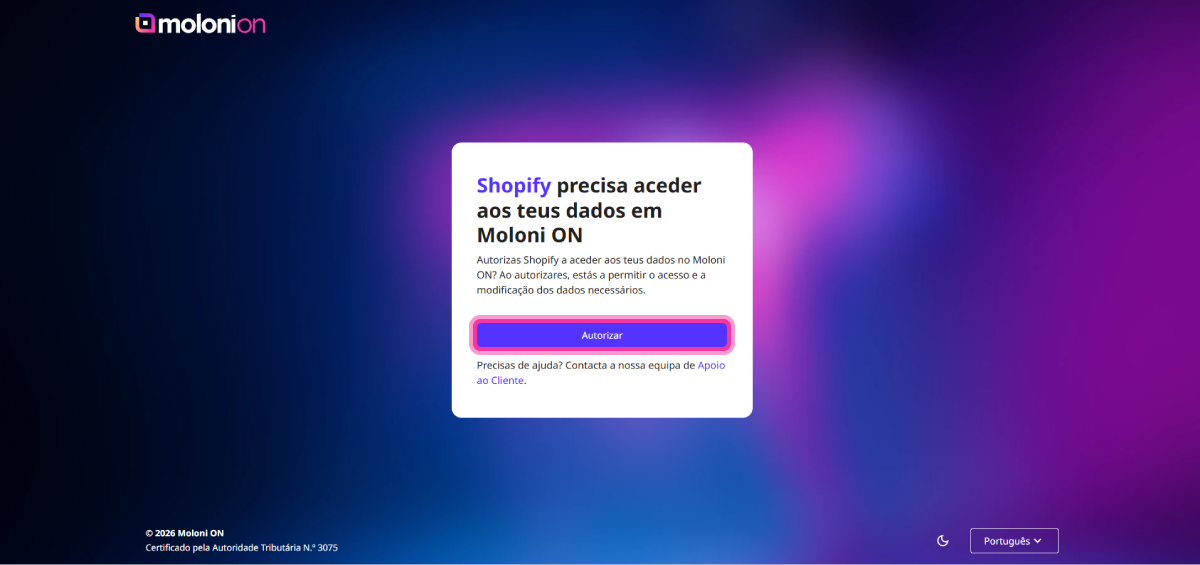
8. Click the Authorise button.
9. Select the company you wish to link with Shopify.
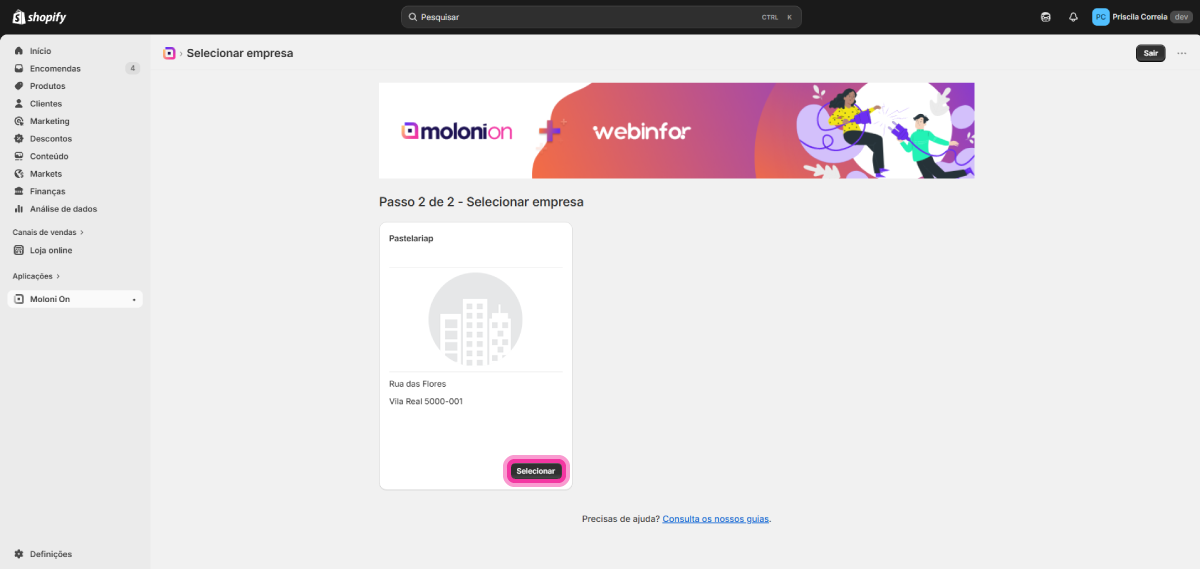
You have successfully logged in.
How to configure the Moloni ON plugin in Shopify
After the initial connection, you must configure the integration behaviour so that invoicing occurs according to your business needs.
How to access settings:
Go to your Shopify store. In the side menu, click on Moloni ON and select Settings.
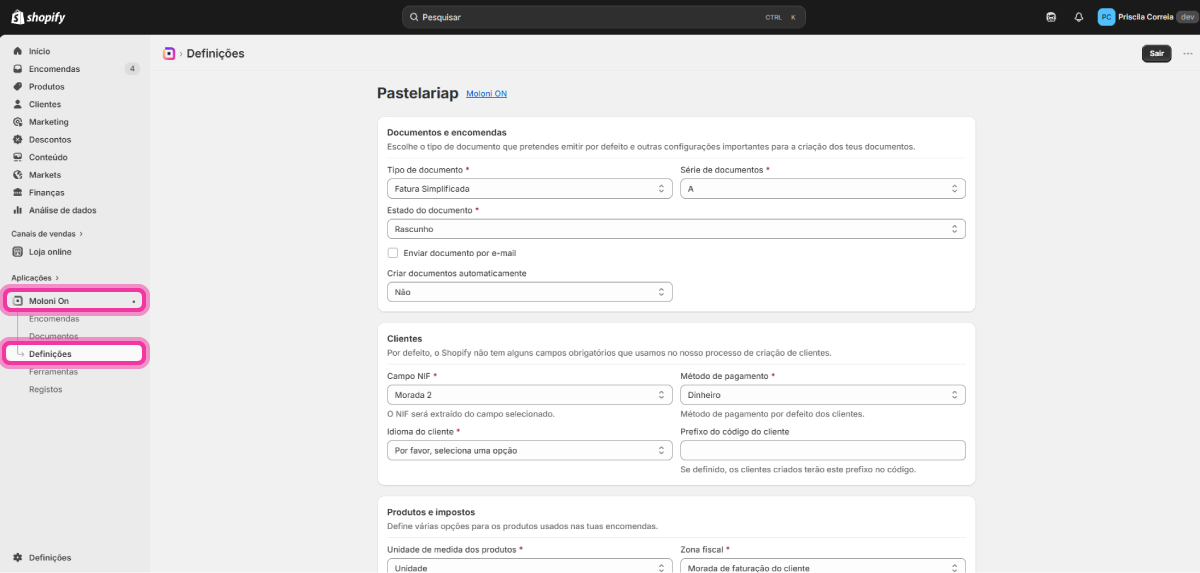
Configuration Sections
On this page, you will find several key areas. Configure each according to your business requirements.
Documents and Orders
Choose the default document type you wish to issue and other important settings for document creation. You can also automate the issuance of documents as soon as an order is paid for in Shopify.
Customers
Configure the VAT Number field, Payment method, Customer language, and Customer code prefix.
Products and Taxes
Configure the various options for products used in your orders. Here, you can define how Moloni ON should interpret the VAT rates applied in Shopify to avoid rounding errors or tax discrepancies.
Synchronisation
Enable automatic data synchronisation:
Moloni ON → Shopify: Automatic update of stock levels and prices.
Shopify → Moloni ON: Automatic product creation or data updates.
Shipping
Configure the logistics details that should appear on the sales document, such as the loading address.
Mapping Locations and Warehouses
If you manage multiple locations in your Shopify store or various warehouses:
Map each Shopify Location to a specific Warehouse in Moloni ON for strict stock control.
Advanced
Notifications: Set an email address to receive alerts if an error occurs during document generation.
Date Filter: Choose the start date for importing pending orders into the main listing.
Finalise Configuration
After going through all sections and adjusting the fields:
Click the Save button at the bottom of the page to apply the changes.