How to import data from a SAF-T (PT) file
What can you import?
- Customers and Suppliers;
- Products, Categories, and Units of measure;
- Taxes;
- Documents: Invoices, Simplified Invoices, Invoice-Receipts, Credit/Debit Notes, Purchase Orders, Estimates, and Receipts.
The import process has 3 phases:
- Analysis and selection - We validate your SAF-T (PT) file and present the data contained within it;
- Import - We import it to your company;
- Organisation - Organise the imported data.
Data analysis and selection
Follow these steps:
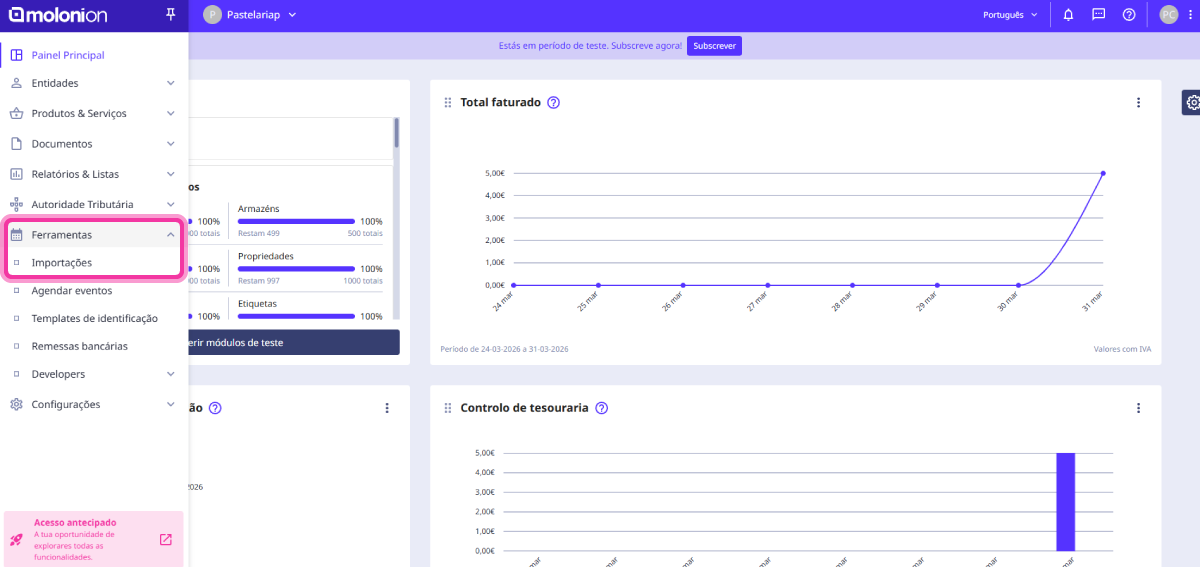
1. In the Client Area, in the top left corner, access the Tools menu and click on Imports.
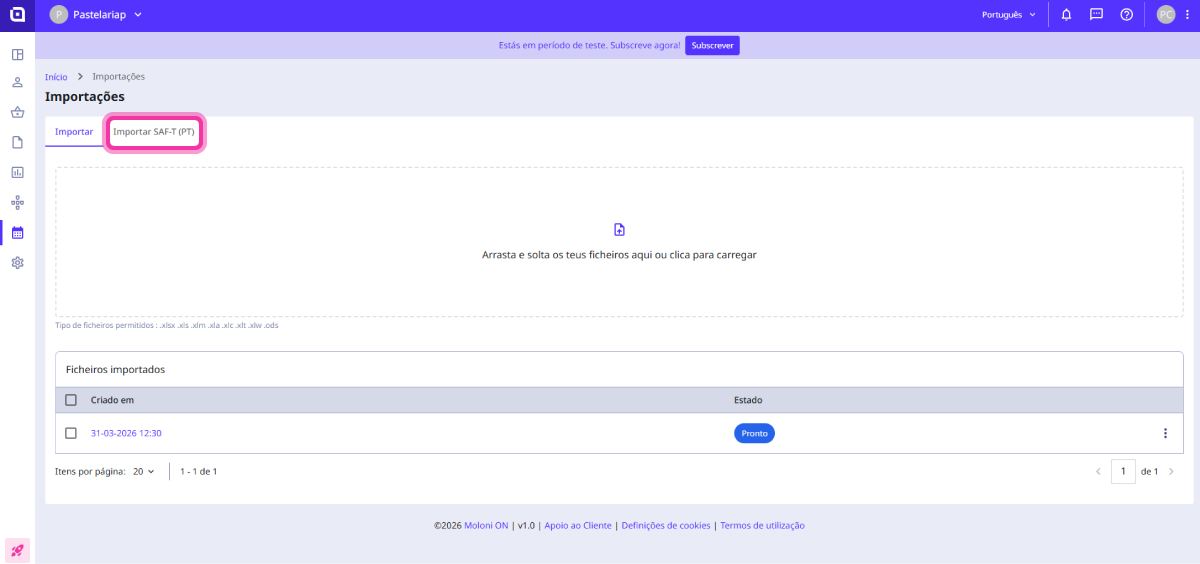
2. By default, the Import tab is selected. Click on the Import SAF-T (PT) tab.
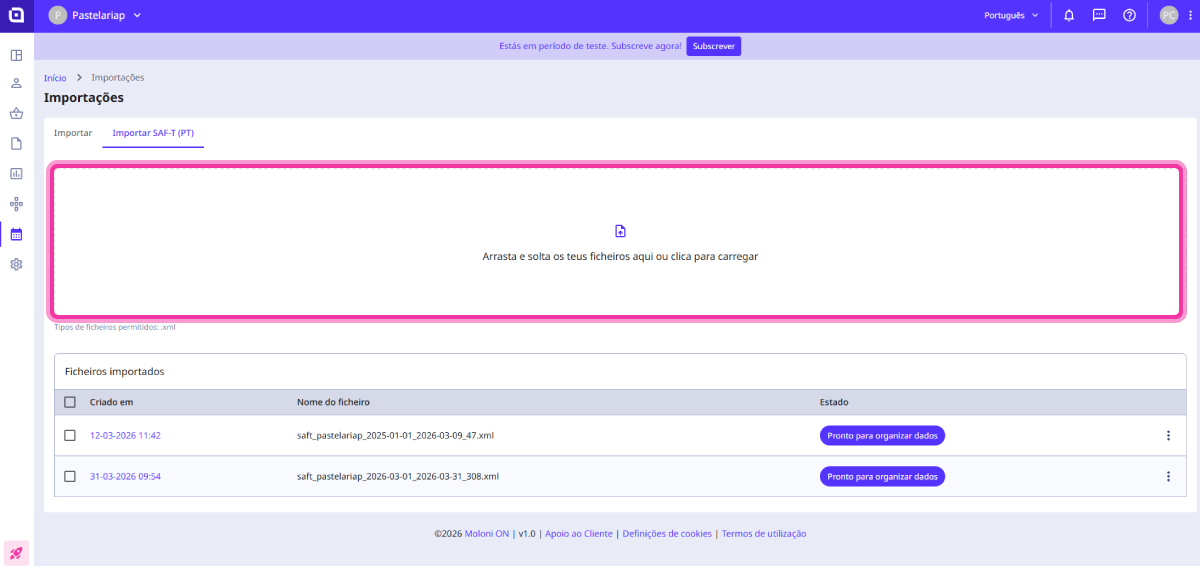
3. Drag the desired file to the imports area, located in the centre of the page.
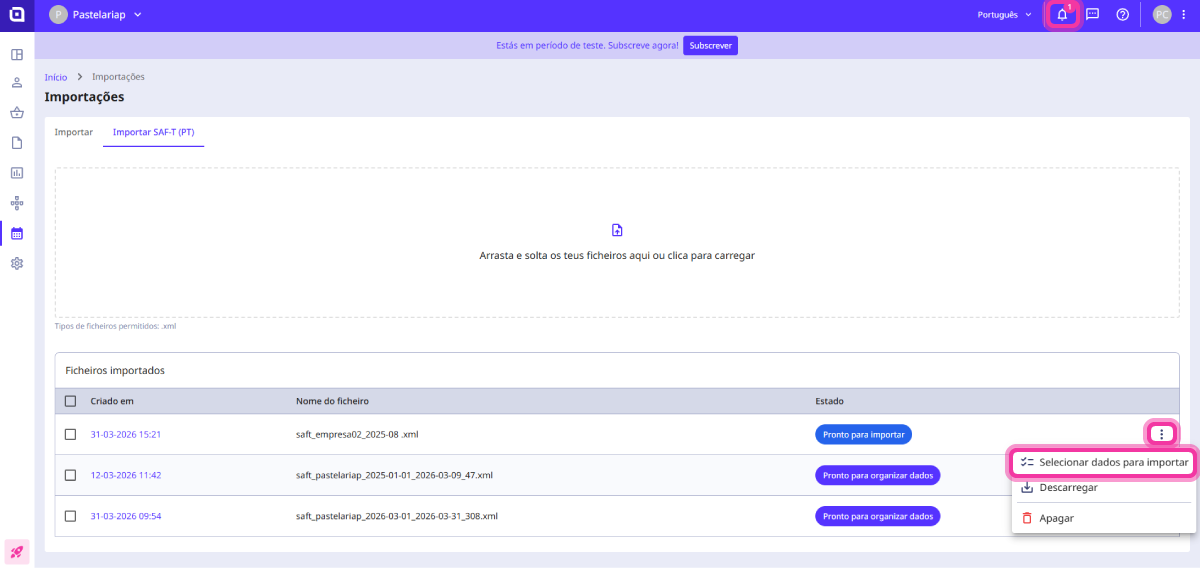
4. Once the file is ready, Moloni ON will send you a notification. Click on the 3-dot menu and select the option Select data to import.
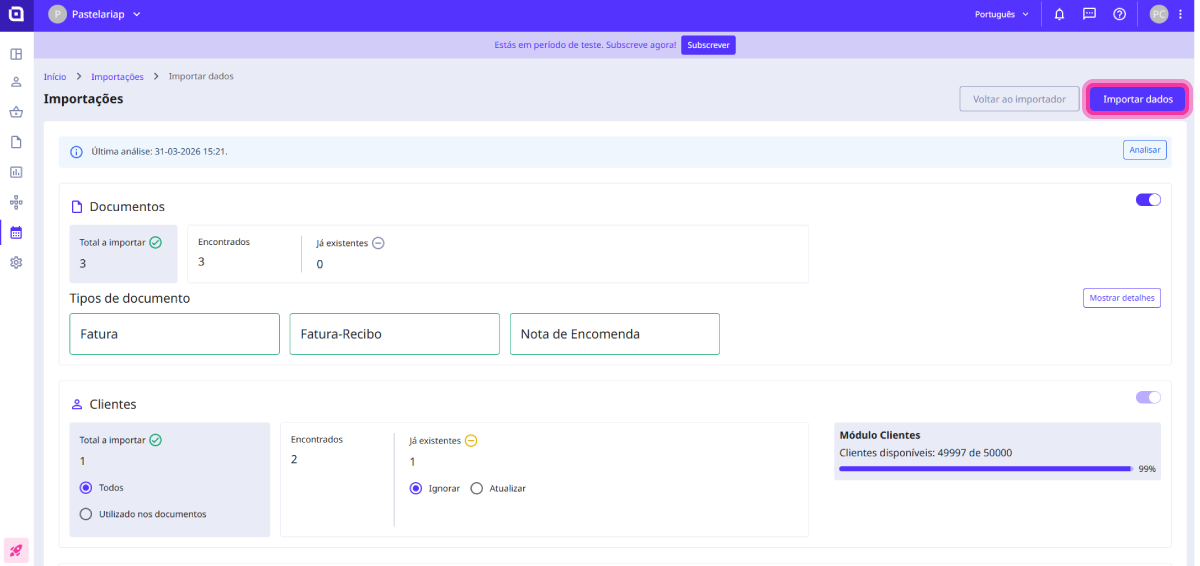
5. A list will appear with all the data contained in your SAF-T (PT). In the Documents section, you can see what is new or what already exists, all organised by document type.
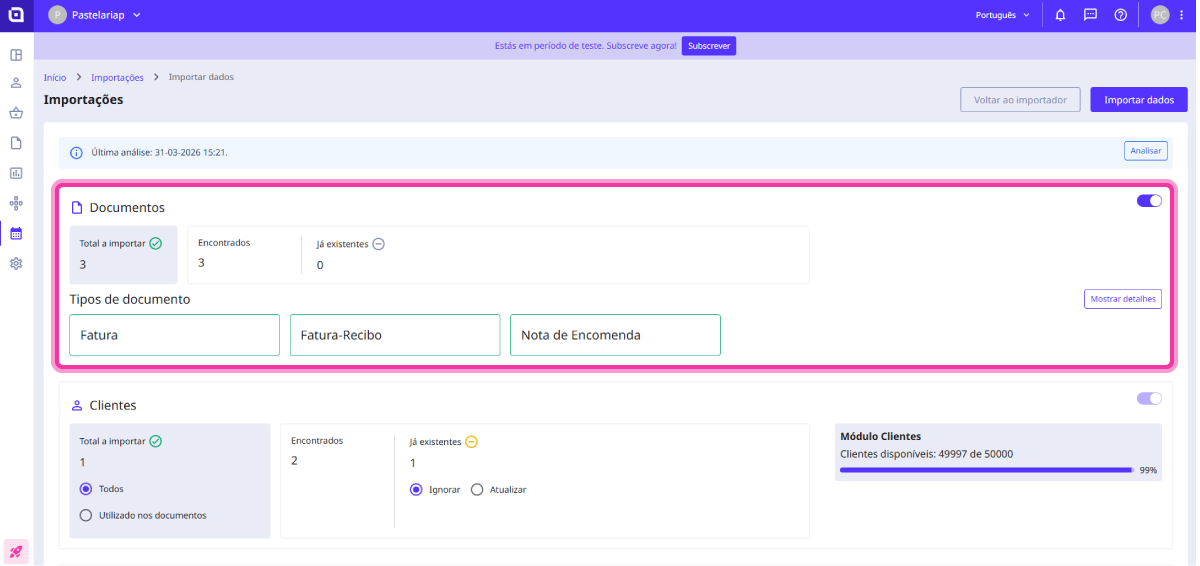
6. In the Customers section, you can see the customers from the file, organised as new or existing.
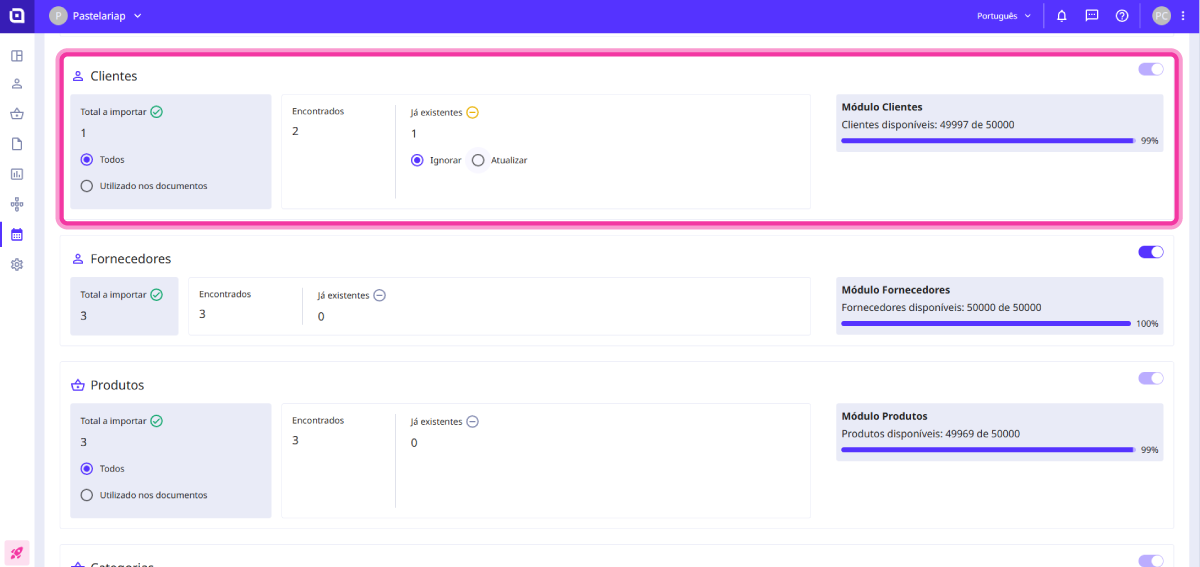
Select whether you want to import all customers or only those used in the documents.
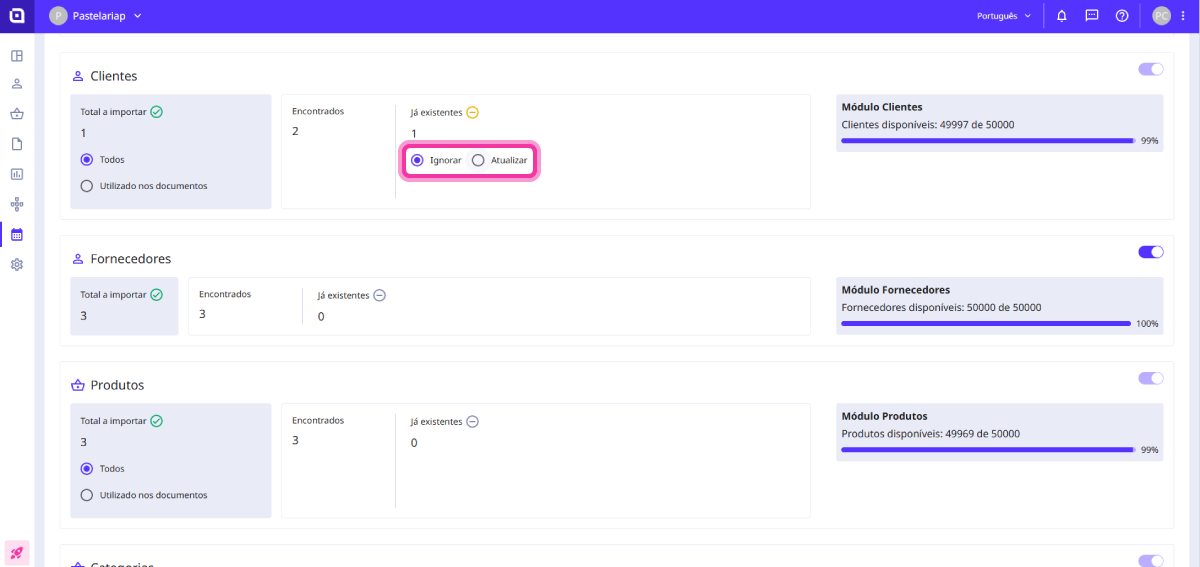
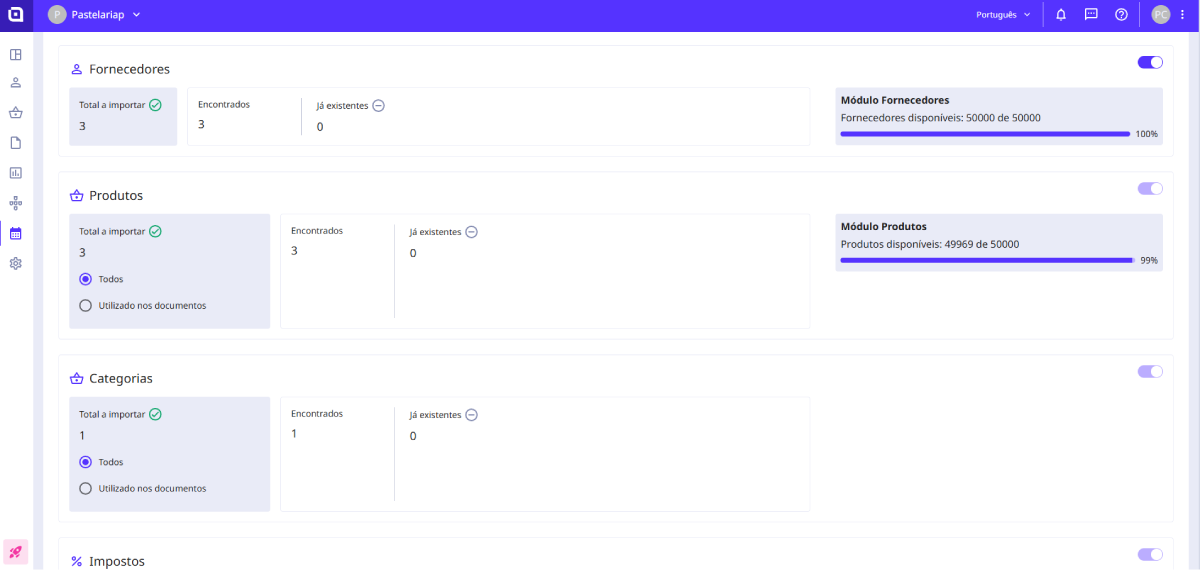
7. The remaining sections are organised in the same way. Check each one and select the desired options.
8. After confirming everything, click the Import data button in the top right corner to proceed with the import.
Data Import
Now, simply wait for the data to be imported to your company. Moloni ON will send you a notification as soon as the import is finished.
Data Organisation
Once the import is complete, you should organise your data.
Follow these steps:
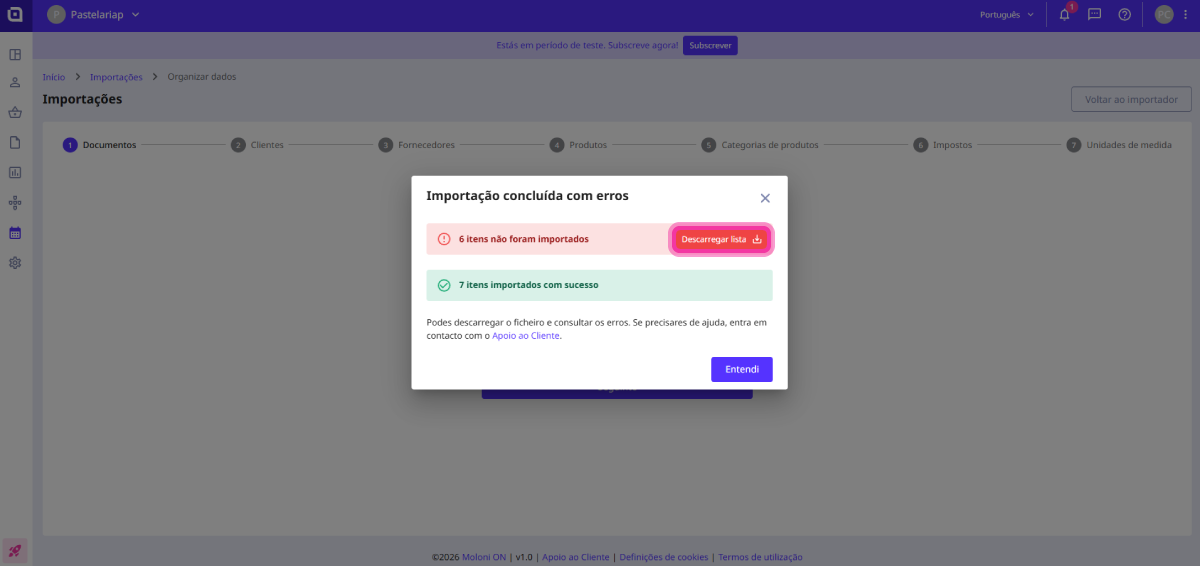
1. A message appears with the number of imported items and any errors and/or warnings. To continue the import, click the Understood button.
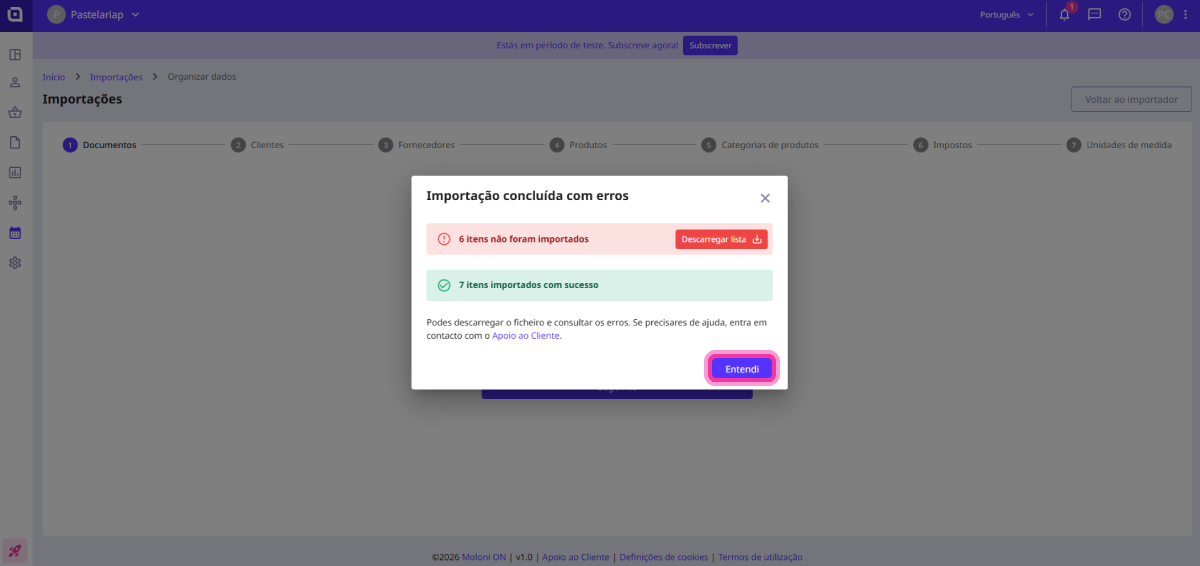
If you wish to view the list of errors/warnings, click on Download list.
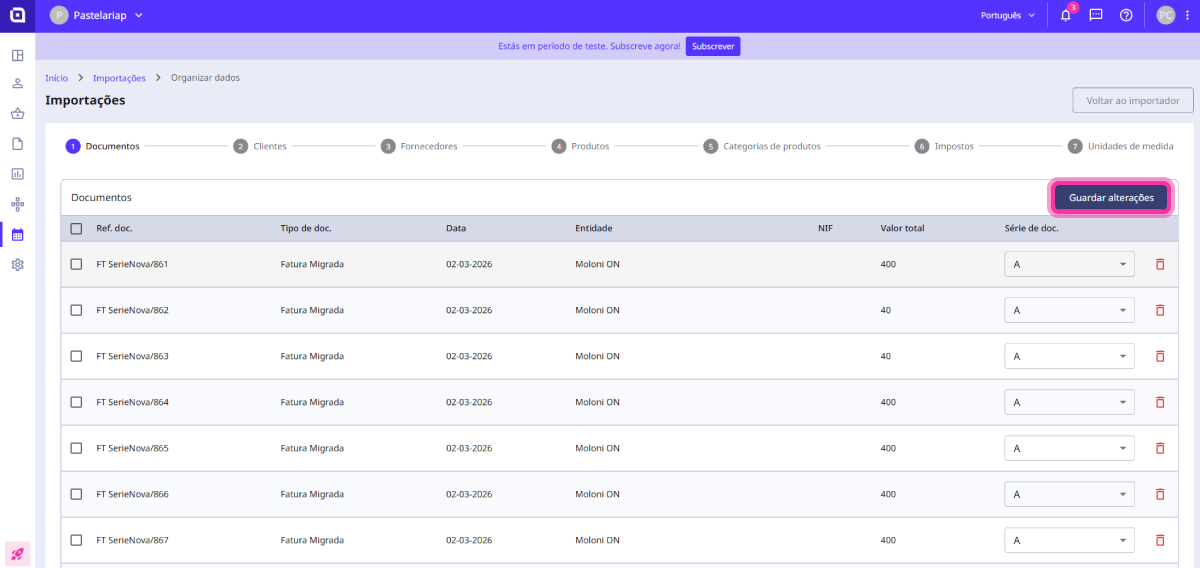
2. Documents: In the Doc. set column, select the sets to associate with each document.
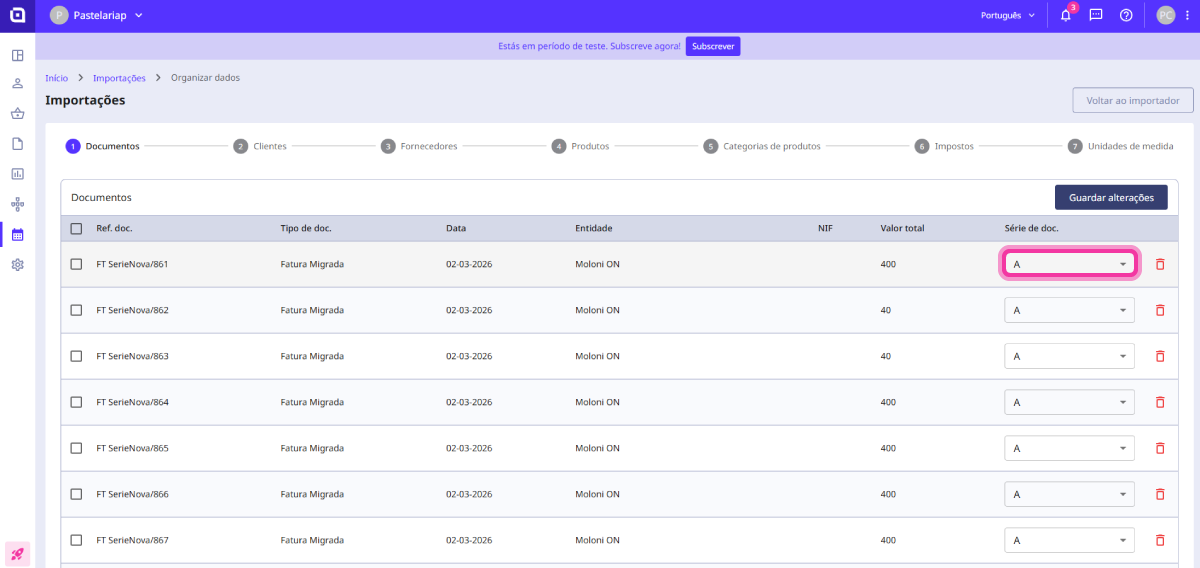
The document sets must be created beforehand. You can have a document sets solely for use in migrated balances; you do not need to report it to the TA (Tax Authority).
If necessary, you can delete data using the Delete button.
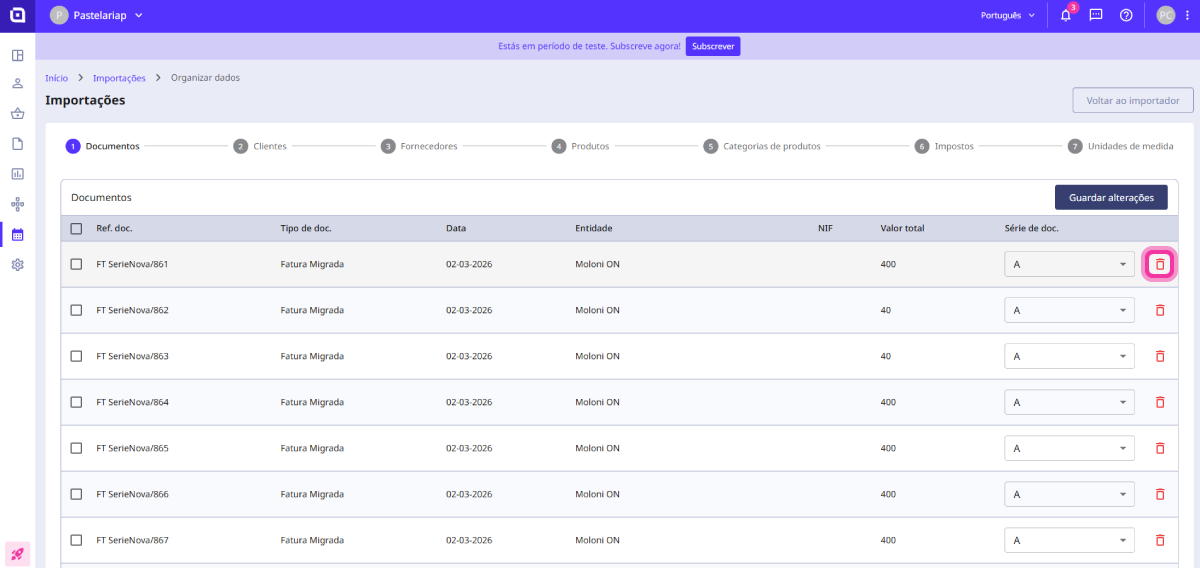
Click the Save changes button and then Next.
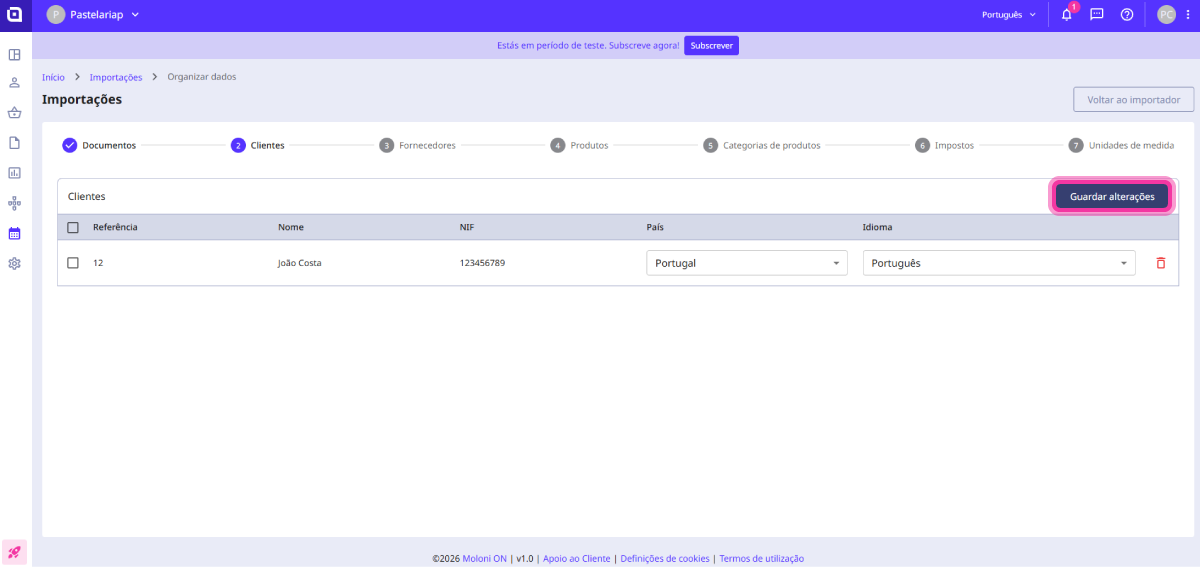
3. Customers and Suppliers: In the Country and Language columns, select the corresponding options.
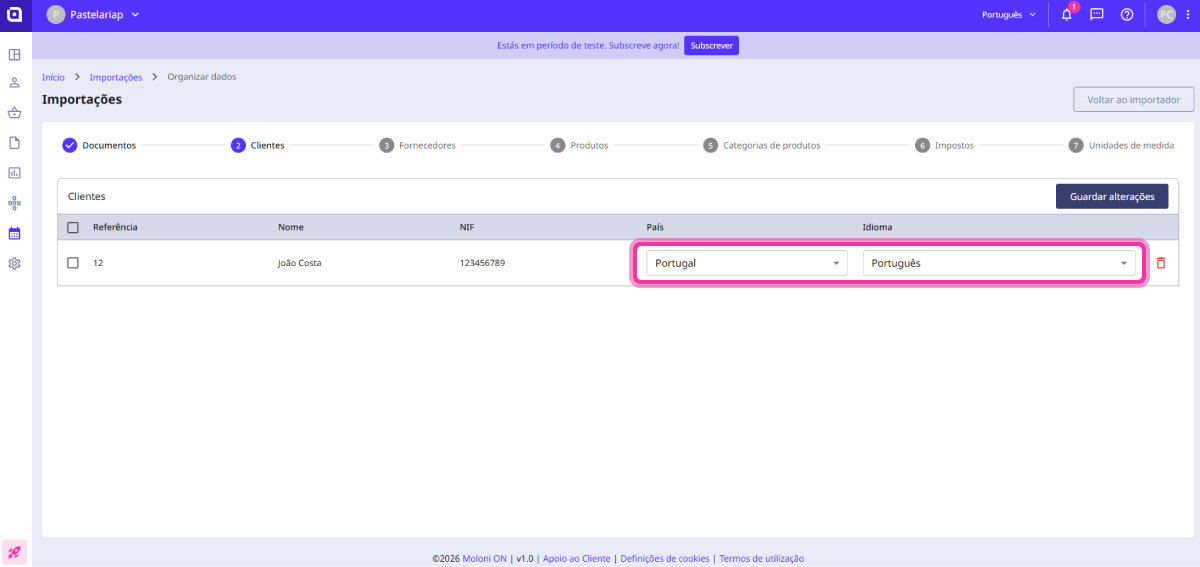
Click the Save changes button and then Next.
4. Products: In the Price, Unit, and Category columns, select the corresponding options.
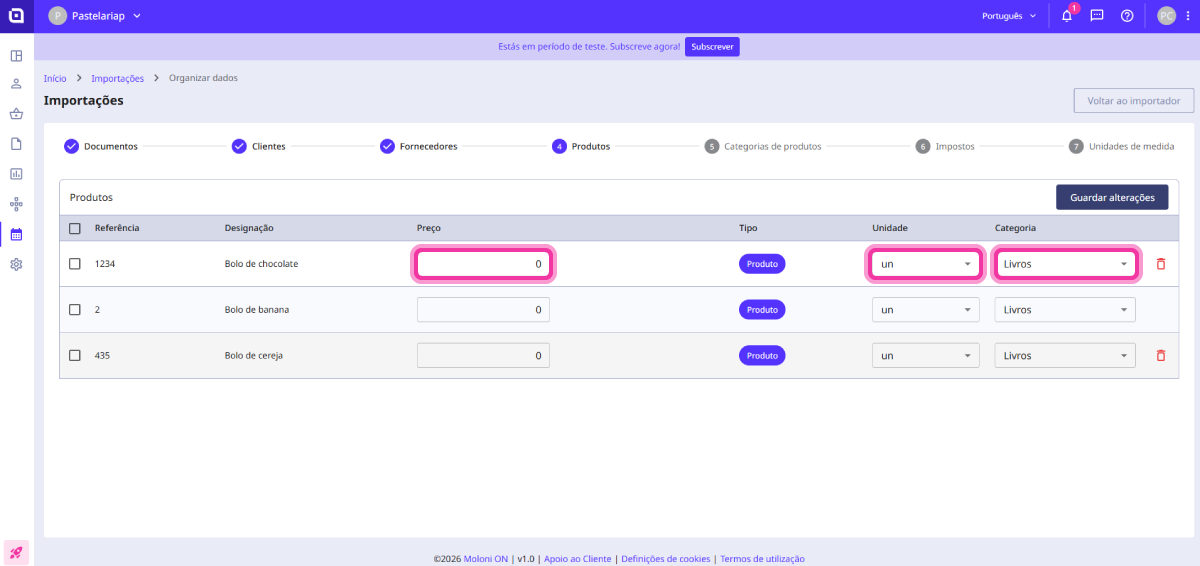
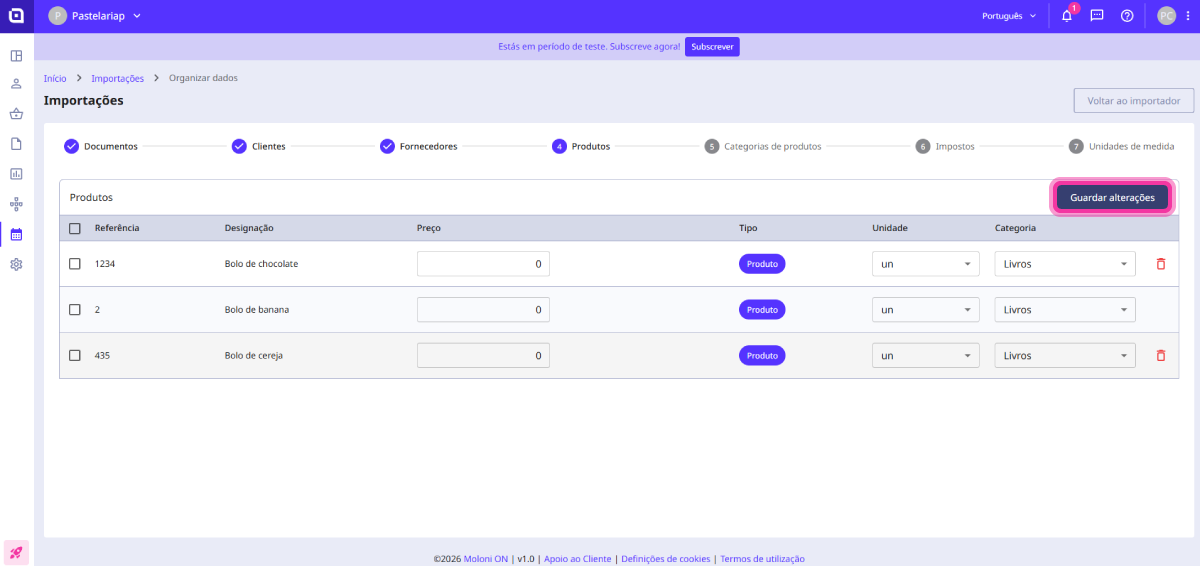
Click the Save changes button and then Next.
5. Product Categories: In the Main category column, select the corresponding option.
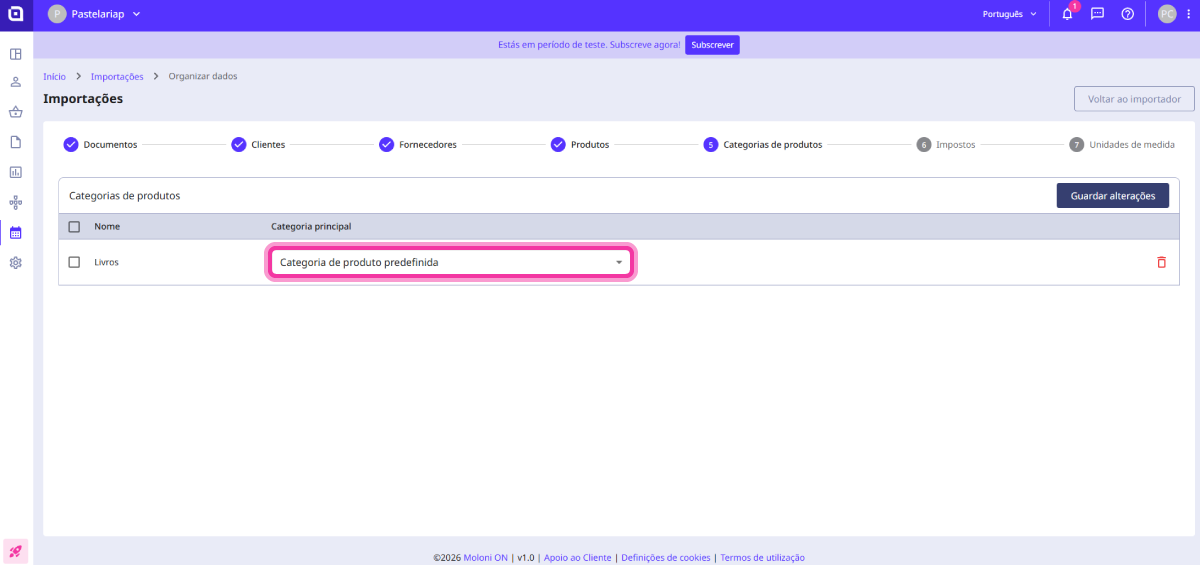
This allows you to define hierarchical relationships between categories by setting a main category for the imported categories.
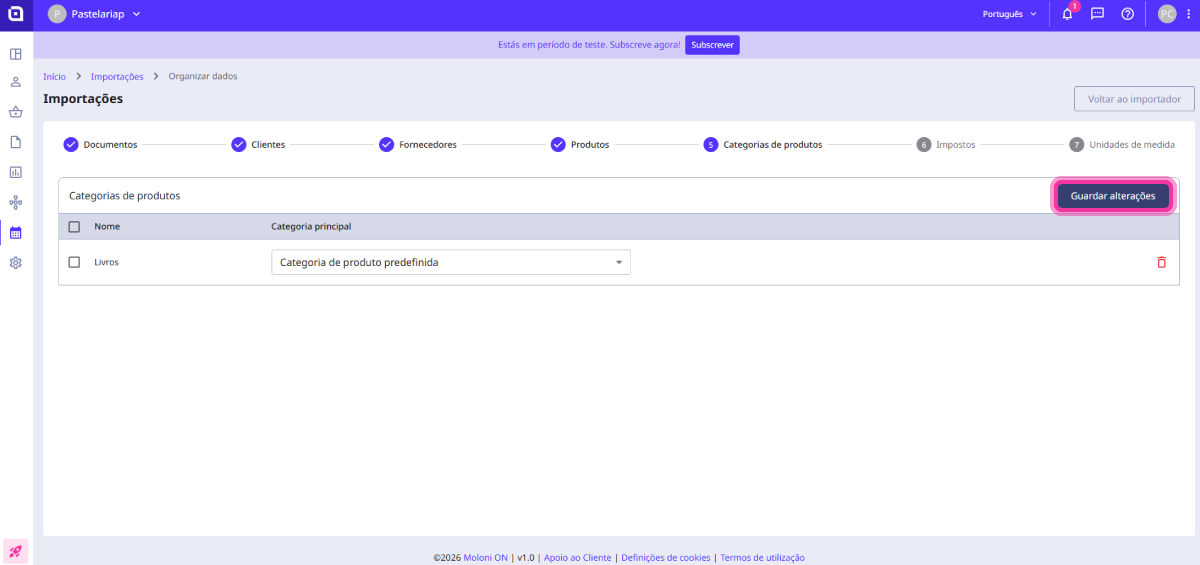
Click the Save changes button and then Next.
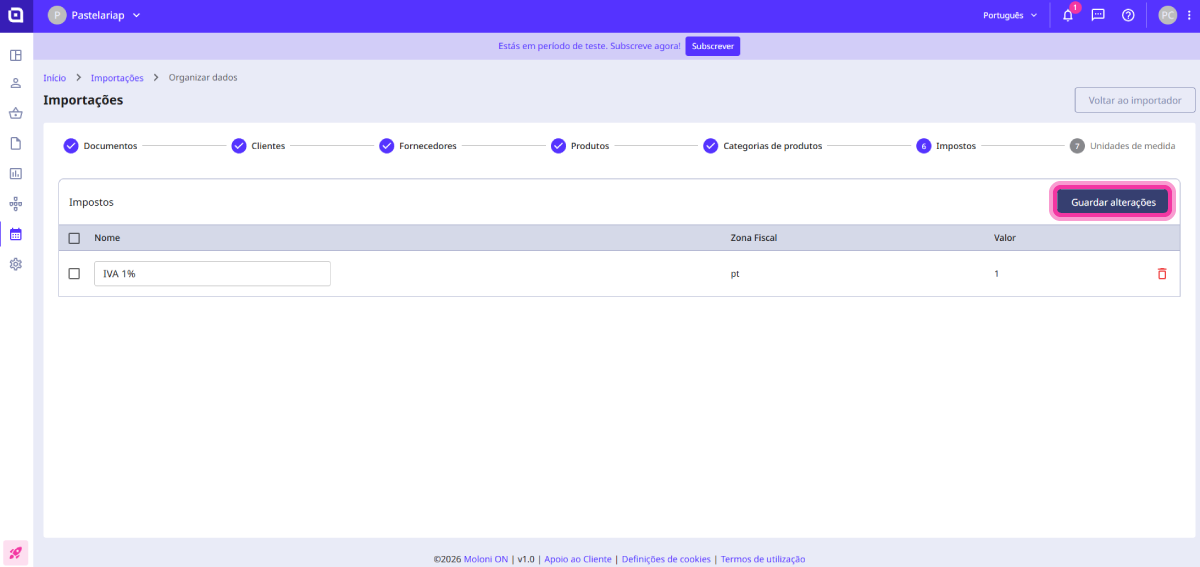
6. Taxes: In the Name column, you can edit the name of the tax.
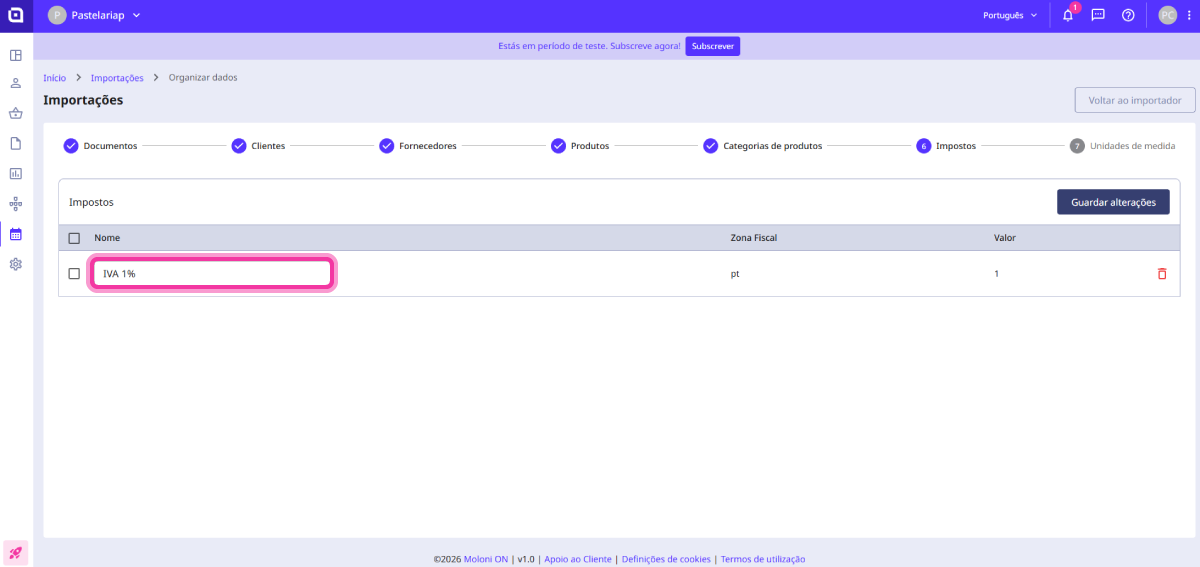
Click the Save changes button and then Next.
7. Units of Measure: In the UNECERec20 code column, select the corresponding code.
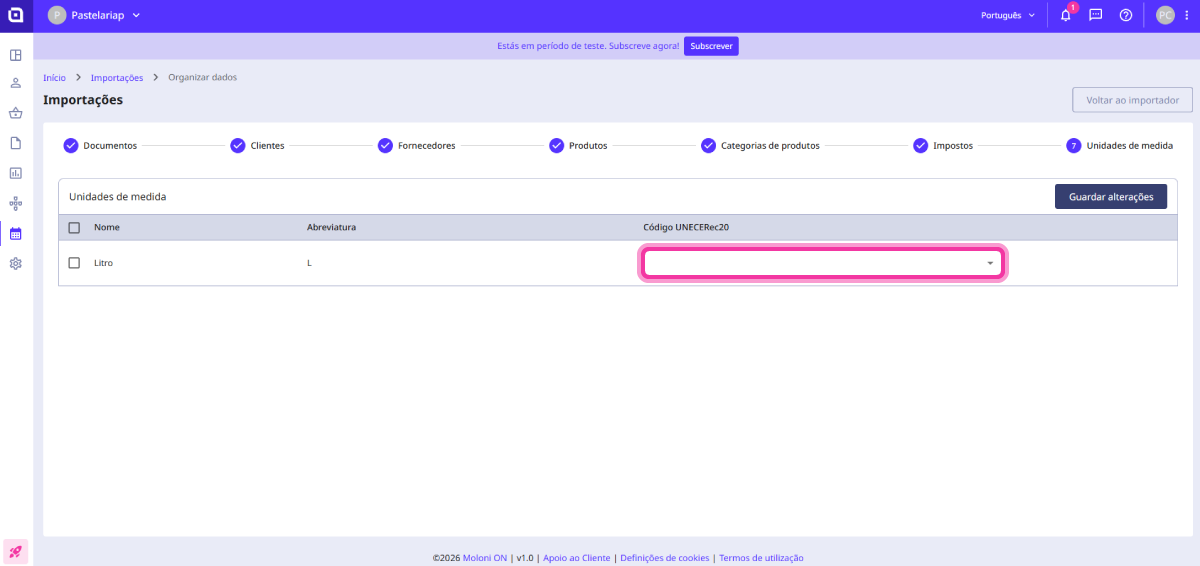
Click the Save changes.
