How to migrate data from Moloni to Moloni ON
What is the Migration Assistant and what is it for?
The Migration Assistant is a tool built into Moloni ON, designed to copy your data history from your Moloni account automatically and securely.
The purpose of this tool is to avoid entering information manually and to guarantee a simple transition between platforms. The process only makes a copy, so your Moloni stays active and unchanged.
What type of data can you migrate?
- Company information;
- Taxes and withholdings;
- Customers;
- Products;
- Categories;
- Documents (Migrated balances);
- Business activity code (CAE);
- Bank details;
- Payment conditions;
- Payment methods;
- Delivery methods;
- Vehicles;
- Geographic zones;
- Units of measure.
When can you run the migration?
- During account creation: when you sign up to Moloni ON for the first time, the assistant appears automatically in the initial setup flow of your company;
- After account creation: if you already have an account and are using Moloni ON, you can start the migration at any time through the main menu.
Follow these steps:
1. Depending on your scenario:
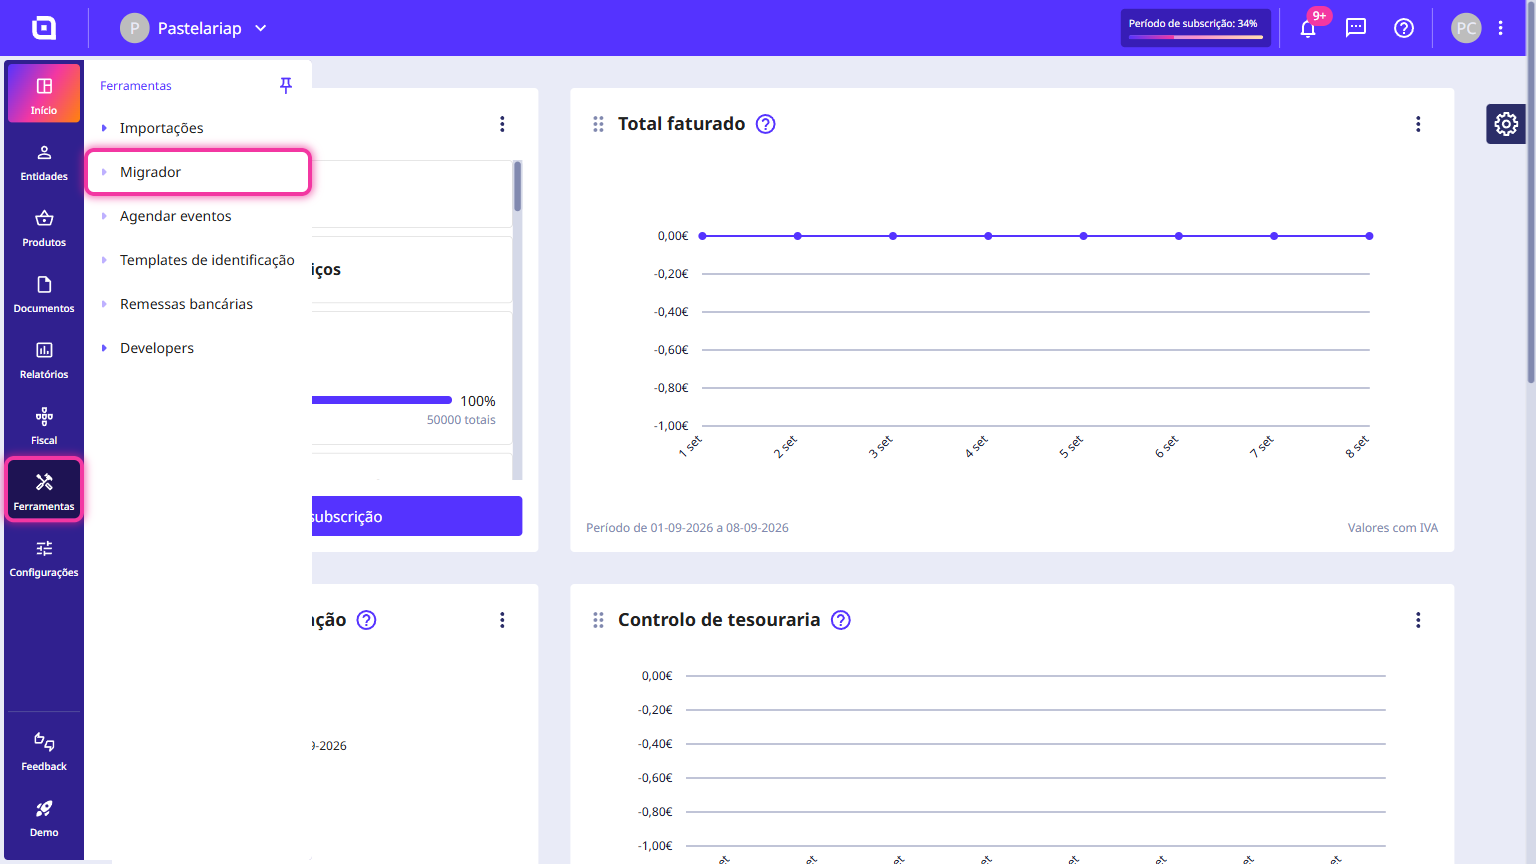
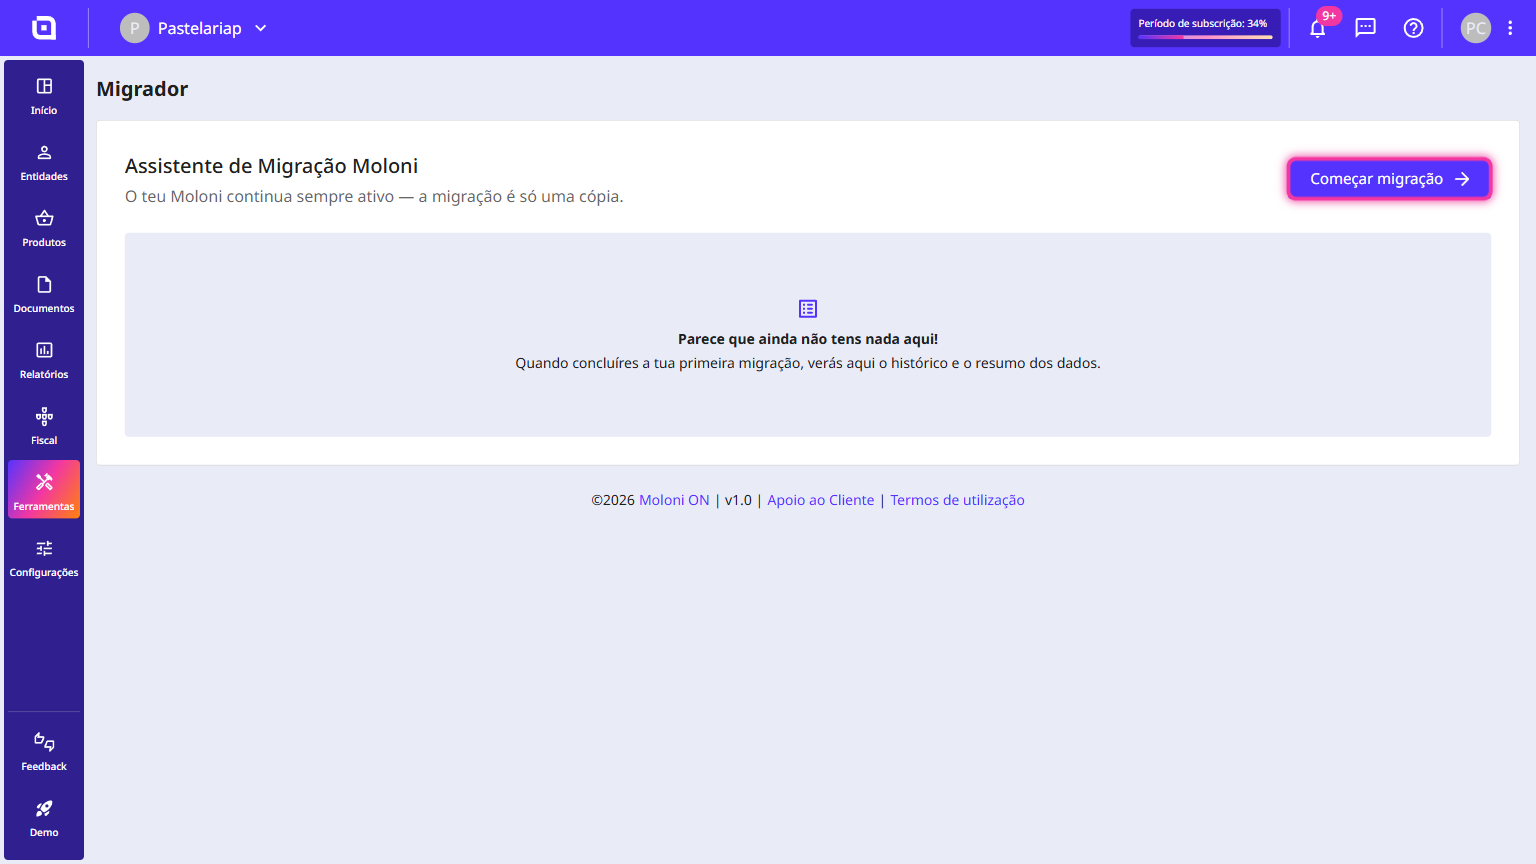
- If you already have an account: access the left-hand menu in Moloni ON, click on Tools and select the Migrator option. Then, click on Start migration.
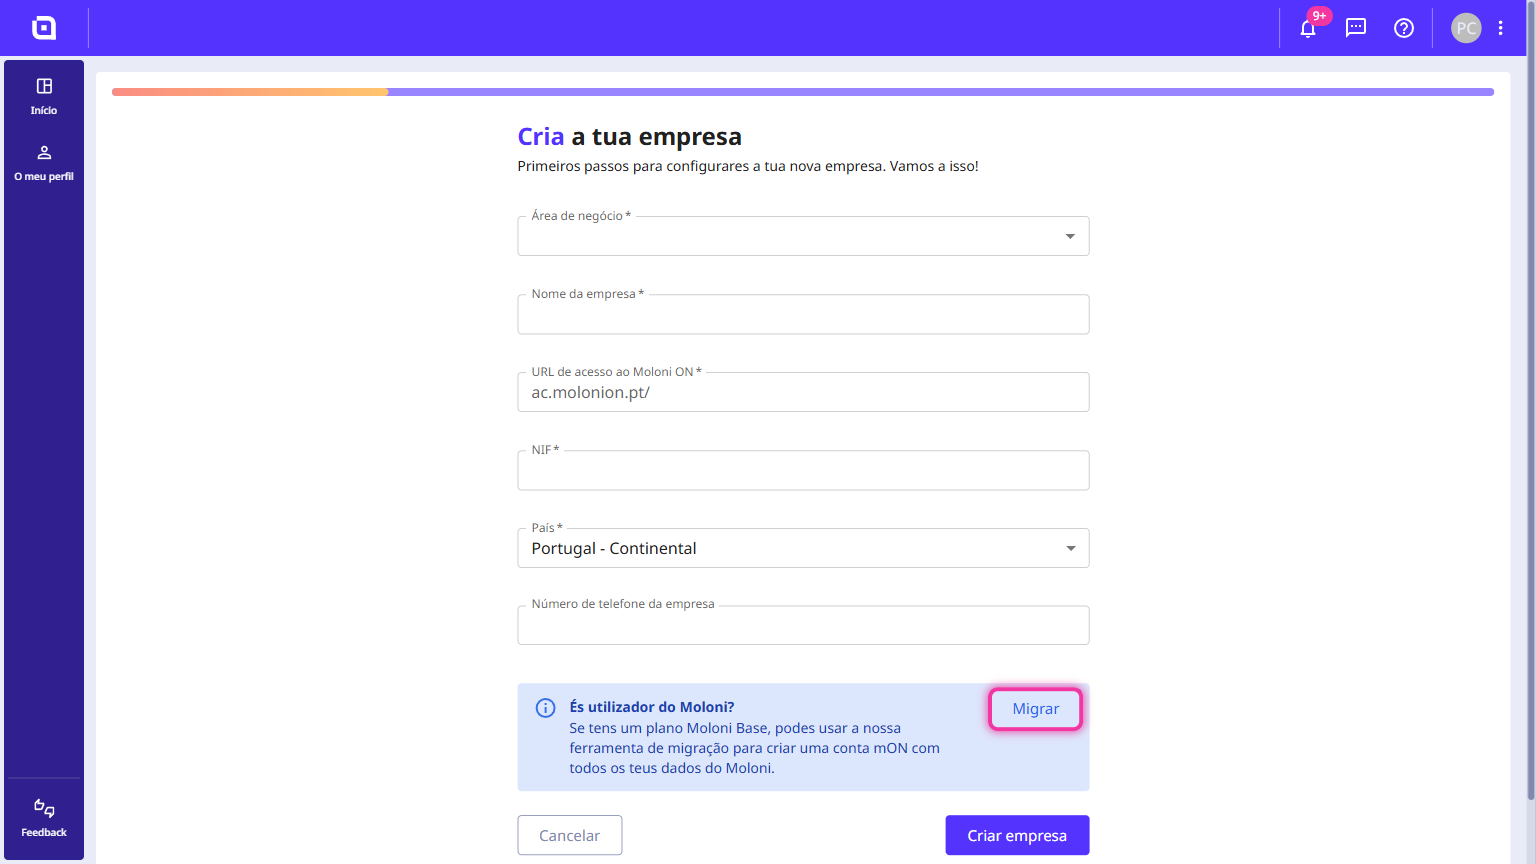
- If you are creating a company: in the company creation form, click on Migrate.
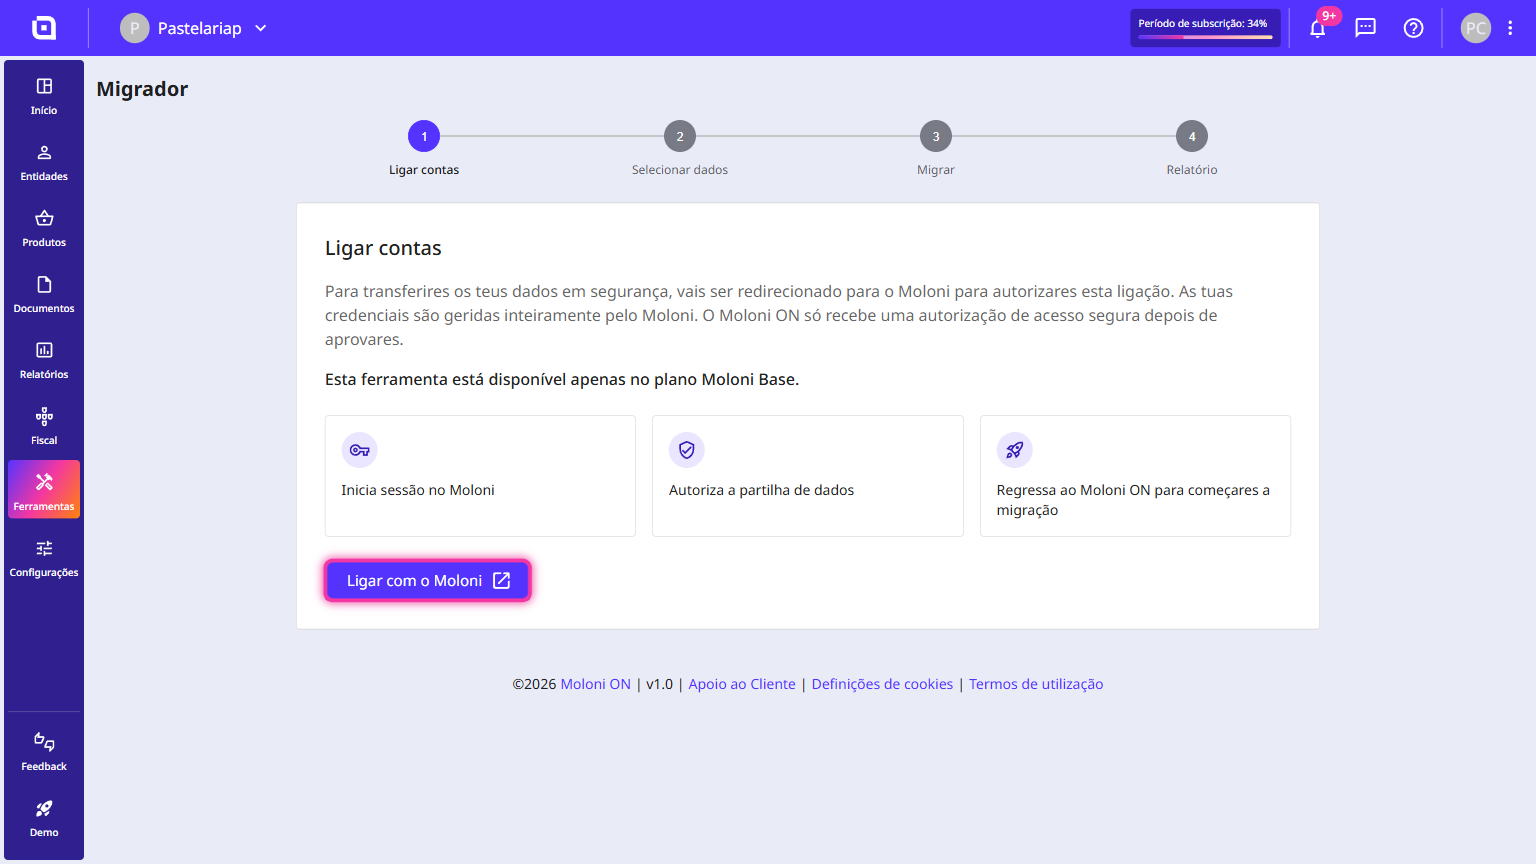
2. Click the Connect with Moloni button to be redirected and authorise the secure connection between the platforms.
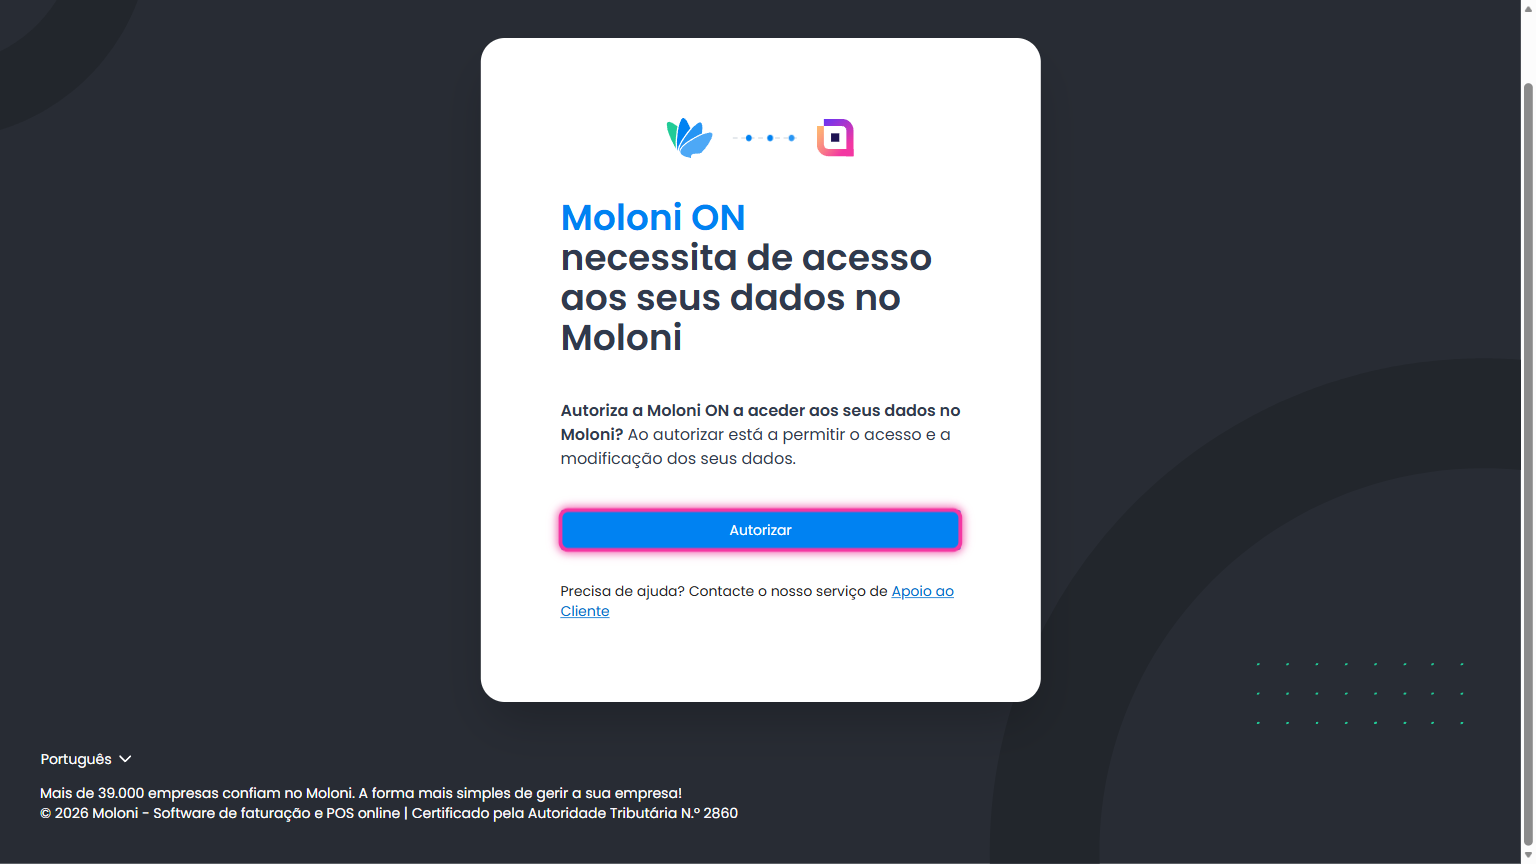
Log in to Moloni and click Authorize to allow access to your data.
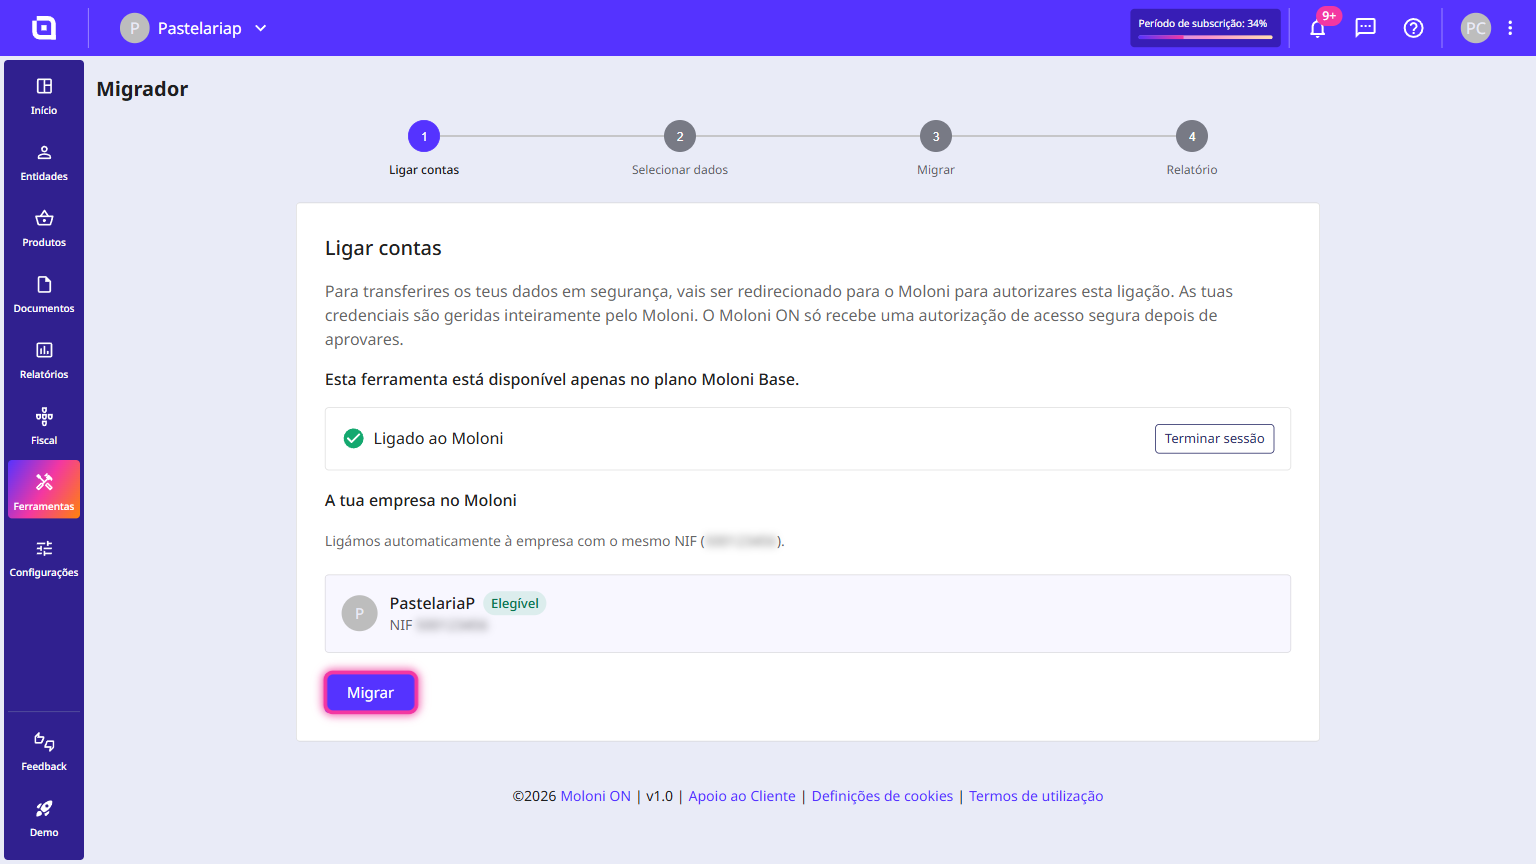
3. Confirm the company found (linked to the same tax number) and click Migrate.
4. Wait a few moments while Moloni ON organises the data from Moloni so that you can move on to the next steps.
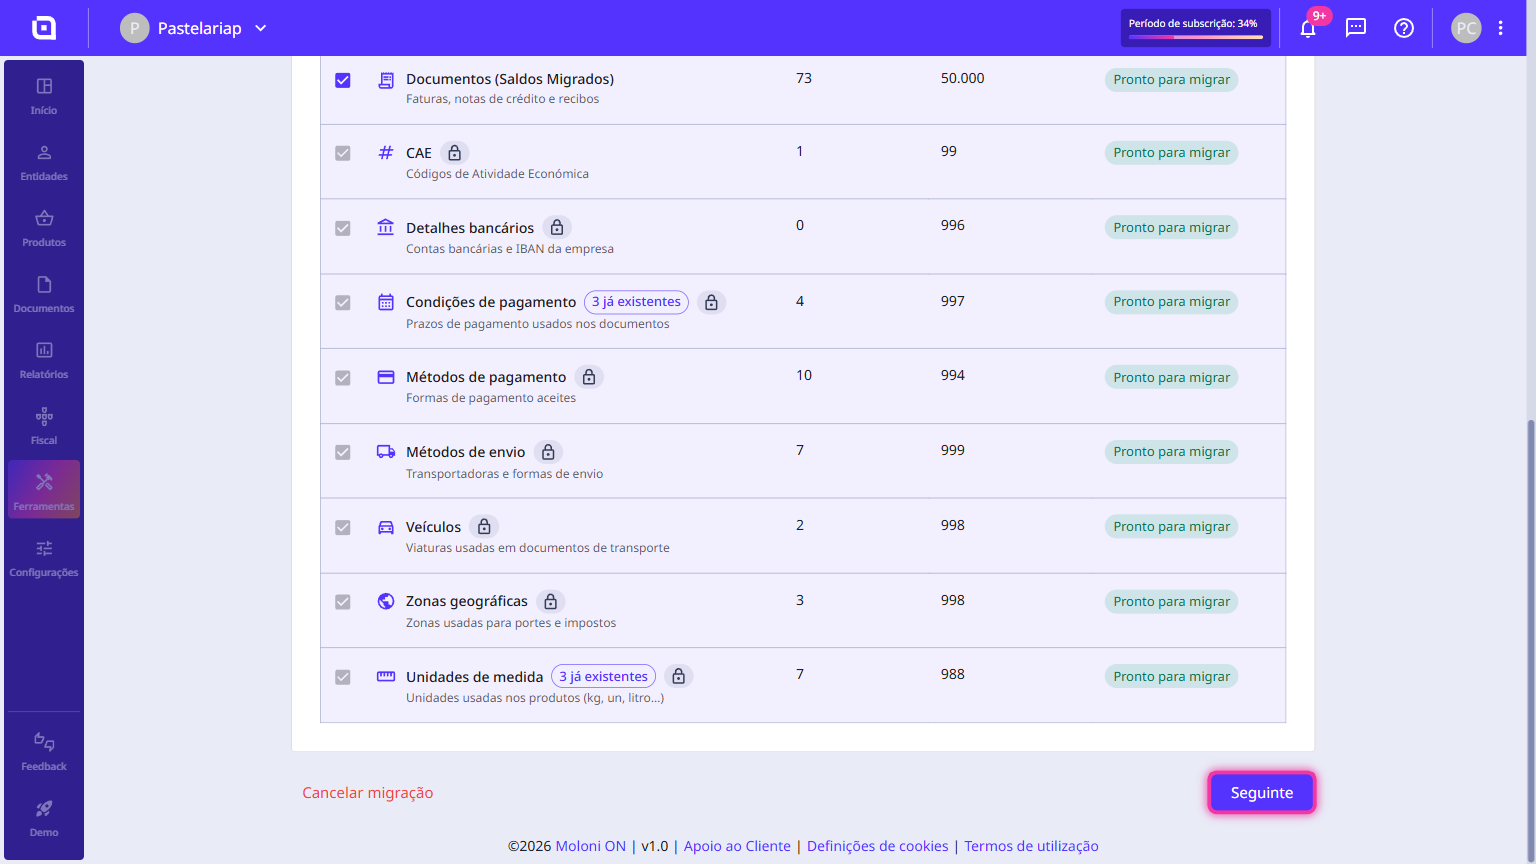
5. By default, all data is selected. Review the list of data to include in the migration (company information, customers, products, etc.).
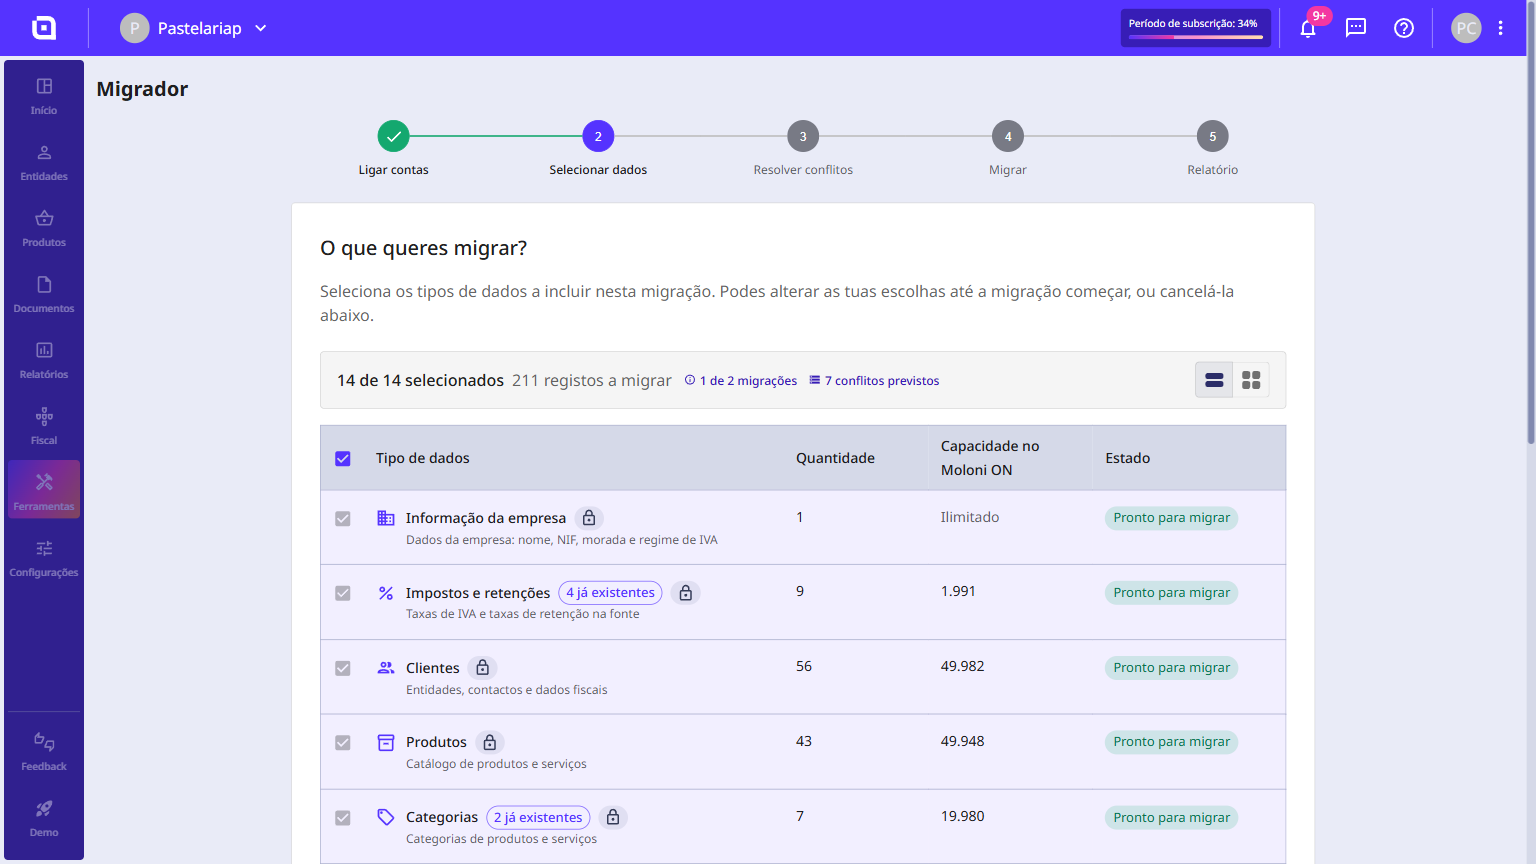
Click Next.
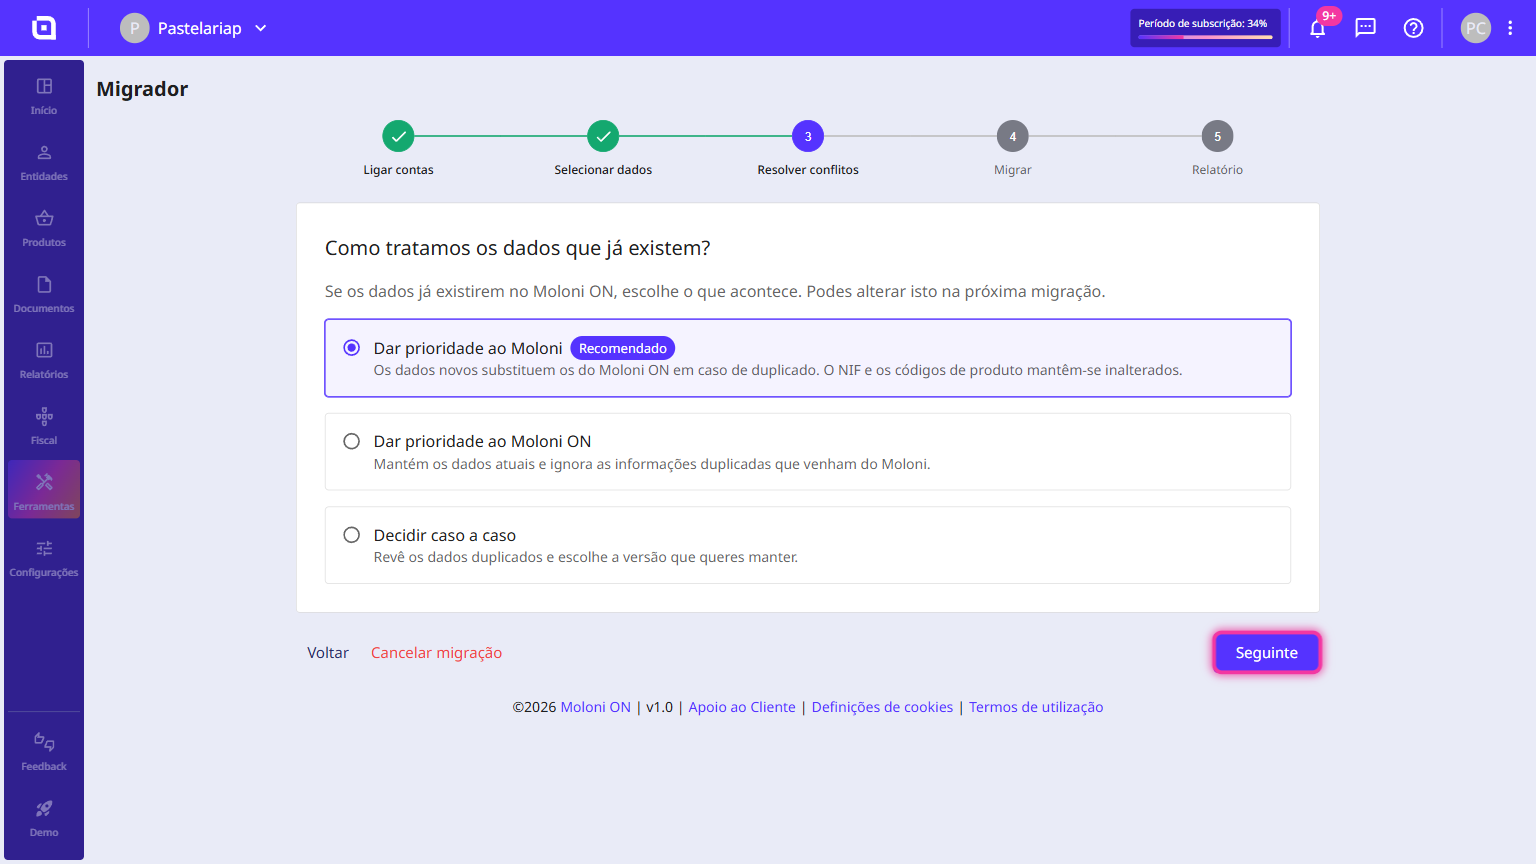
6. If any data conflicts are found, you can choose to give priority to the Moloni ON data, to the Moloni data, or decide case by case. Select the option you want and click Next.
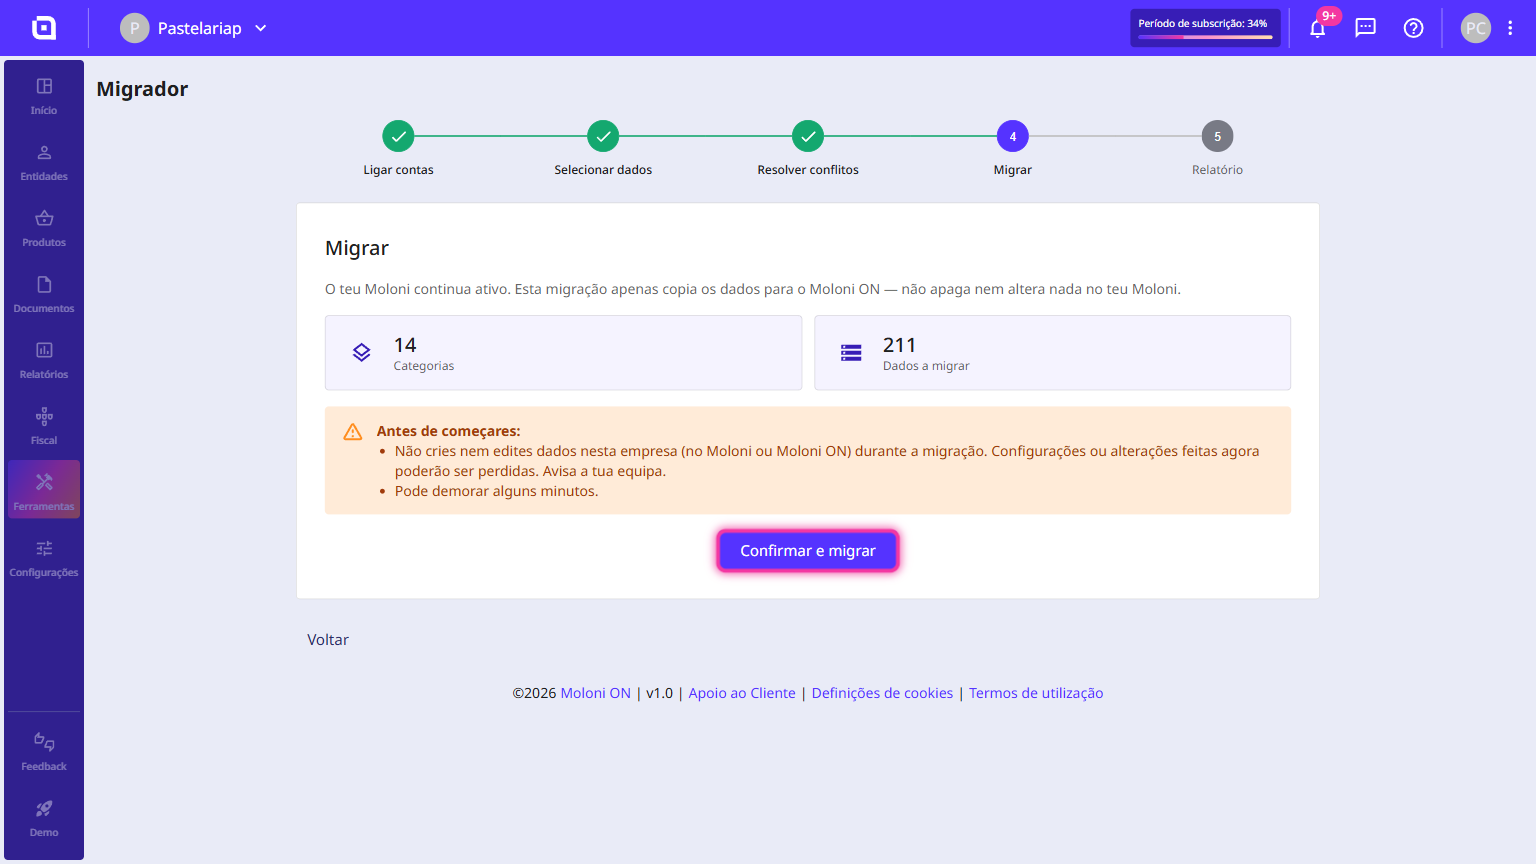
7. Review the summary of modules and the total data to be transferred, then click the Confirm and migrate button.
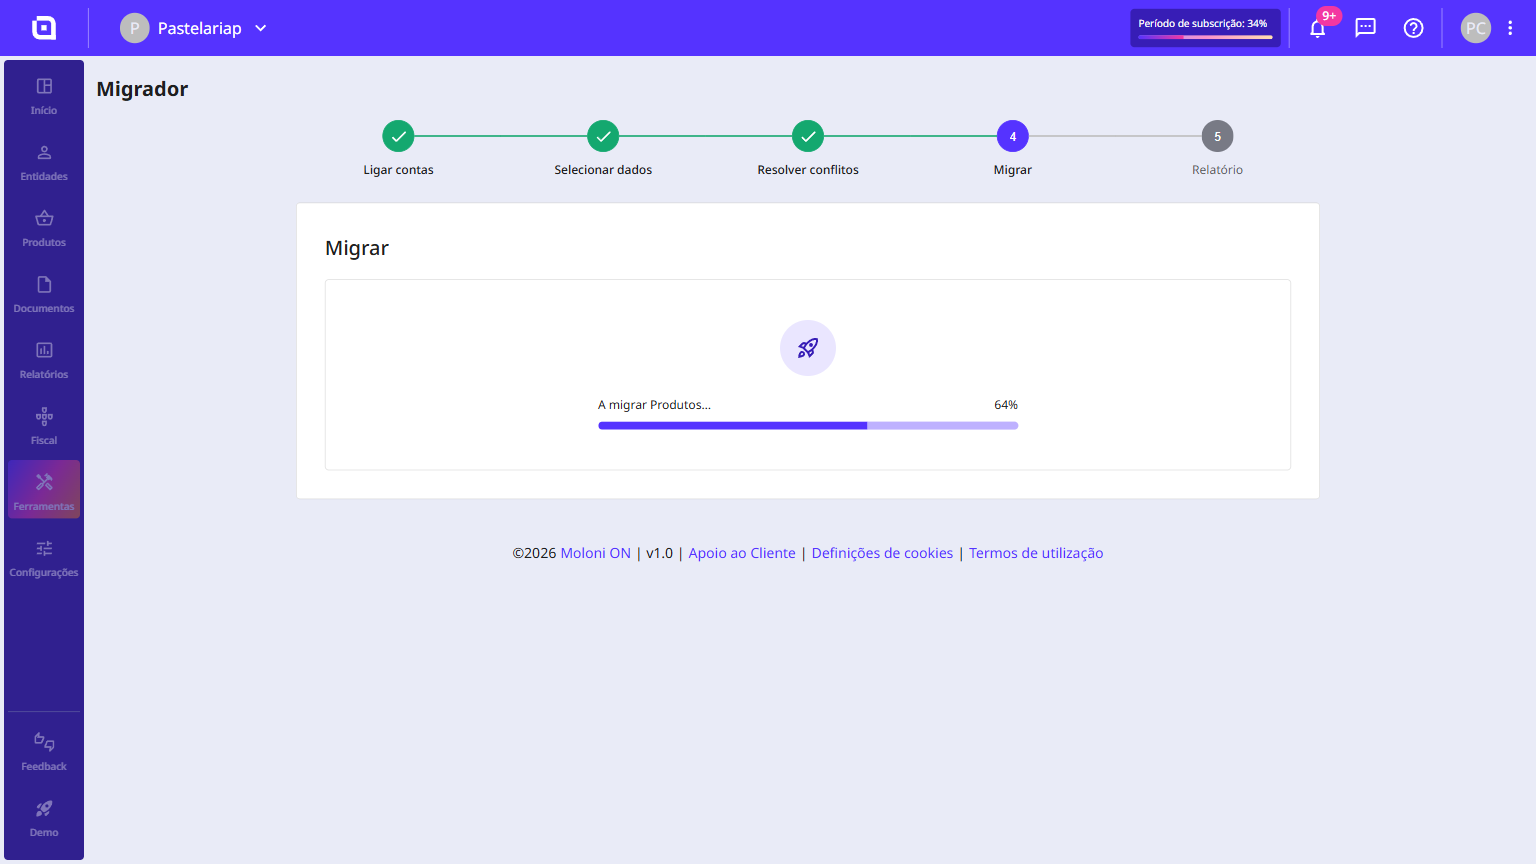
The migration starts and shows the progress for each data type.
8. Click the Finish button to access the detailed report.
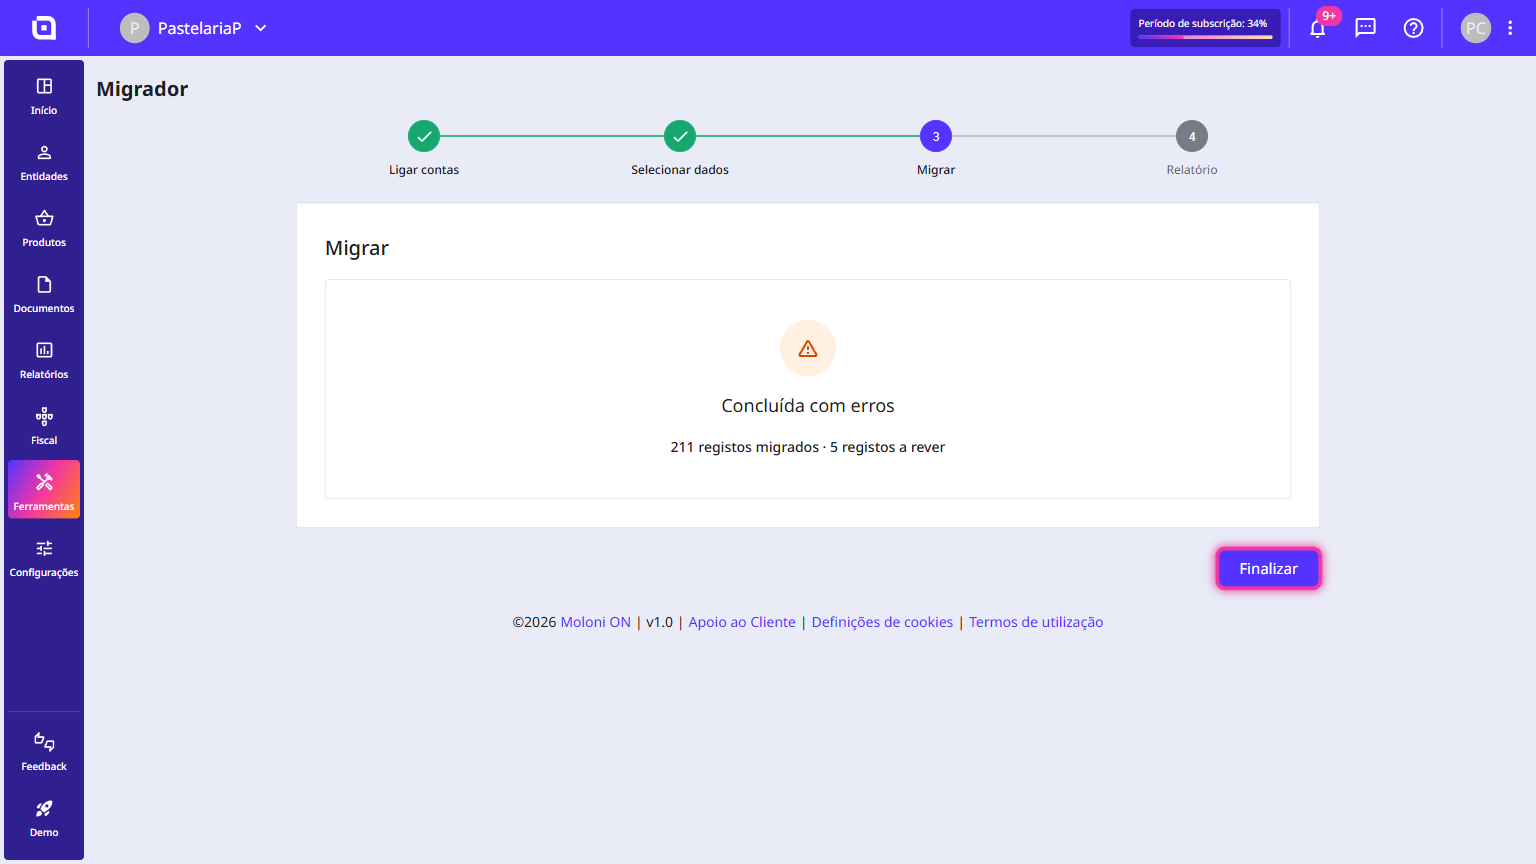
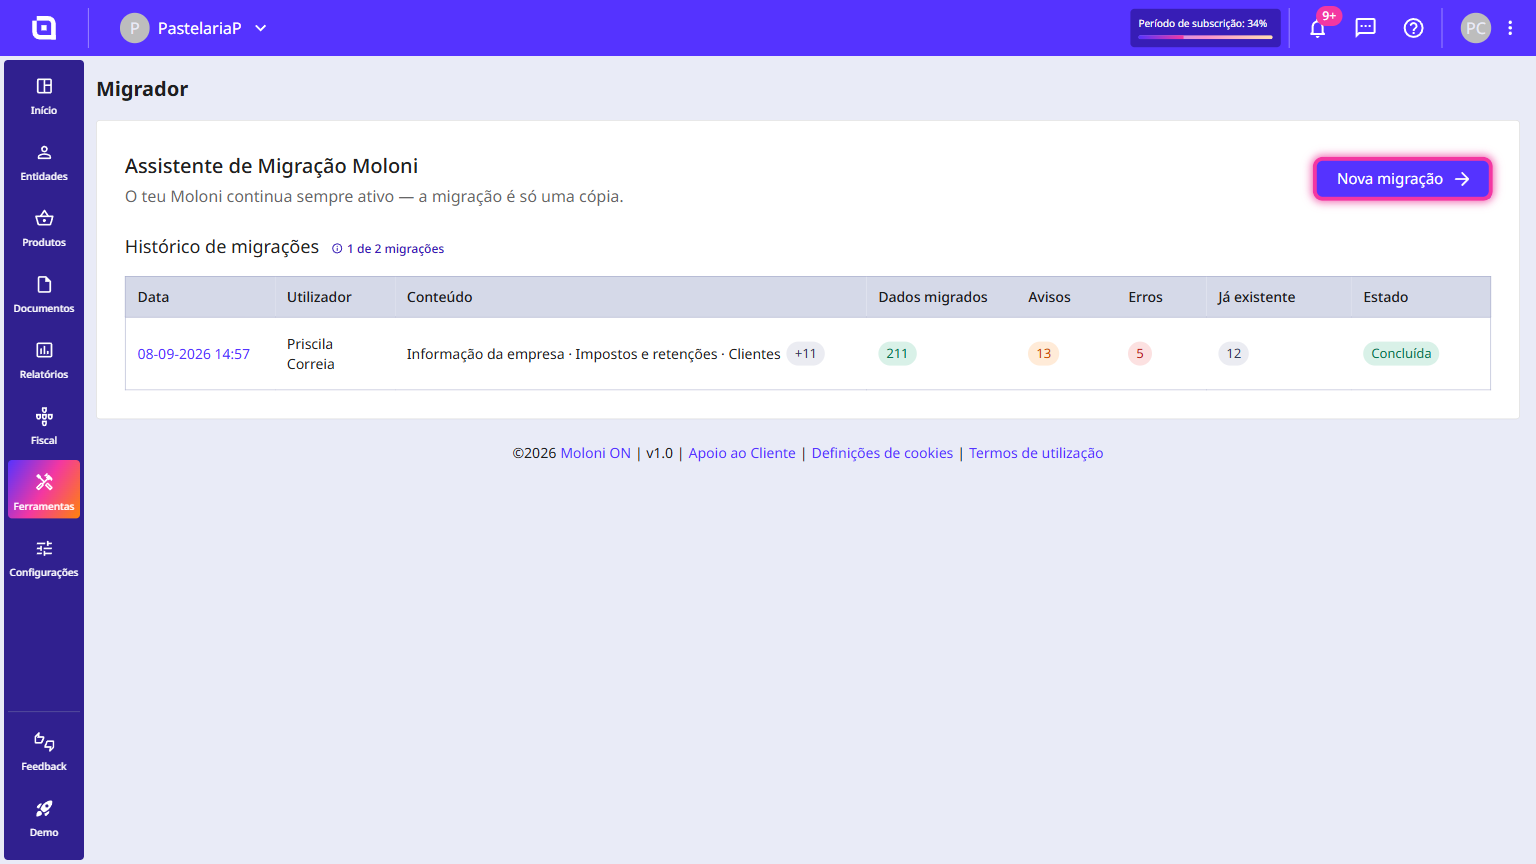
9. Check the details of the migrated data, warnings and errors.
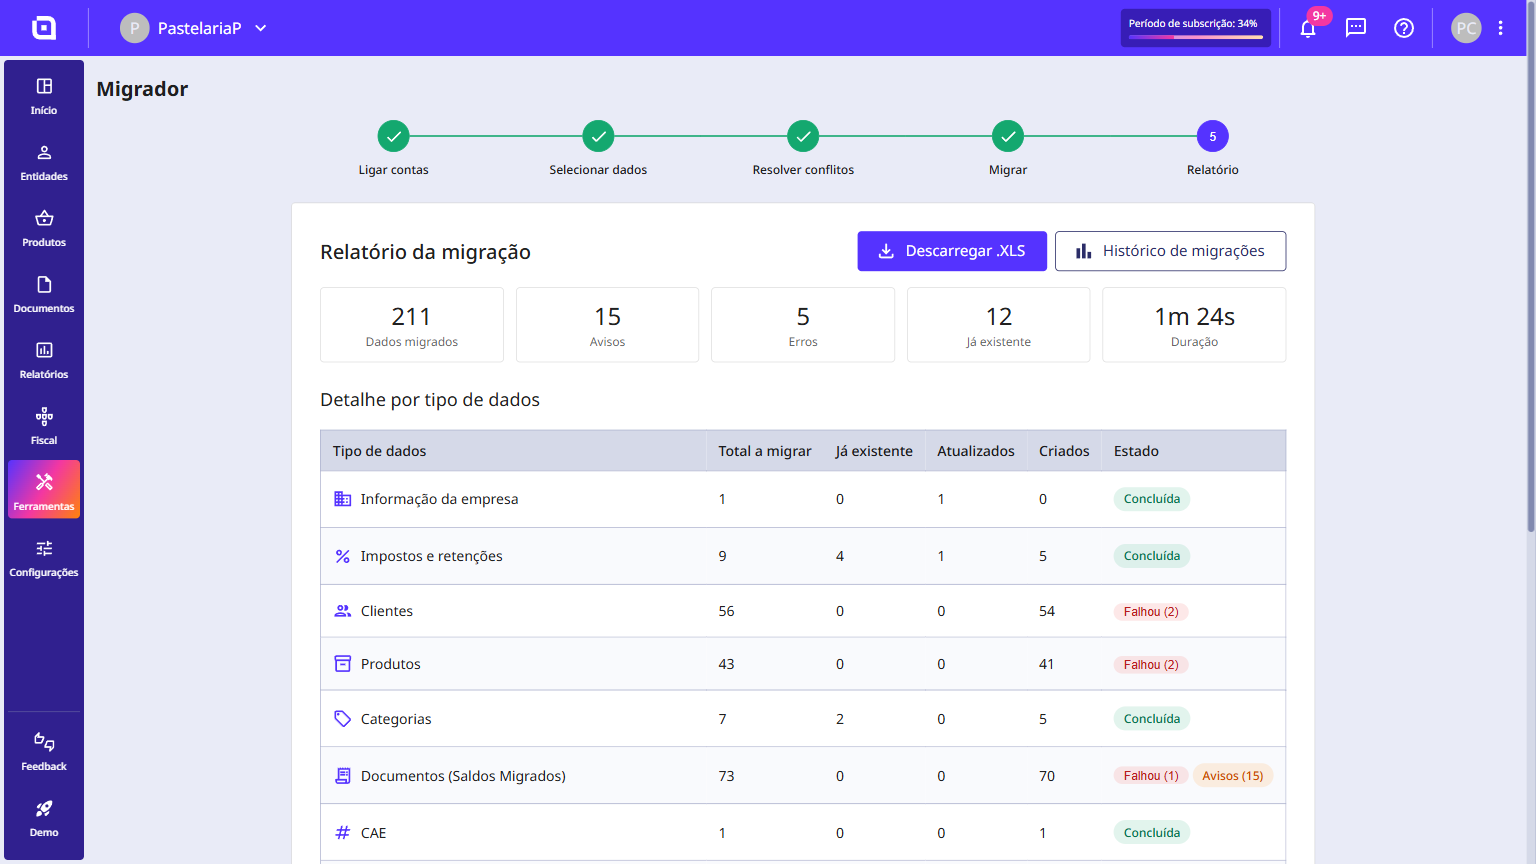
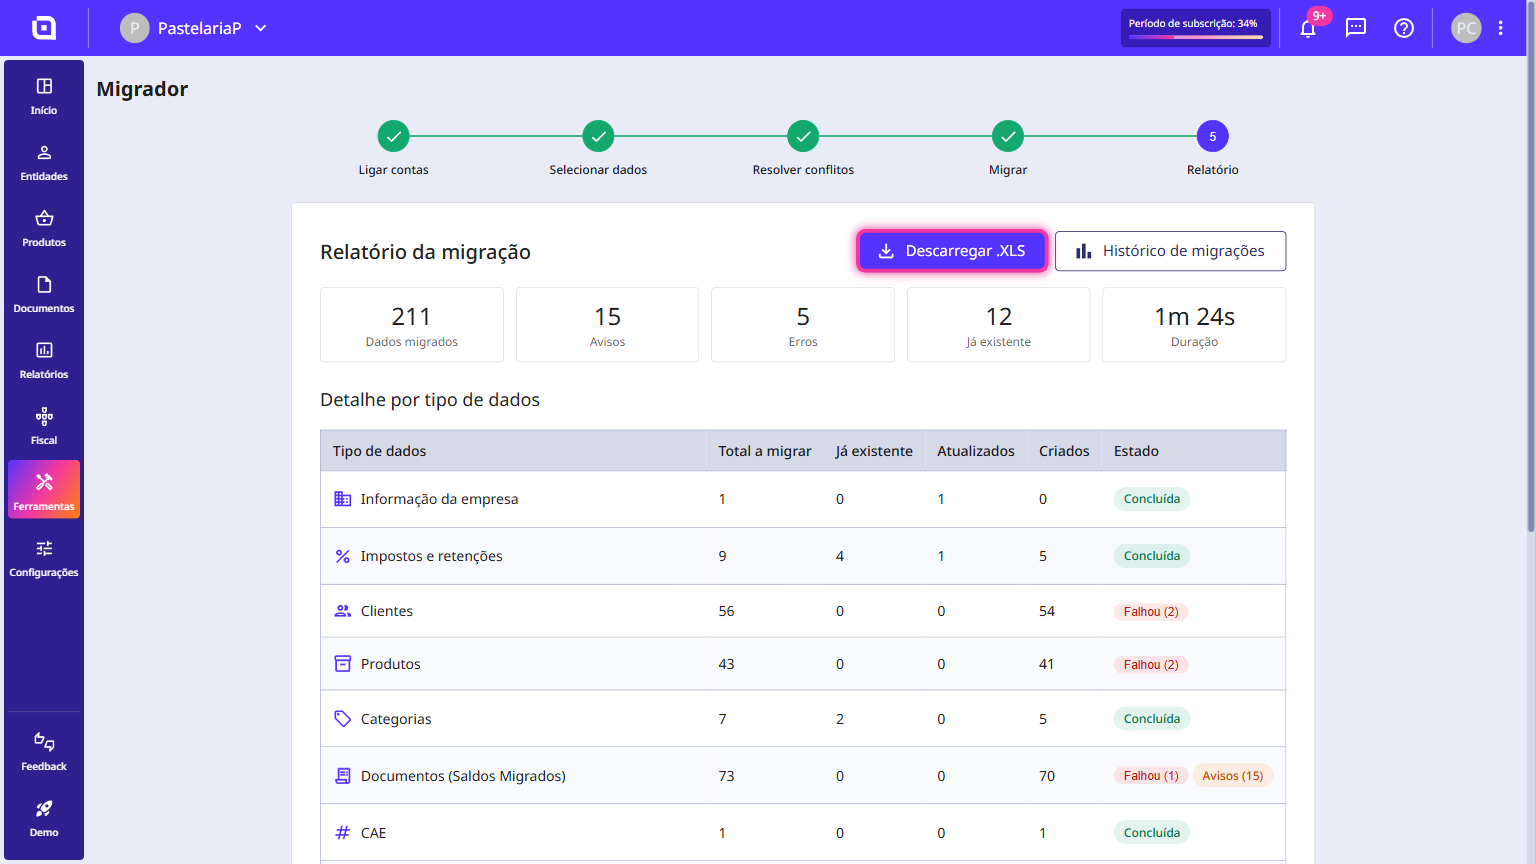
You can download the file in .xls for analysis or click on Migration history.
10. Whenever you return to the Migrator, you can check the Migration history table or click New migration to start another one.