How to import supplier documents in Moloni ON
What is automatic document scanning and what is it for?
Automatic document scanning is an intelligent reading technology integrated into Moloni ON. It allows you to automatically scan and extract text and financial data from physical or digital documents, such as PDFs and images of supplier invoices.
This tool is designed to automate and speed up the process of entering expenses into your invoicing software, removing the need to manually fill in amounts, dates, tax numbers, or product lines. When you upload a document, the AI reads the information and populates the fields for you. Through this integration, your business gains efficiency, human error in bookkeeping is reduced, and you maintain an organised digital archive directly linked to your supplier invoices in real time.
Follow these steps:
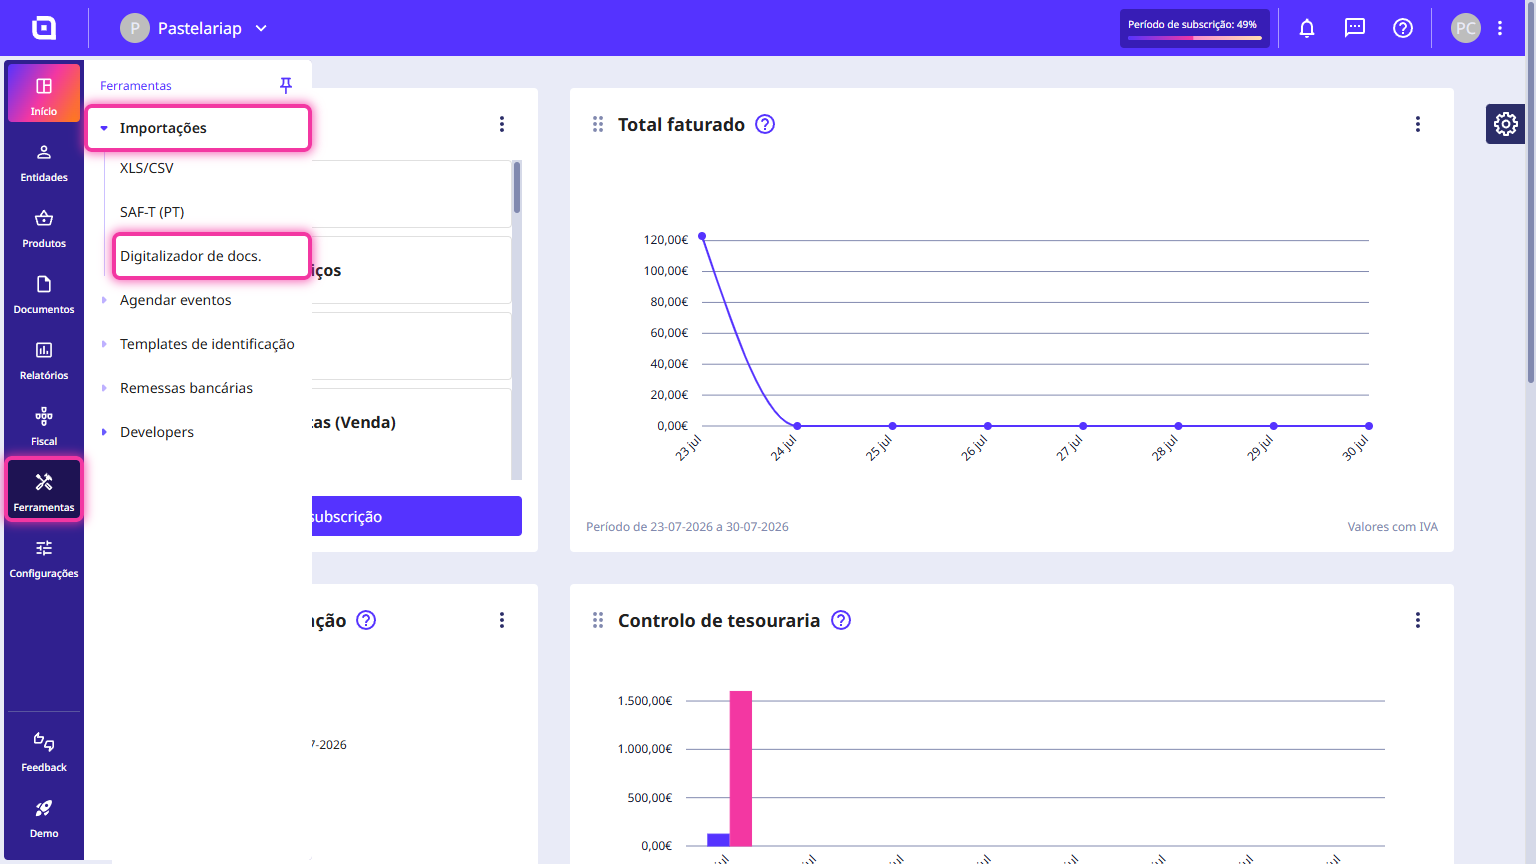
1. Access the left-hand menu in Moloni ON, click on Tools, expand the Imports section, and select Document scanner (or, if you are already on the Supplier Invoices page, click directly on the Scan documents button in the top right corner).
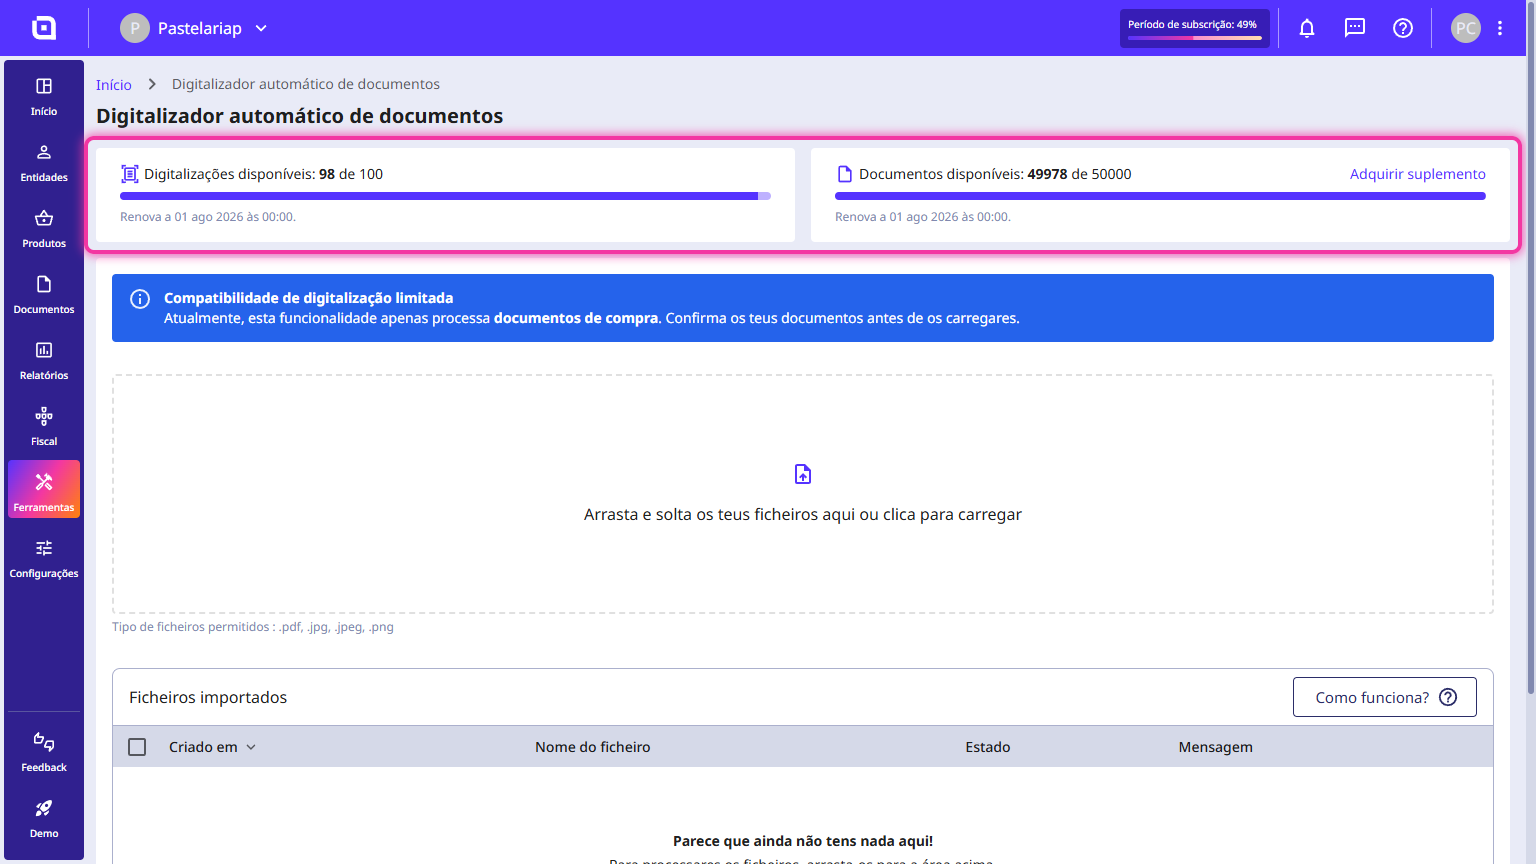
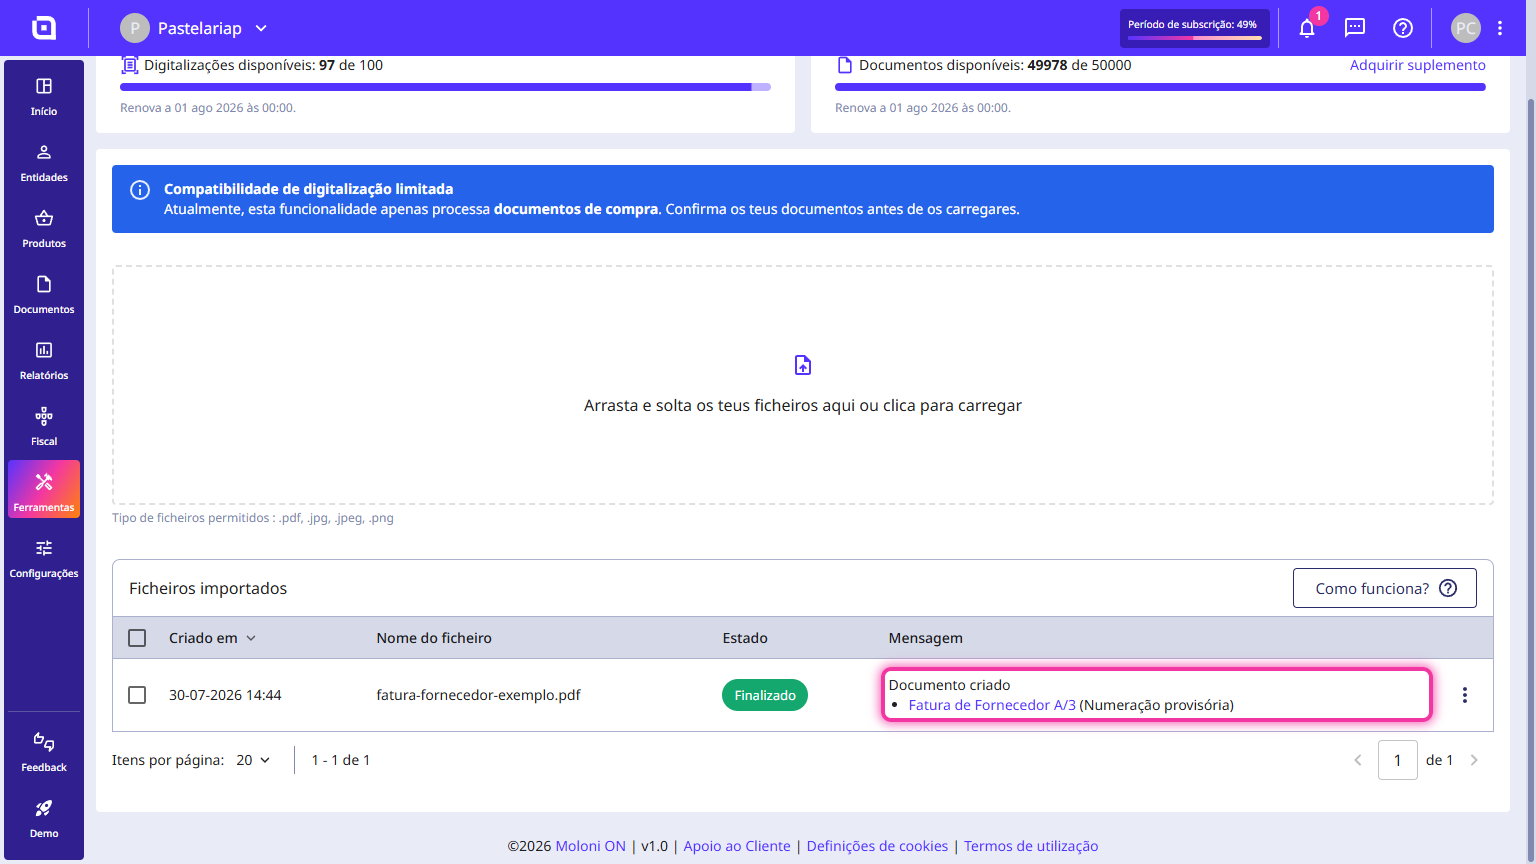
2. Check your balance of Scans available and Documents available at the top of the page to ensure you have enough credits for the operation.
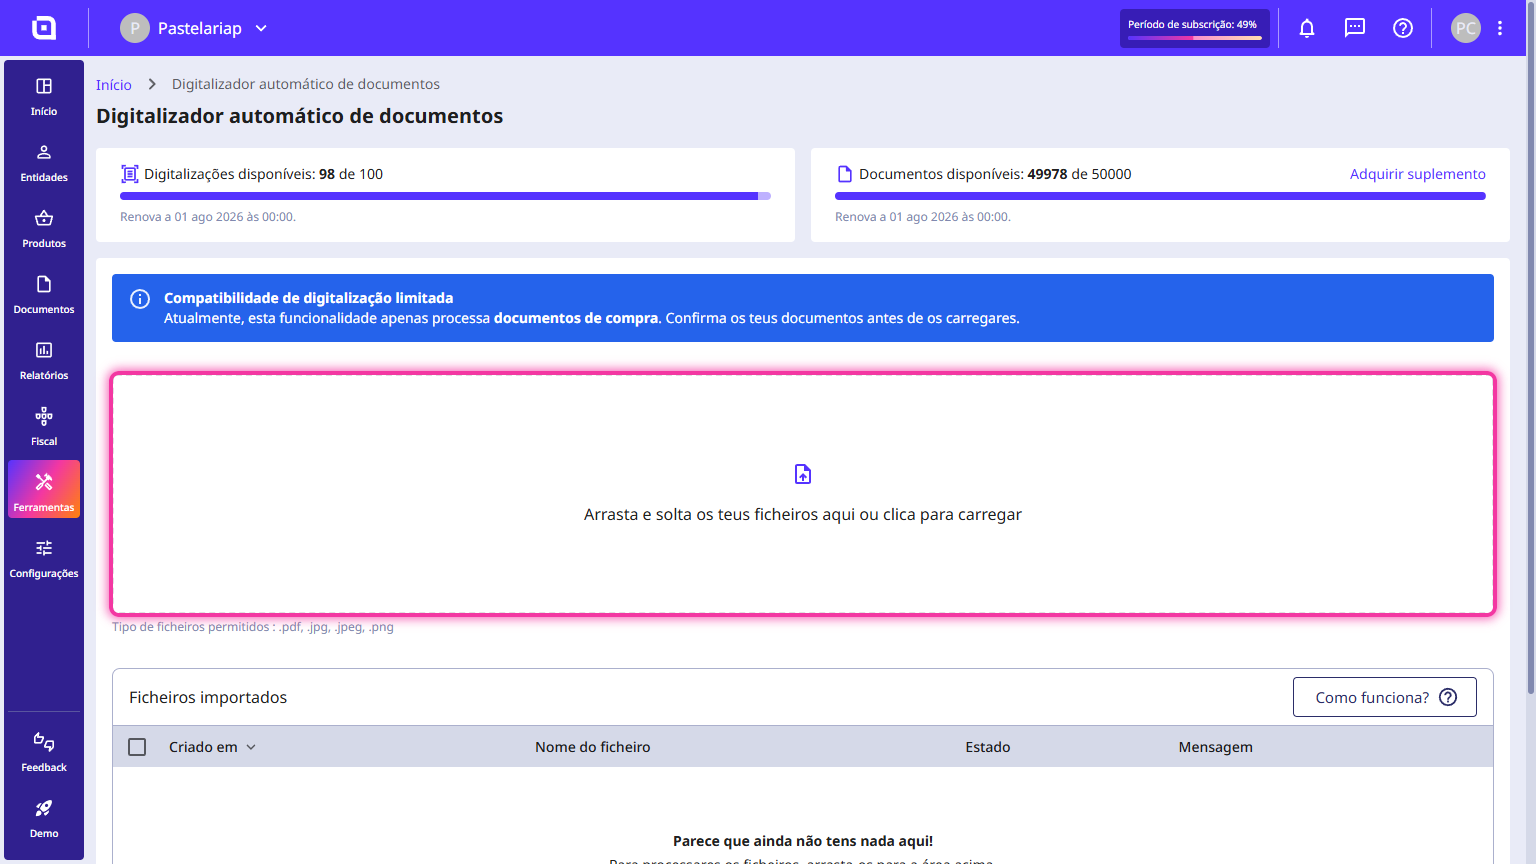
3. Drag and drop your files (supported formats: .pdf, .jpg, .jpeg, .png) into the central dotted area, or click on the upload area to select the documents from your computer.
4. Wait for the system to process the file. Depending on the result of the scan, the document line will display one of these options:
- If the processing is successful: You will see the prompt Document created: followed by a link with the document name. Click directly on this link to open the draft and validate the data.
- If the processing fails: The status will change to Error and an informational message about the failure will appear. Click on the three dots next to the file, where you will have two options:
- Try again: Resubmit the file for a new scan (this action will consume 1 scan from your balance).
- Create document: Generates the document as a draft without using any further credits.
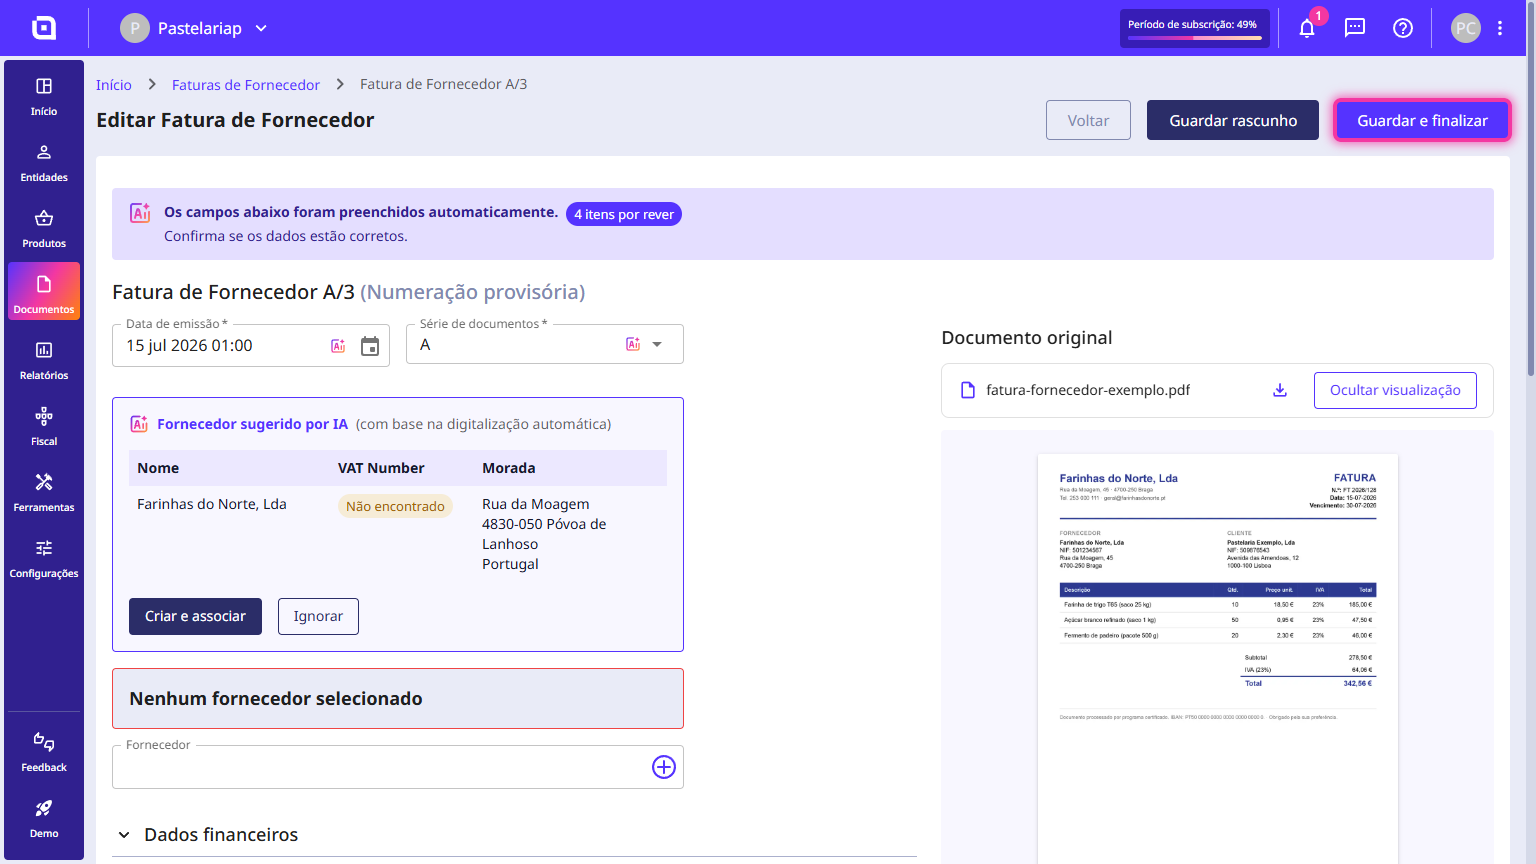
5. Validate the data suggested by the AI on the left side of the screen, comparing it with the image of the original document shown on the right.
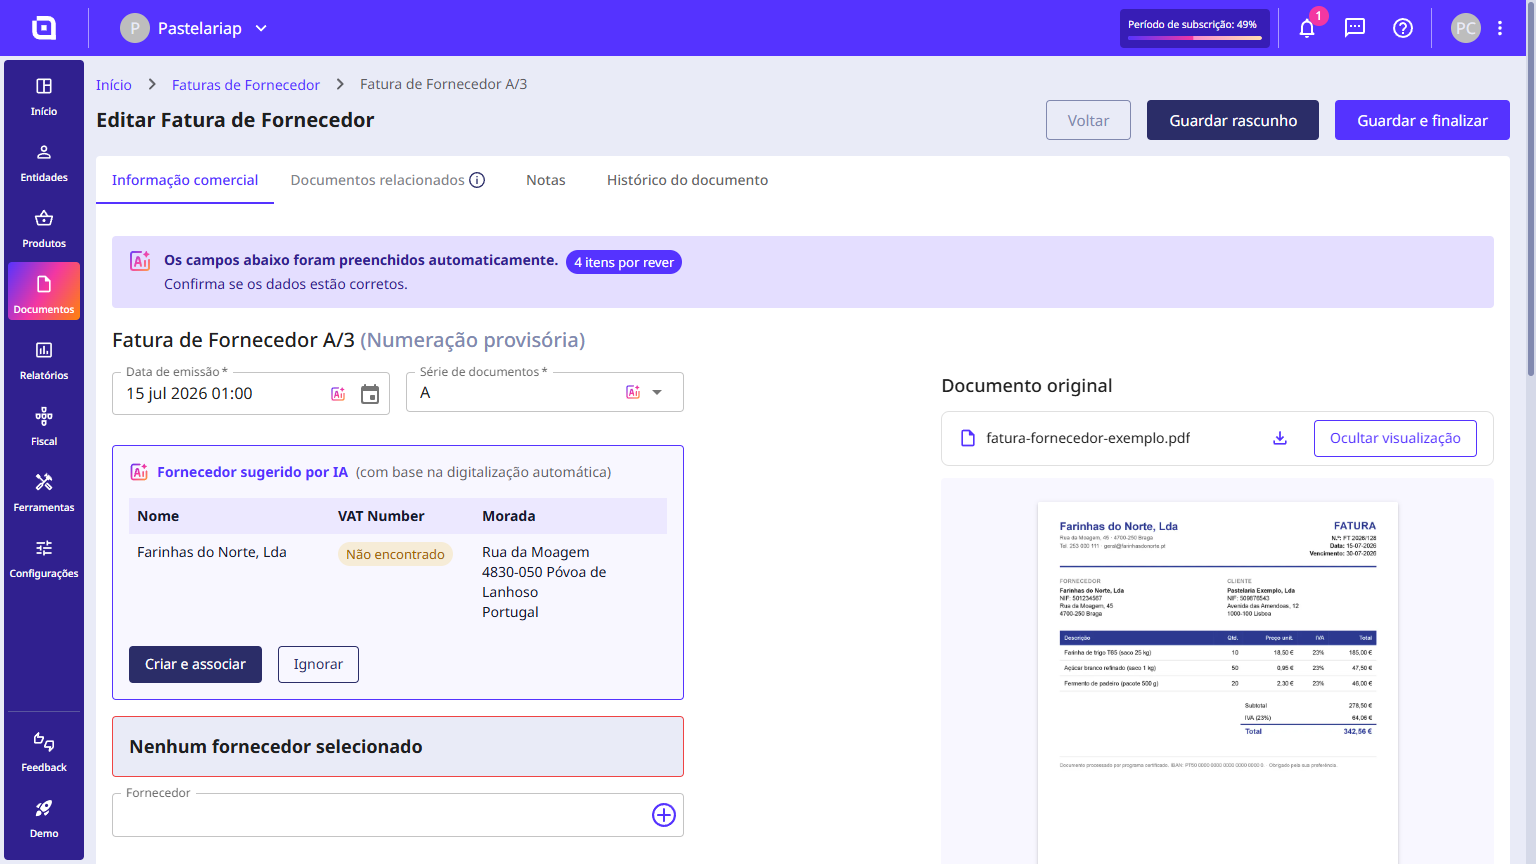
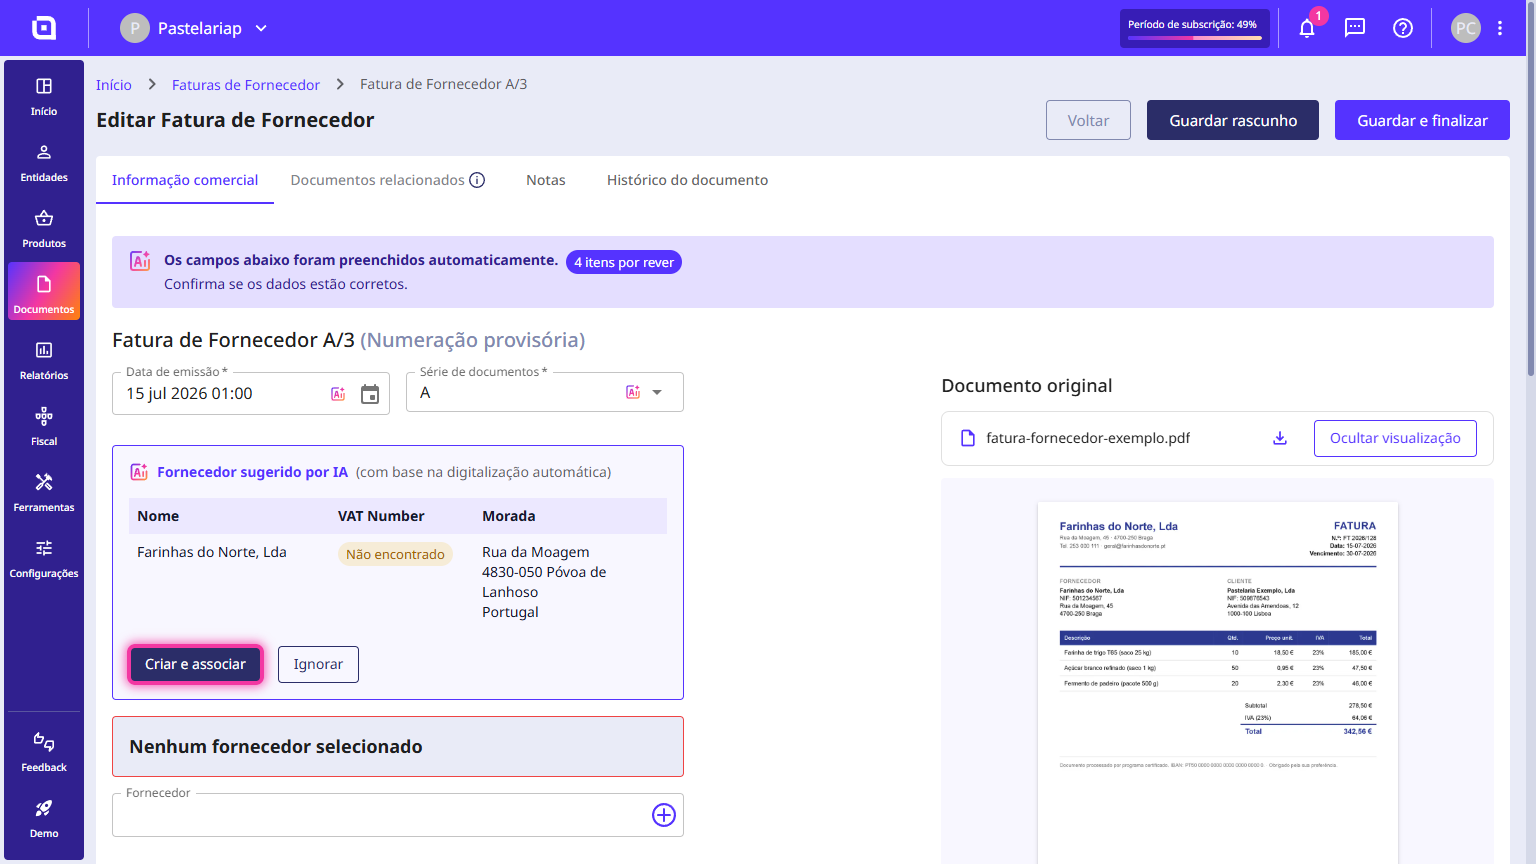
6. Regarding the Supplier, the system will automatically identify and link them if they already exist in your account. If it is a new supplier, click Create and link and fill in the missing details in the Create new supplier window (such as Code, Tax/VAT Number, and Name) before clicking Create.
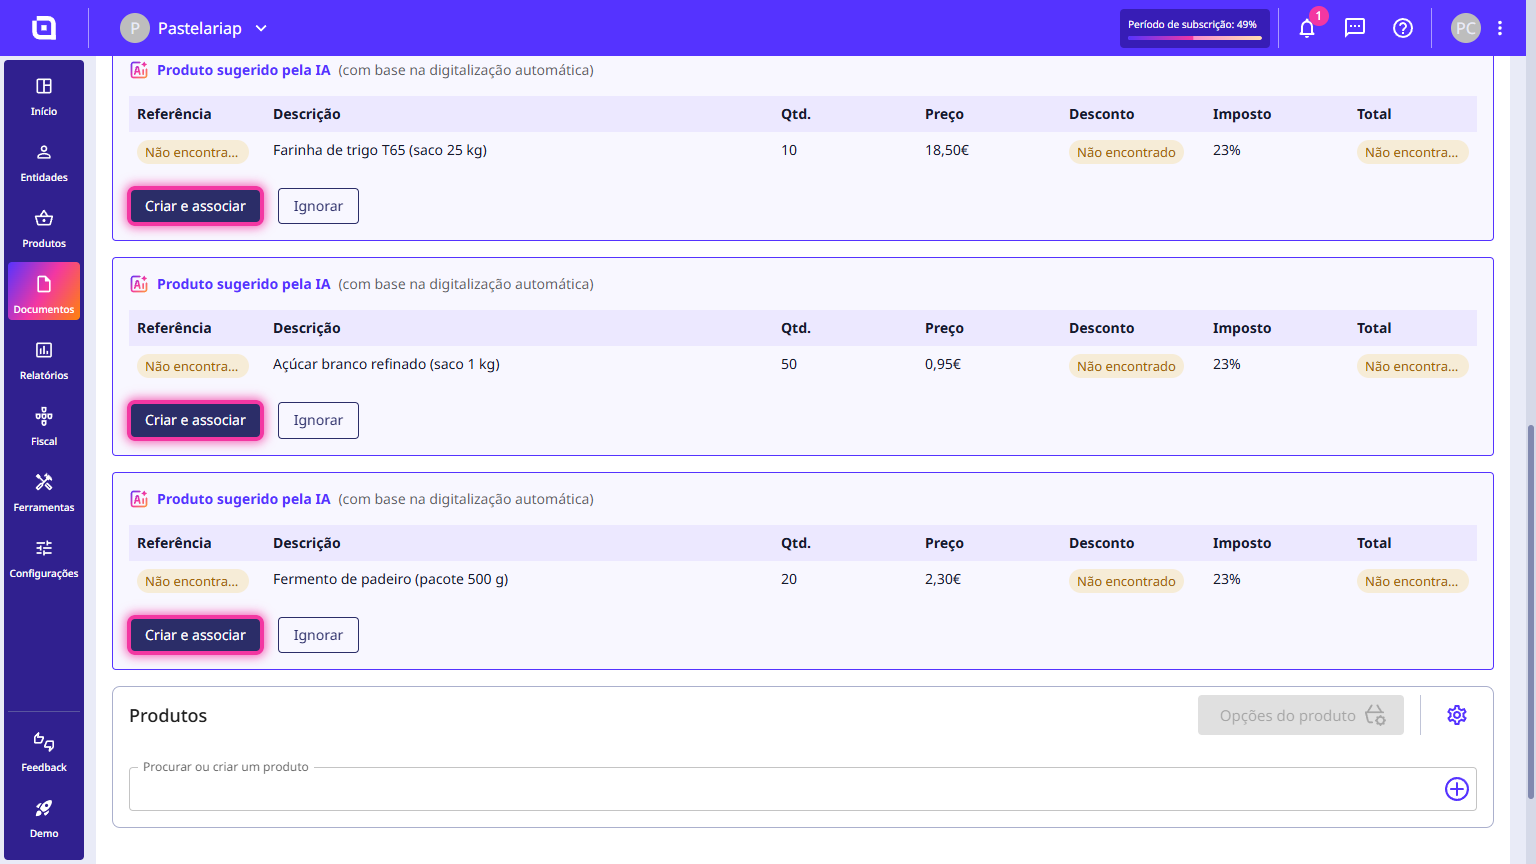
7. Review the product lines and taxes at the bottom of the page. If the products already exist in your catalogue, the system will link them automatically. Otherwise, for new products suggested by the AI, click Create and link on each one of them.
8. Click the Save and finish button (in the top or bottom right corner) to close the document with its definitive numbering, or click Save as draft if you wish to finish the review later.