How to Set Up REDUNIQ on Moloni ON
Integrating REDUNIQ with Moloni ON lets you automate the collection of your invoices, offering your customers the most widely used payment methods on the market with total security and real-time settlement.
What is REDUNIQ and what is it used for?
REDUNIQ is the UNICRE (Instituição Financeira de Crédito, S.A.) brand specialising in payment acceptance and processing solutions in Portugal. It is one of the market leaders in the sector and provides tools for in-person, online, and remote payments.
REDUNIQ allows companies and merchants to receive payments for their sales quickly, simply, and securely. By integrating the REDUNIQ gateway with Moloni ON, your business can accept multiple payment methods and automate the recording of transactions.
Moloni ON offers two REDUNIQ gateways: REDUNIQ: PayByLink and REDUNIQ: Multibanco. The steps below show how to activate REDUNIQ: Multibanco, but the path is the same for both.
How do I activate REDUNIQ on Moloni ON?
Follow these steps:
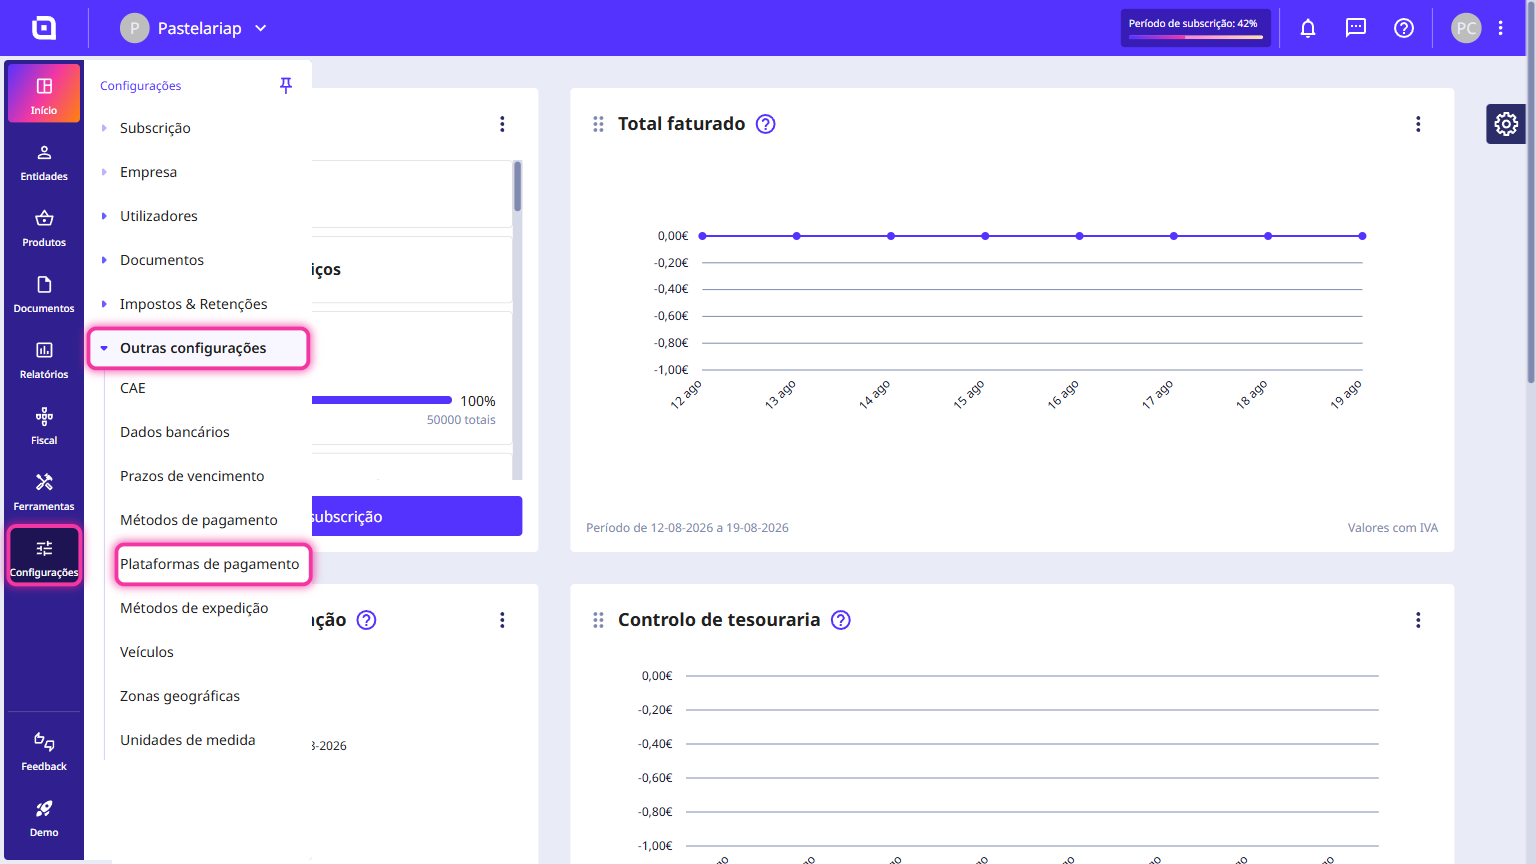
1. Access Settings on the left menu of Moloni ON, click Other settings, and select Payment gateways.
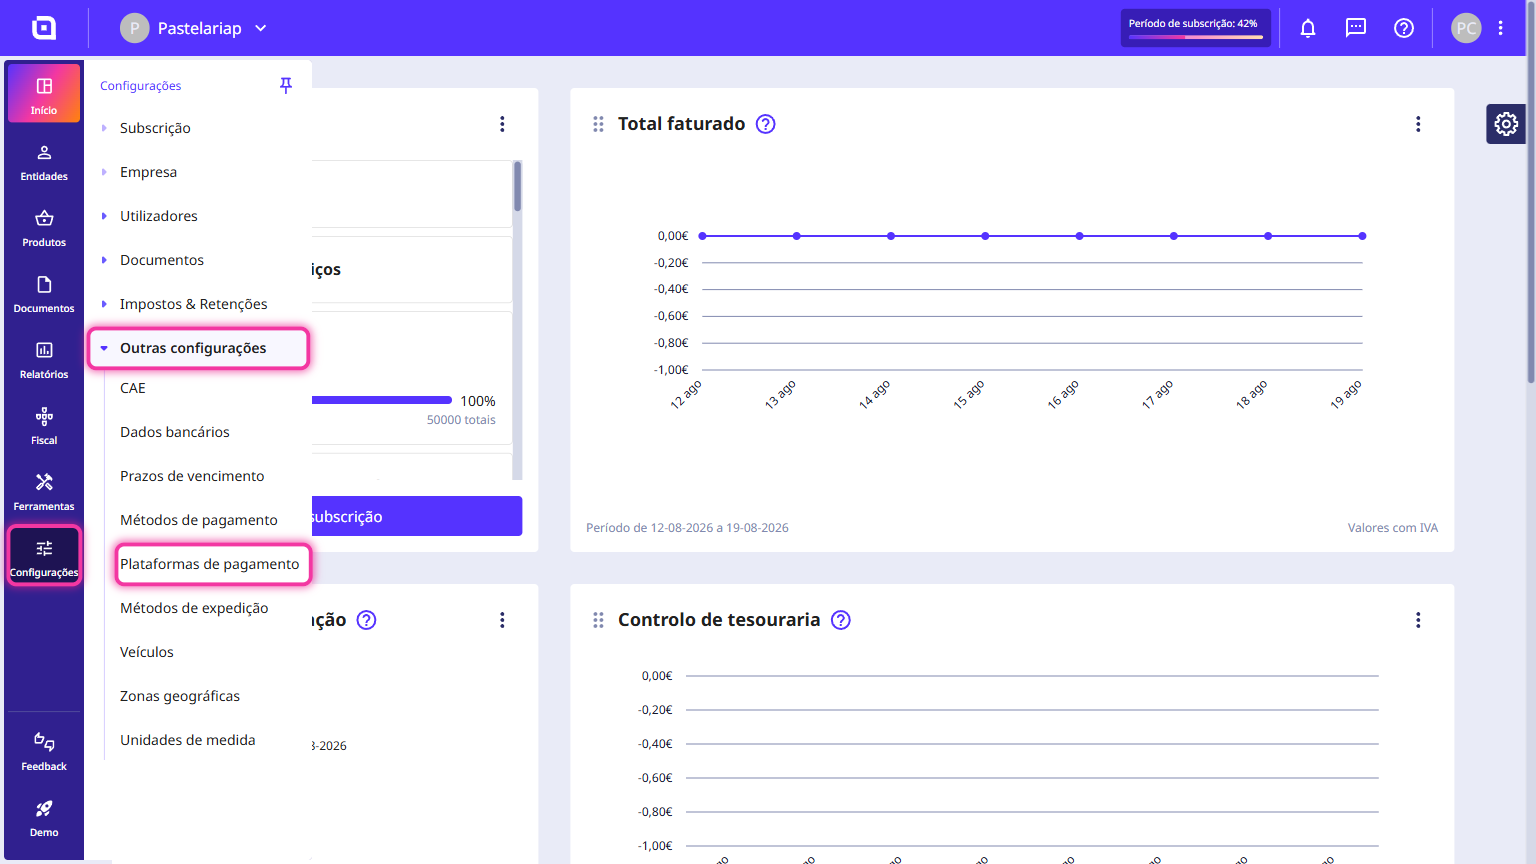
2. Review the available options on the page and, if you do not have an account or contract yet, open the REDUNIQ registration form through the link inside your desired method.
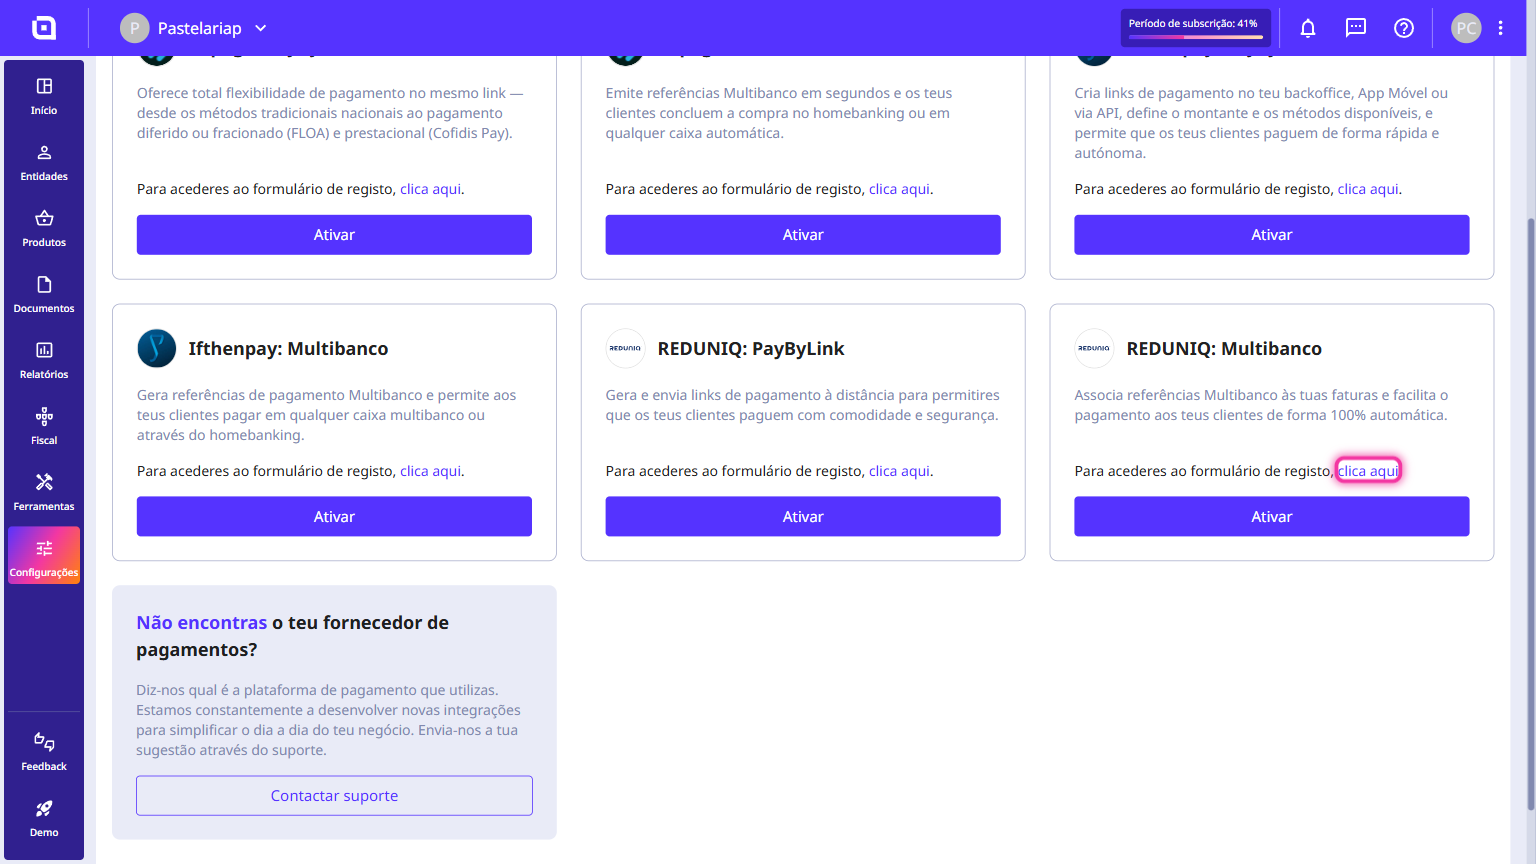
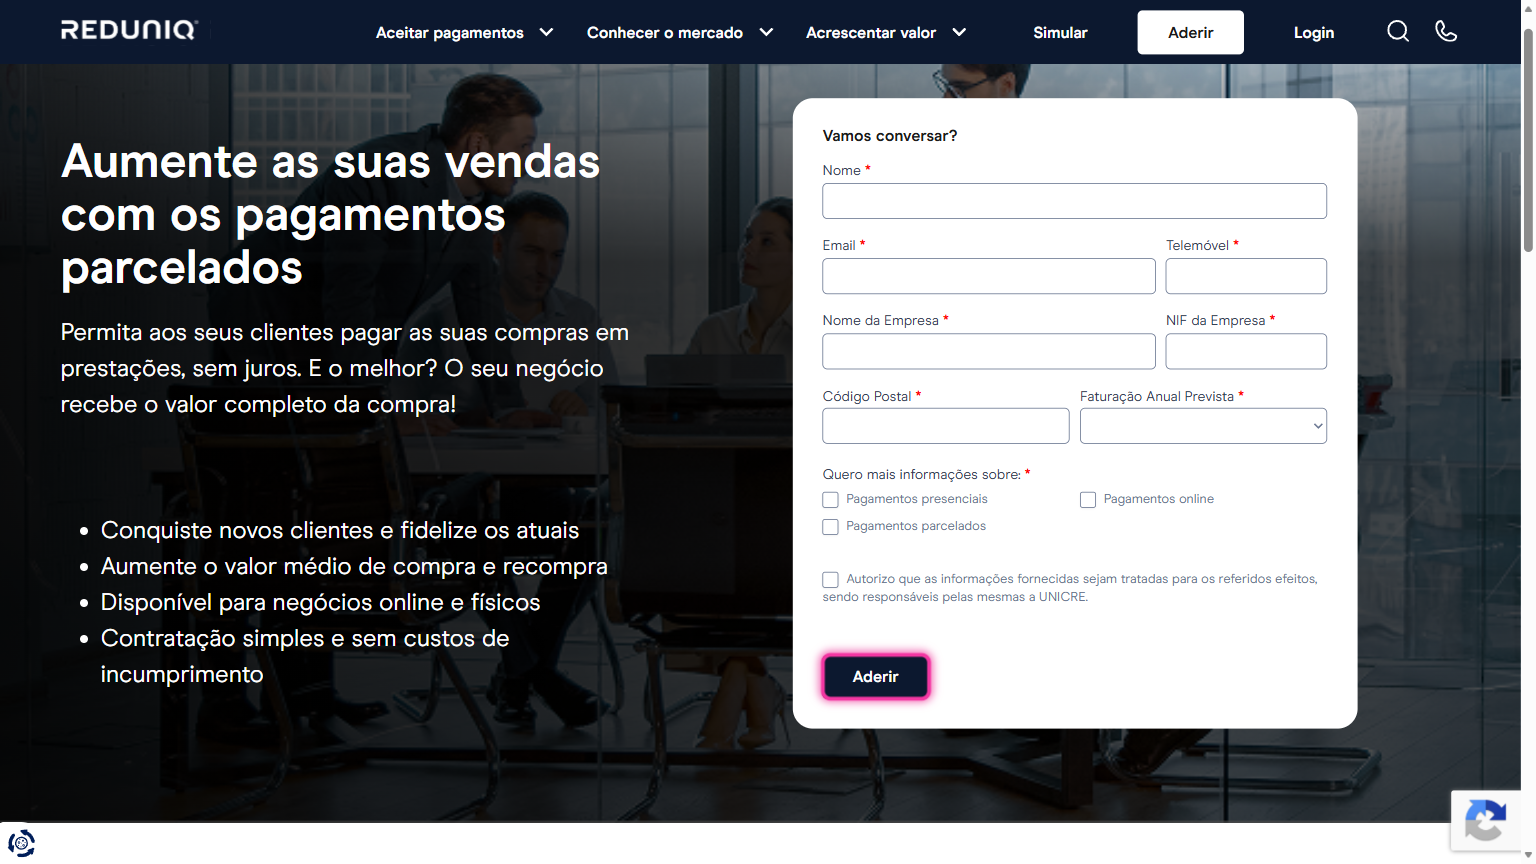
3. Fill in the mandatory fields on the form and click Aderir. Once your details are submitted, the process with REDUNIQ will begin. As soon as it is complete, you will receive an email with the login details for the contracted services.
4. Return to Moloni ON and click the Activate button.
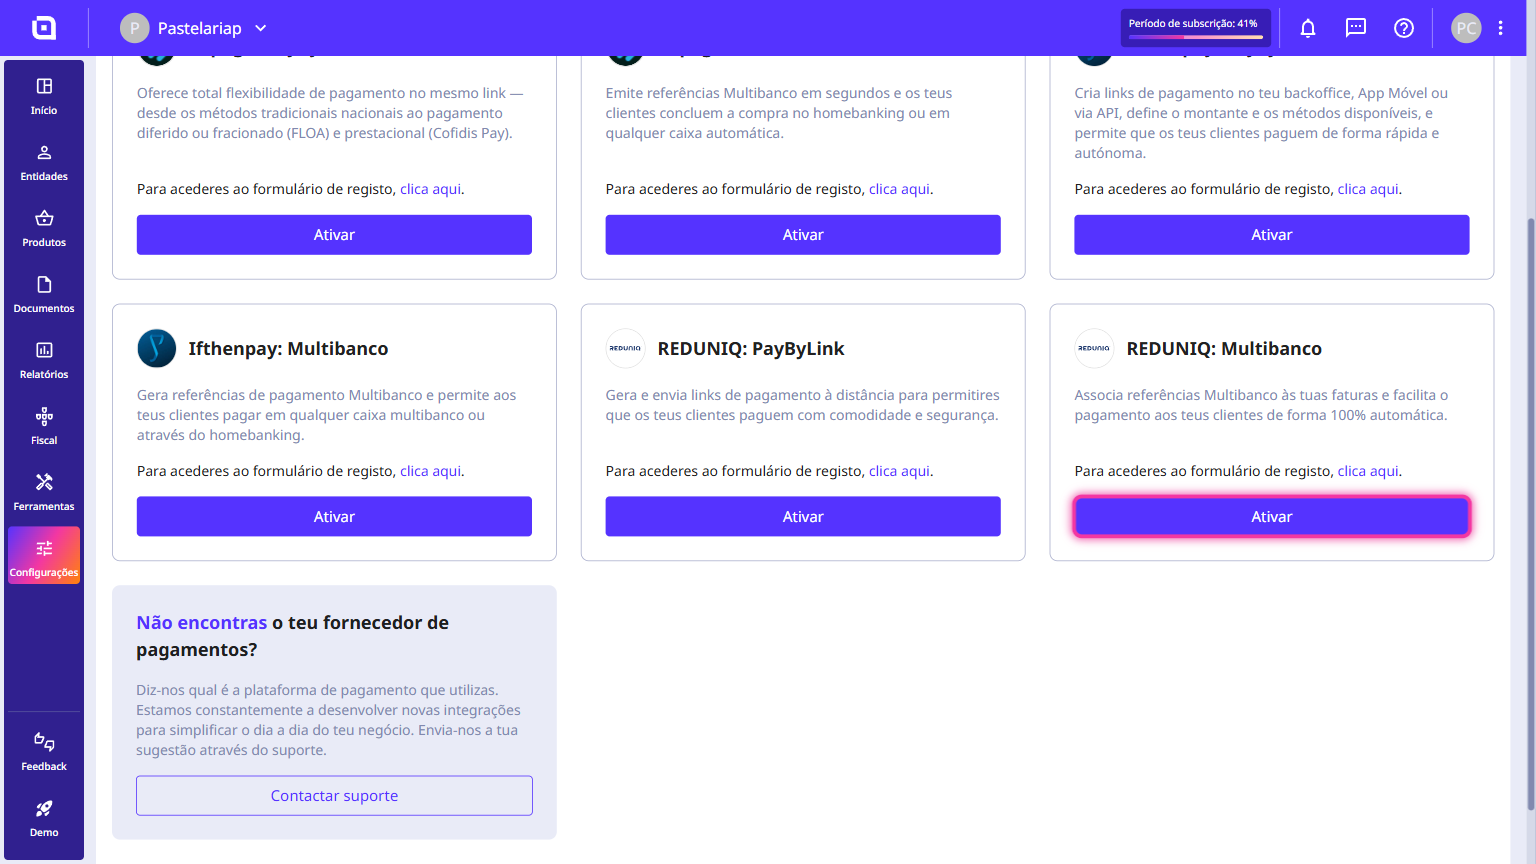
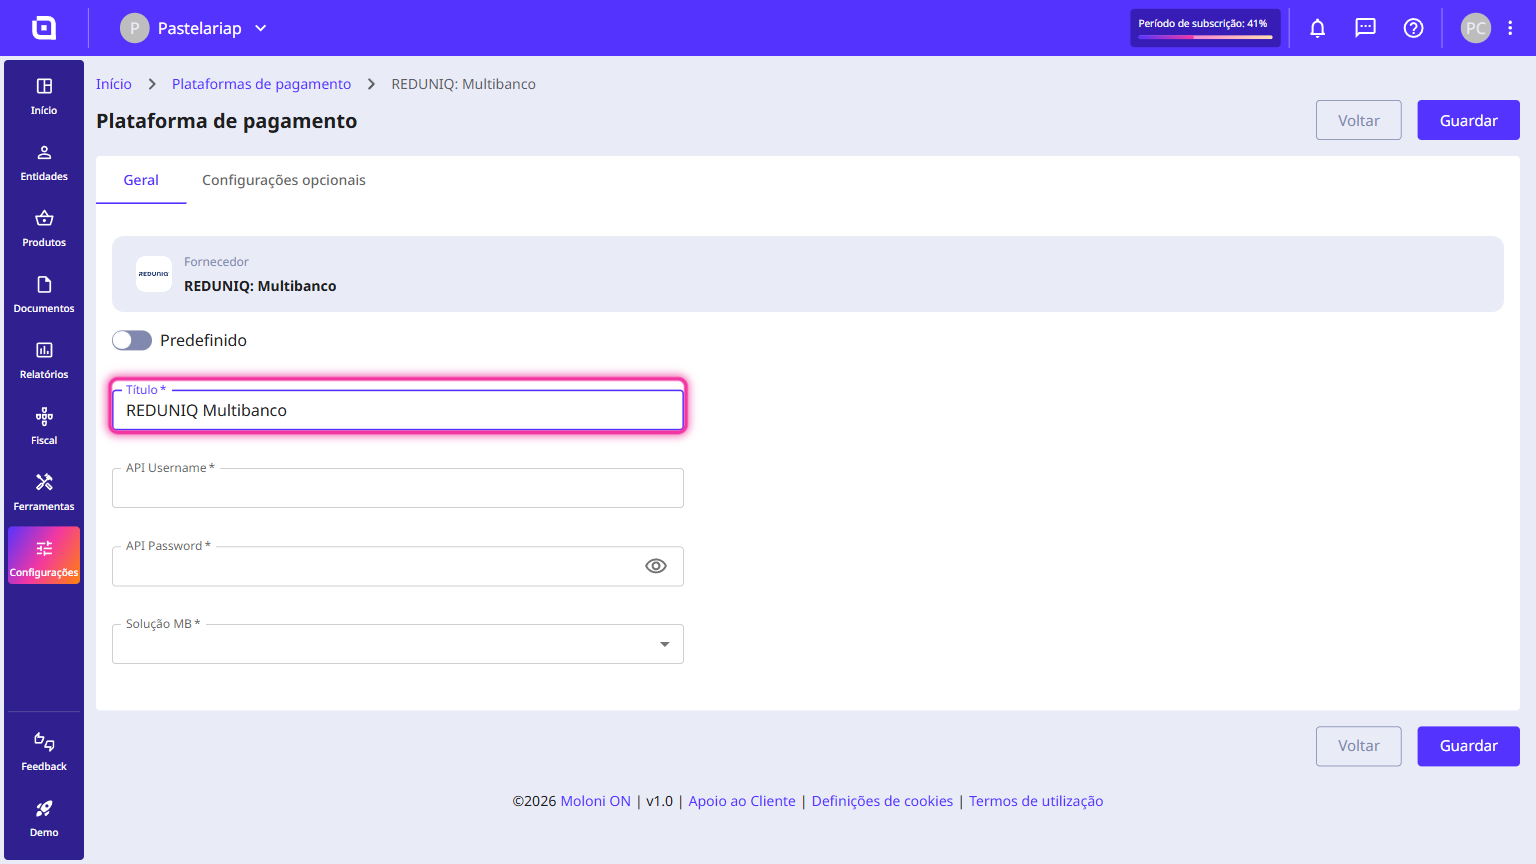
5. In the Title field, enter an identifying name for this configuration (e.g., "REDUNIQ Multibanco").
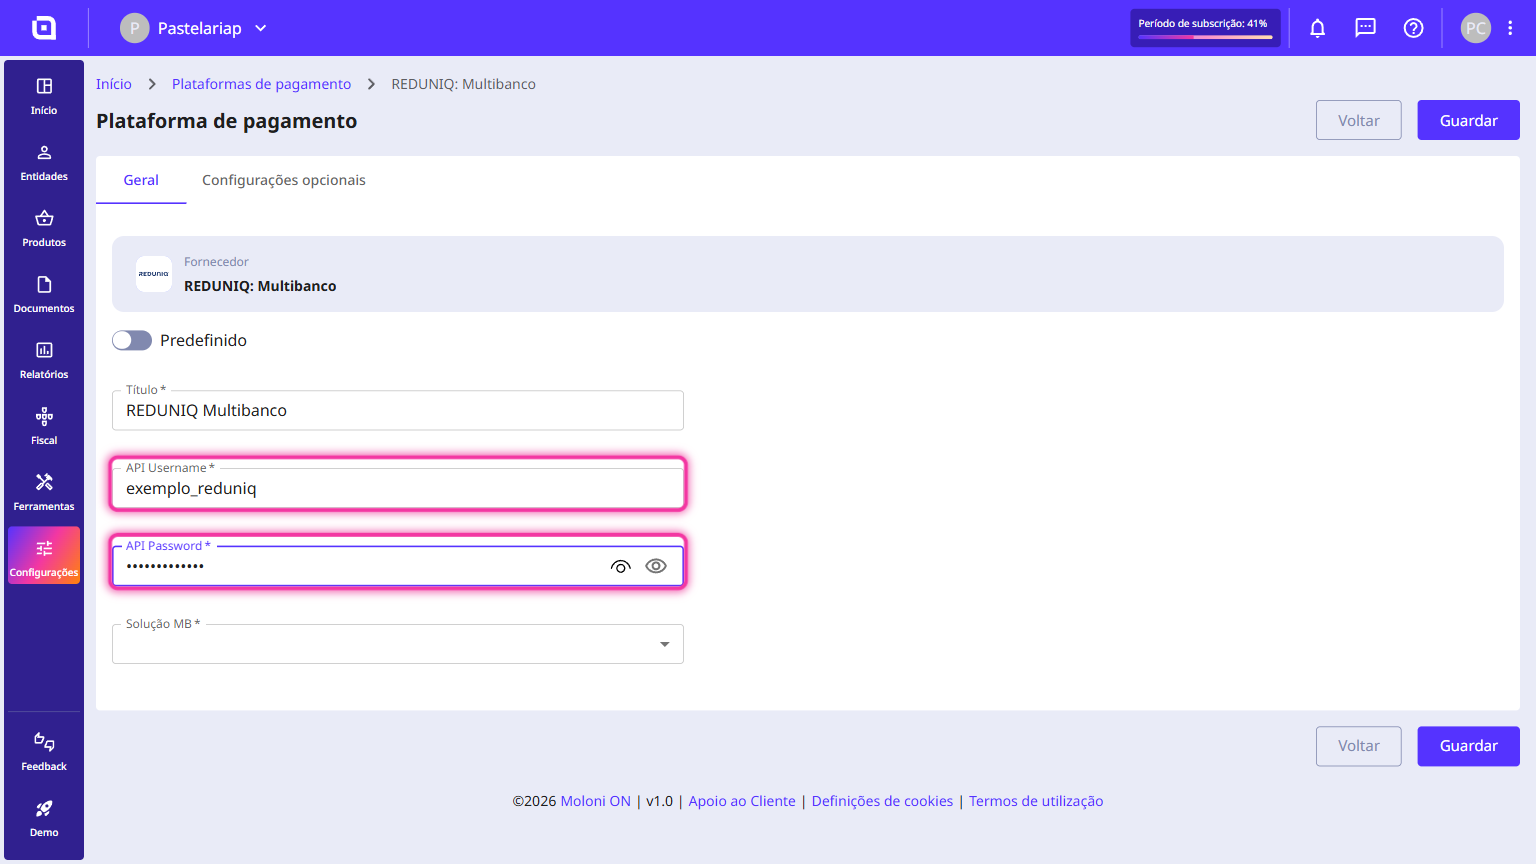
6. Enter the details provided by REDUNIQ in the API Username and API Password fields.
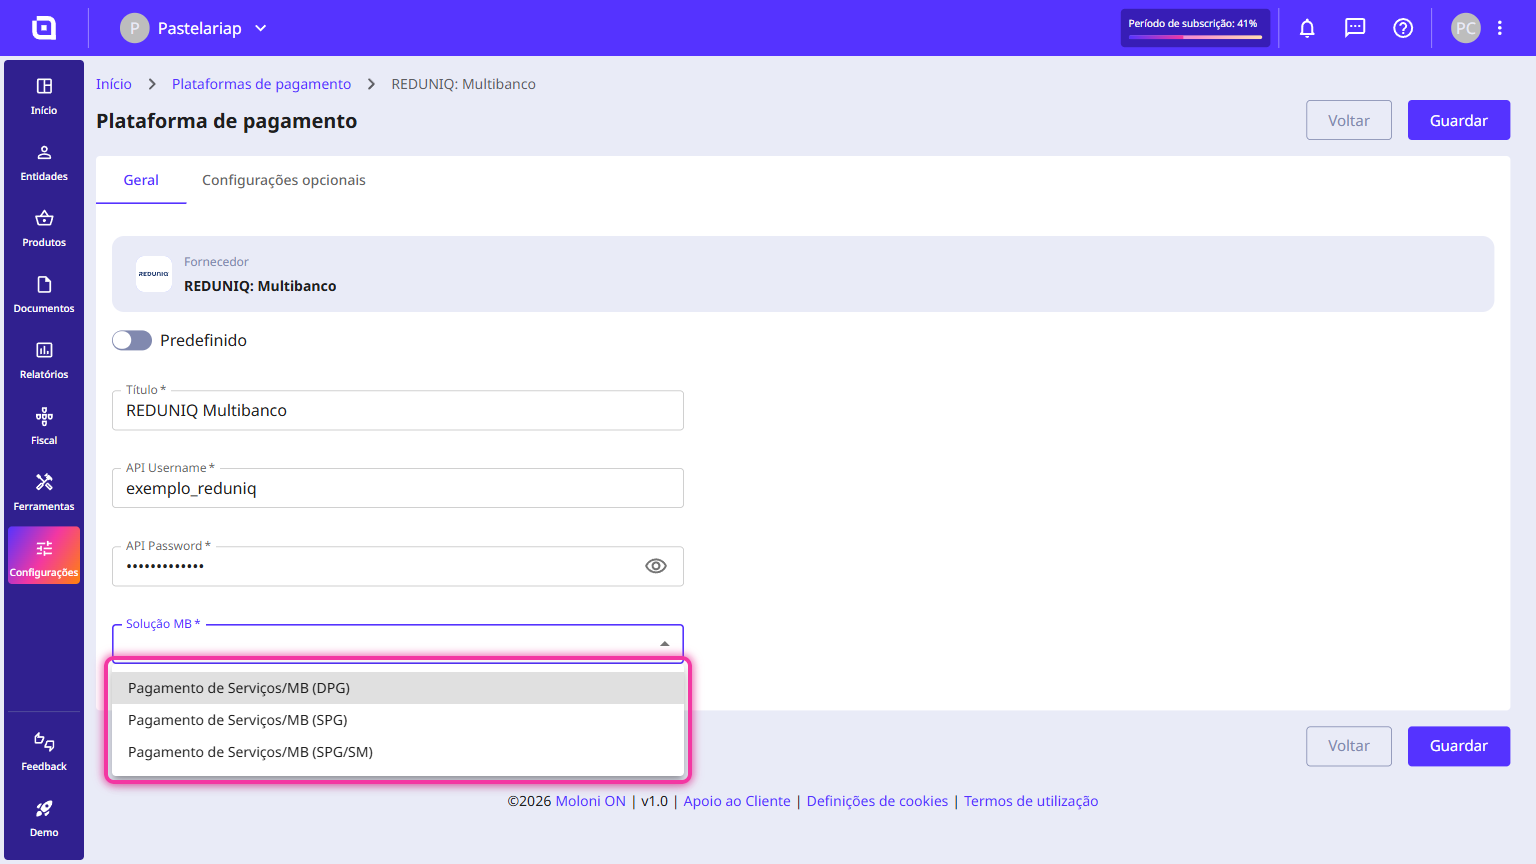
7. If you are activating REDUNIQ: Multibanco, select your desired solution in the MB solution field.
8. Enable the Default option if you want this to be the standard payment method suggested on your Moloni ON documents.
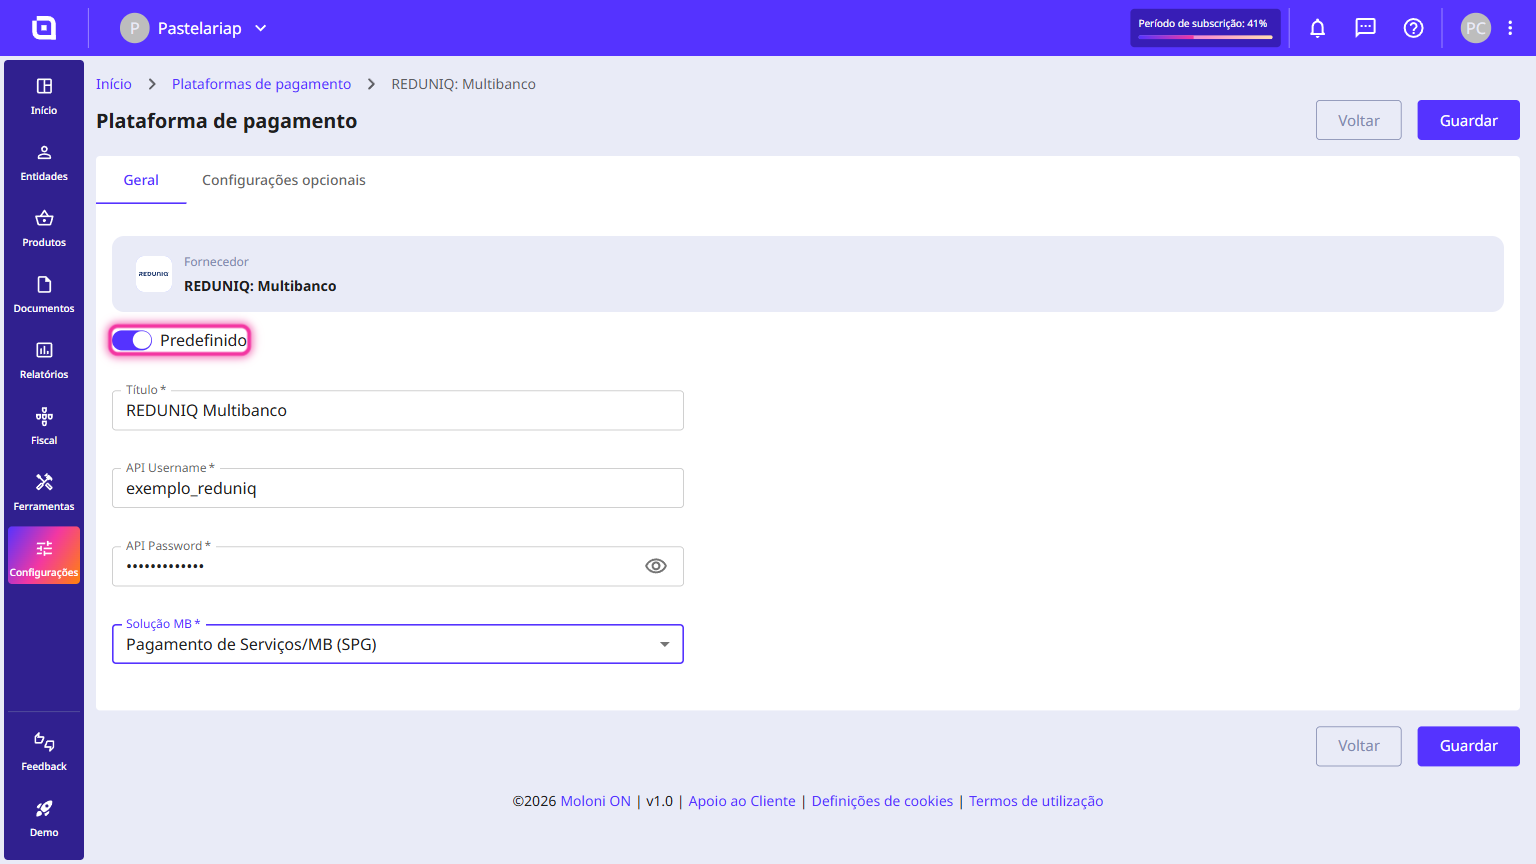
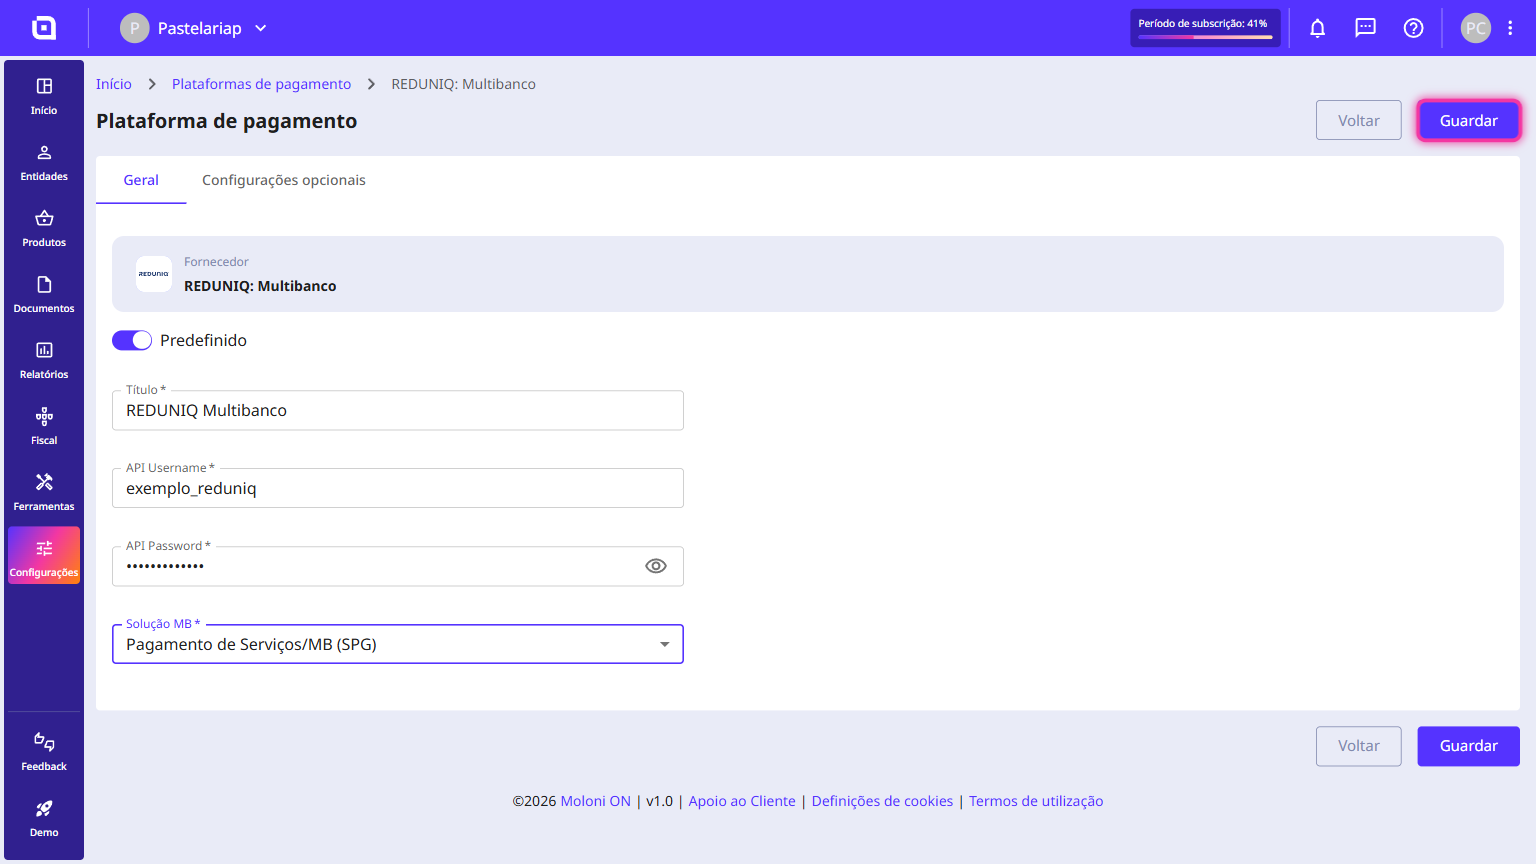
9. Click the Save button in the top right corner to complete the process.
How do I generate receipts automatically on Moloni ON?
Automating the issuing of receipts in Moloni ON through REDUNIQ is the ideal solution to save time and eliminate the manual work of financial management.
Follow these steps:
1. Access Settings on the left menu of Moloni ON, click Other settings, and select Payment gateways.
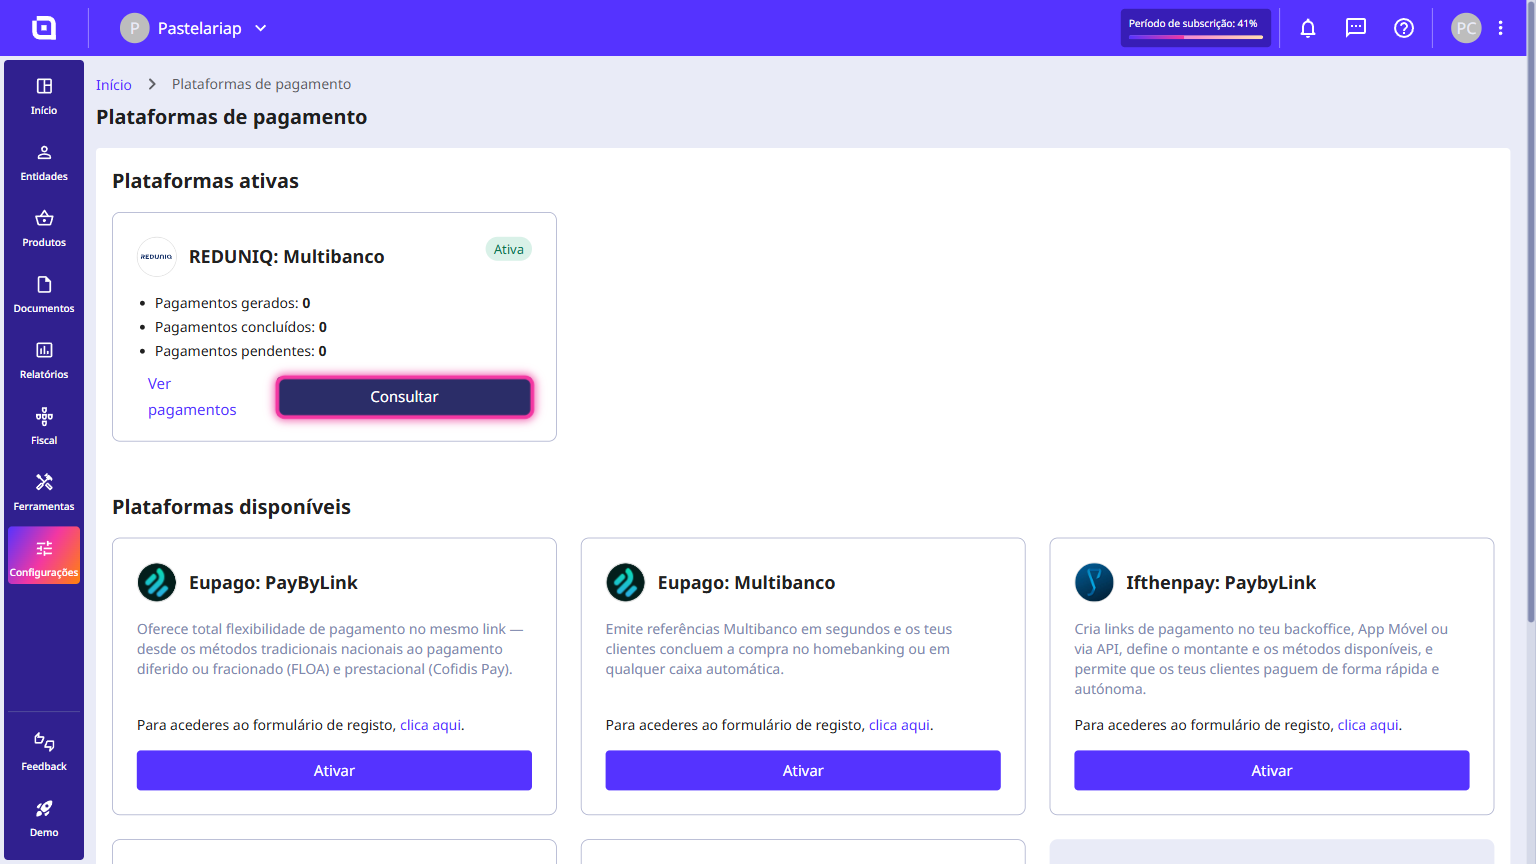
2. Under Active gateways, click View details on the block of the REDUNIQ method you wish to configure (e.g., REDUNIQ: PayByLink or REDUNIQ: Multibanco).
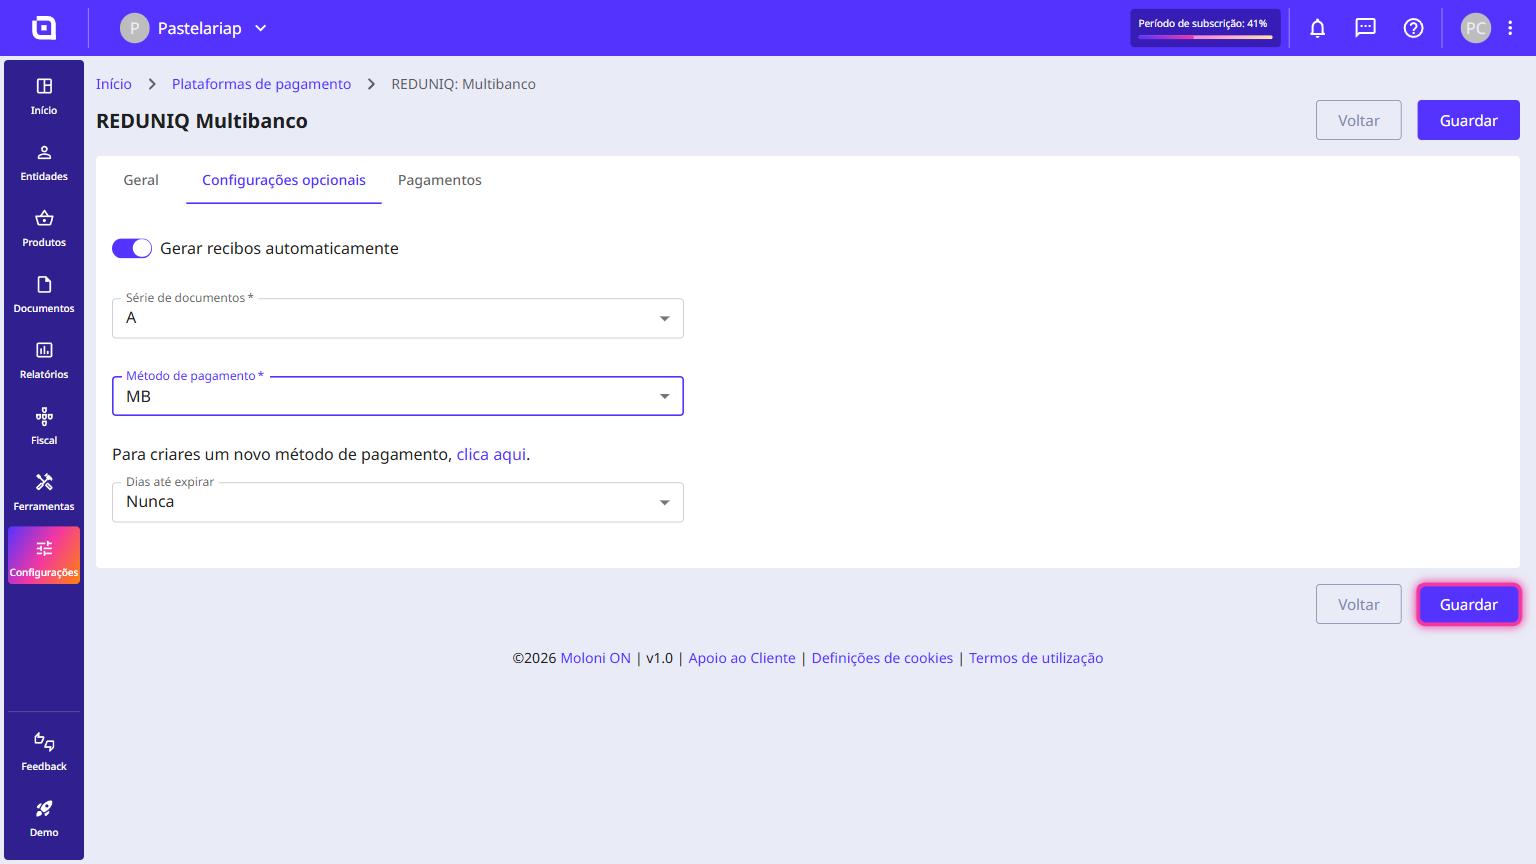
3. Select the Optional settings tab at the top of the screen.
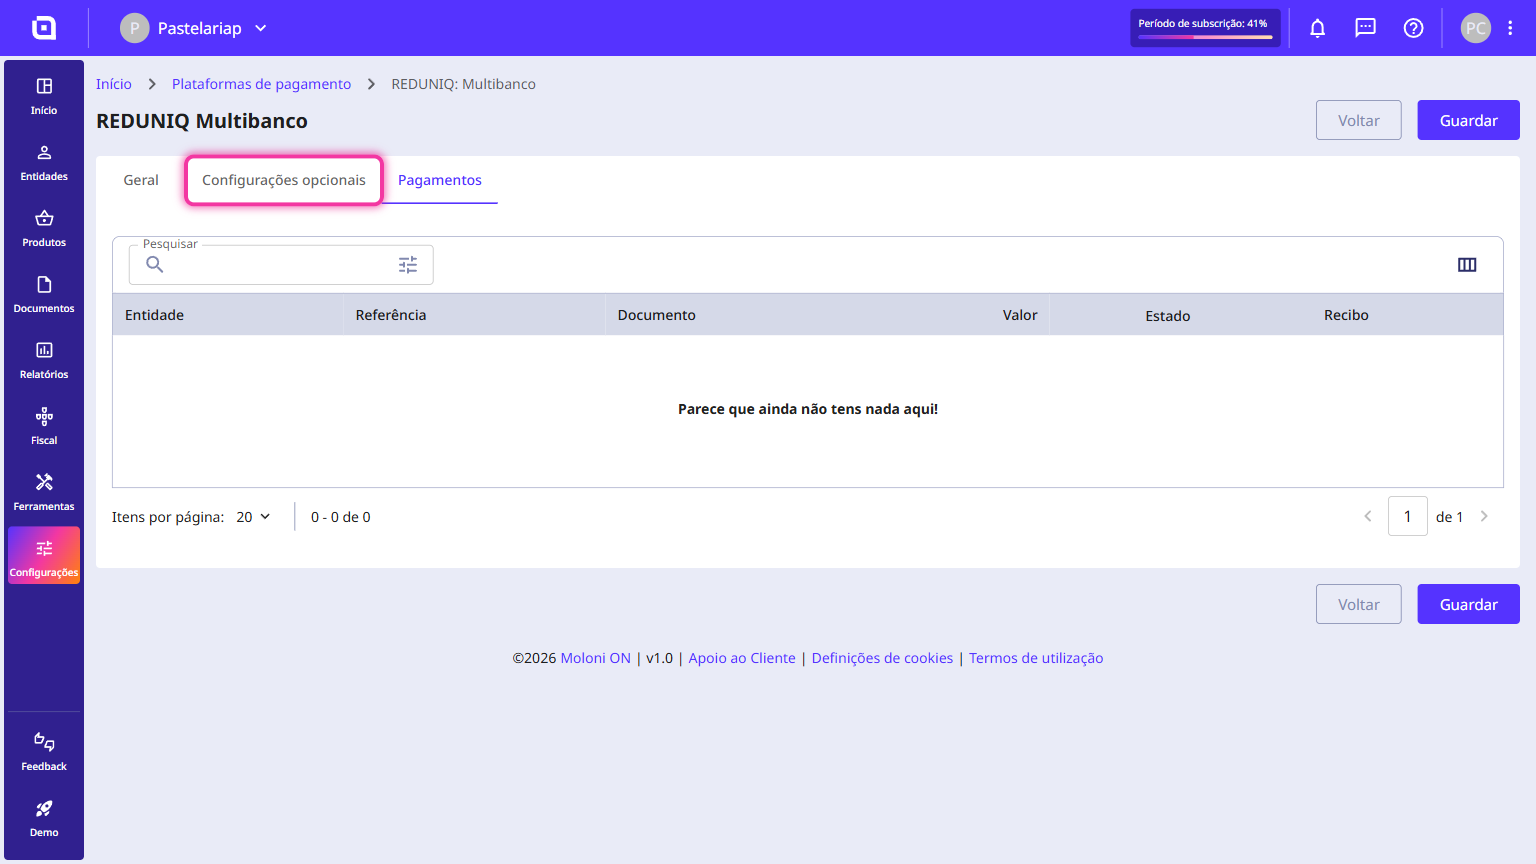
4. Enable the Automatically generate receipts option.
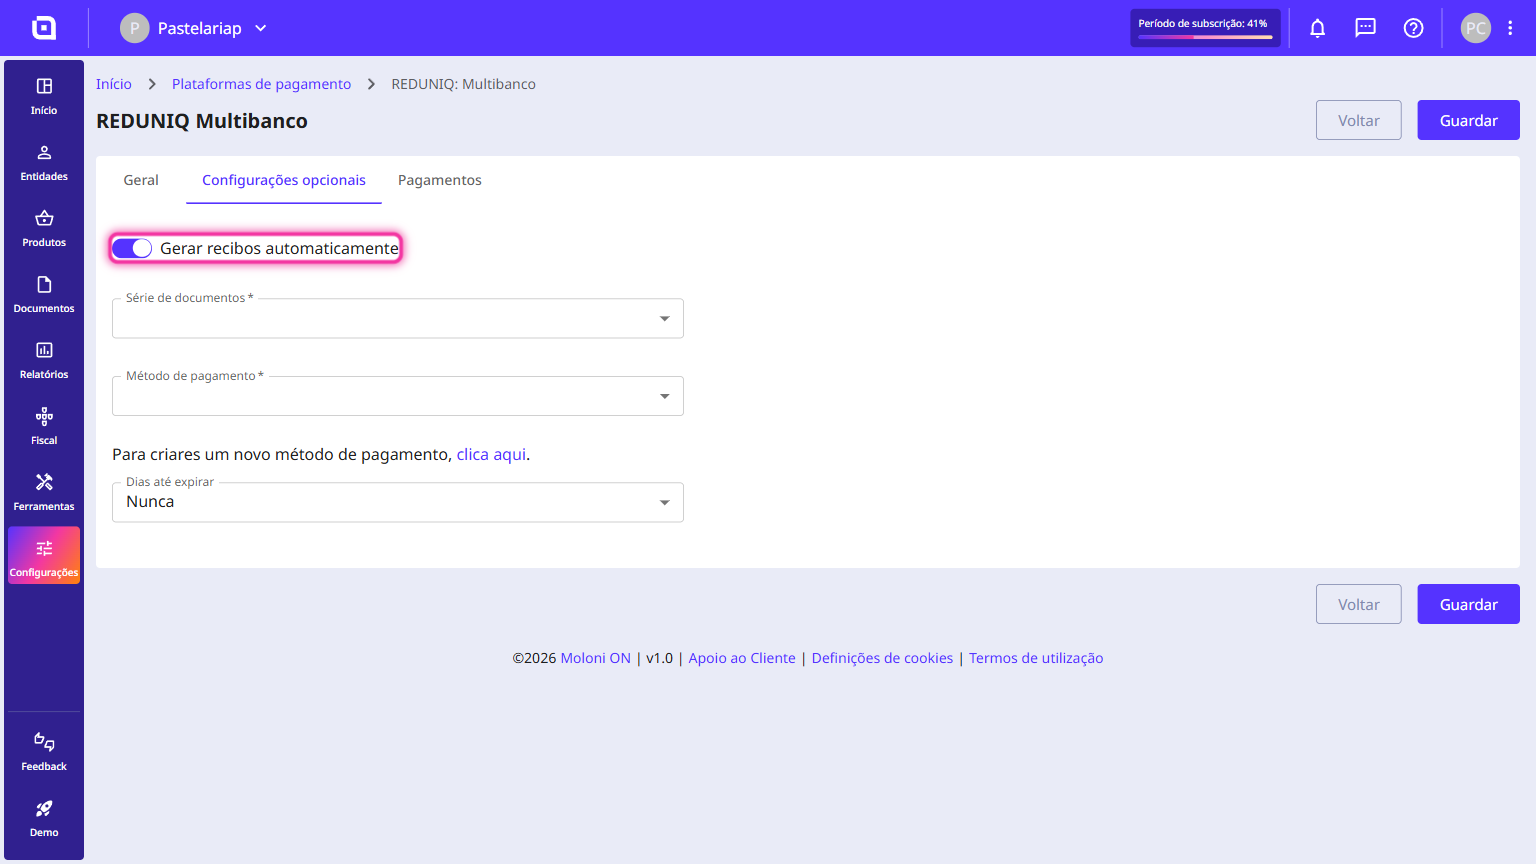
5. In the Document set field, select the billing series from the drop-down menu where you want your receipts to be issued.
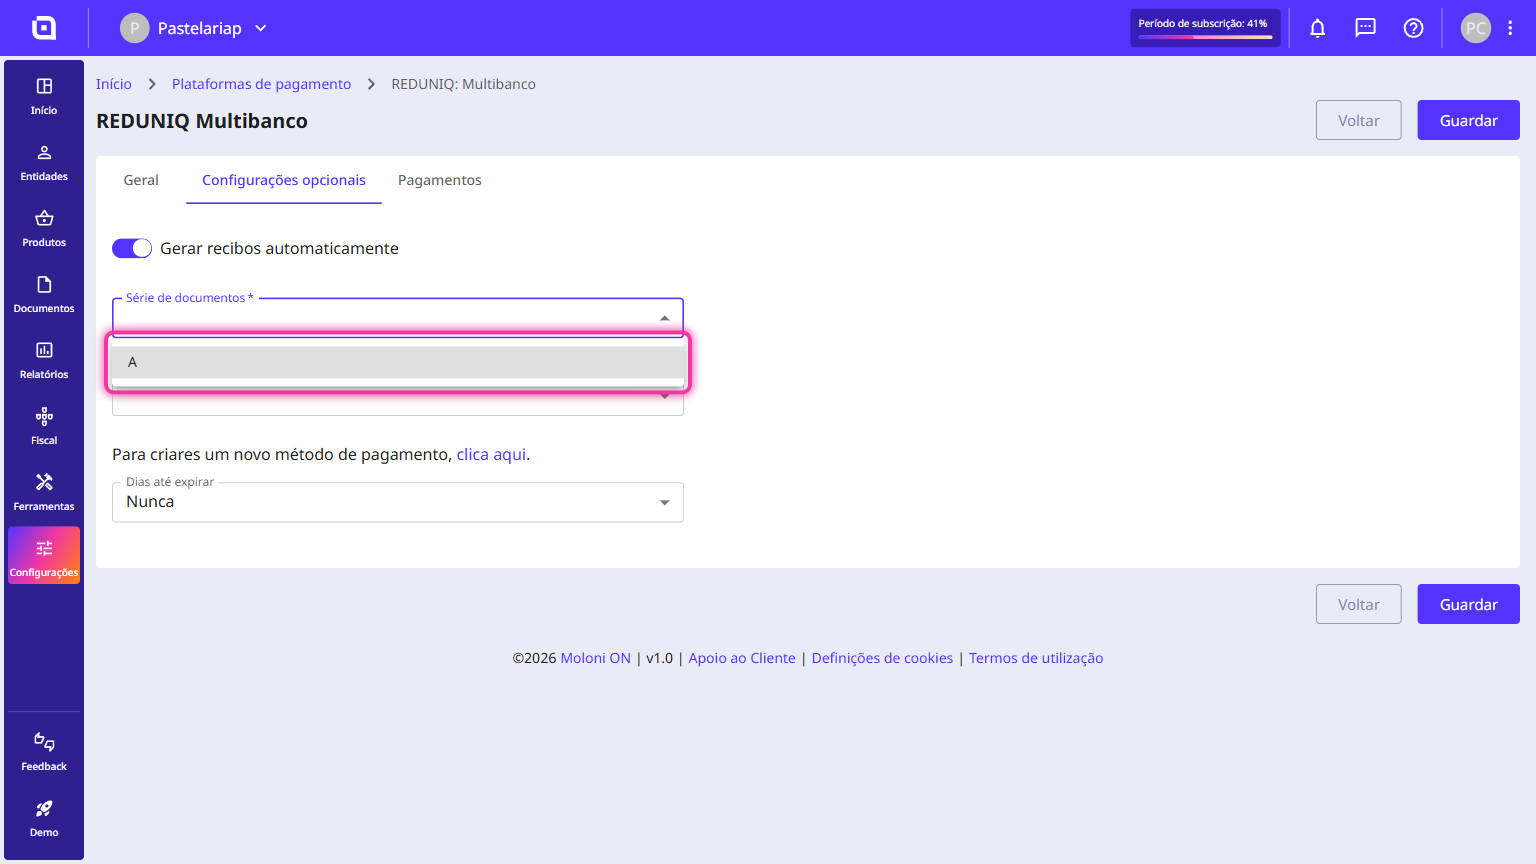
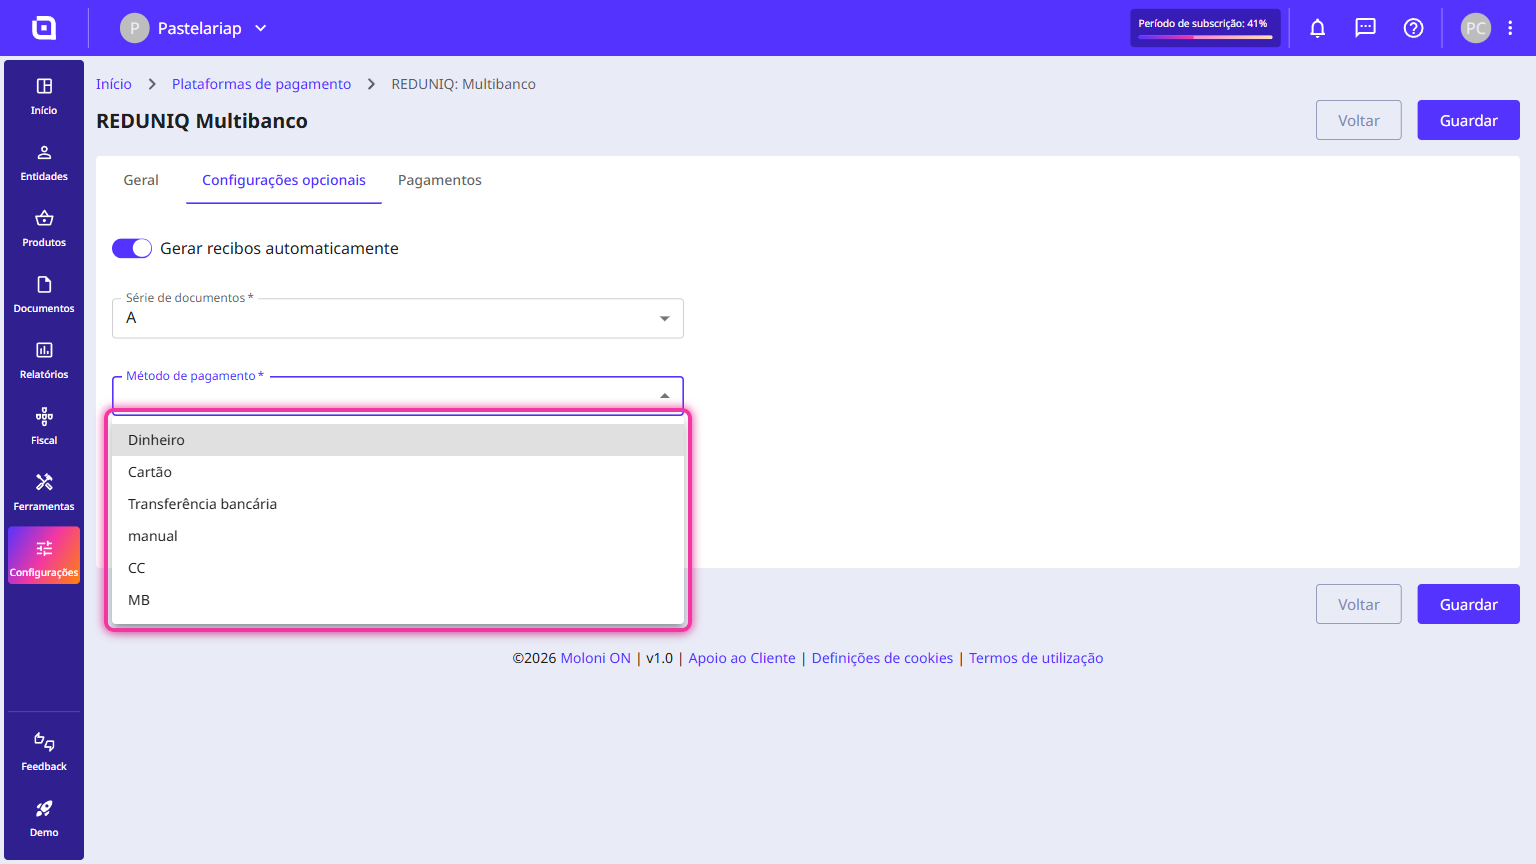
6. In the Payment method field, select your preferred method. If you want, you can also set the Days until expire for the references generated.
7. Click the Save button in the bottom right corner to complete the process.
How do I add payment details to a document?
To simplify the collection process and automate financial management, Moloni ON allows you to integrate payment gateways directly into your documents. When you activate this option, the system automatically generates the payment details associated with your configured financial entity - Multibanco references or direct links (PayByLink) - allowing your customer to pay with total convenience.
However, there are specific rules regarding where and when you can use this feature in Moloni ON. Make sure you meet the following requirements:
- Eligible documents: Payment details can only be added to Invoices and Recurring Agreements. They are not available for other document types.
- Workflow flexibility: You can include the payment right at the time of issuance or add it later to a document that has already been closed.
During the creation of a document
If you are issuing a new invoice or recurring agreement and want the customer to receive the payment link straight away, follow these steps:
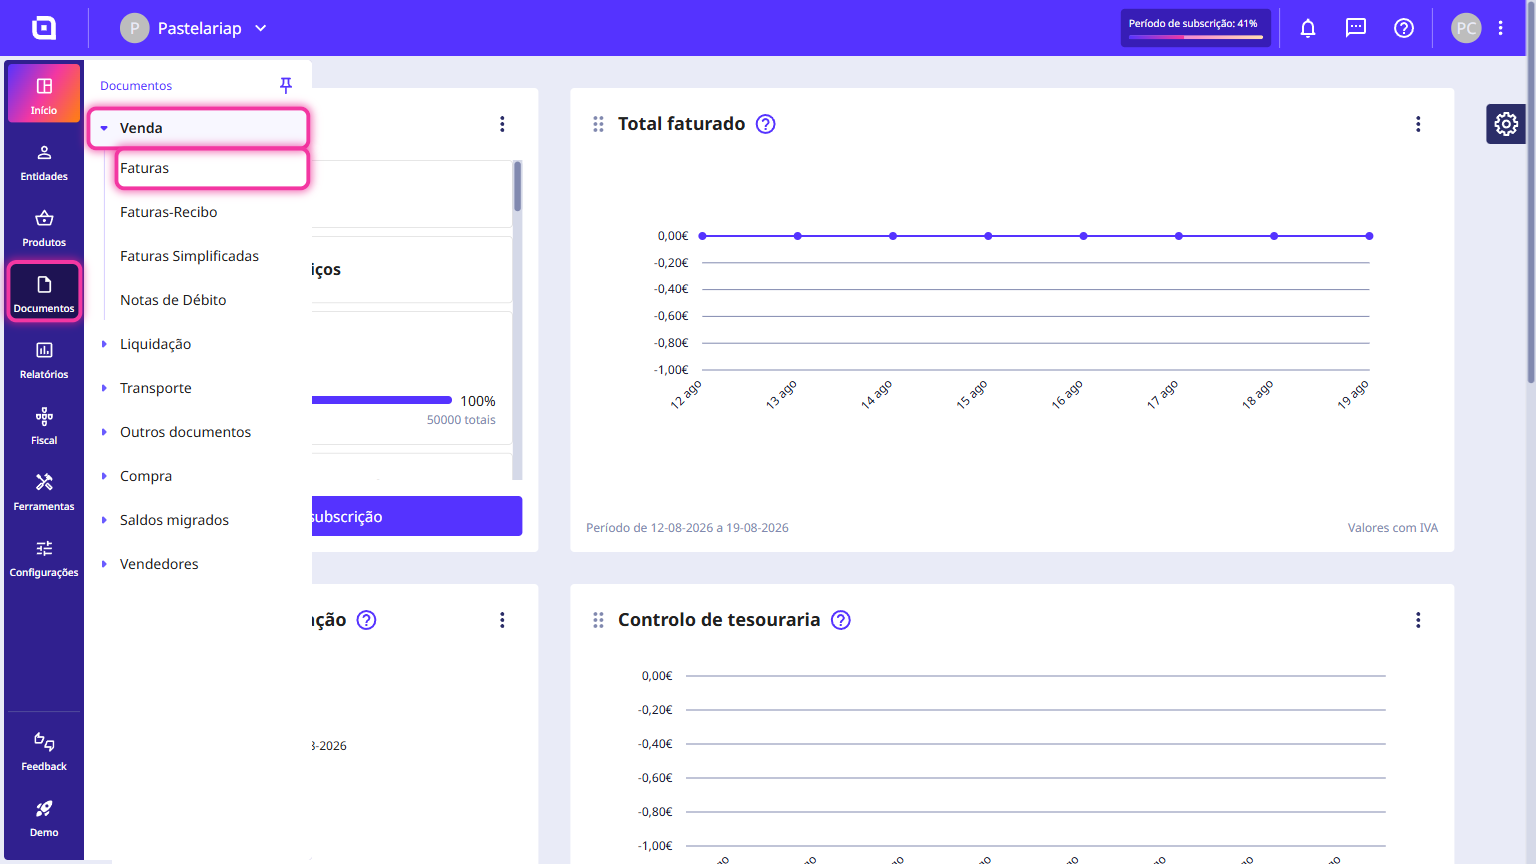
1. Access Documents on the left menu of Moloni ON, click Sales, and select Invoices.
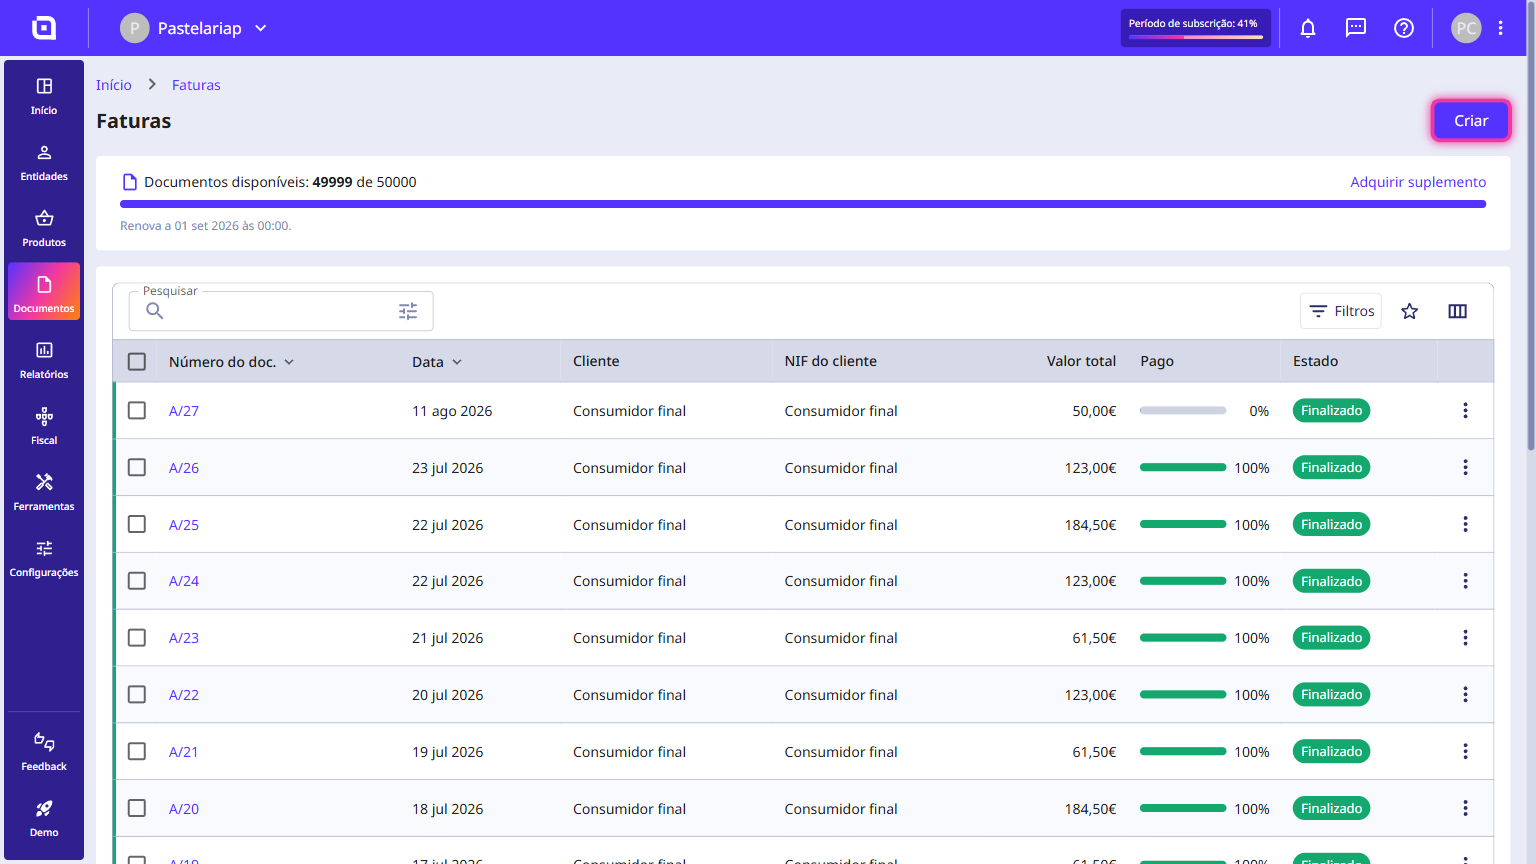
2. Click the Create button in the top right corner.
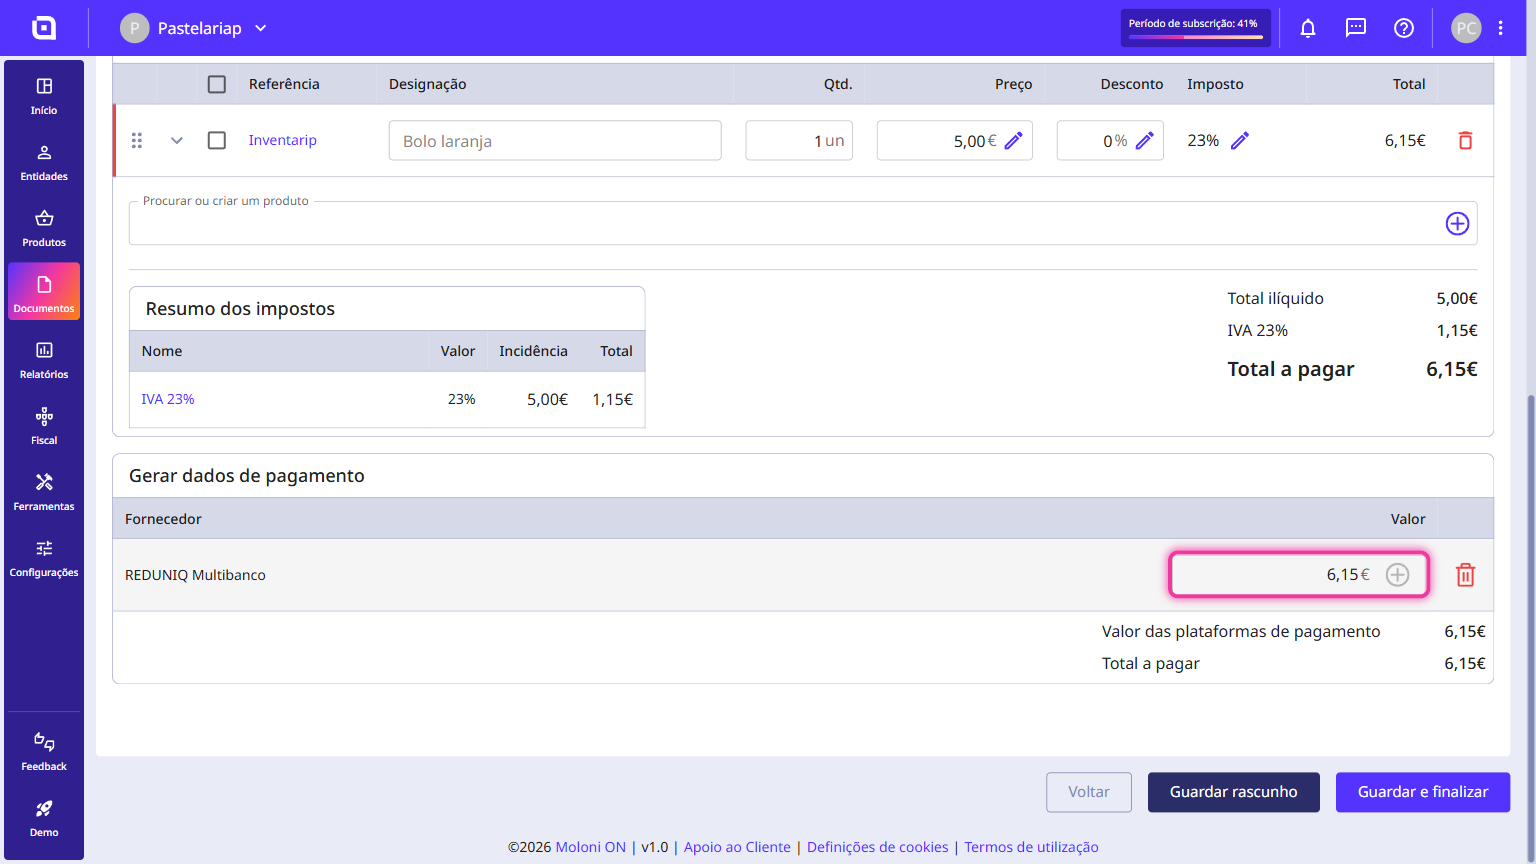
3. After filling in the Commercial information and Products, go to the Generate payment data section and select your desired payment gateway.
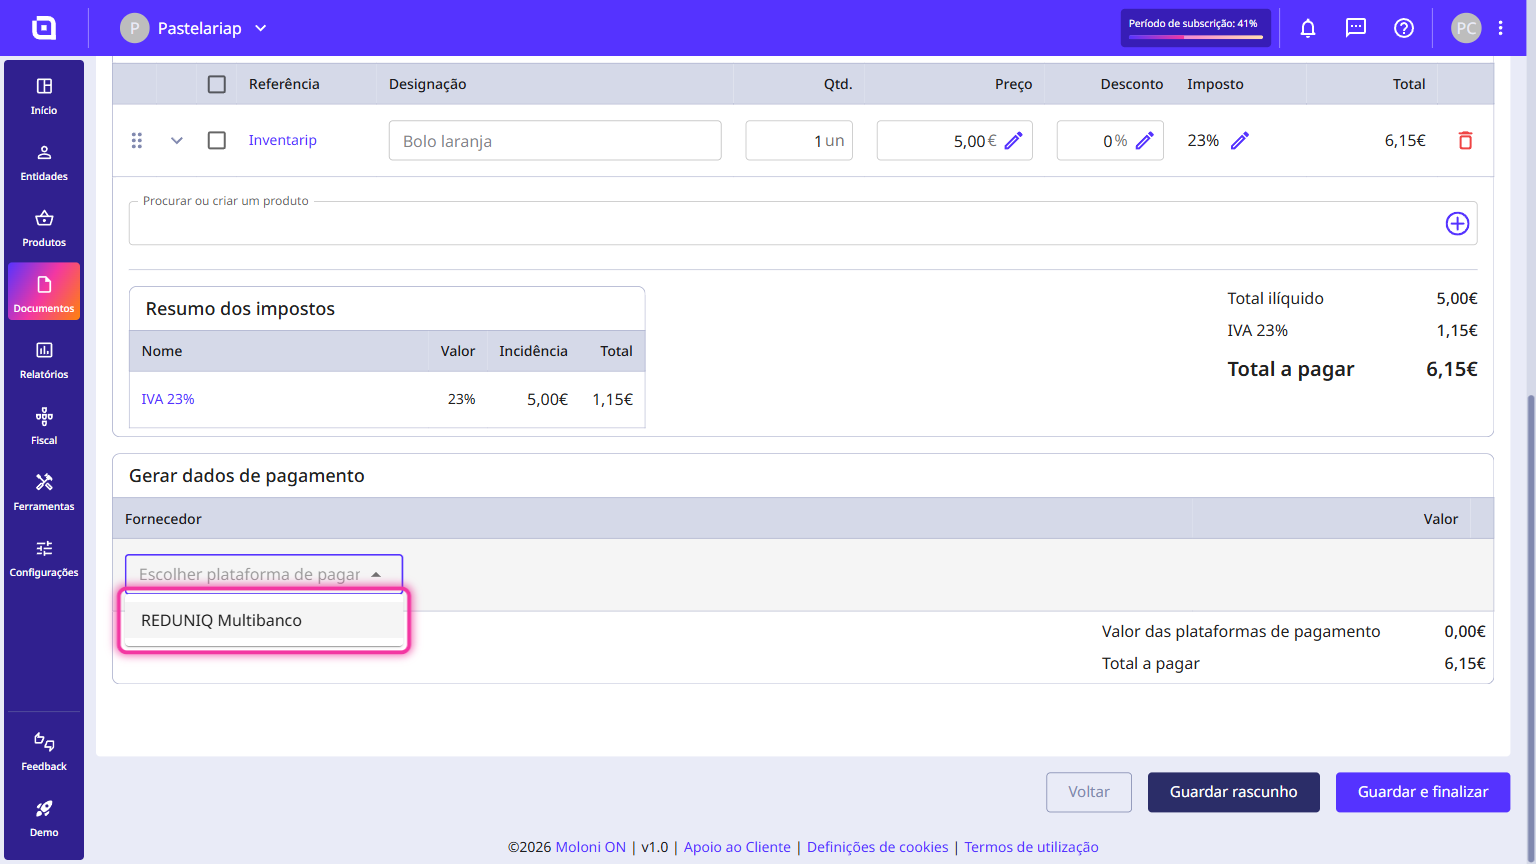
4. In the Value field, enter the exact amount to be charged through the gateway.
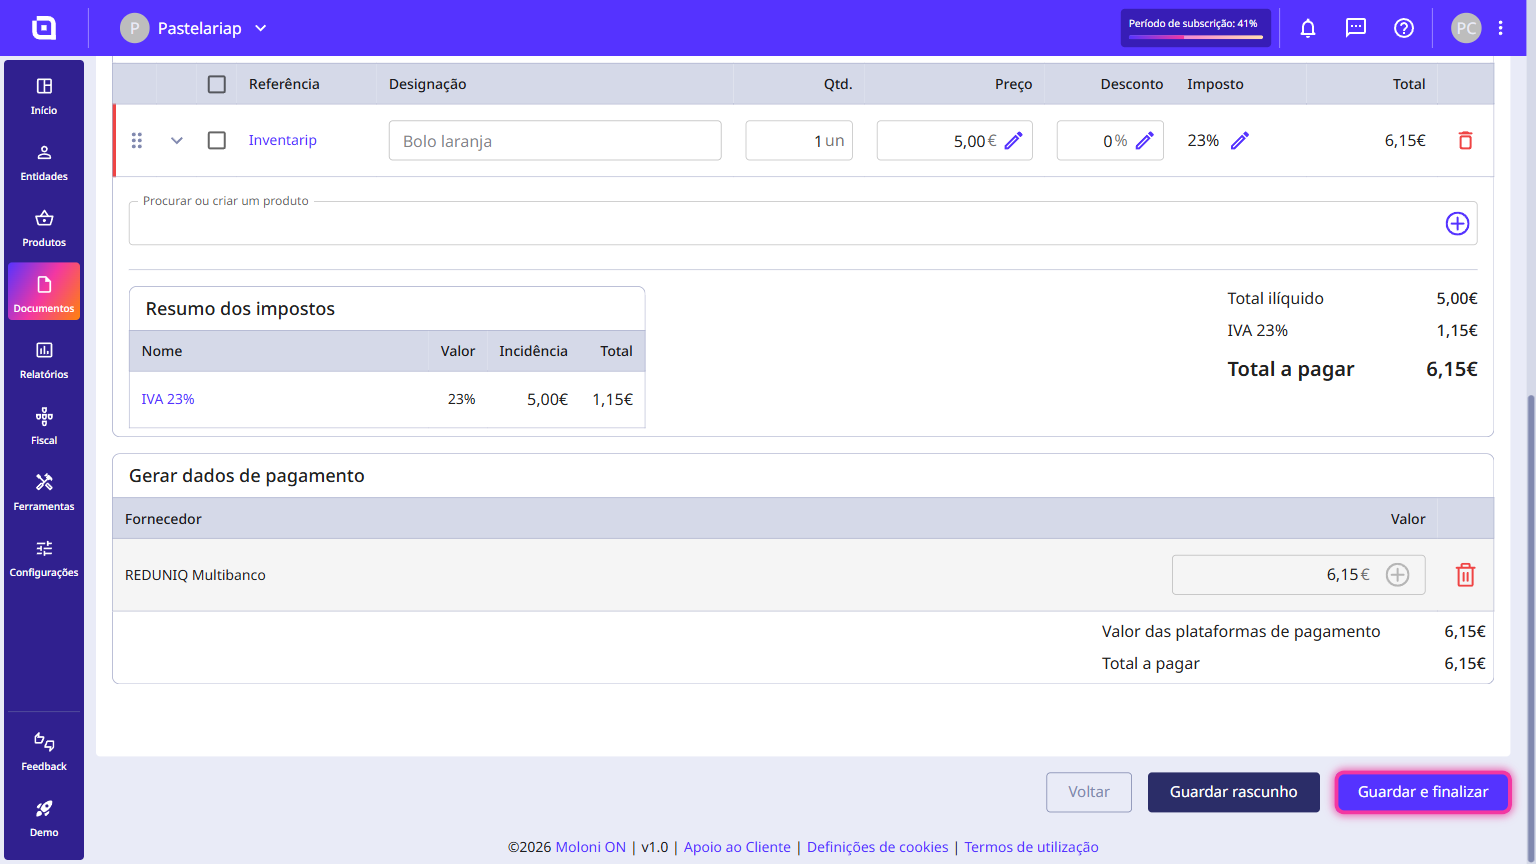
5. Click Save and finish in the bottom right corner. Moloni ON will issue the document and immediately create the link or the reference in the Payments tab with a Pending status.
On an already issued document
If the document has already been generated without payment details and you want to add the link now, follow these steps:
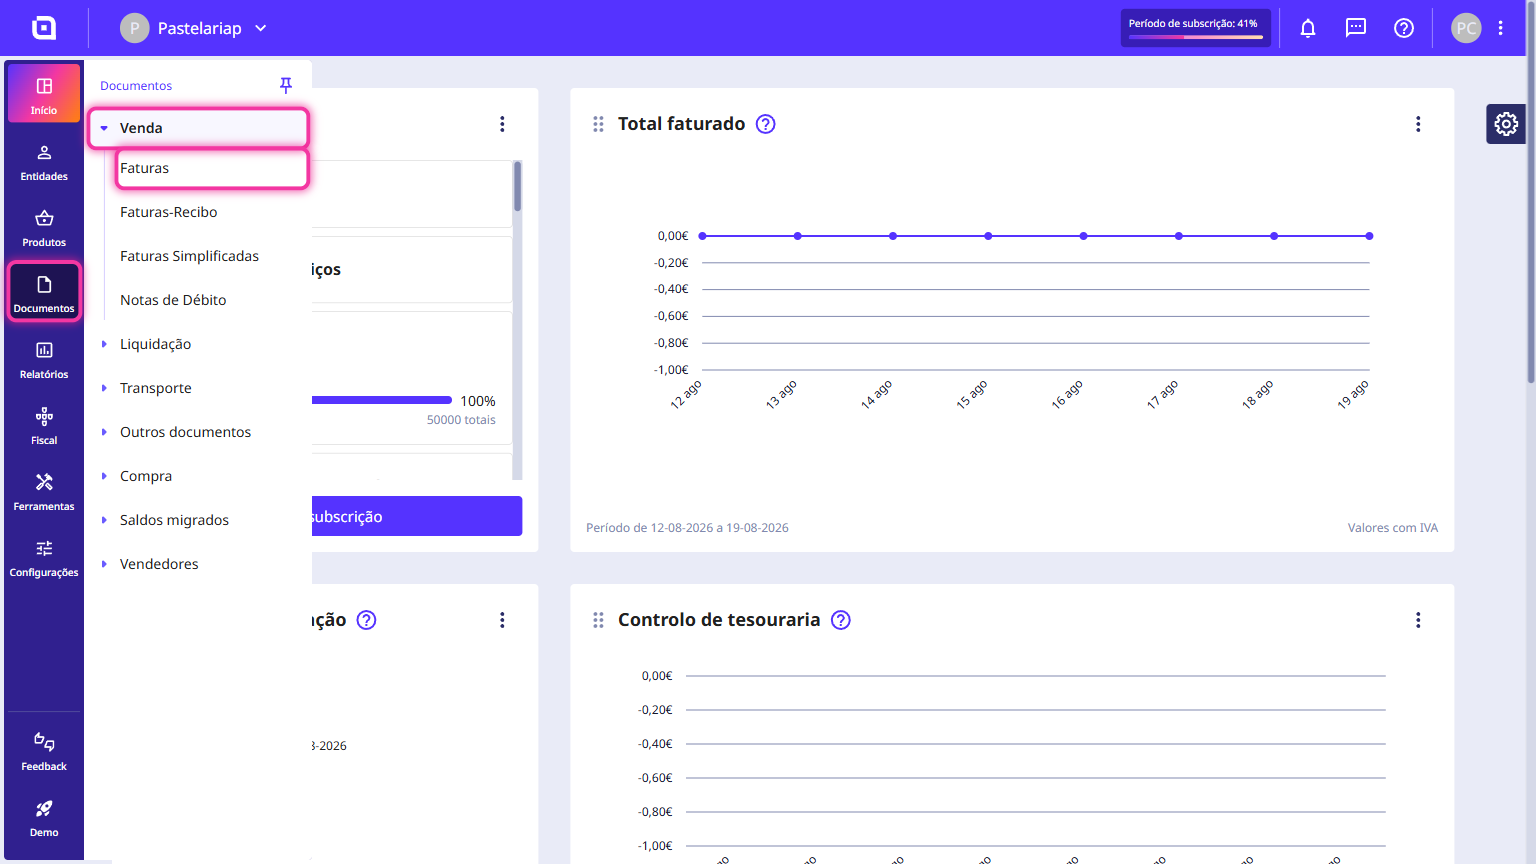
1. Access Documents on the left menu of Moloni ON, click Sales, and select Invoices.
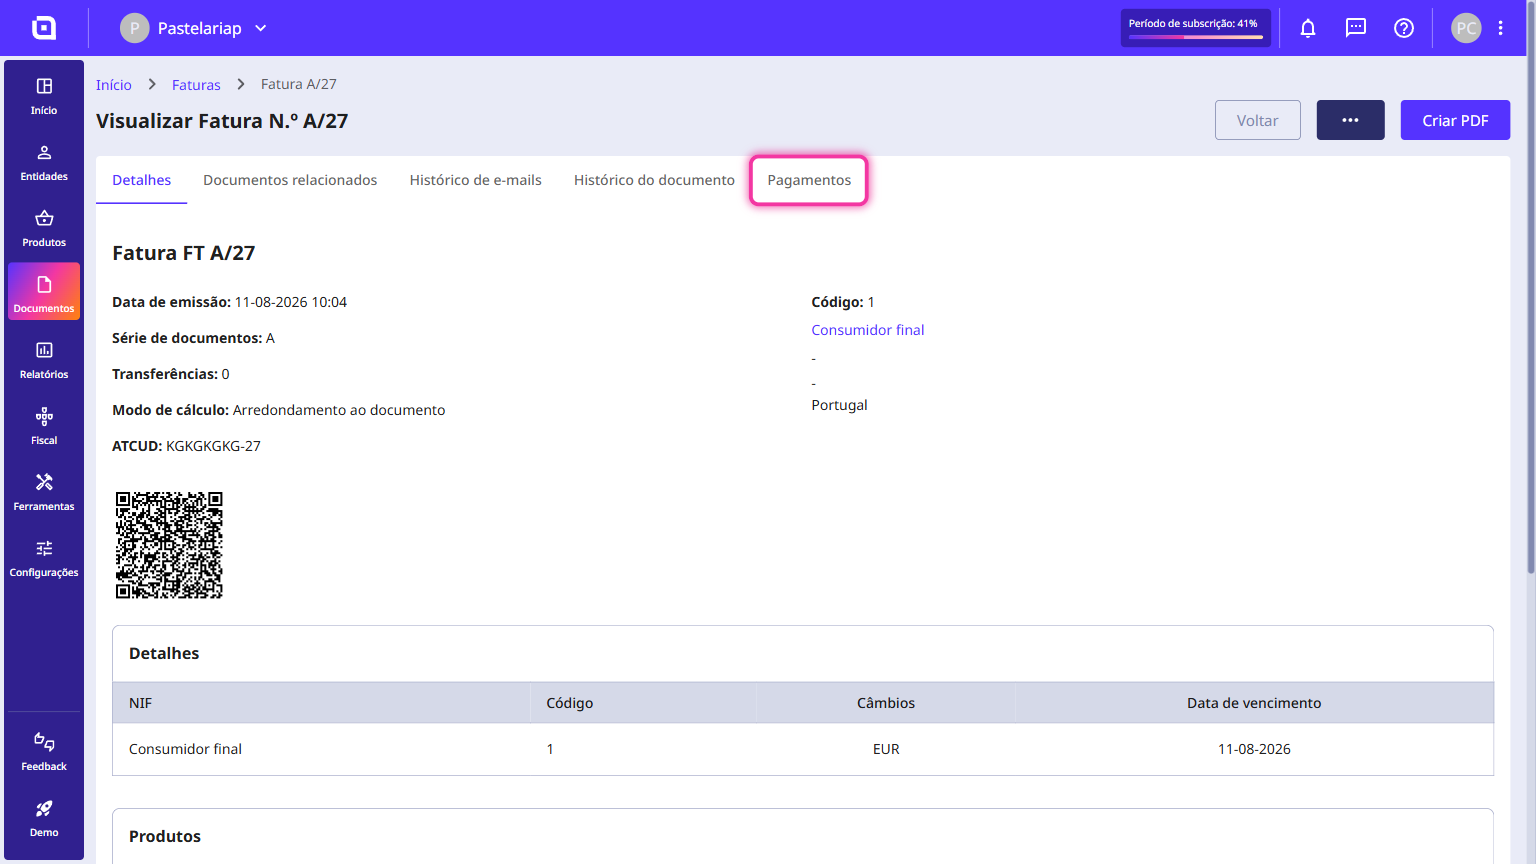
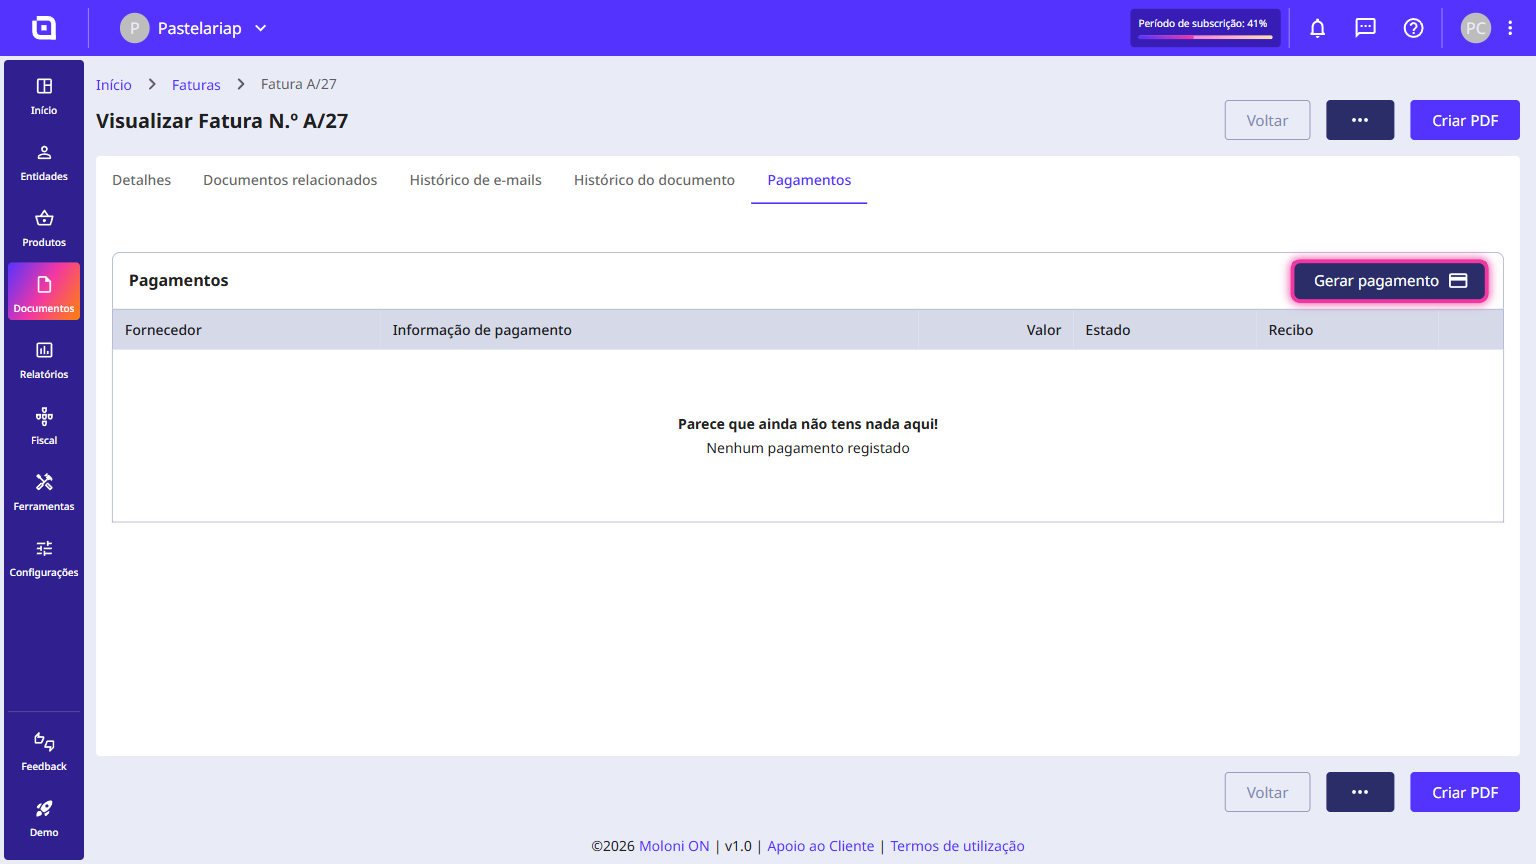
2. Open the desired invoice or recurring agreement and click the Payments tab.
3. Click the Generate payment button in the top right corner of the tab.
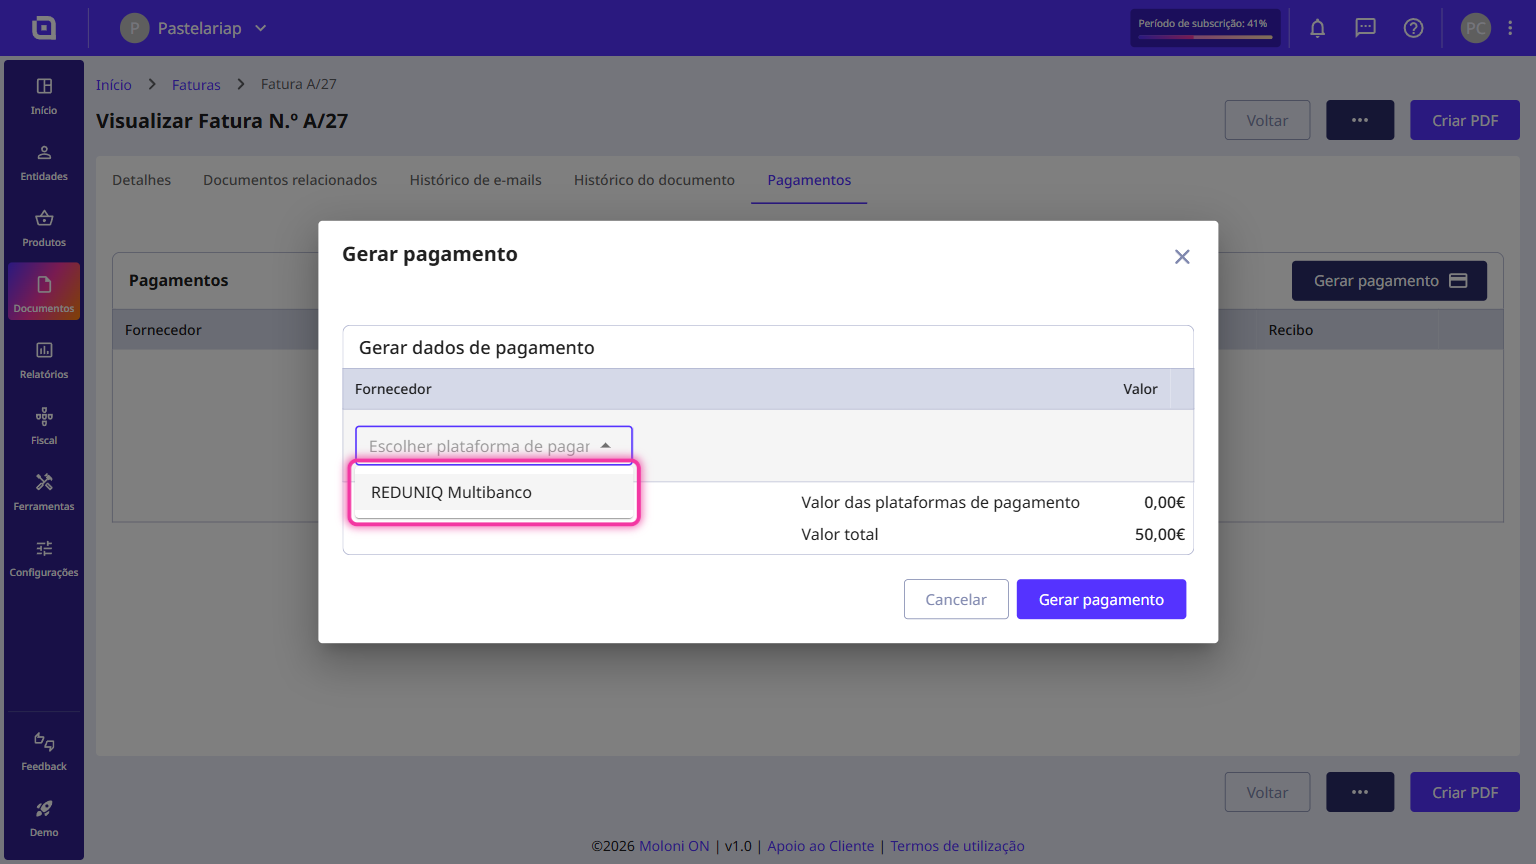
4. In the Generate payment data section, select your desired payment gateway.
5. In the Value field, enter the amount to charge. You can use the total outstanding amount of the document, shown under Total value.
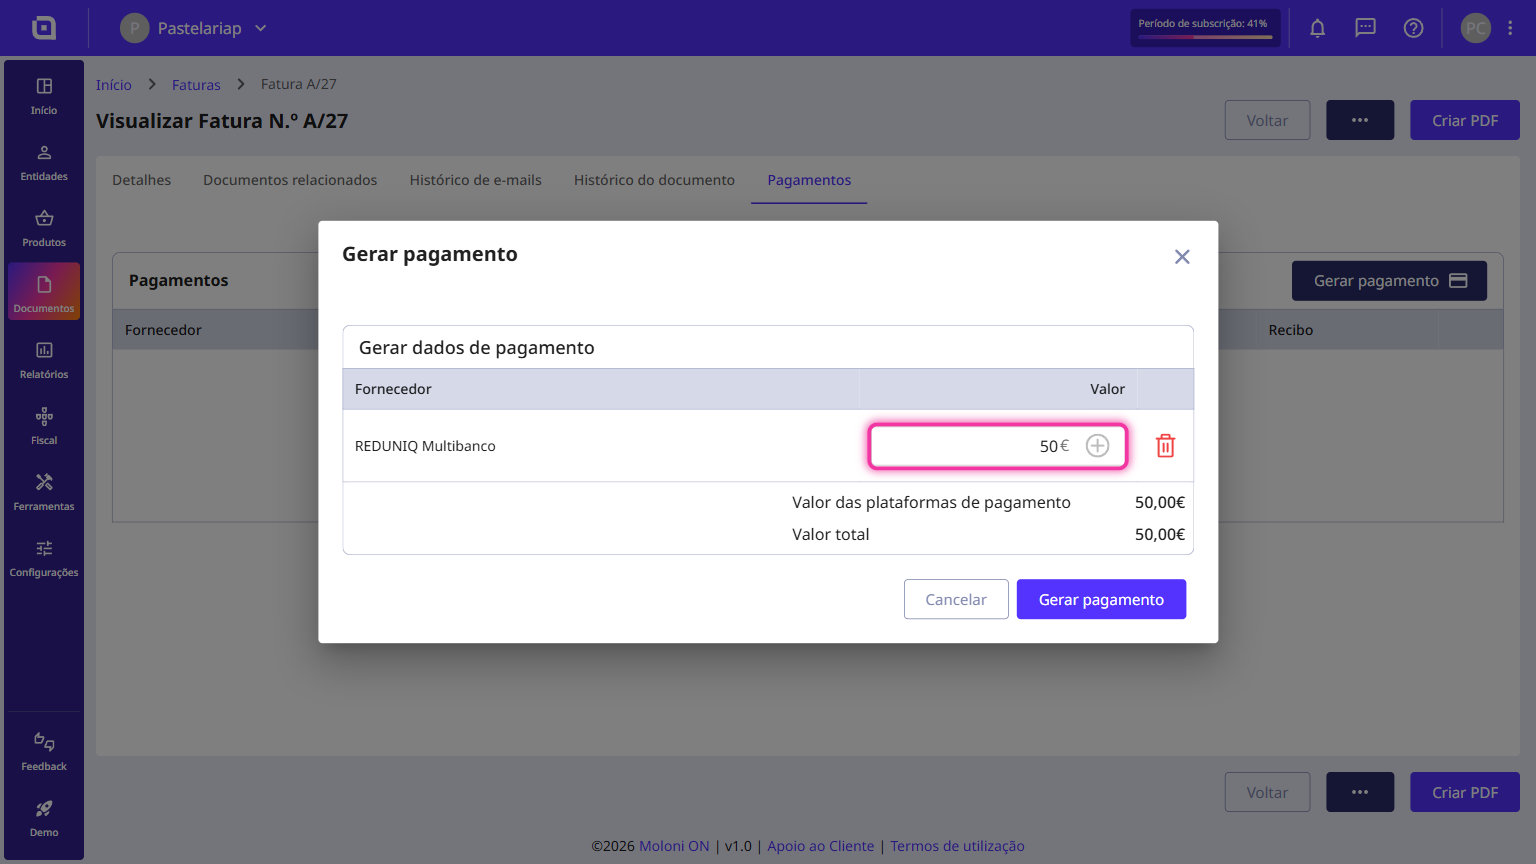
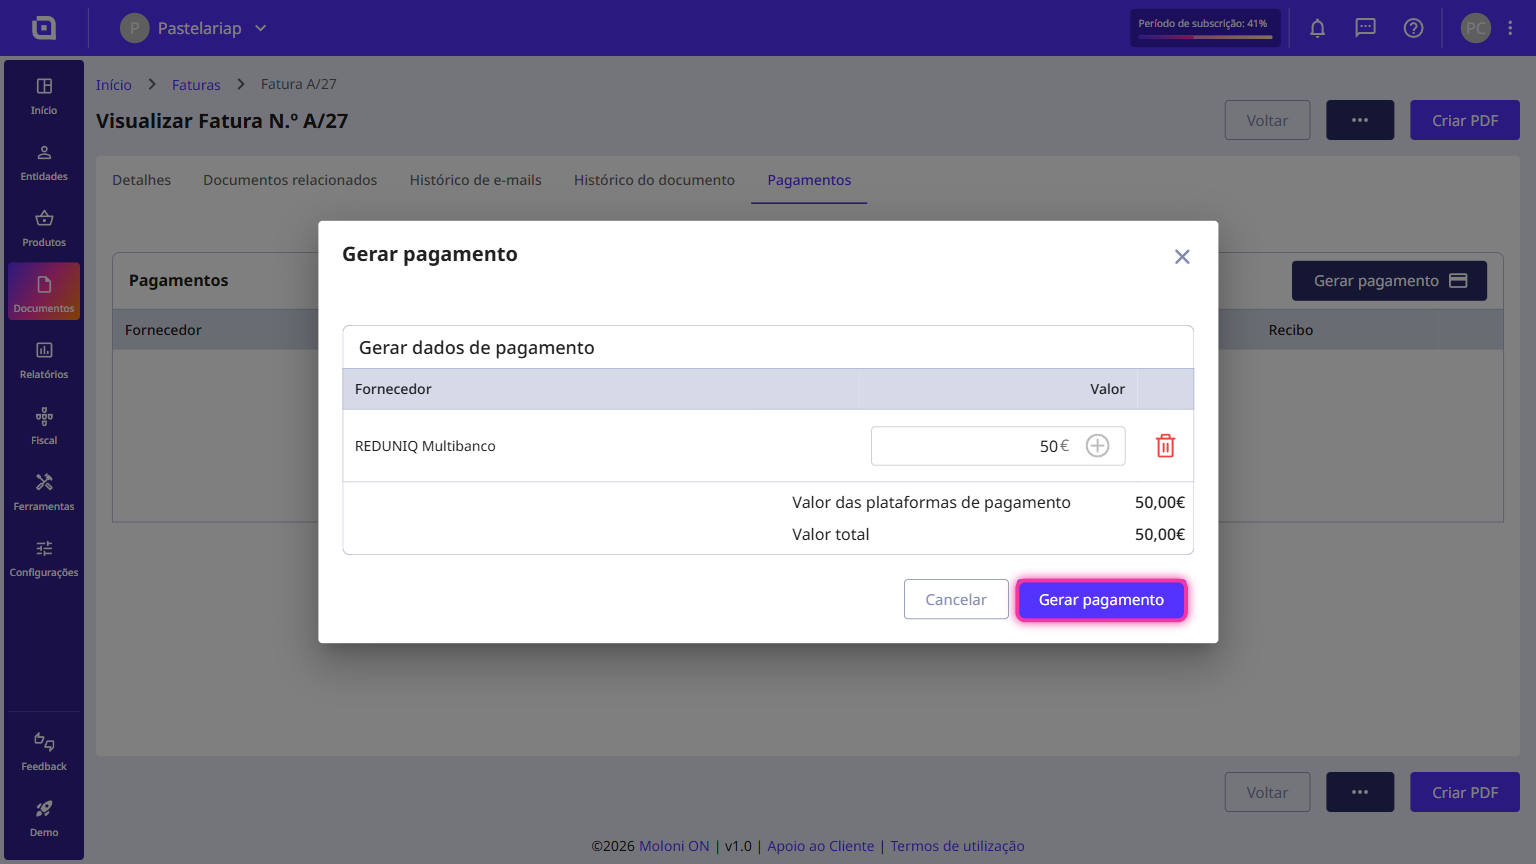
6. Validate the details and click the Generate payment button to create the corresponding payment link or reference.