How to create bank details
In Moloni ON, you can add financial information, such as your IBAN, so that it automatically appears on your documents. Simply create each bank detail in Settings and associate it with your company: from then on, that information appears on the Invoices, Debit Notes and other documents you issue, without you having to type it in every time.
What are bank details and what are they for?
This feature automates the sharing of your payment information with your customers. By including your bank details permanently in the footer or body of the documents you issue (such as Invoices or Debit Notes), you simplify the settlement process, avoid errors when passing that information on manually and get paid faster.
Follow these steps:
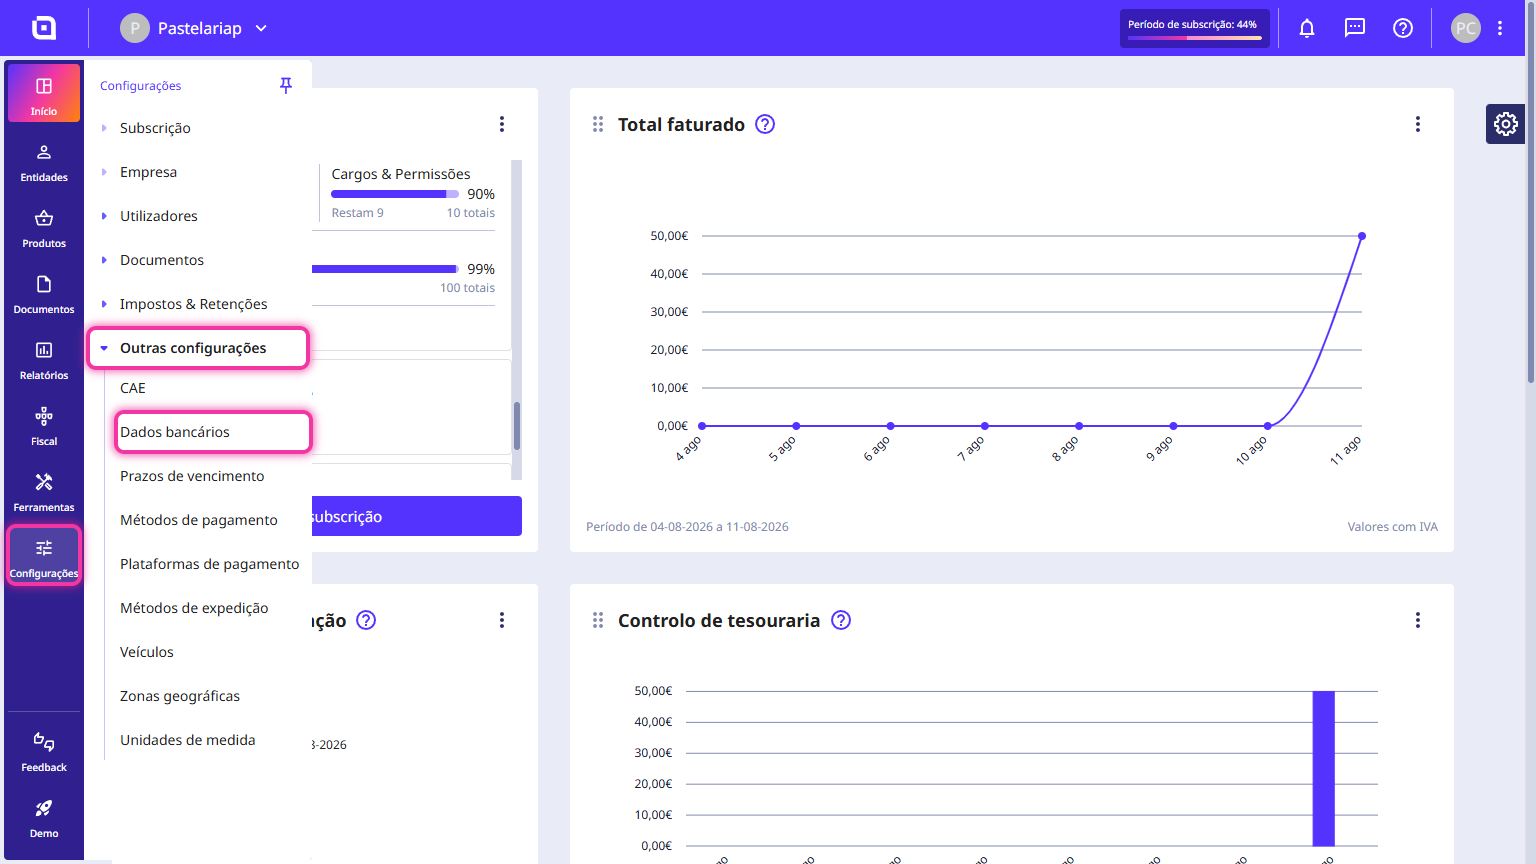
1. In the Client Area, go to the Settings menu, select Other settings and click on Bank details.
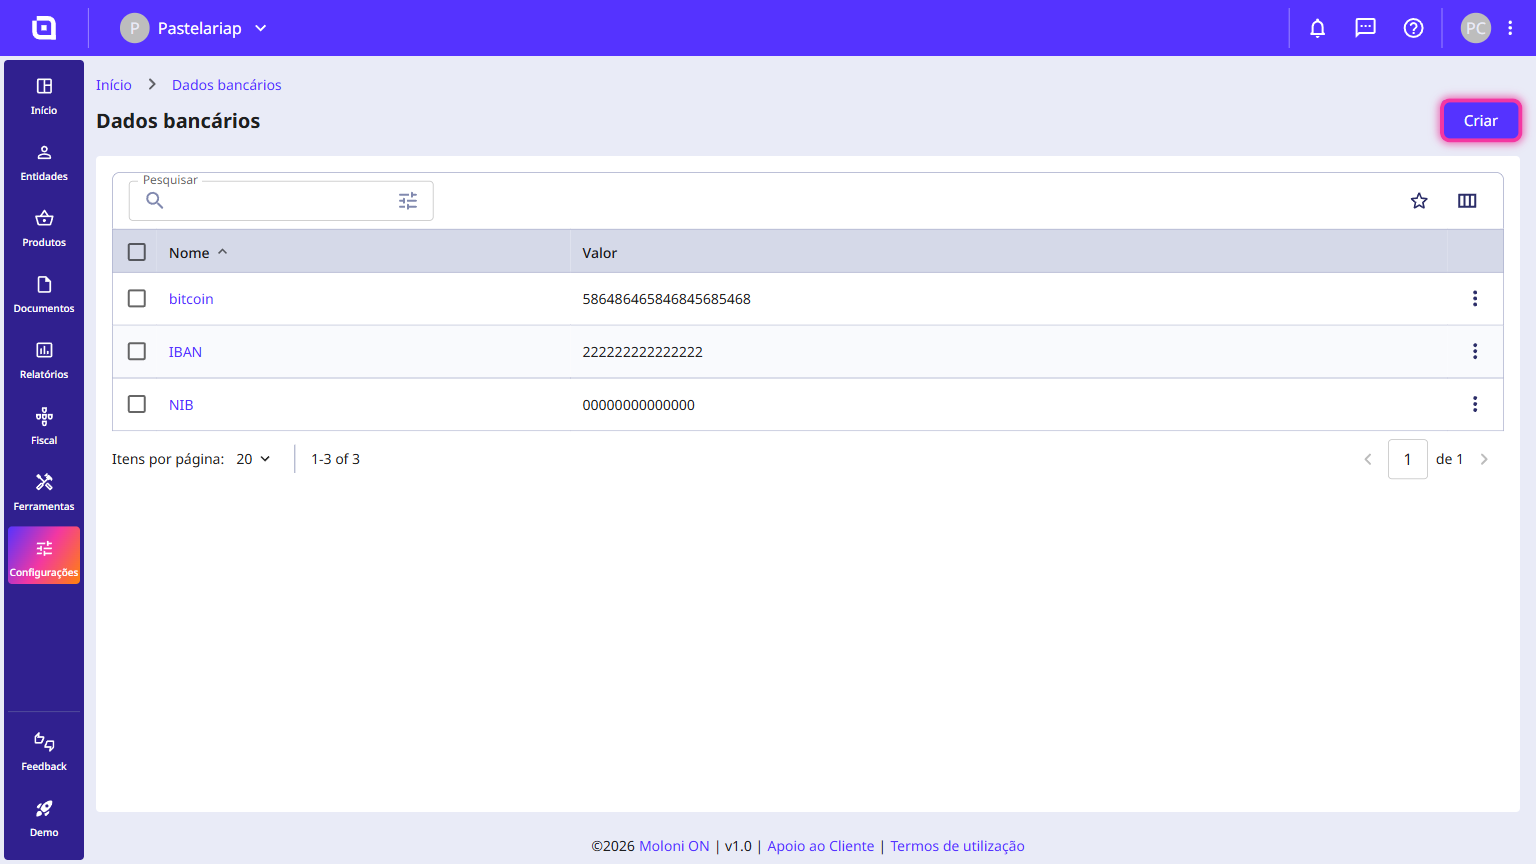
2. In the top right corner, click the Create button.
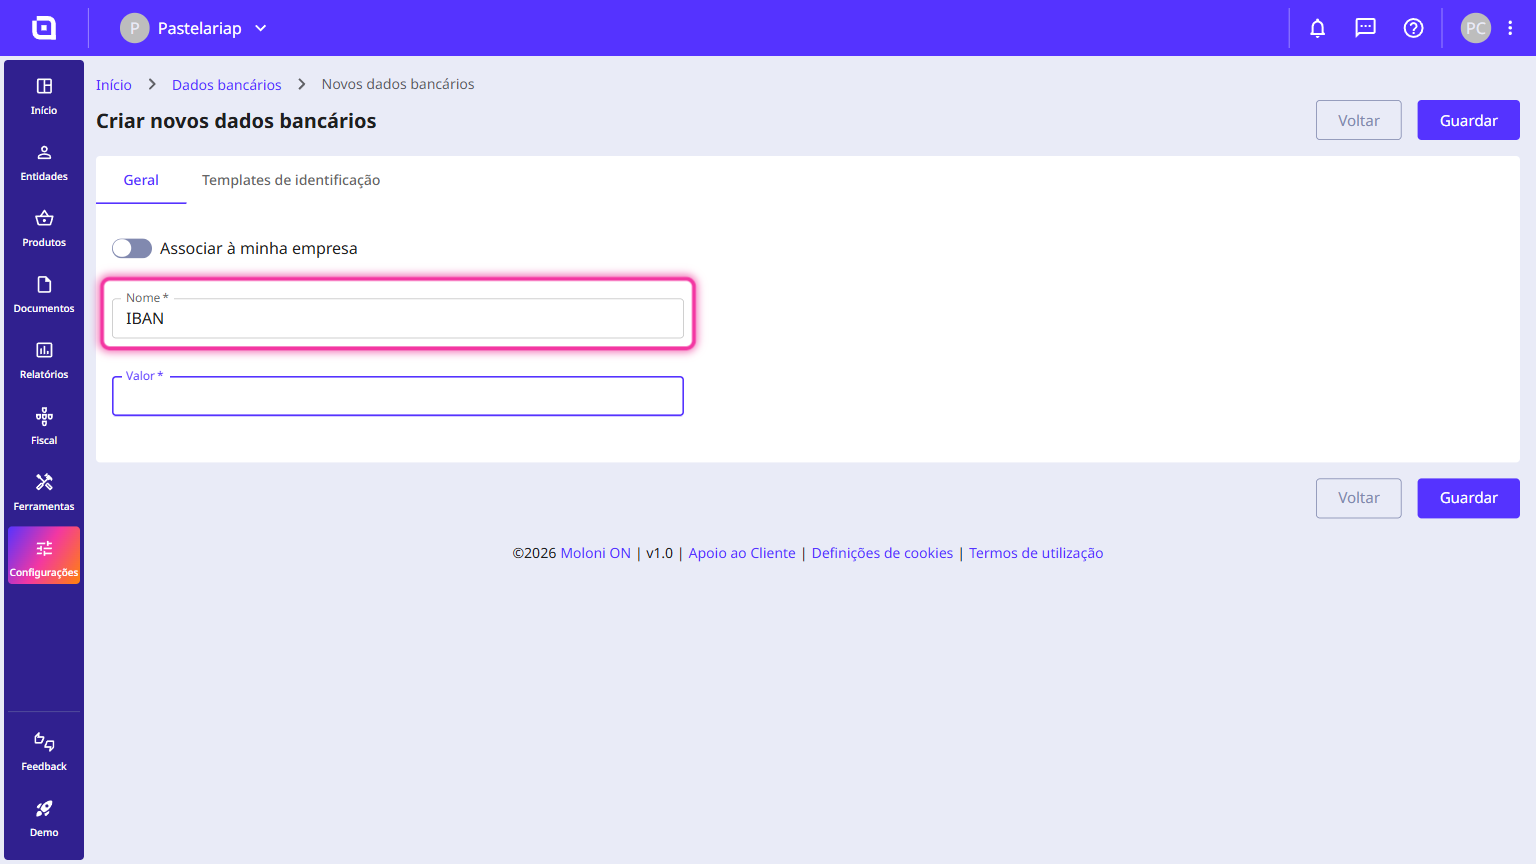
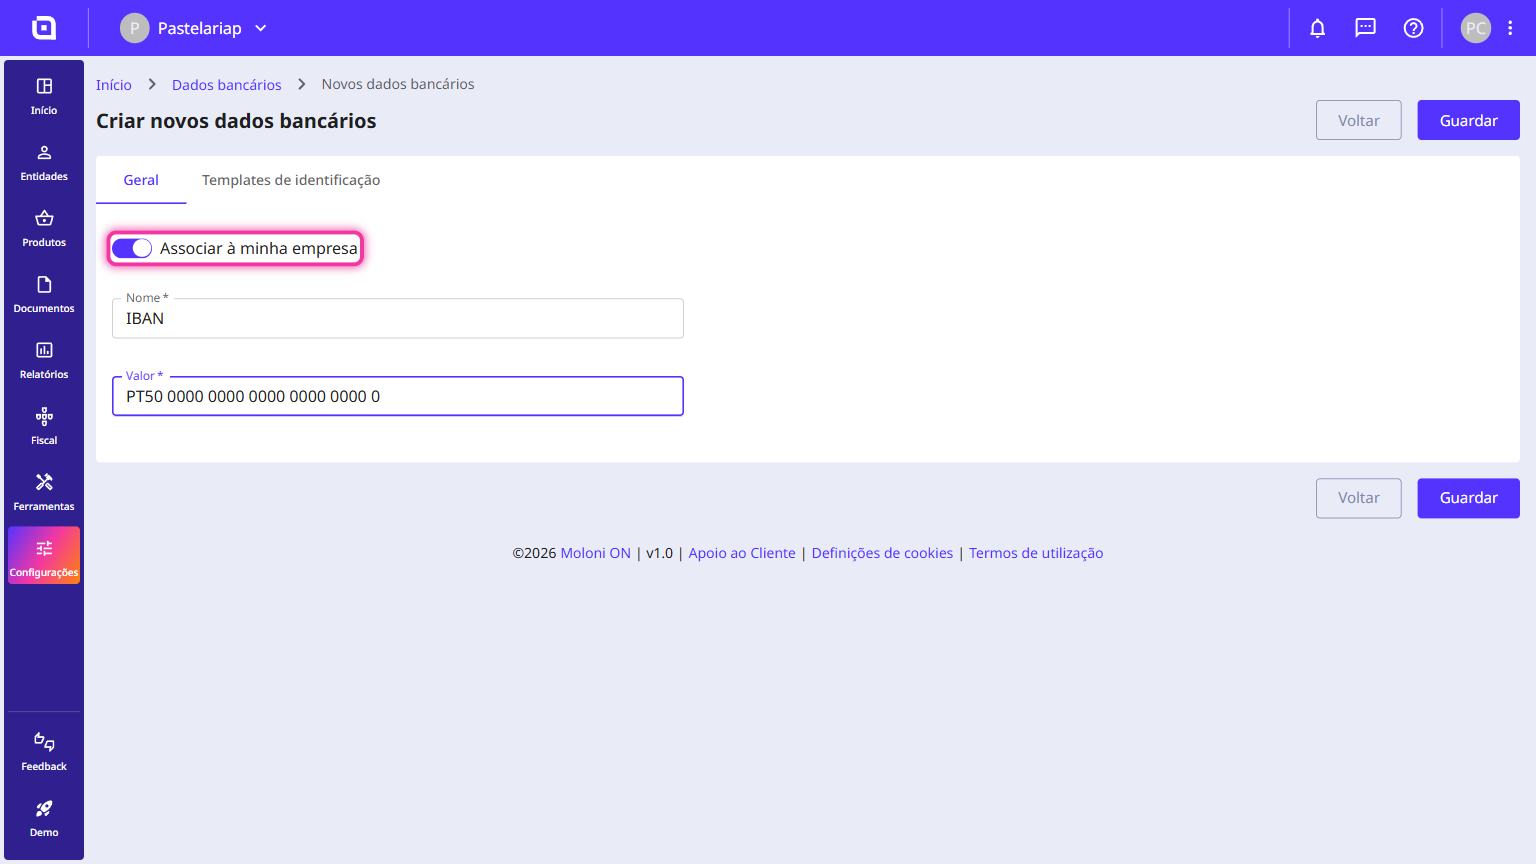
3. In the Name field, enter the name that identifies it (e.g. IBAN, SWIFT or the bank's name, such as Banco de Portugal).
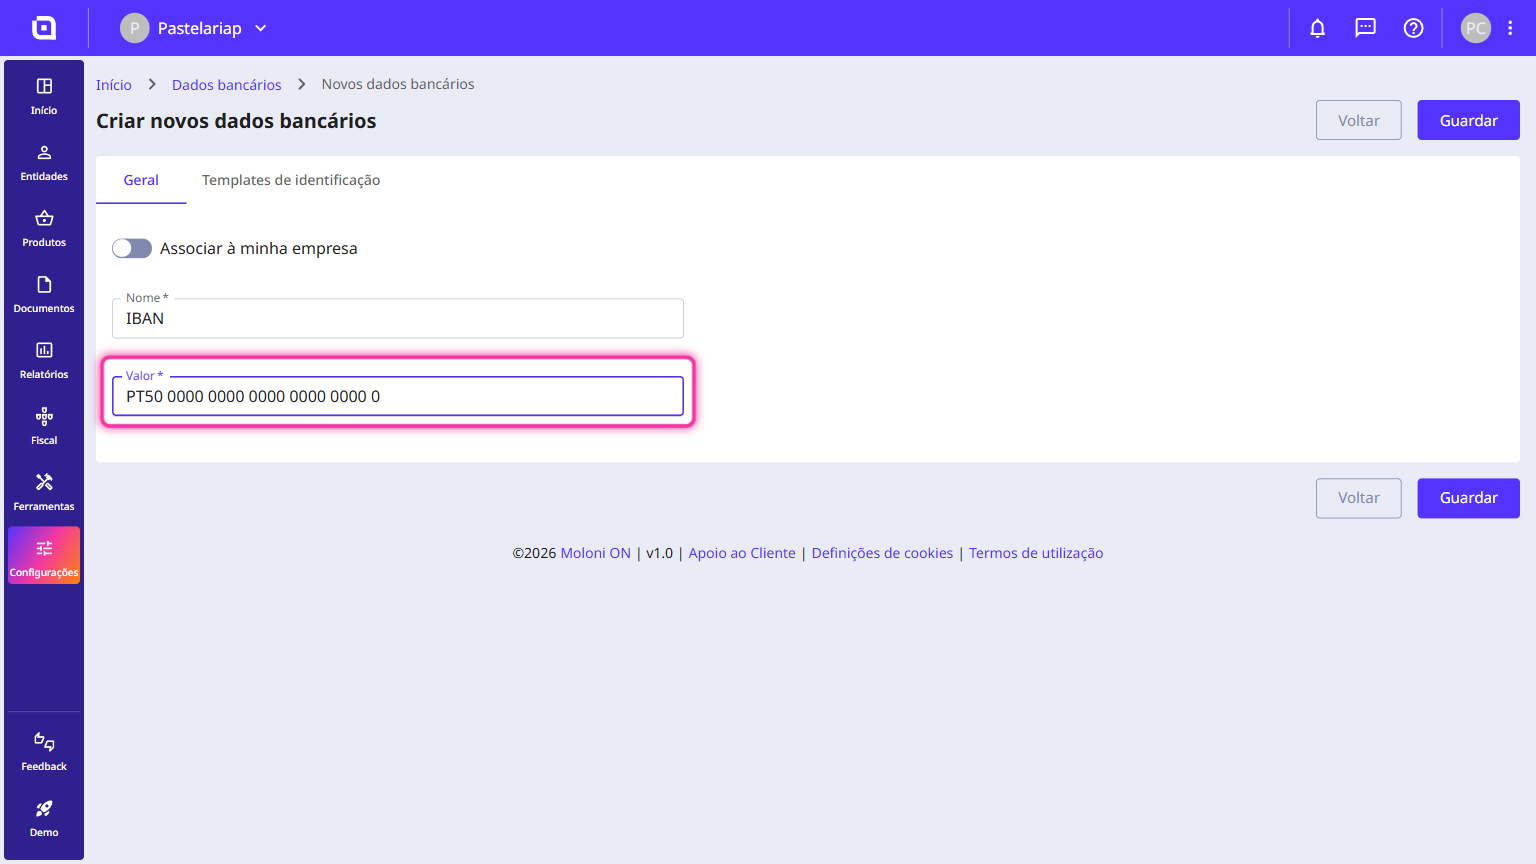
4. In the Value field, enter the number or code corresponding to the bank detail (e.g. PT50 0000 0000 0000 0000 0000 0).
5. Turn on the Associate with my company option so that these bank details are associated with it and appear on the documents you issue.
6. Click the Save button.
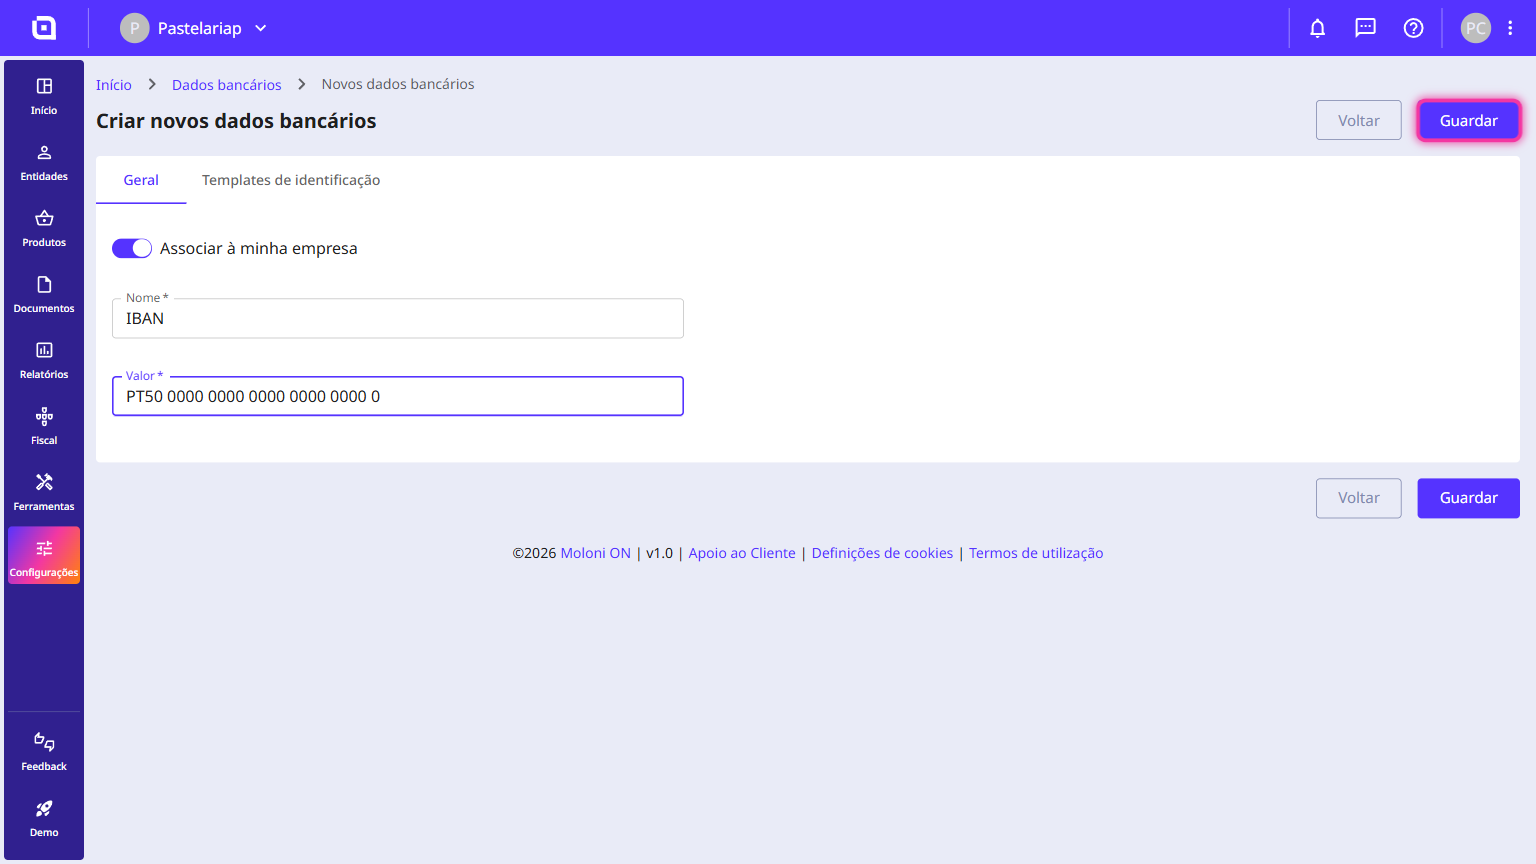
The bank details have been associated with your company and now appear on the documents you issue.
How to associate bank details with an identity template
Associating your financial accounts with an identity template lets you customise which payment information appears on particular sets of documents.
This feature lets you organise and direct specific bank details (such as the IBAN) to customised templates. This way, you can choose to show different bank details depending on the template profile you apply when invoicing, giving you flexibility in managing the money you receive.
Follow these steps:
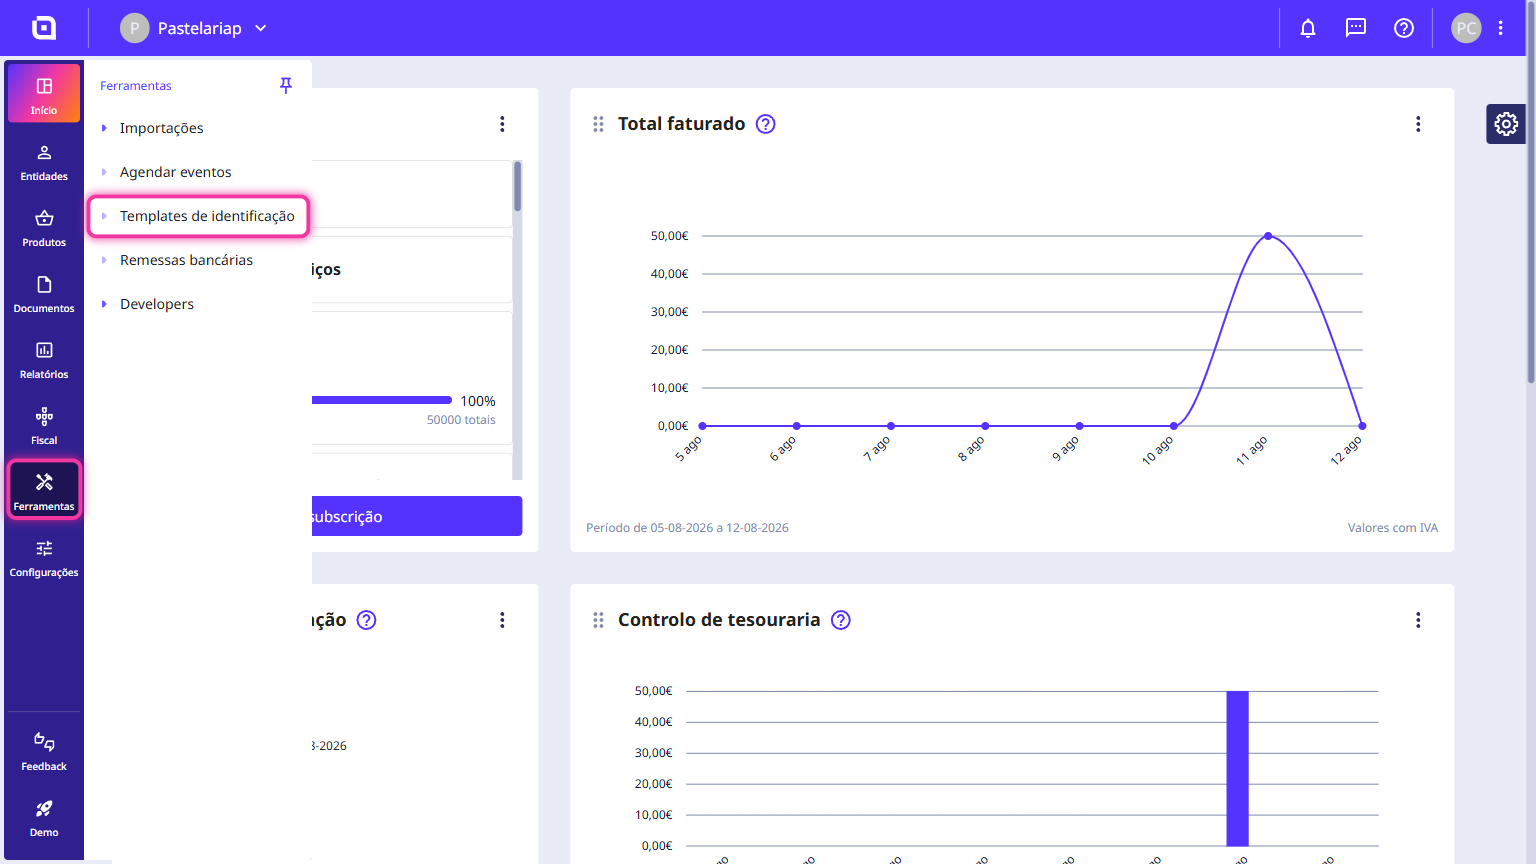
1. In the left-hand side menu, go to the Tools section and click on Identity templates.
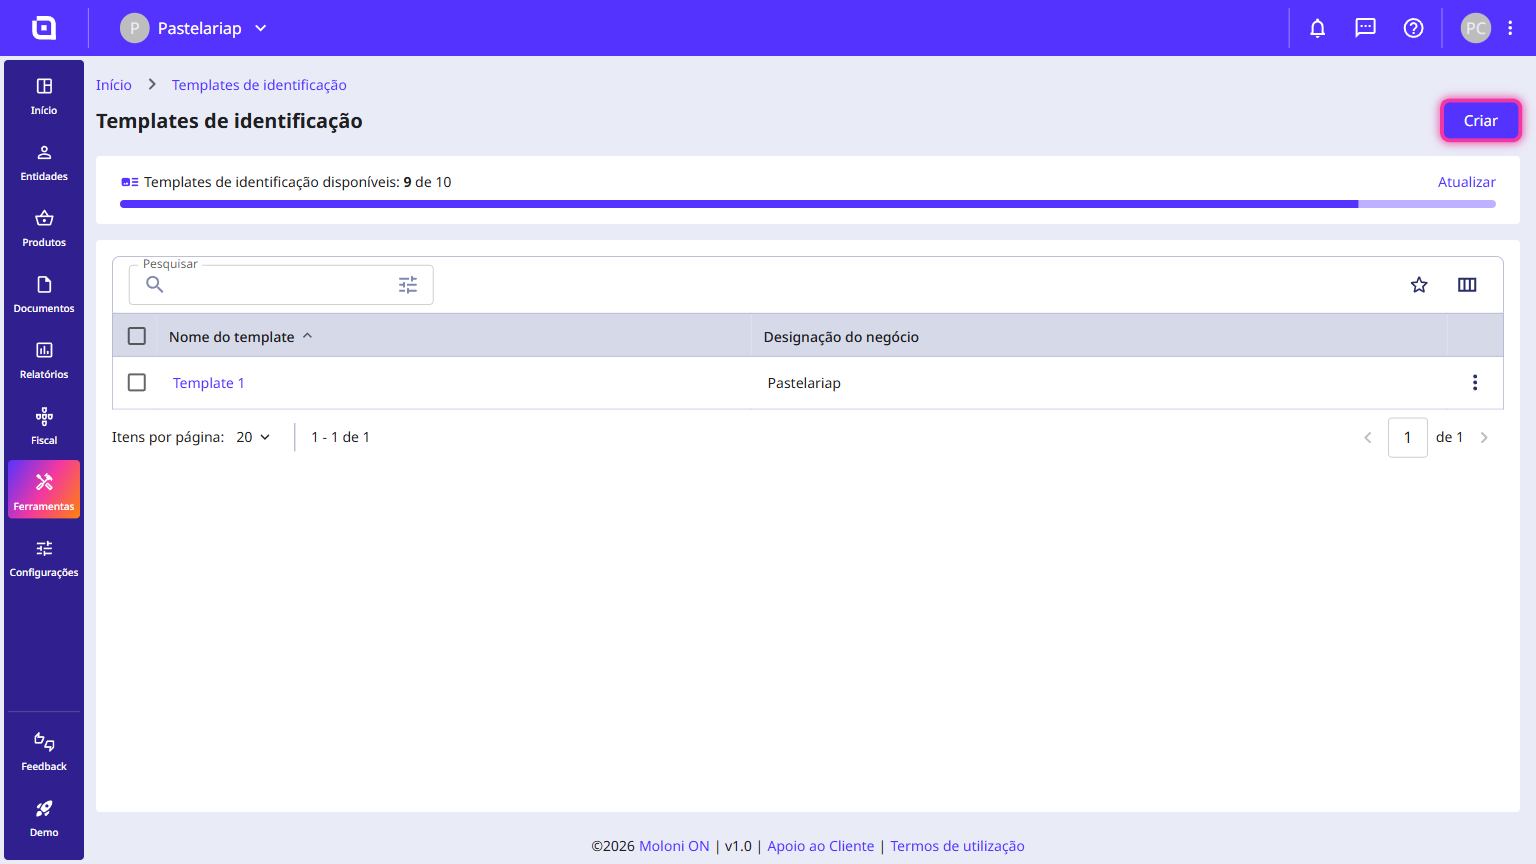
2. On the main screen, you can either click the Create button (to set up a new template) or select an existing template from the list to open the edit form.
3. In the form, click the Banking information tab.
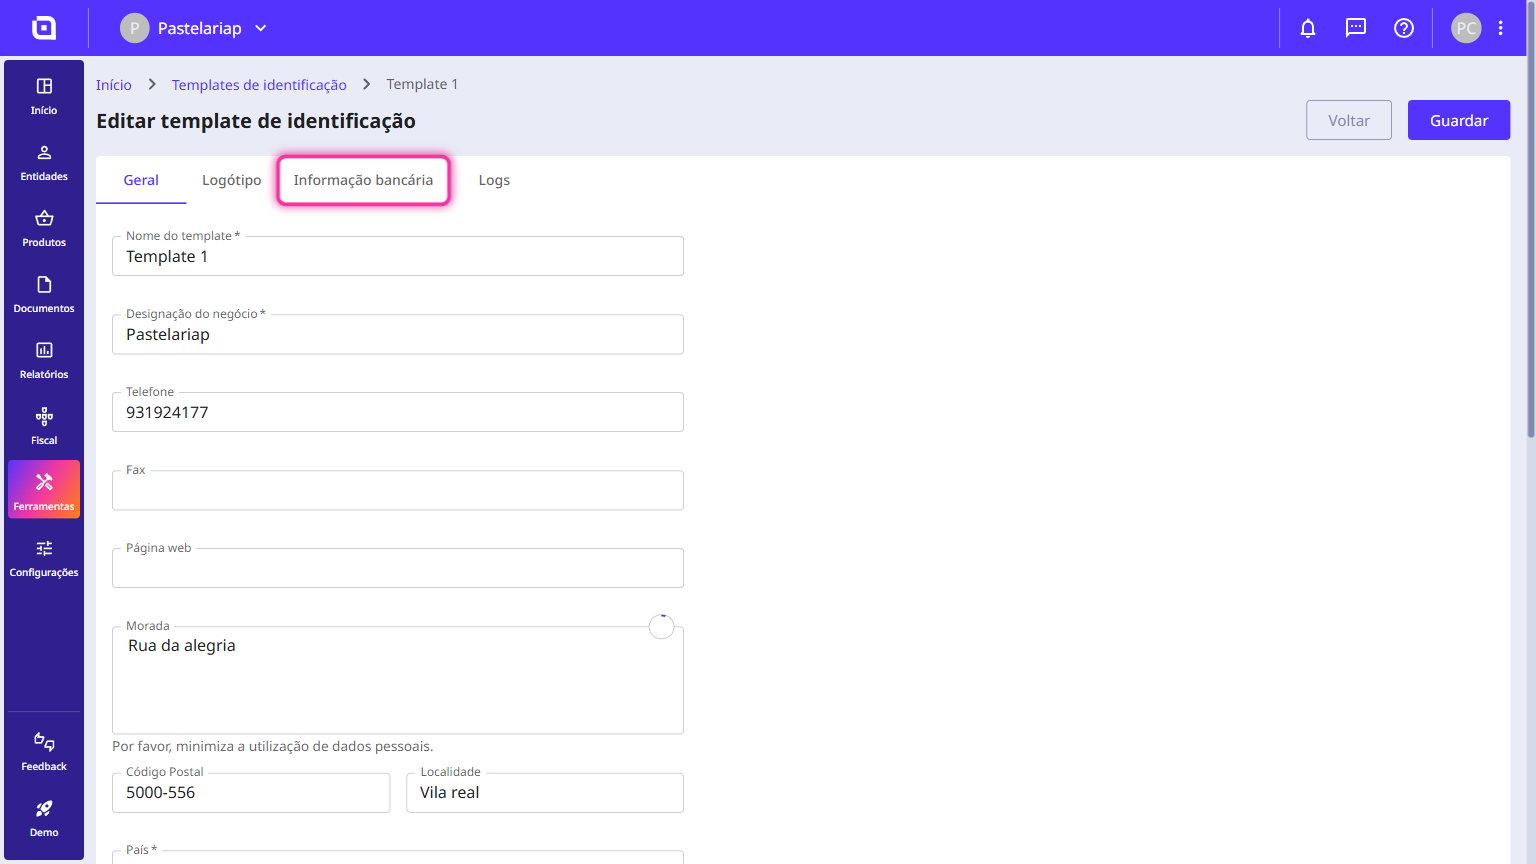
4. In the Bank details field, you can make the association in two ways:
- Open the drop-down, choose the bank account you want and click the Associate button right next to it;
- Alternatively, click the Associated with company button to load the details set as your company's global default.
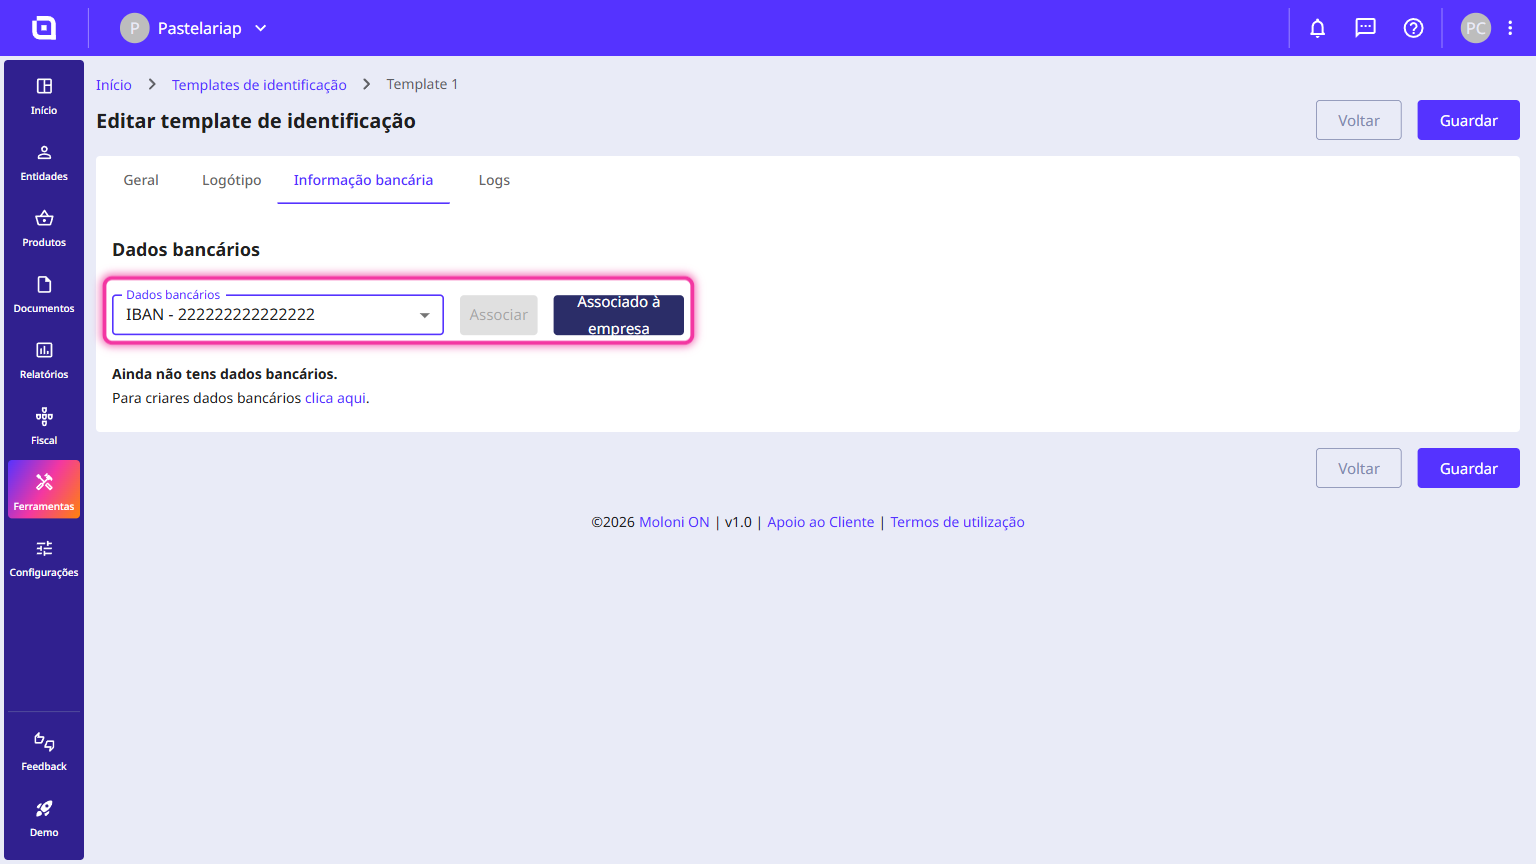
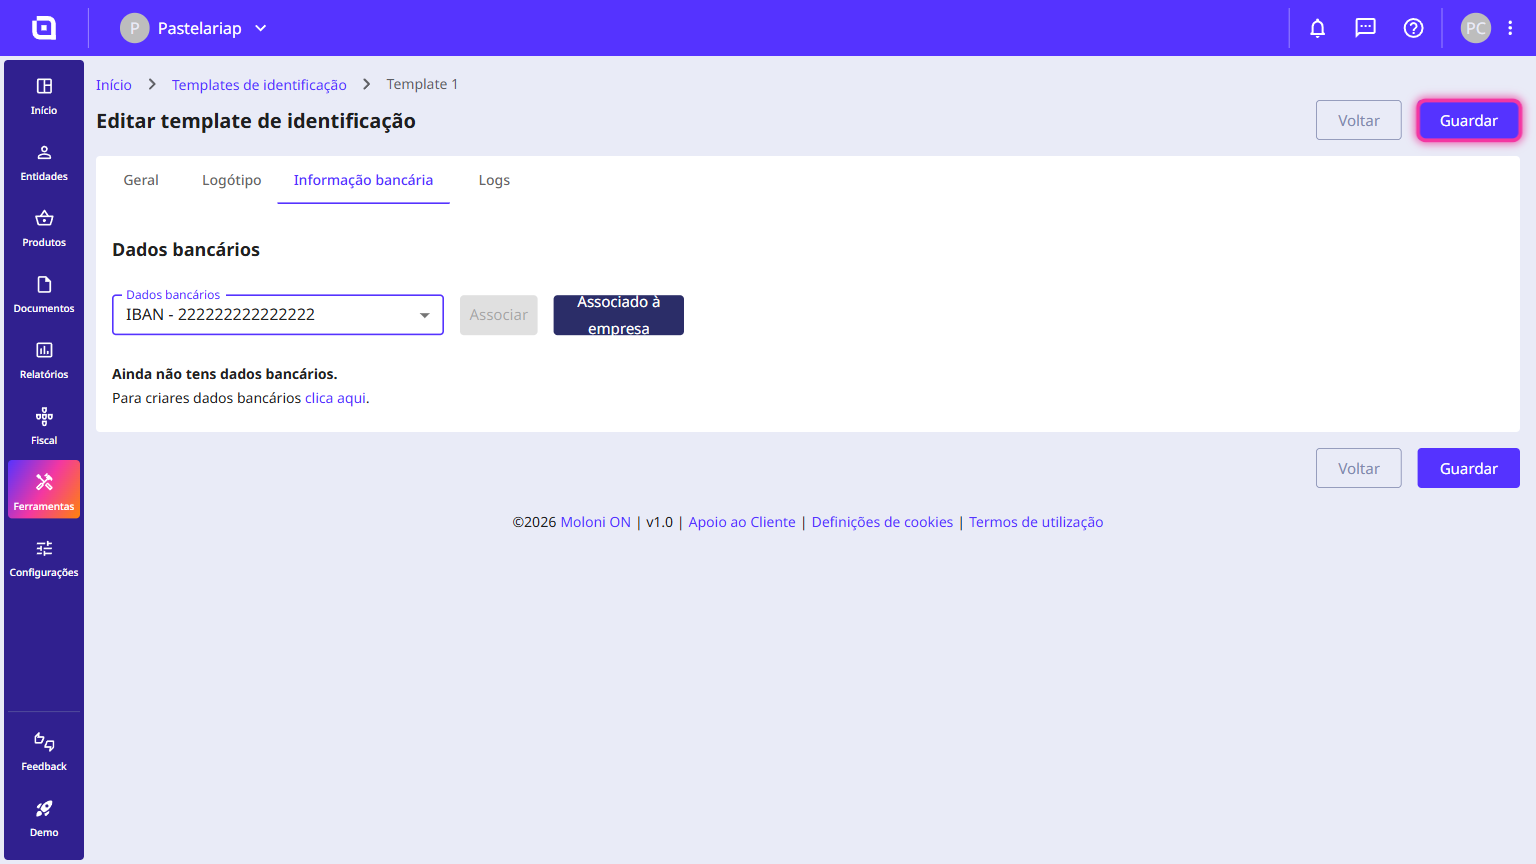
5. Click the Save button to apply and save the changes to the template.
How to associate bank details with my company
By associating a bank account directly with your company, you make sure your payment information (such as the IBAN or NIB) is picked up automatically and shown on the documents you issue.
This setting links the bank details you created earlier to your company's general profile. Once linked, Moloni ON includes that information on new documents by default, so you avoid typing it in every time you issue one and your customers always have the right details to pay you.
Follow these steps:
1. In the left-hand side menu, go to the Settings section and click on Company.
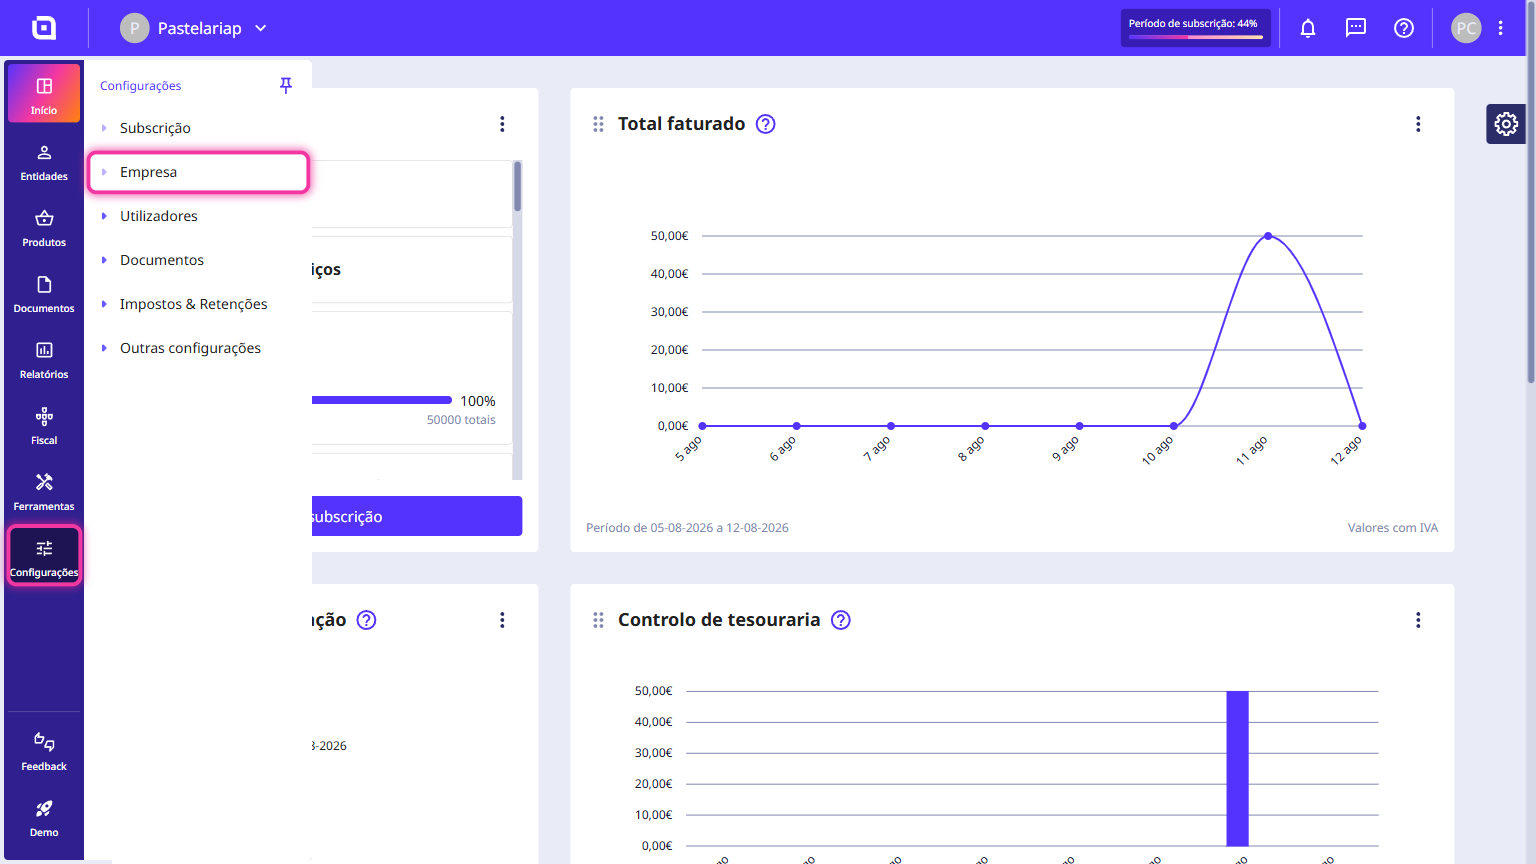
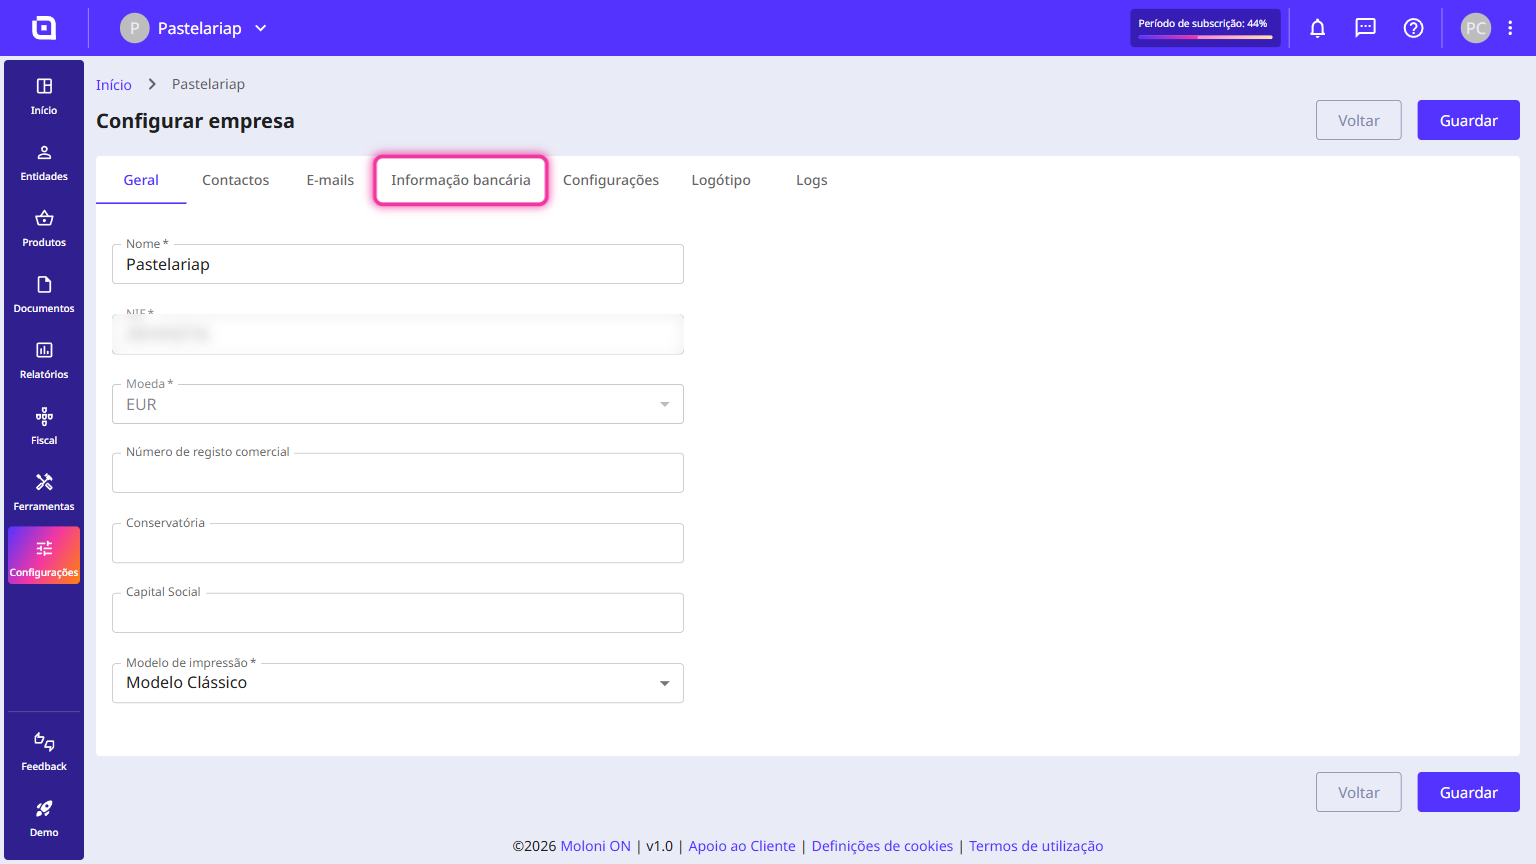
2. On the company settings page, go to the top of the form and click the Banking information tab.
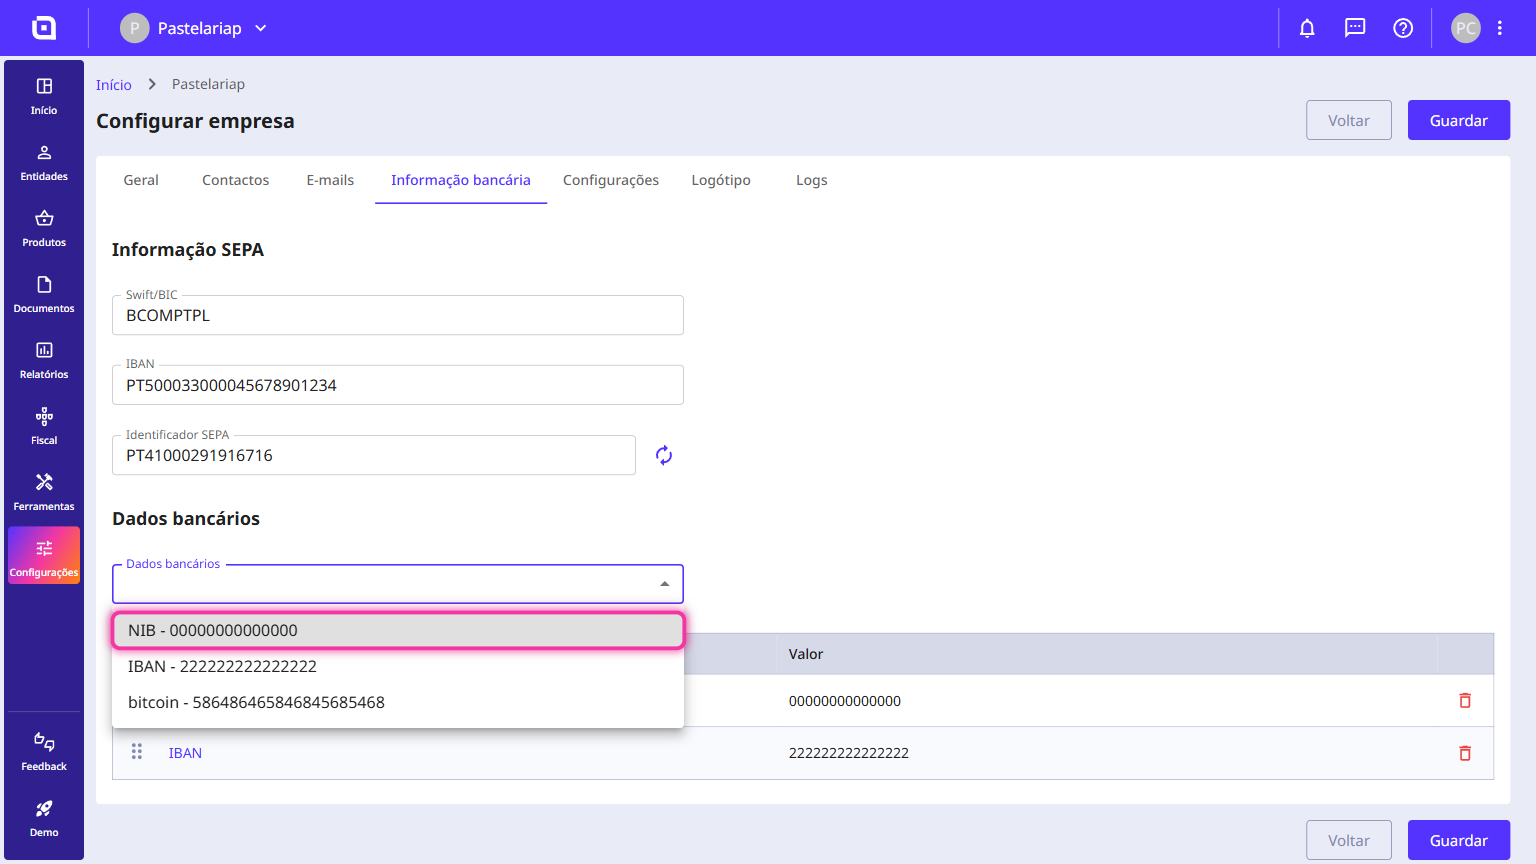
3. In the Bank details field, open the drop-down and choose the bank account you want (e.g. NIB - 0000...).
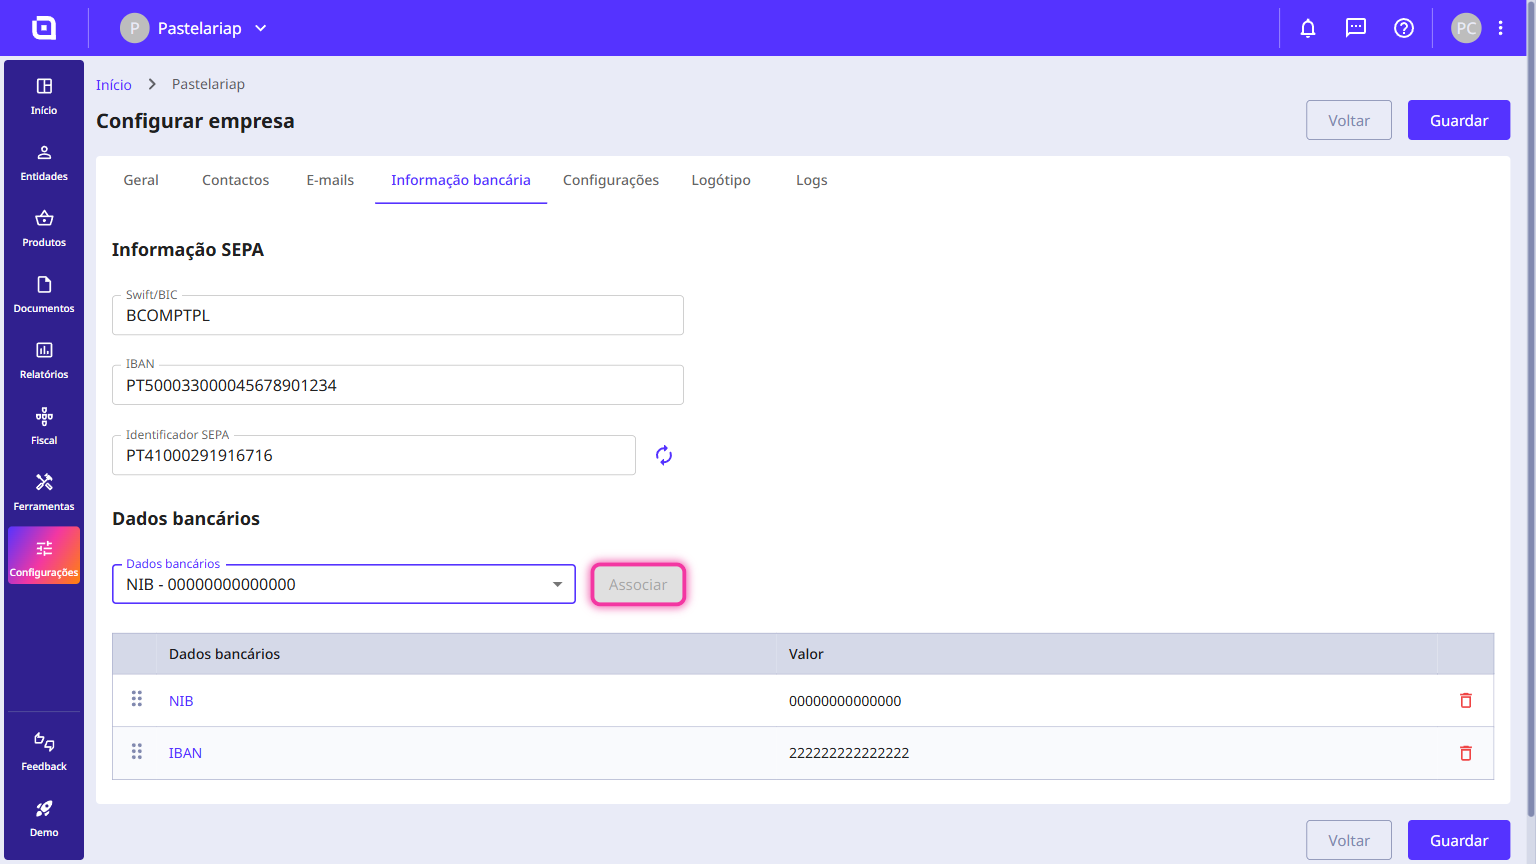
4. Click the Associate button right next to the field so that the account is added to the list below.
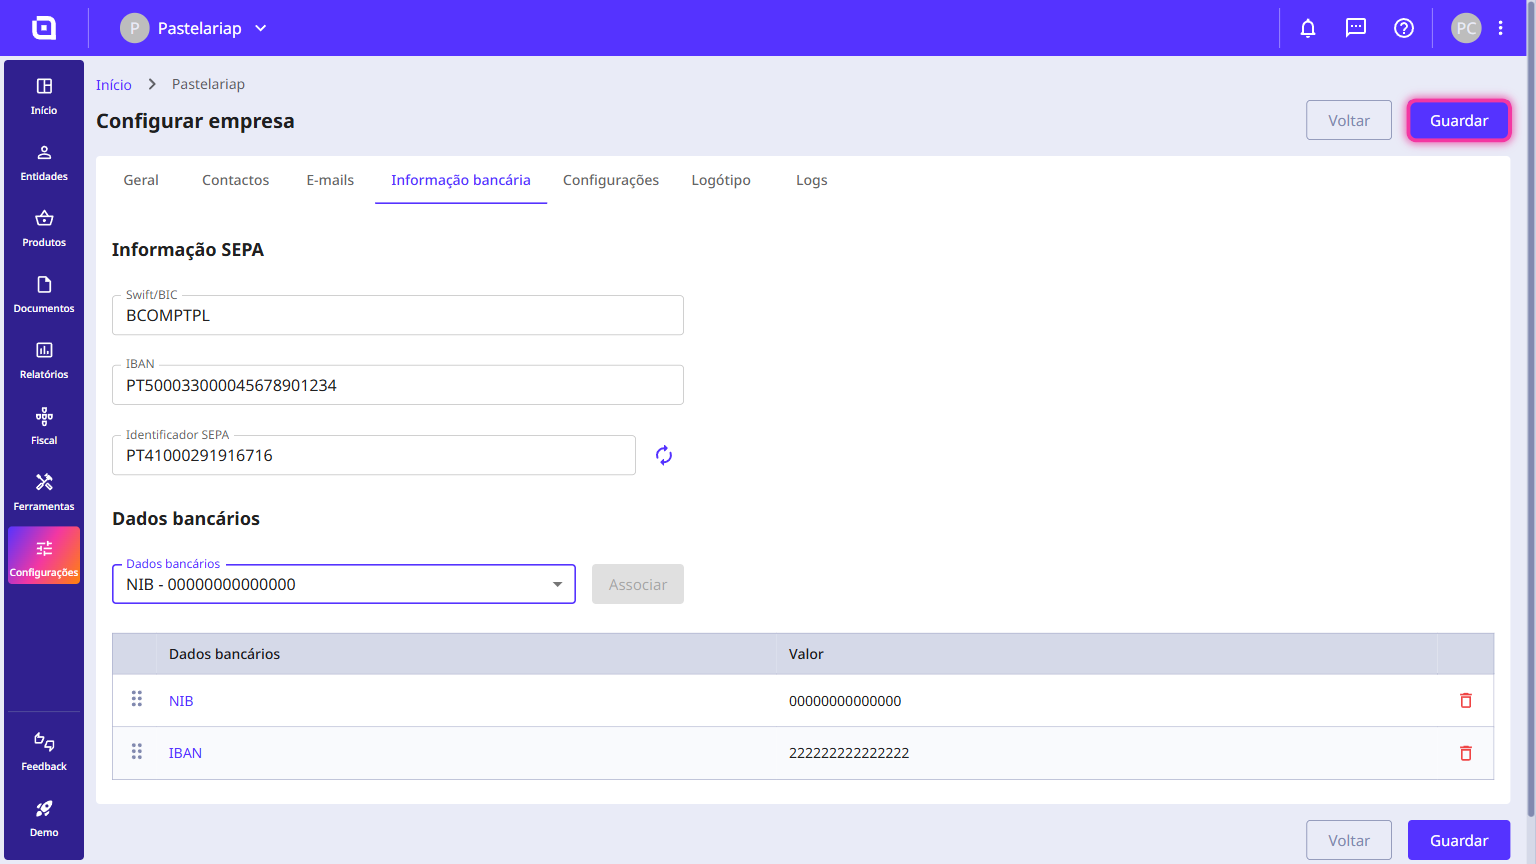
5. Click the Save button in the top right corner (or in the bottom right corner) to save the changes to your company.
Print priority rules
When you issue a document, Moloni ON decides what to show based on these rules:
- If you have details set on both the template and the company, the template's details win and appear on the document.
- If the template has no details at all, Moloni ON falls back to the ones you set in the company settings.
- If you have no details saved anywhere (neither on the template nor on the company), your documents are printed without any banking information.