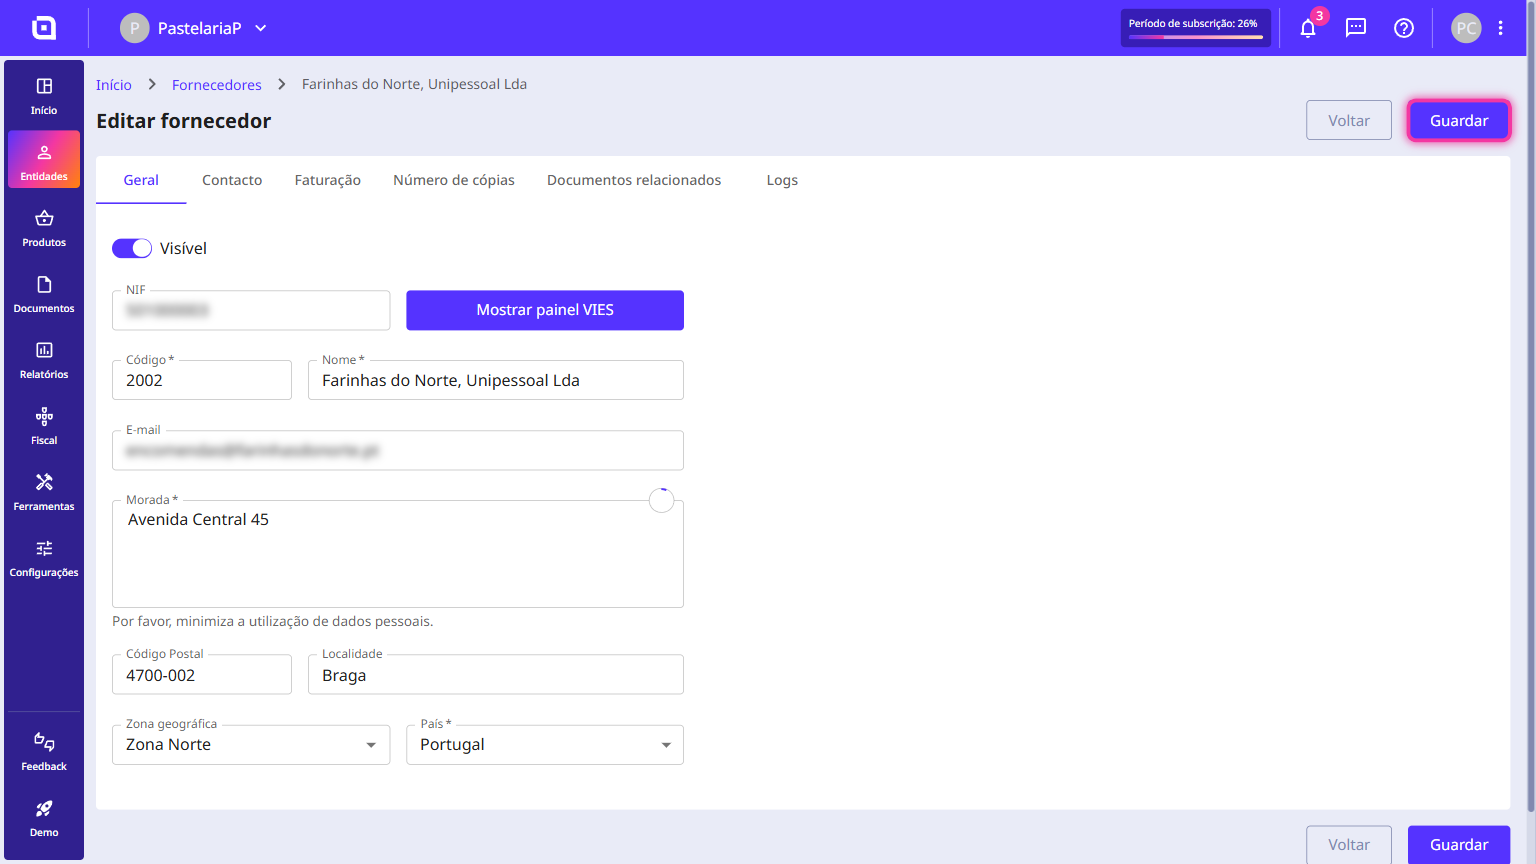
How to create a geographic zone
Geographic zones let you organise your market by region. They help you segment the places where you provide services or sell products, grouping them in a simple way - for example, North, South, Islands or Spain.
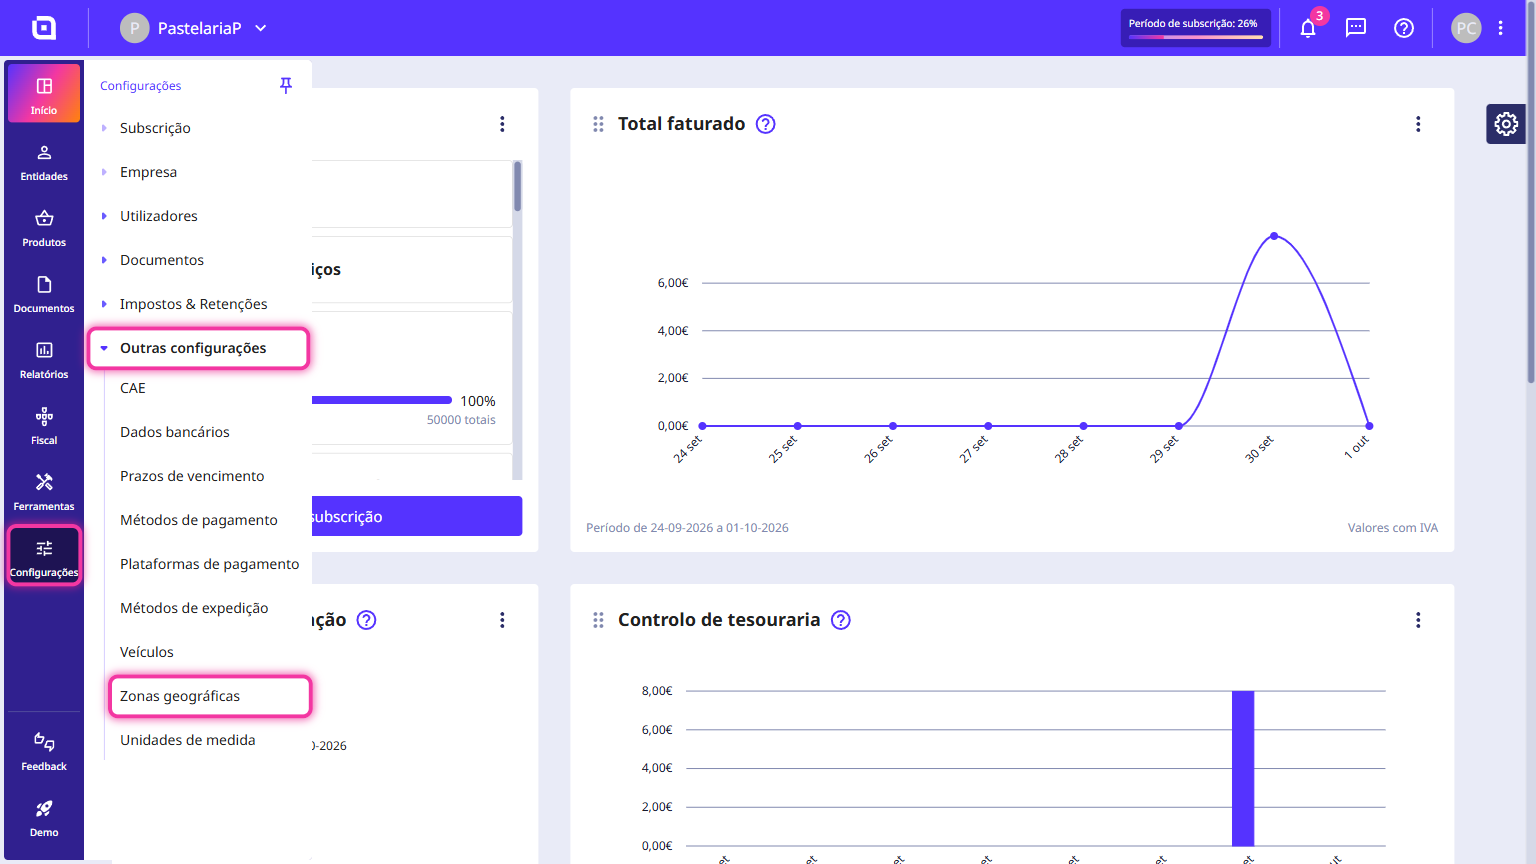
In Moloni ON, you create the zones in Settings > Other settings > Geographic zones and then link each one to your customers' and suppliers' records. This way, your customers and suppliers are organised by region.
Follow these steps:
1. In the Client Area, go to the Settings menu, select Other settings and click on Geographic zones.
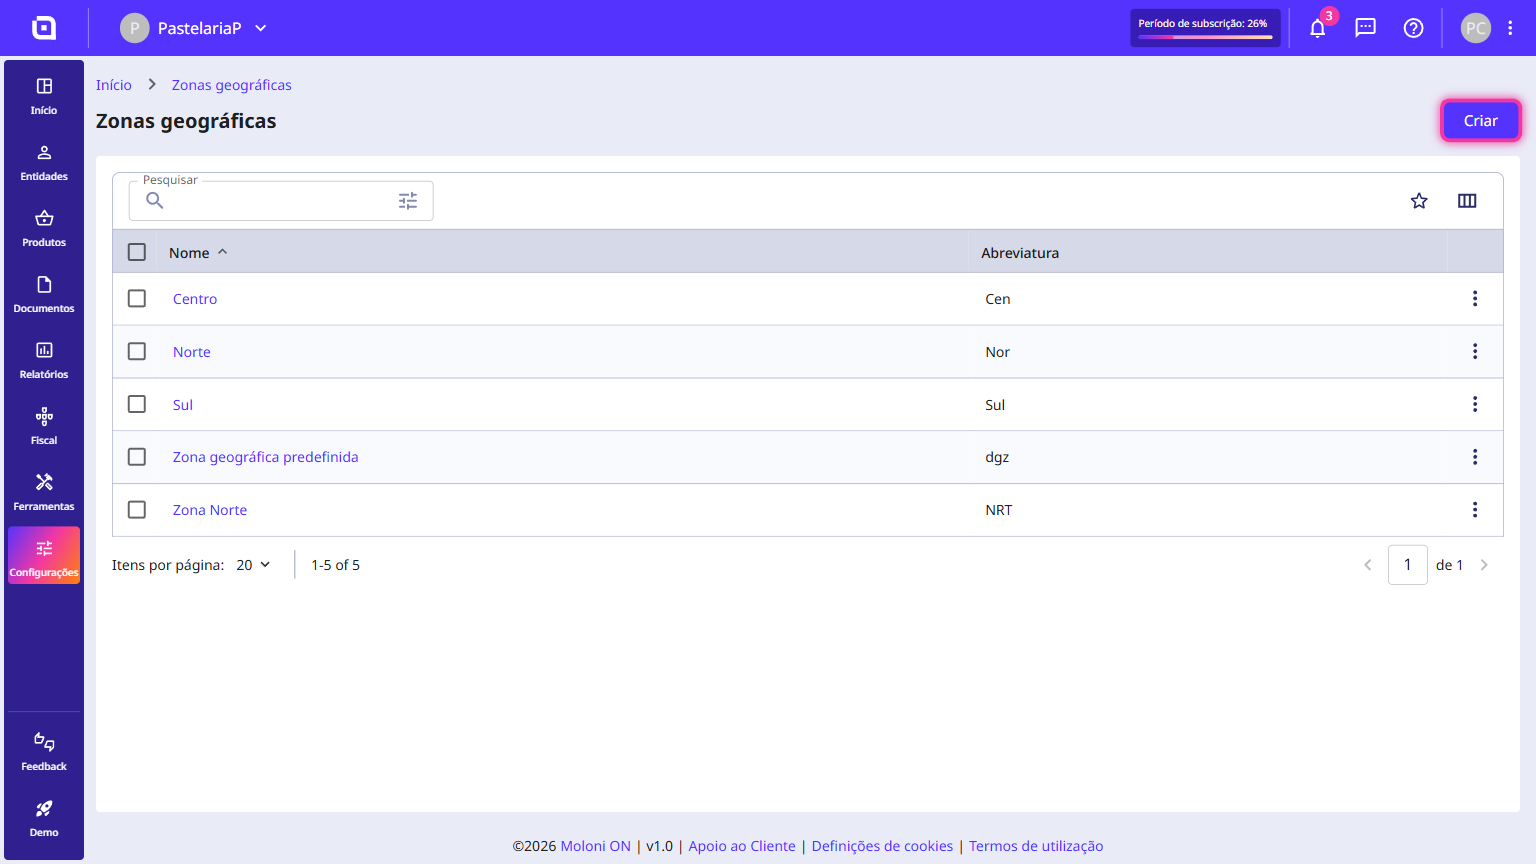
2. Click the Create button.
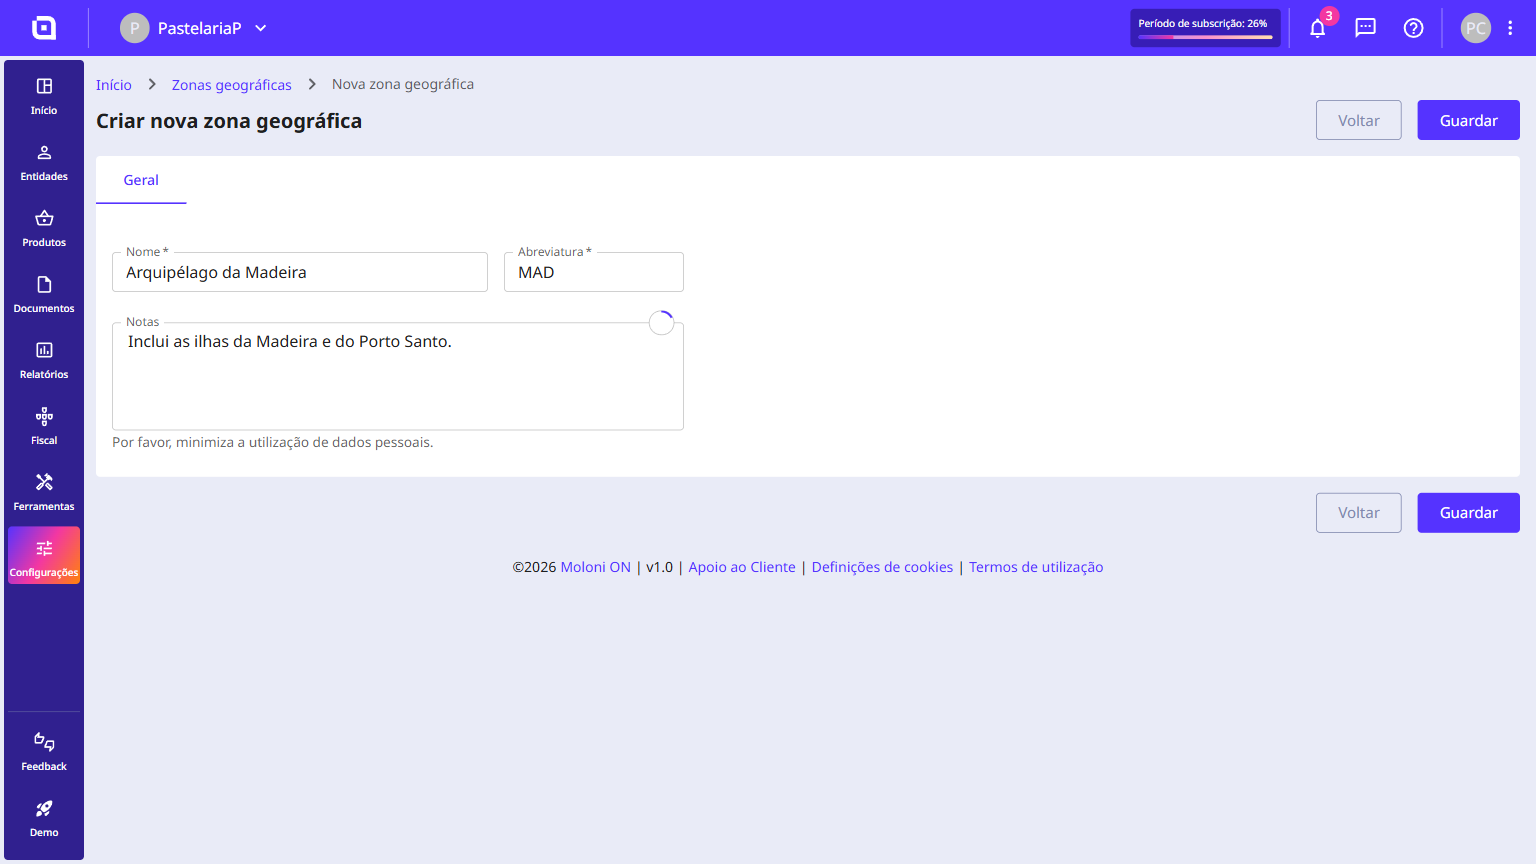
3. In the General tab, fill in the zone details:
- Name: the full name of the region or sales area - for example, Madeira Archipelago or North Zone.
- Abbreviation: a short code or acronym that identifies the zone - for example, MAD or NZ.
- Notes: an optional field where you can add internal comments or details about the places the zone covers.
4. Click the Save button.
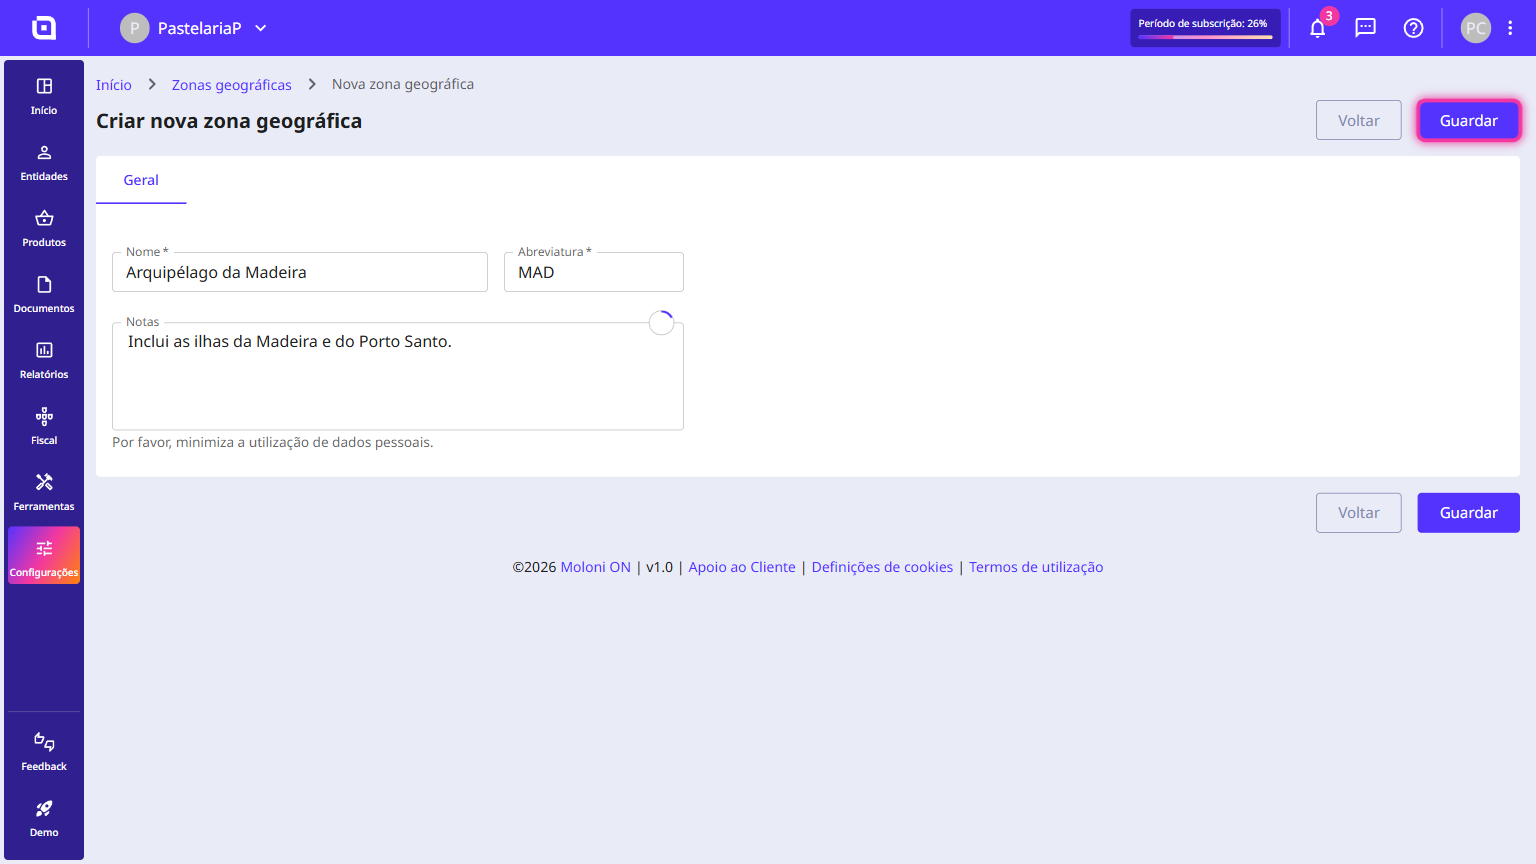
The geographic zone has been successfully created.
How to link a geographic zone to a customer
By linking a geographic zone to a customer's record, you segment your customer base by region. This helps you organise your delivery routes and know which regions your customers are in.
Follow these steps:
1. In the Client Area, go to the Entities menu and click on Customers.
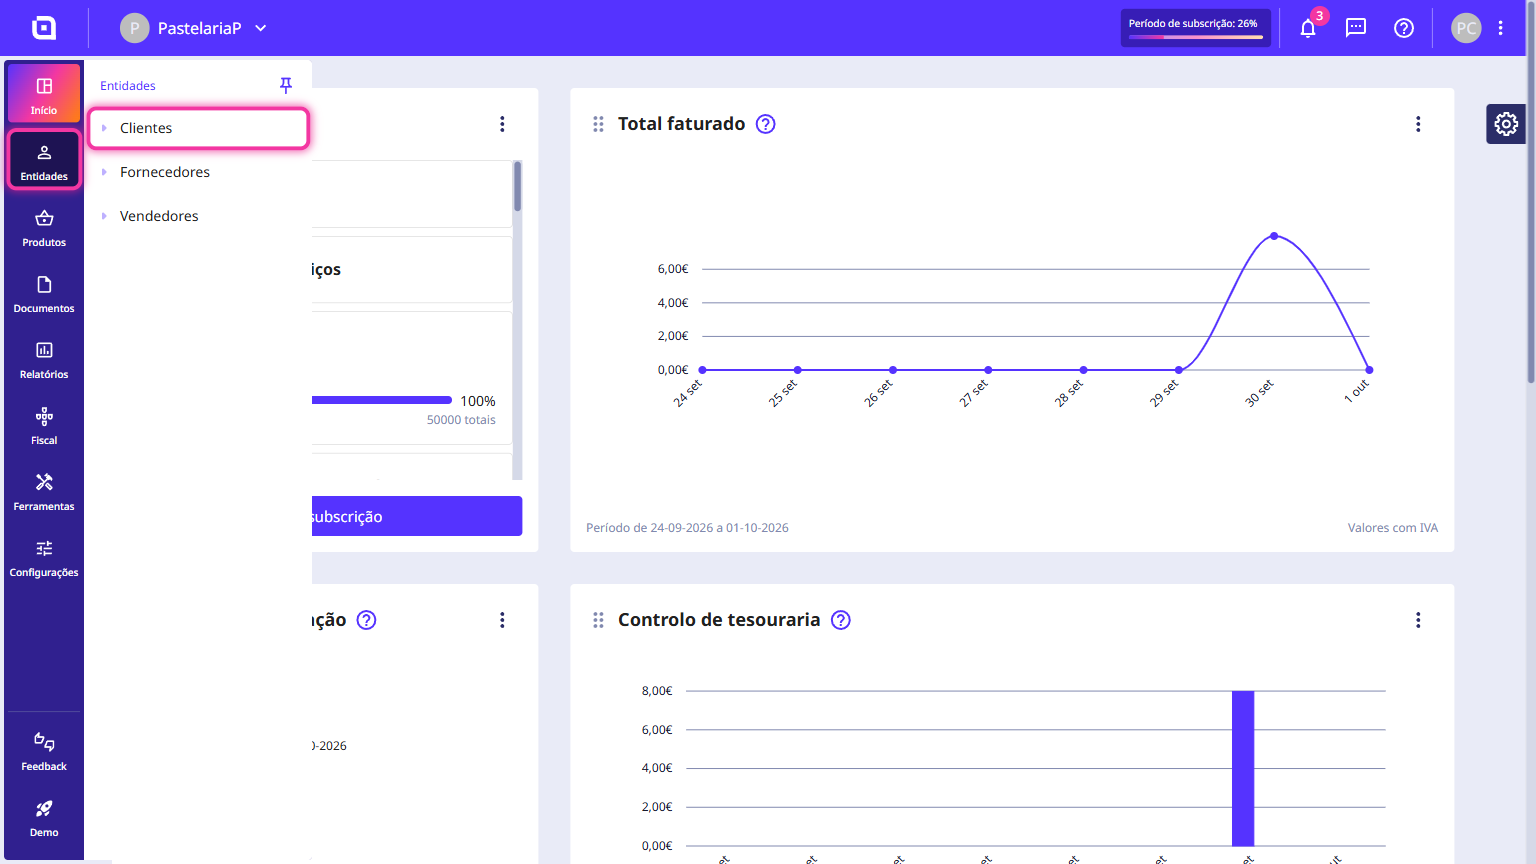
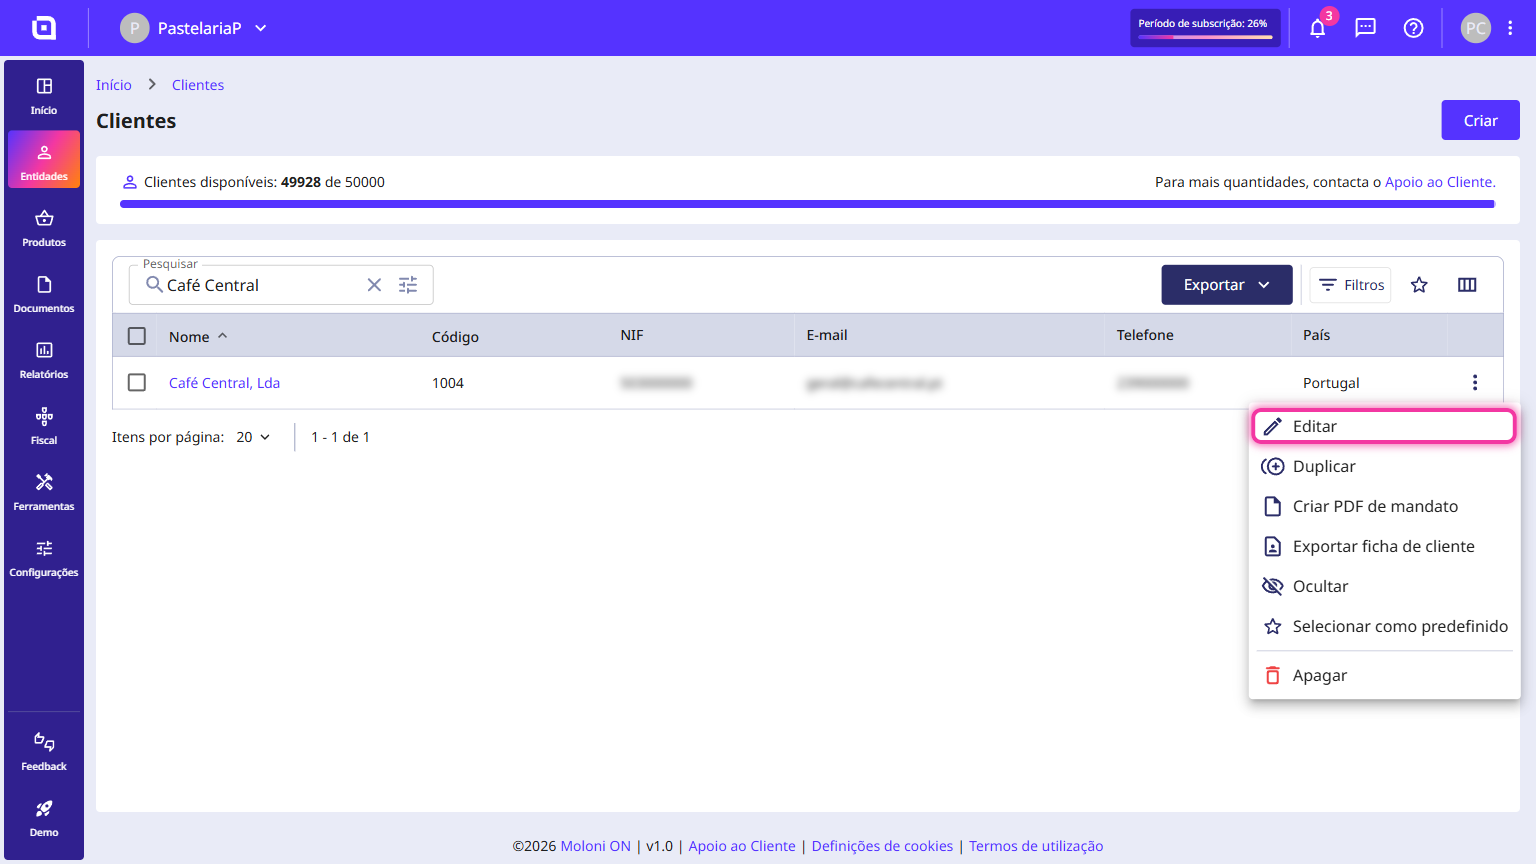
2. Search for the customer you want, click the three dots at the end of the row and choose Edit. To add a new customer, click on Create.
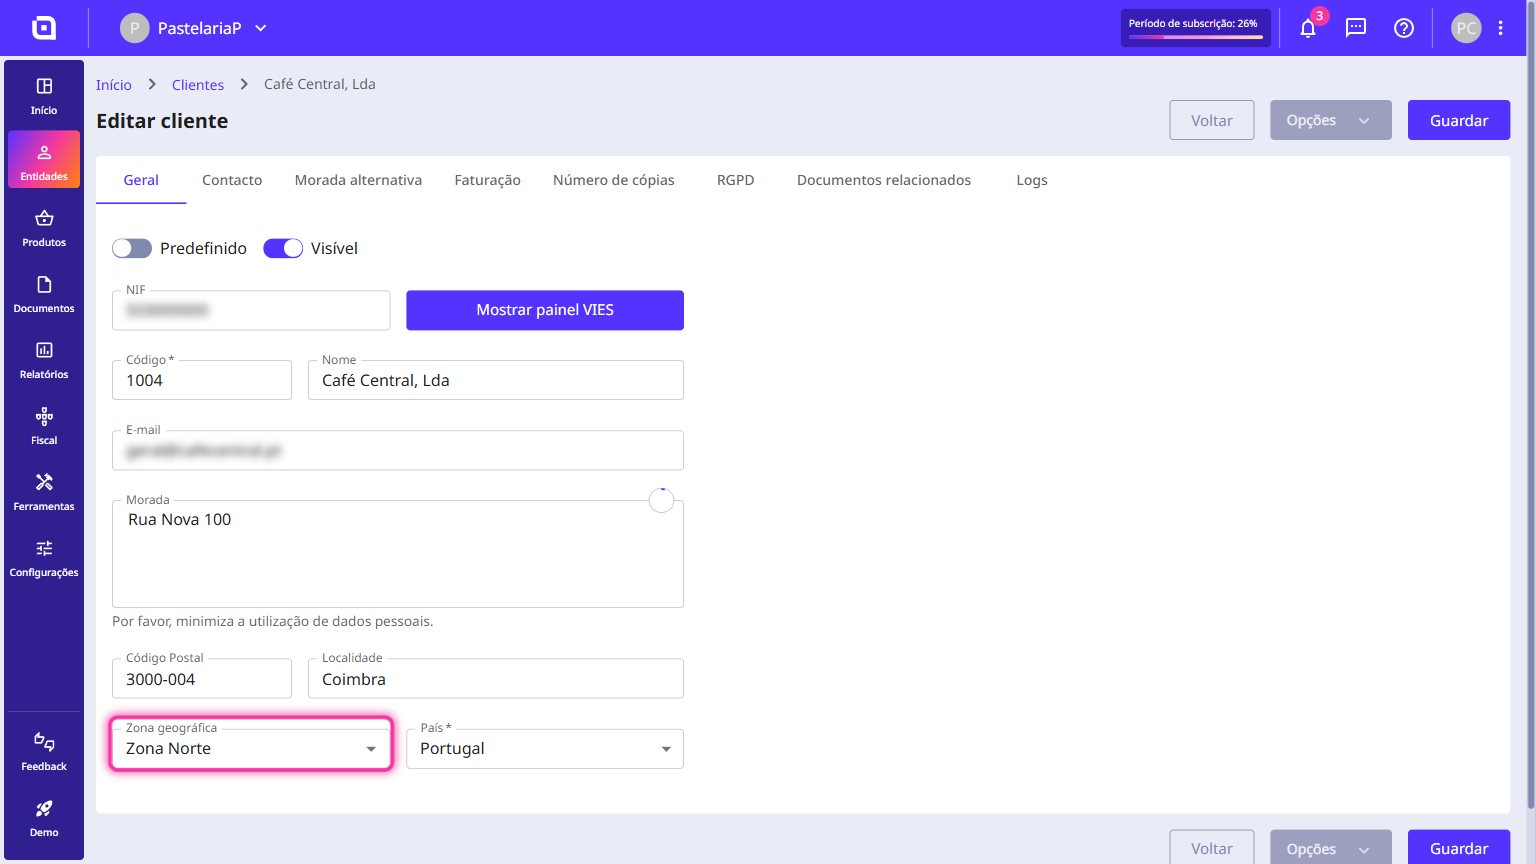
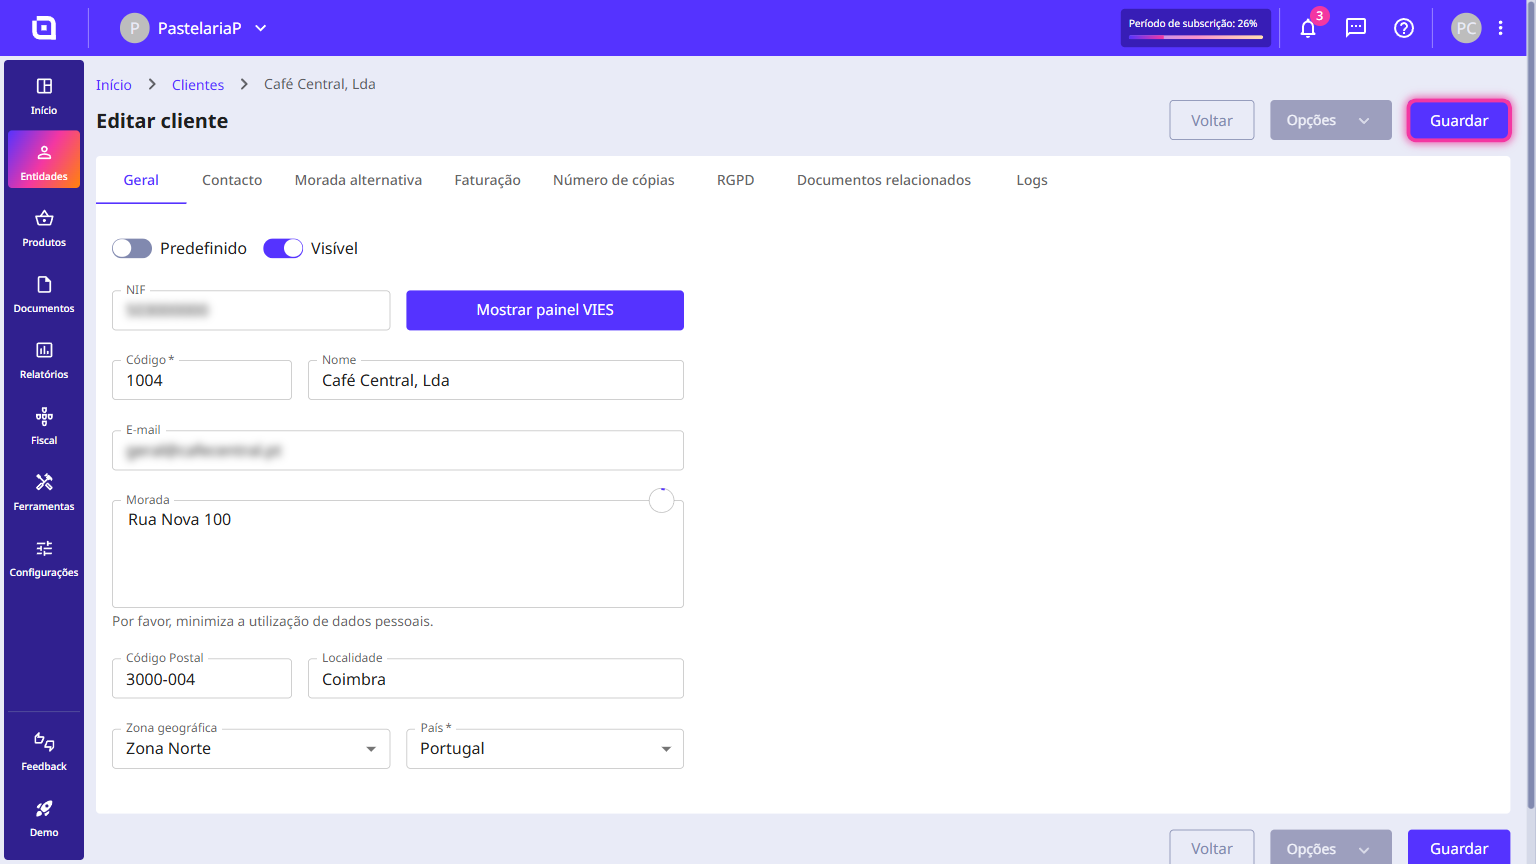
3. In the General tab, in the Geographic zone field - at the bottom of the page, next to the Country field -, select the zone you want.
4. Click the Save button to save the changes to the customer's record.
How to link a geographic zone to a supplier
By linking a geographic zone to a supplier's record, you organise your network of business partners by region. This helps you with logistics and with knowing which regions your suppliers are in.
Follow these steps:
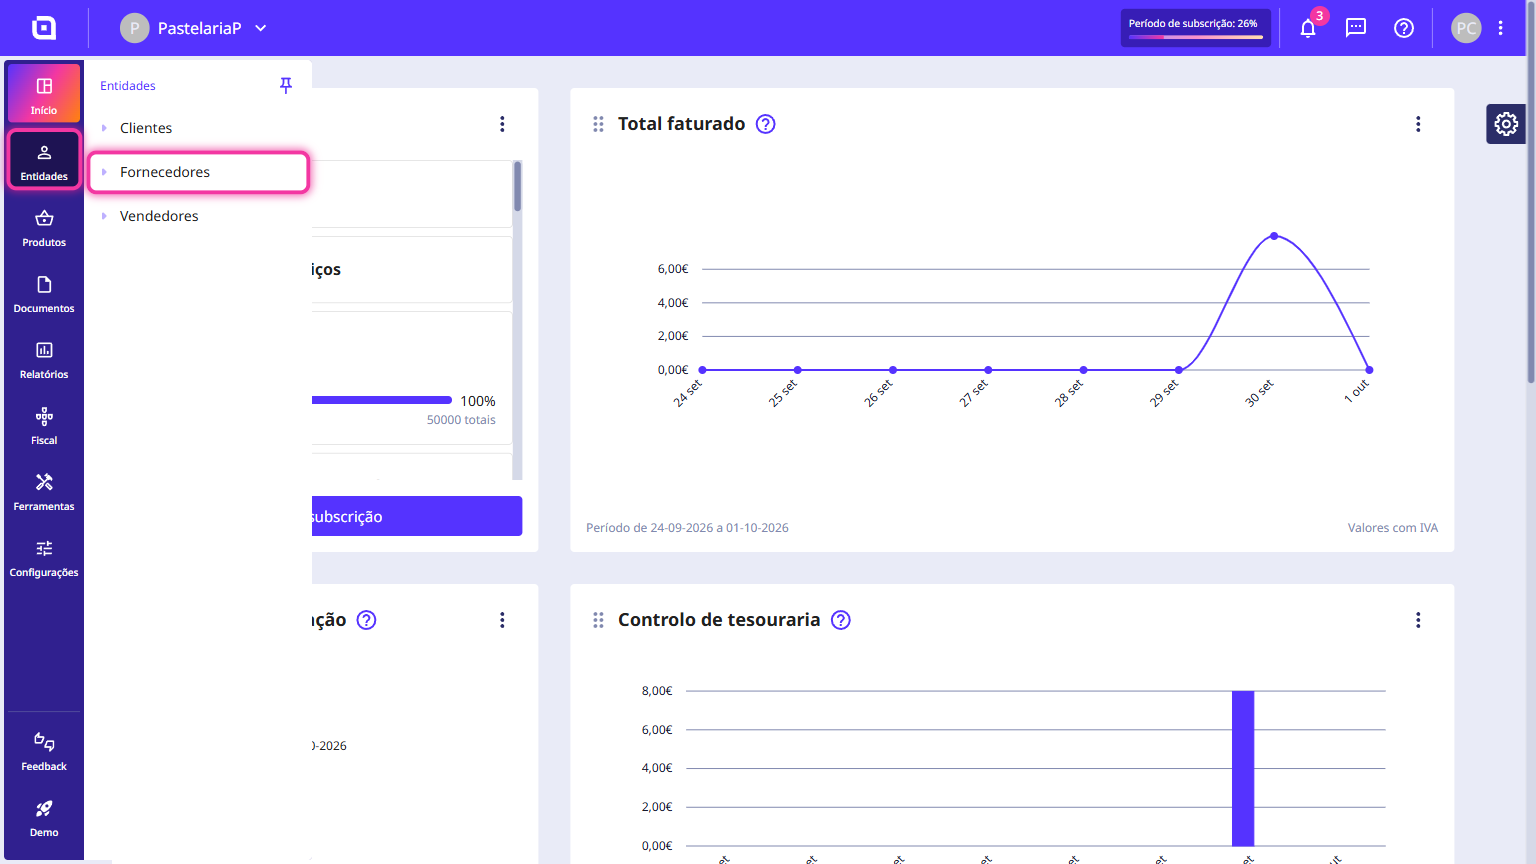
1. In the Client Area, go to the Entities menu and click on Suppliers.
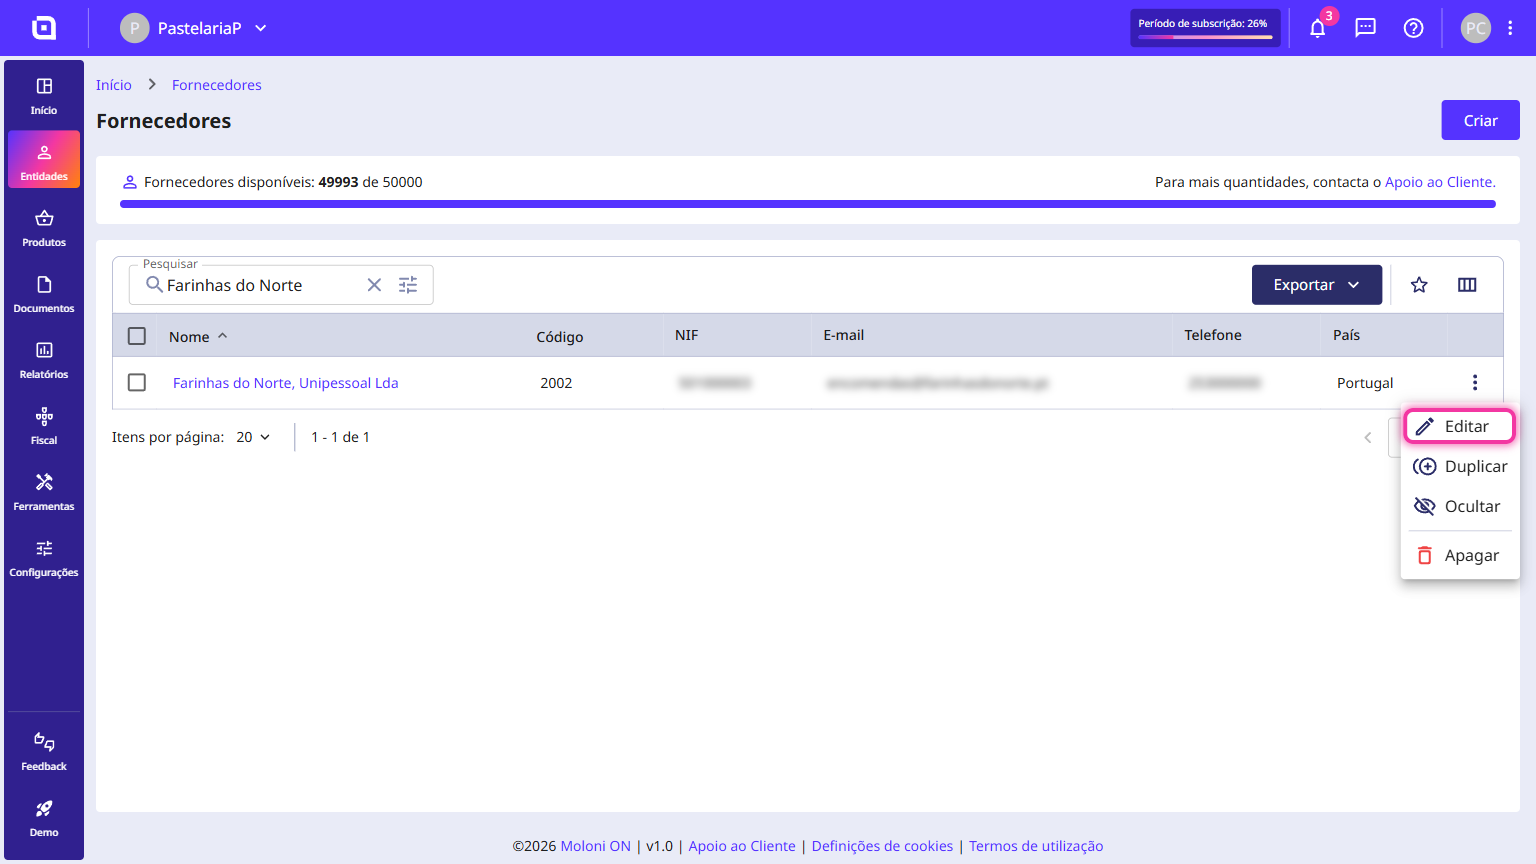
2. Search for the supplier you want, click the three dots at the end of the row and choose Edit. To add a new supplier, click on Create.
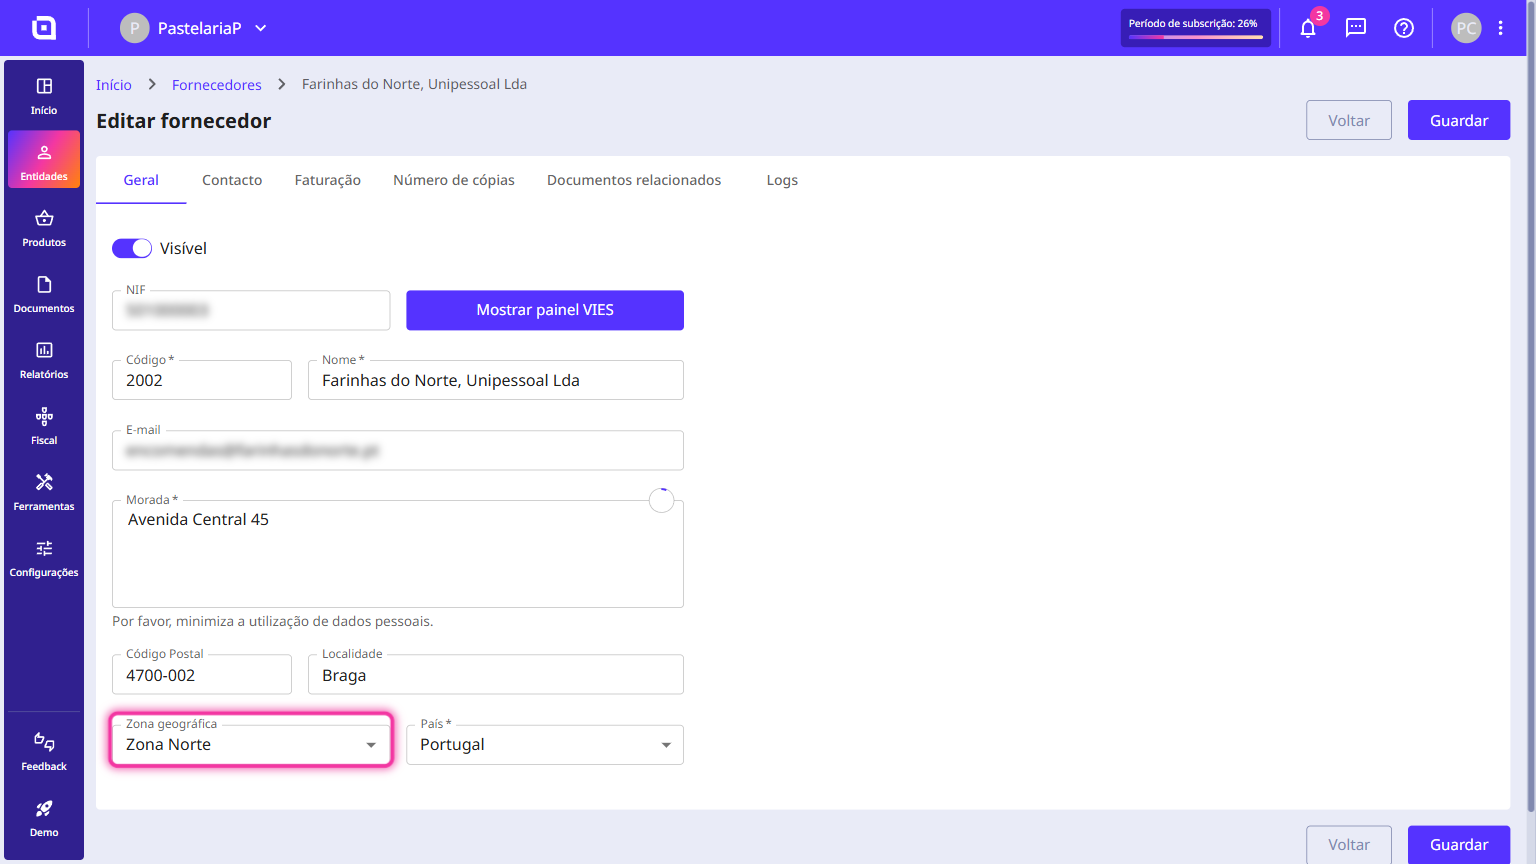
3. In the General tab, in the Geographic zone field - at the bottom of the page, next to the Country field -, select the zone you want.
4. Click the Save button to save the changes to the supplier's record.