How to create property groups and product variants
In Moloni ON, you start by creating a property group in Products, under Properties: you name the group, add each property (such as Size or Filling) and the values your products can have (1 Kg, 2 Kg). You then link that group to the product record and create each variant.
What are properties and what are they for?
Properties are attributes or variants you can link to your products to tell apart products that share the same base record. The most common example is the restaurant and pastry sector (where you need to manage properties such as the cake's Size or the Filling), but it is just as useful for clothing (size or colour), technology (storage capacity) or any sector with products made up of variables.
Setting up these groups in an organised way simplifies building your catalogue, as it saves you from creating dozens of separate products for simple variations of the same product. It also lets you keep cleaner, more segmented control over the stock of each variant.
What do you gain by creating variants?
A single record covers several commercial combinations, without duplicating references:
- the product keeps the same base name, so you no longer need repeated records for simple variations;
- each variant has its own price and its own image;
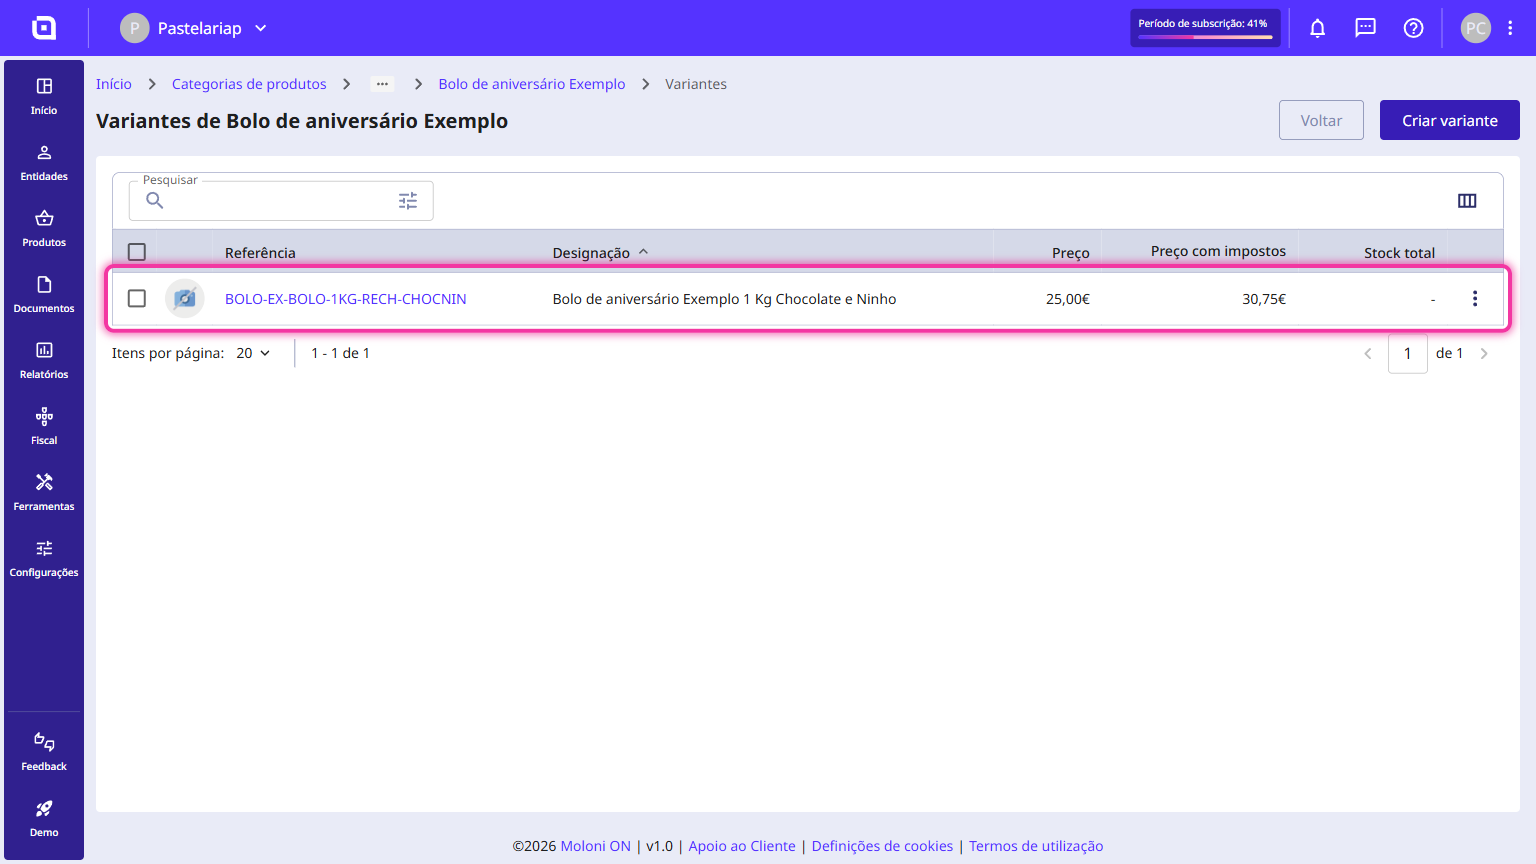
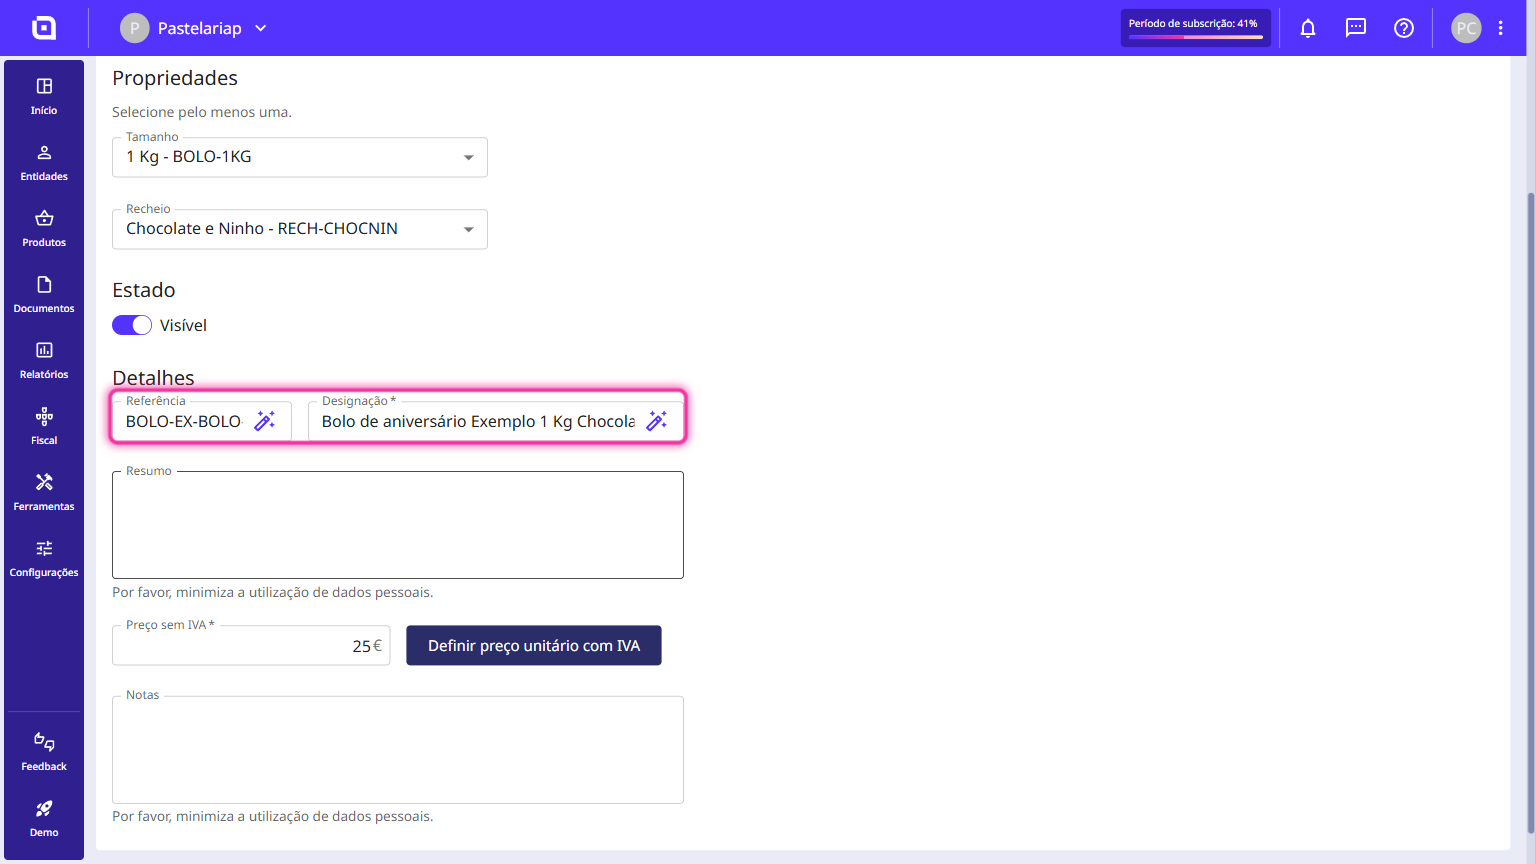
- each variant's reference and description can be built from the property values with one click on the wand icon (e.g. BOLO-EX-BOLO-1KG-RECH-CHOCNIN);
- if a combination runs out, you can turn it off and the product stays available in the remaining ones.
How do properties help with organisation and stock control?
Structuring your catalogue by properties works directly on the efficiency of your point of sale and on inventory management.
When invoicing, you just select the main product and the system asks you to choose the exact variant (e.g. Size 1 Kg with Chocolate and Ninho Filling). This makes sure stock is deducted from the correct variant and that your sales reports accurately reflect your customers' preferences by size, flavour or any other property you have set.
How to create the property group
Follow these steps:
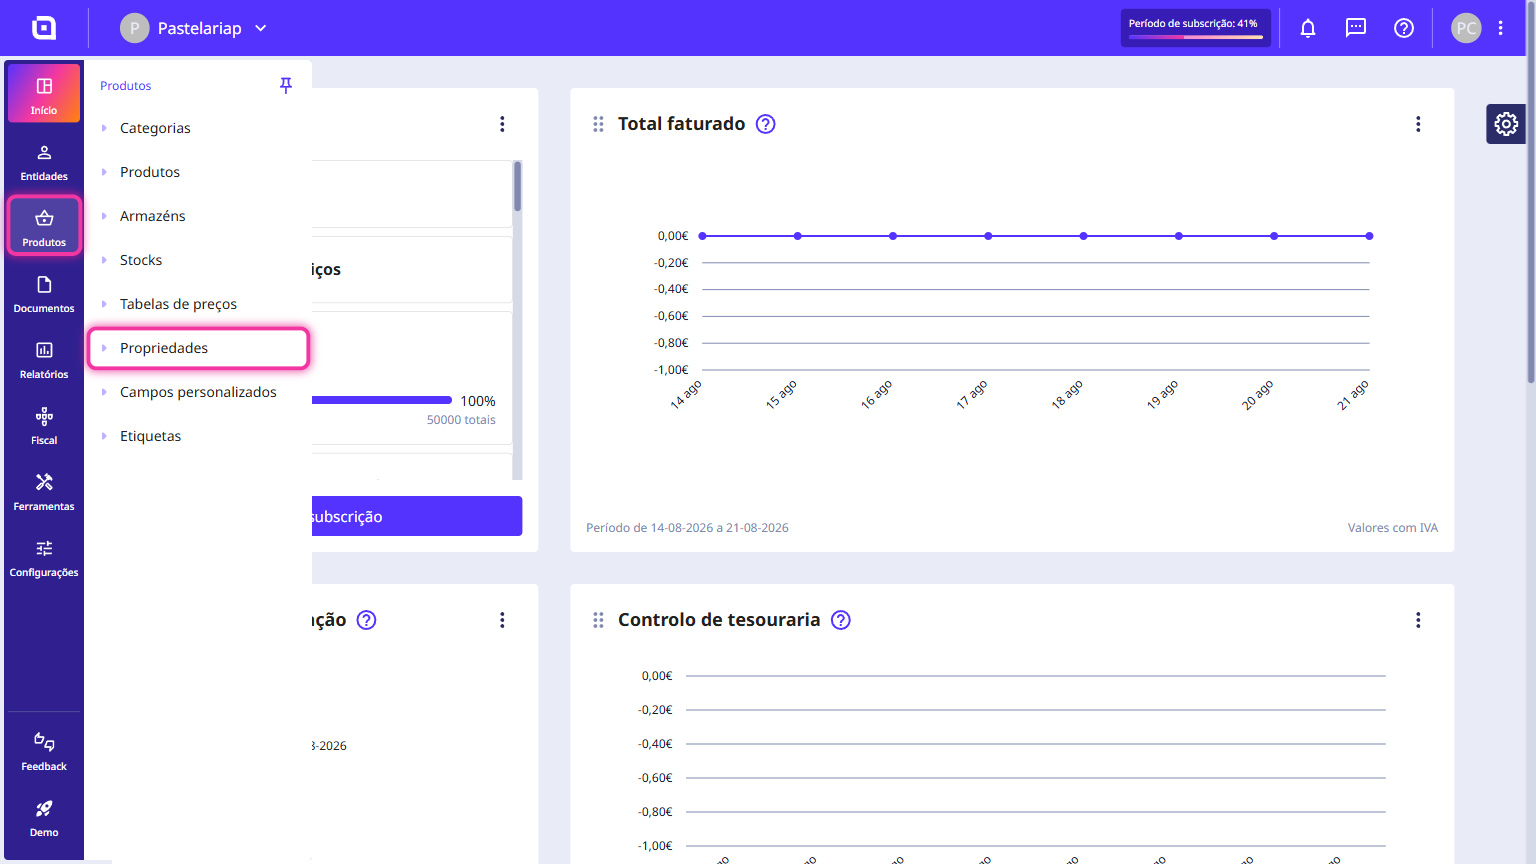
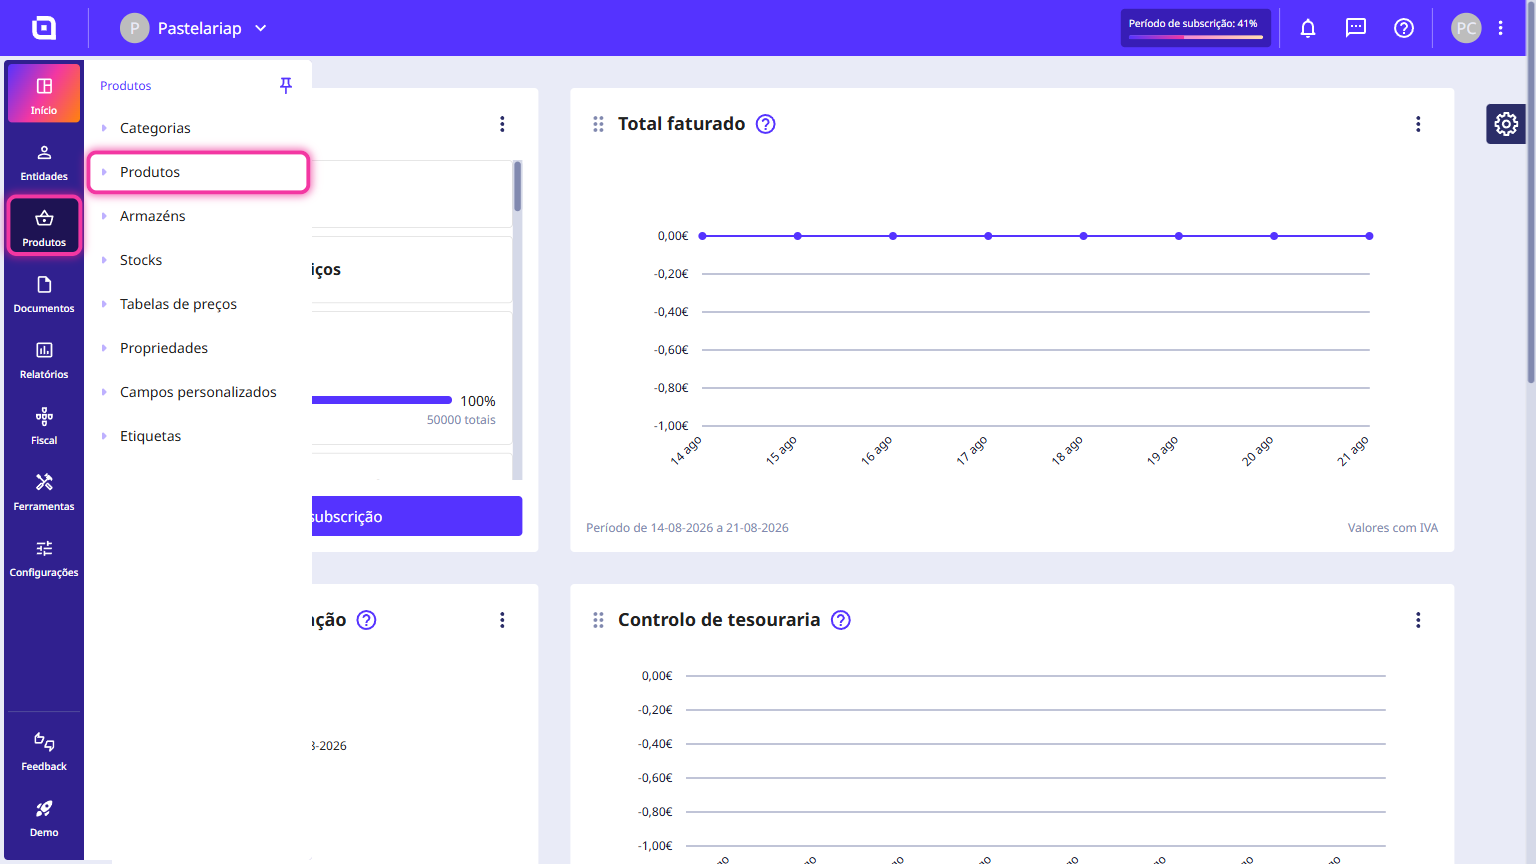
1. In the left-hand side menu, expand Products and click on Properties.
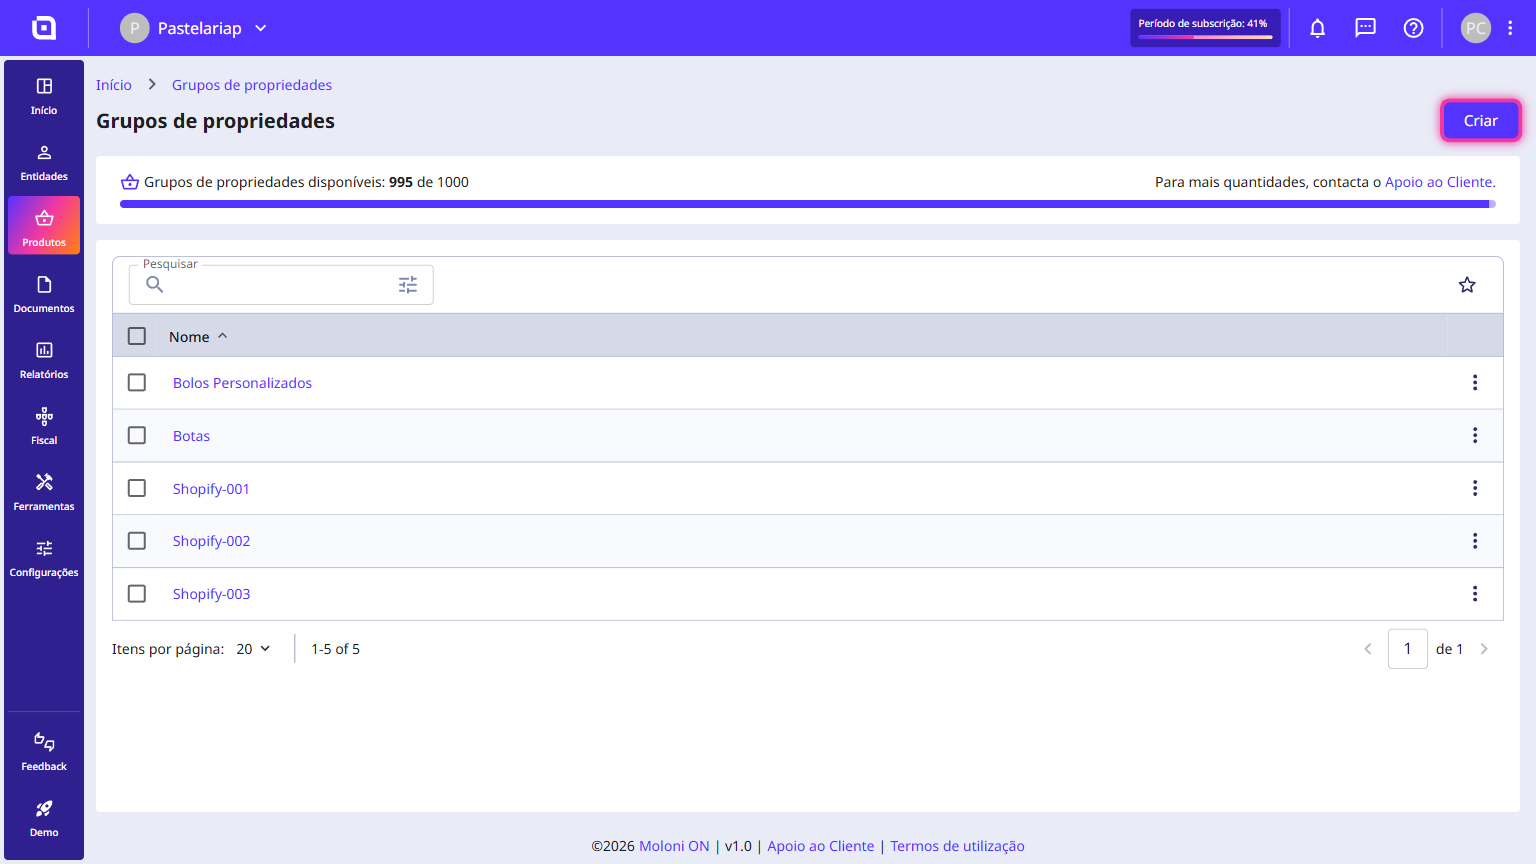
2. On the Property groups page, click the Create button in the top right corner.
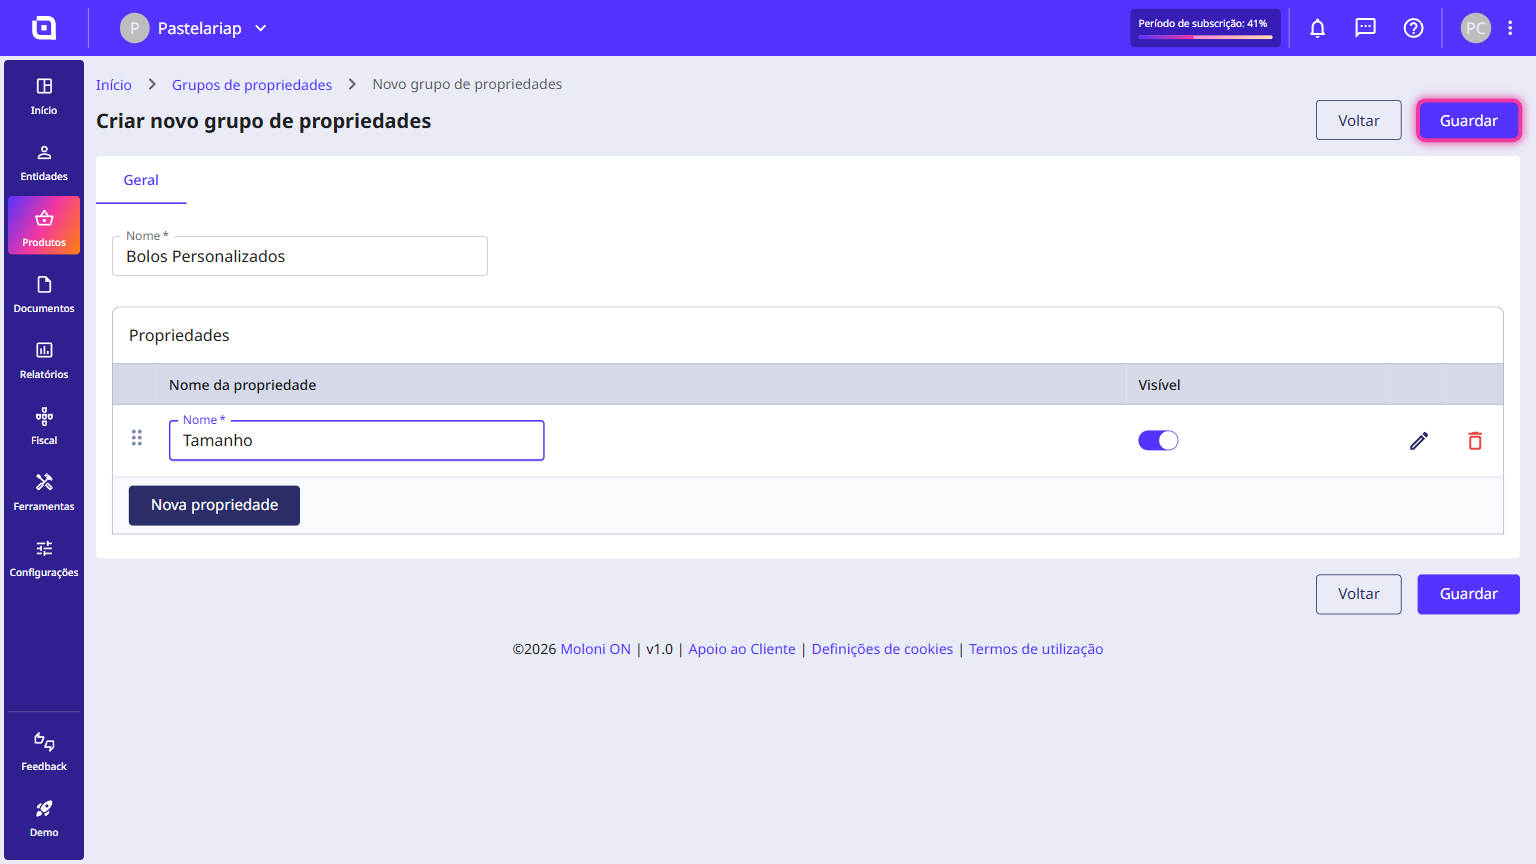
3. In the form, fill in the Name field with the general name of the group (e.g. Custom Cakes).
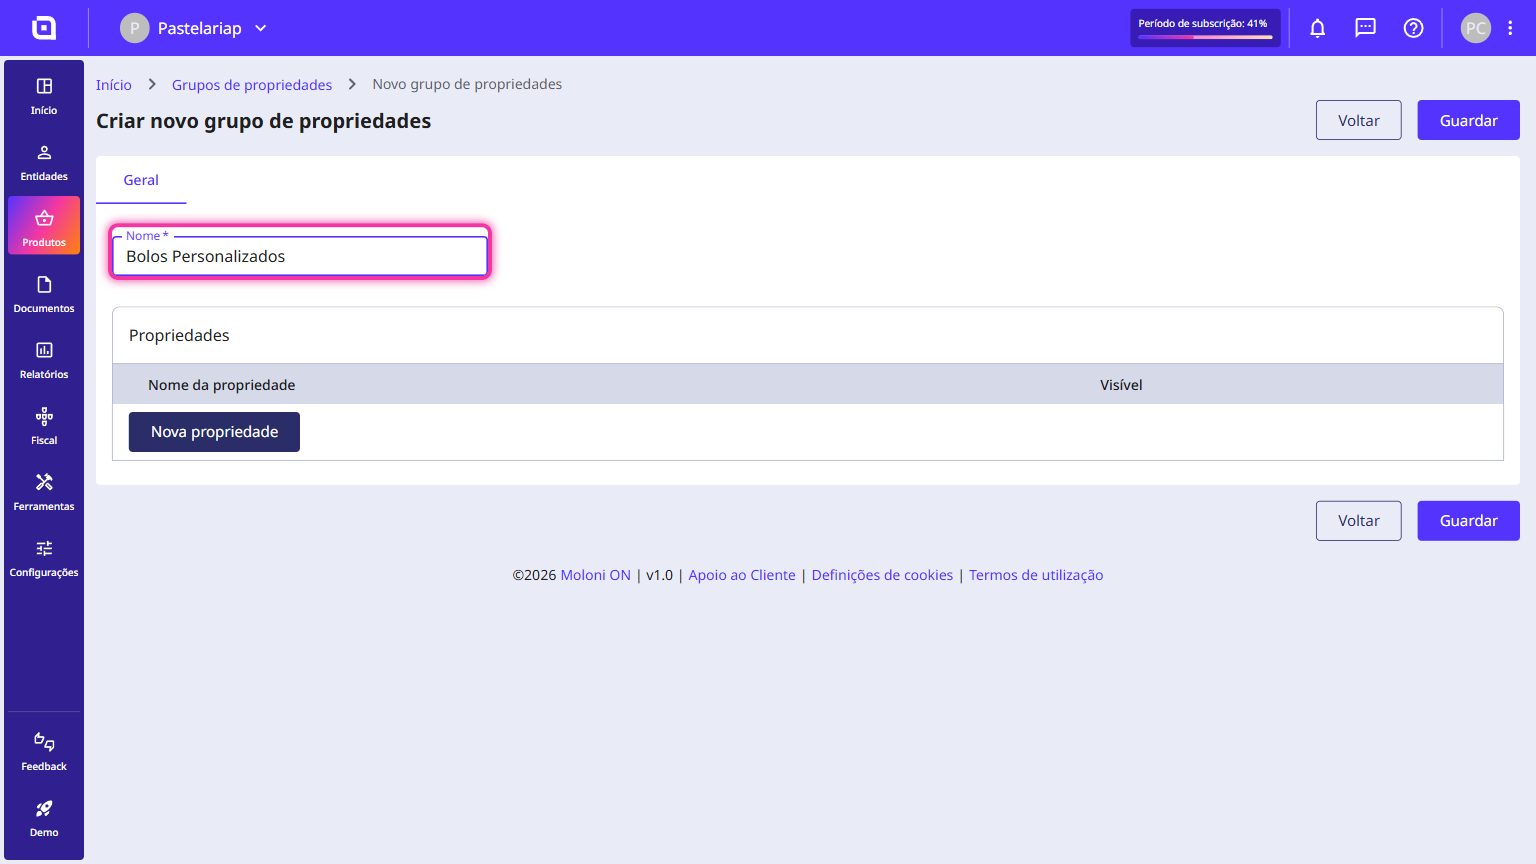
4. Just below, click the New property button to add an attribute row.
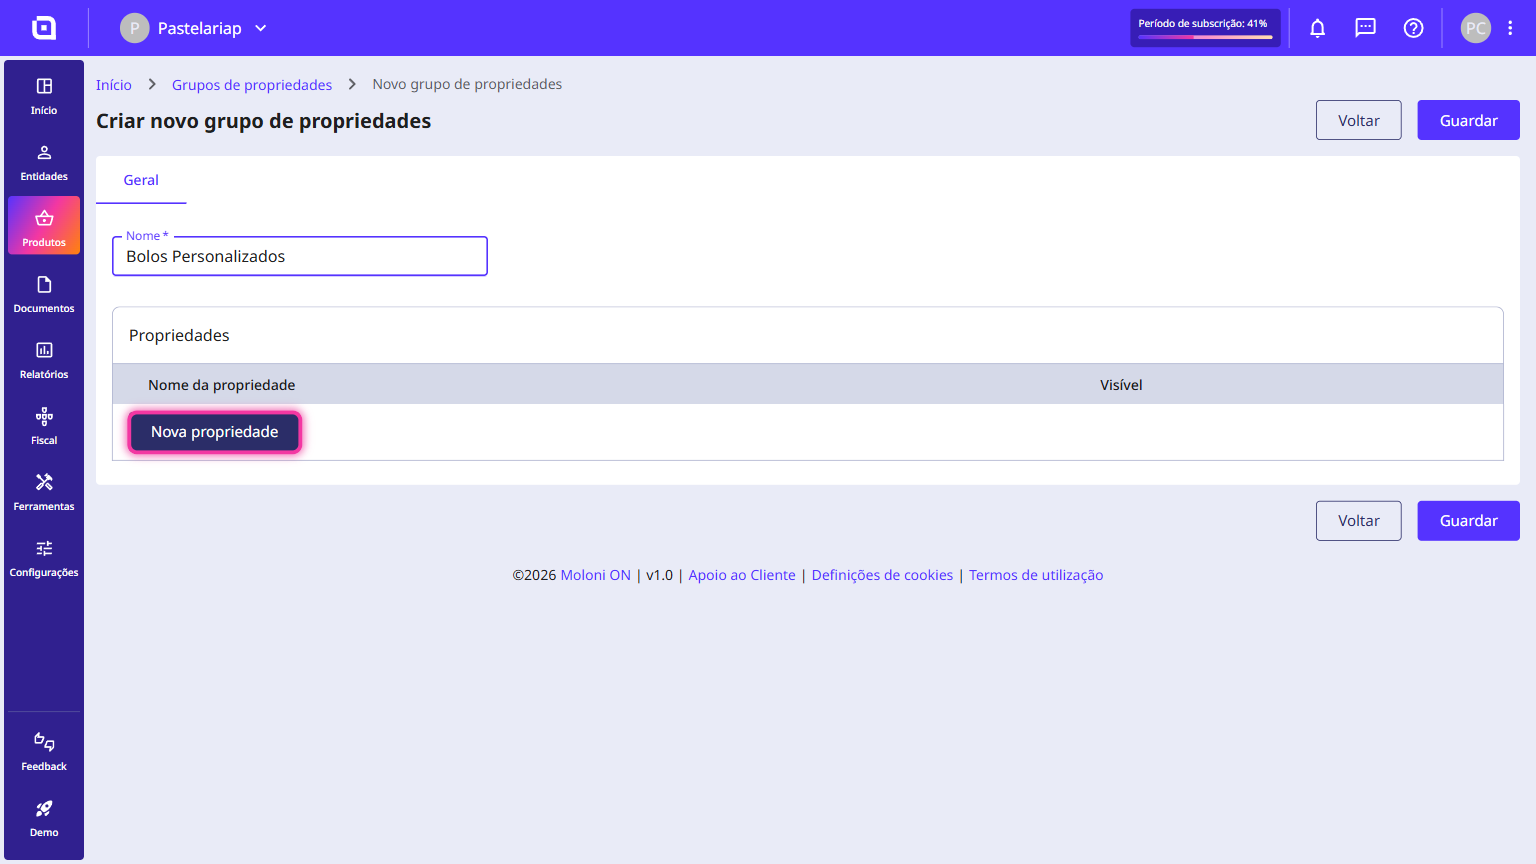
5. On the row you created, set up the following fields:
- Name: enter the category of the specific attribute (e.g. Size or Filling);
- Visible: keep or adjust this toggle so that the attribute is available to be selected on your products.
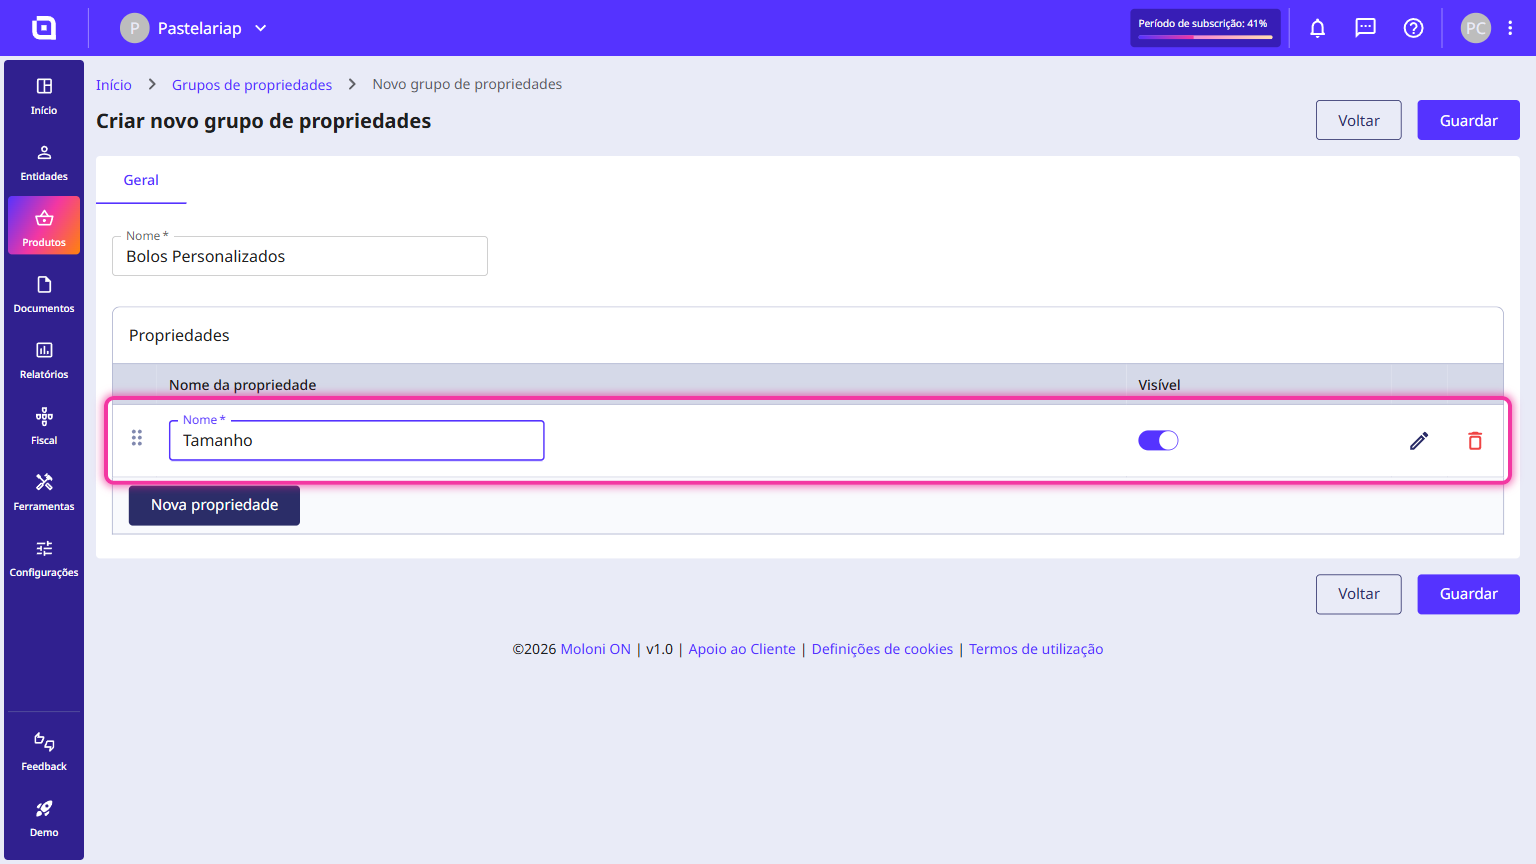
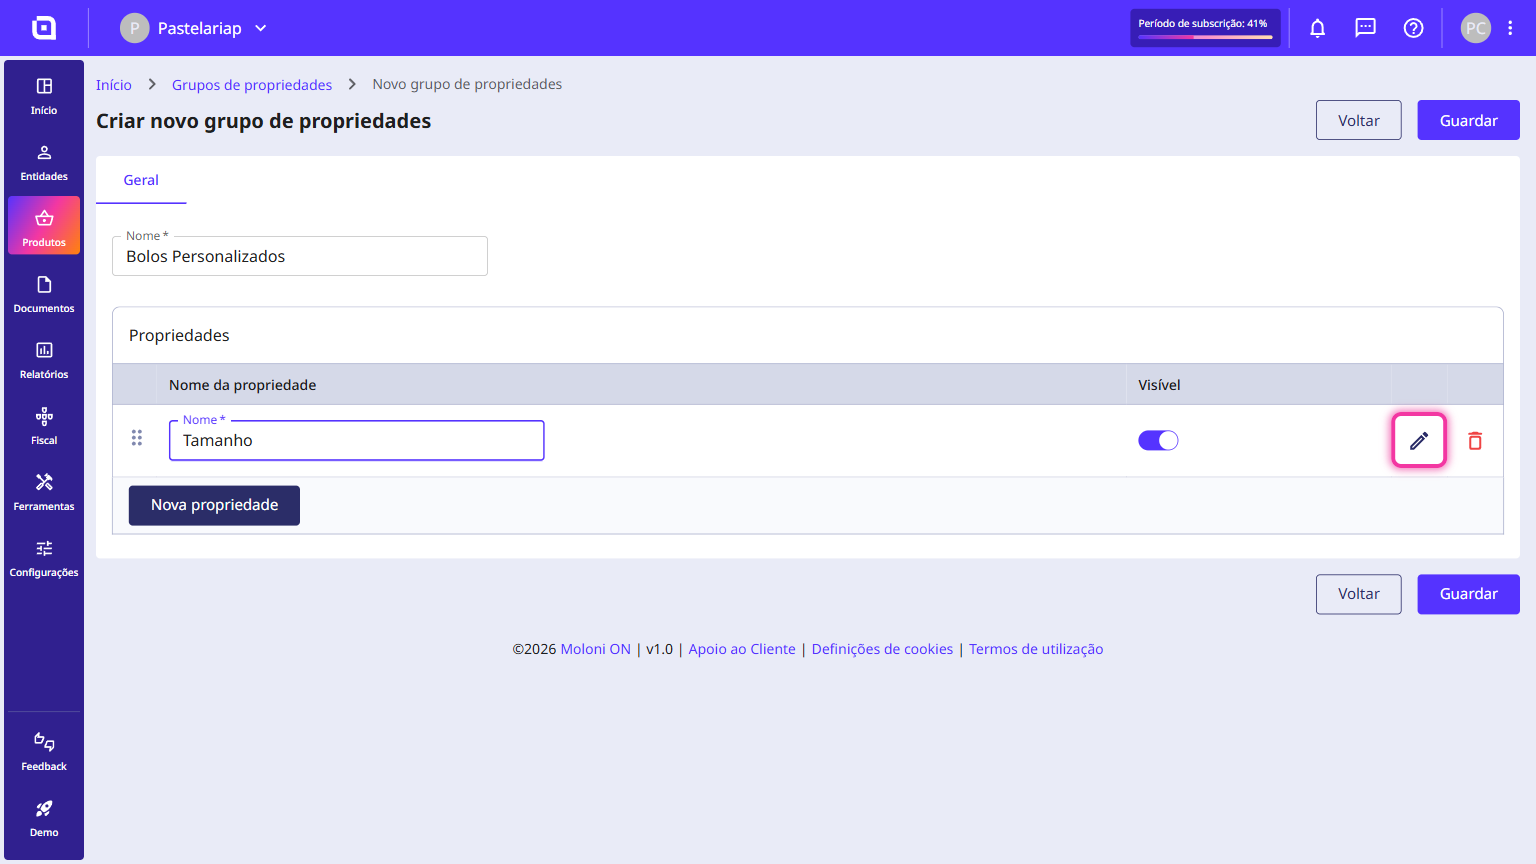
6. Click the pencil icon to edit the property.
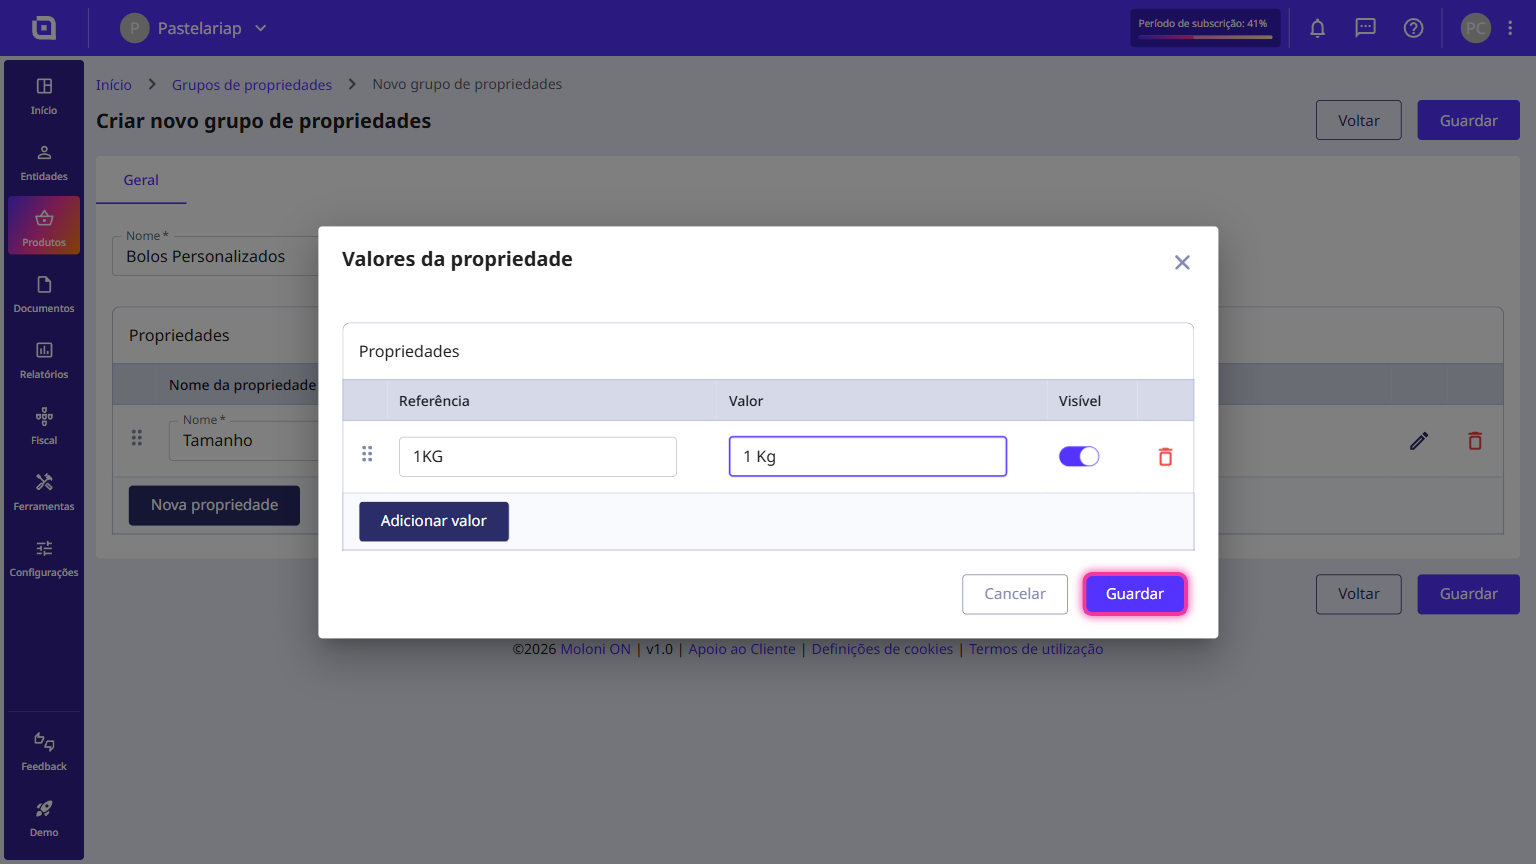
7. Click Add value and fill in:
- Reference: the internal code that identifies that specific variant (e.g. 1KG for the weight or CHOCNIN for the flavour);
- Value: the readable description that appears in print and on listings (e.g. 1 Kg, 2 Kg or Chocolate and Ninho, Pudding);
- Visible: the toggle that lets you turn an option off temporarily (if an ingredient or option runs out, for example) without having to delete it.
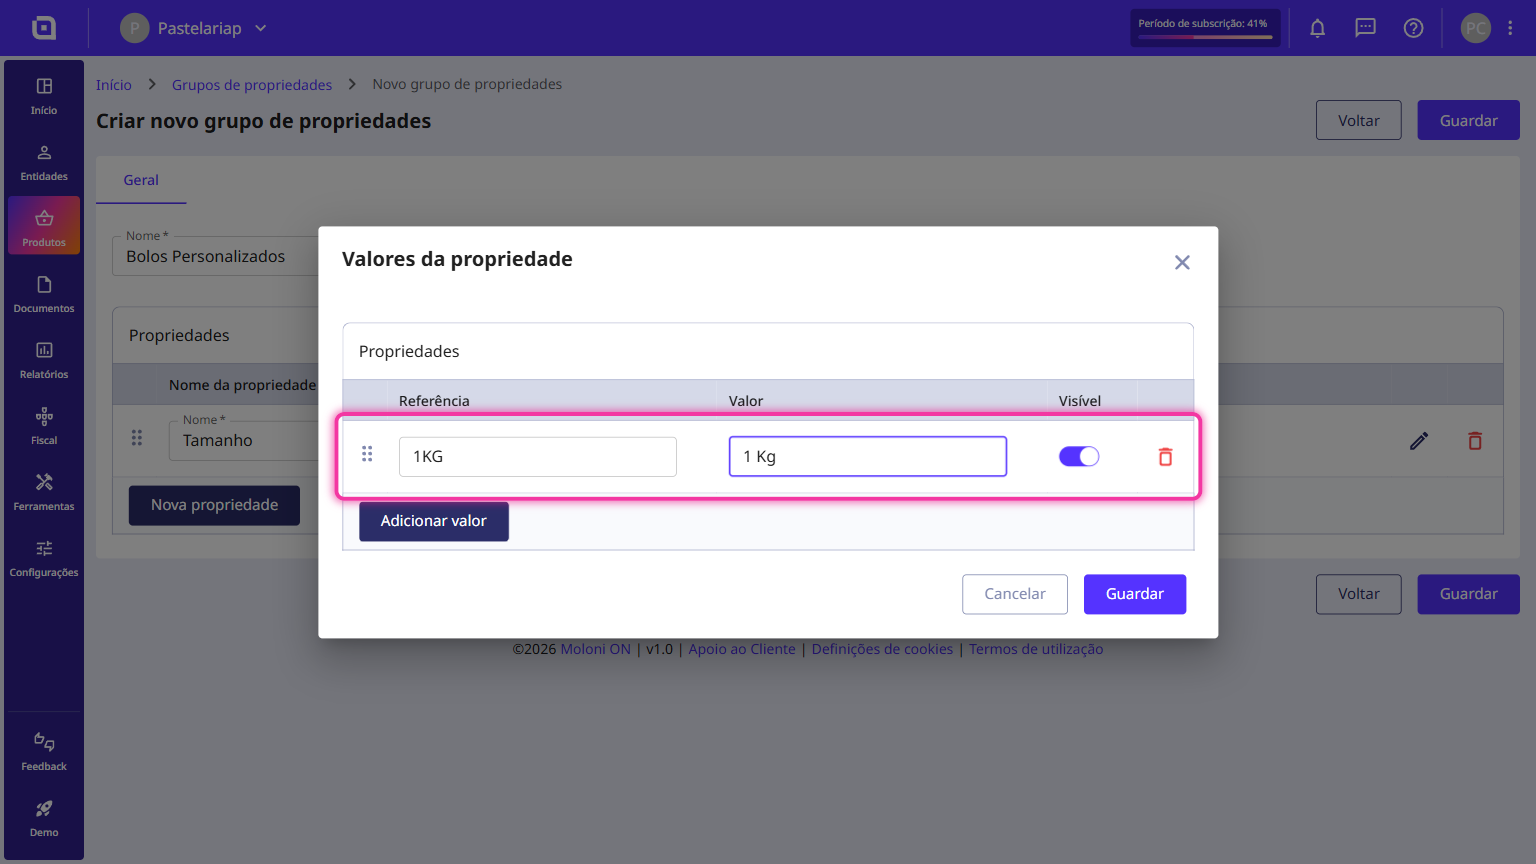
8. Click the Save button to lock in the options for that attribute.
9. Finally, back on the main form, click the Save button (available in the top right corner and in the bottom right corner) to finish creating your group.
How to link the group to the product and create the variants
Follow these steps:
1. In the left-hand side menu, expand Products and click on Products.
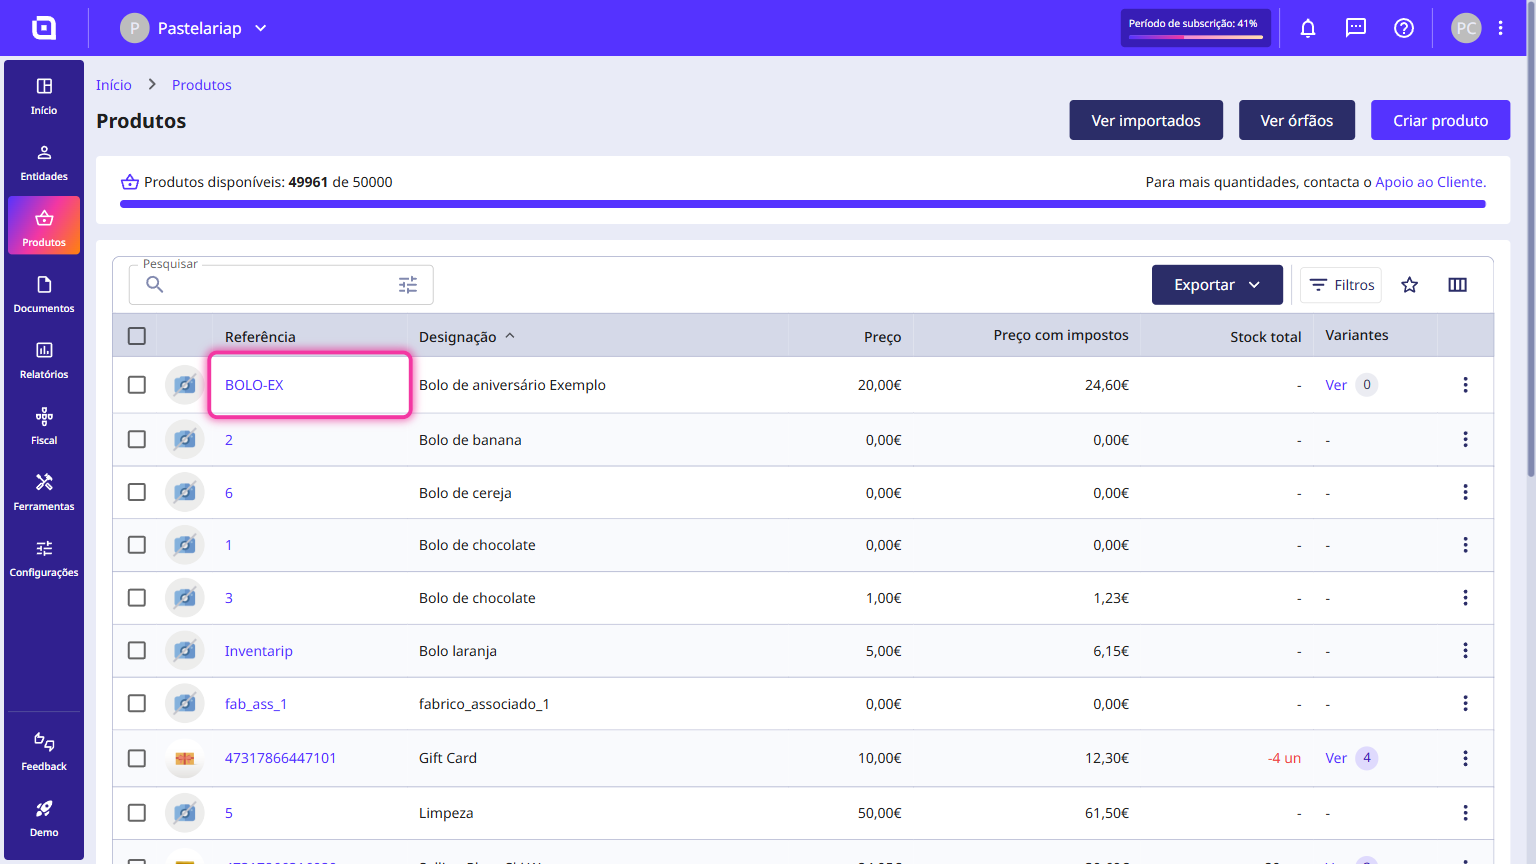
2. On the listing, click the reference of the product you want to edit. If it is a new product, click Create product in the top right corner first.
3. In the General tab, turn on the Has variants toggle.
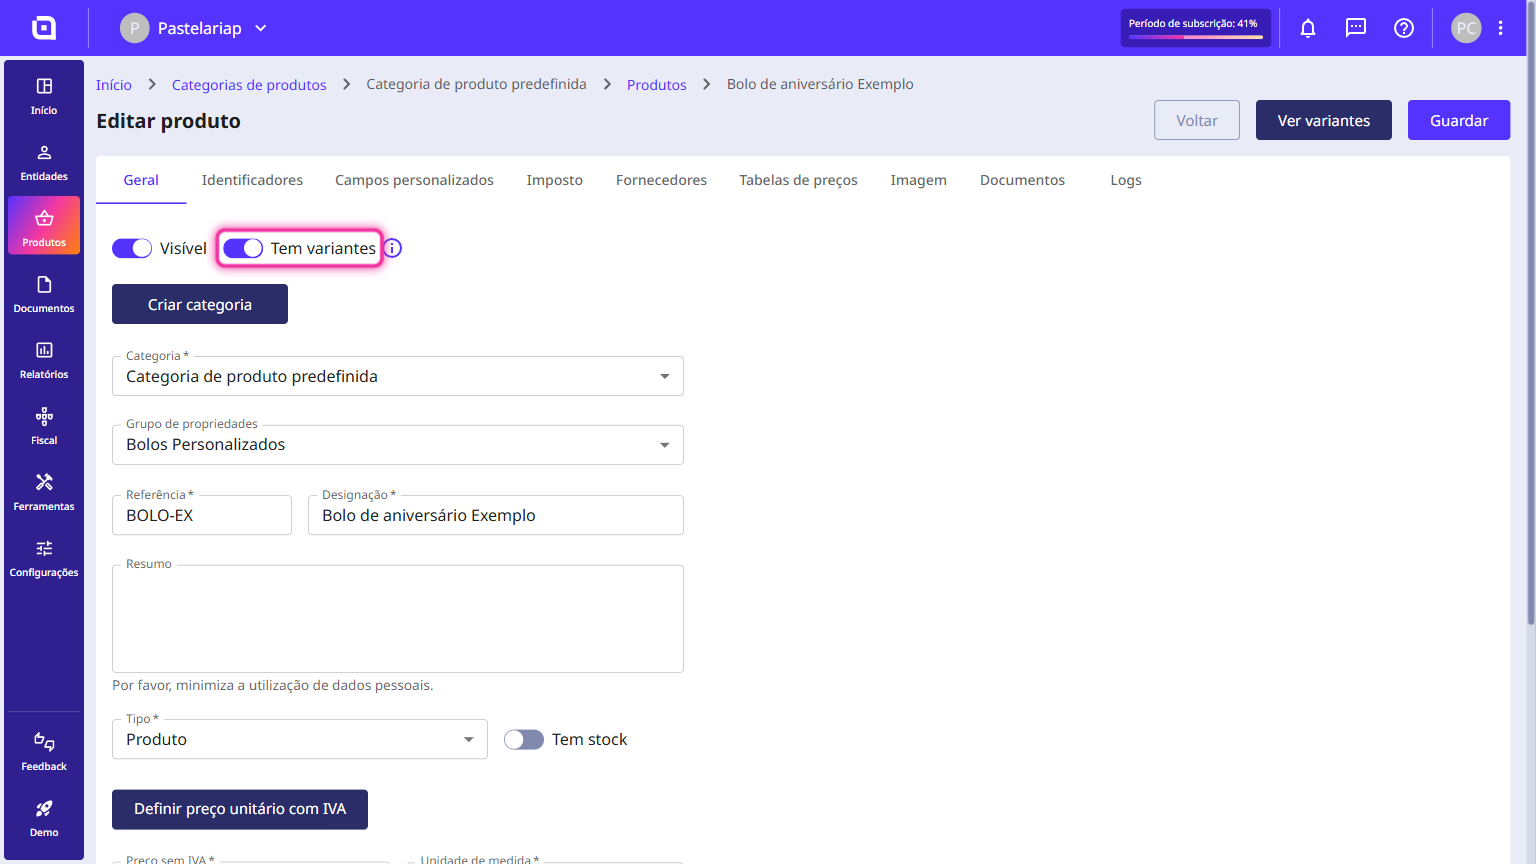
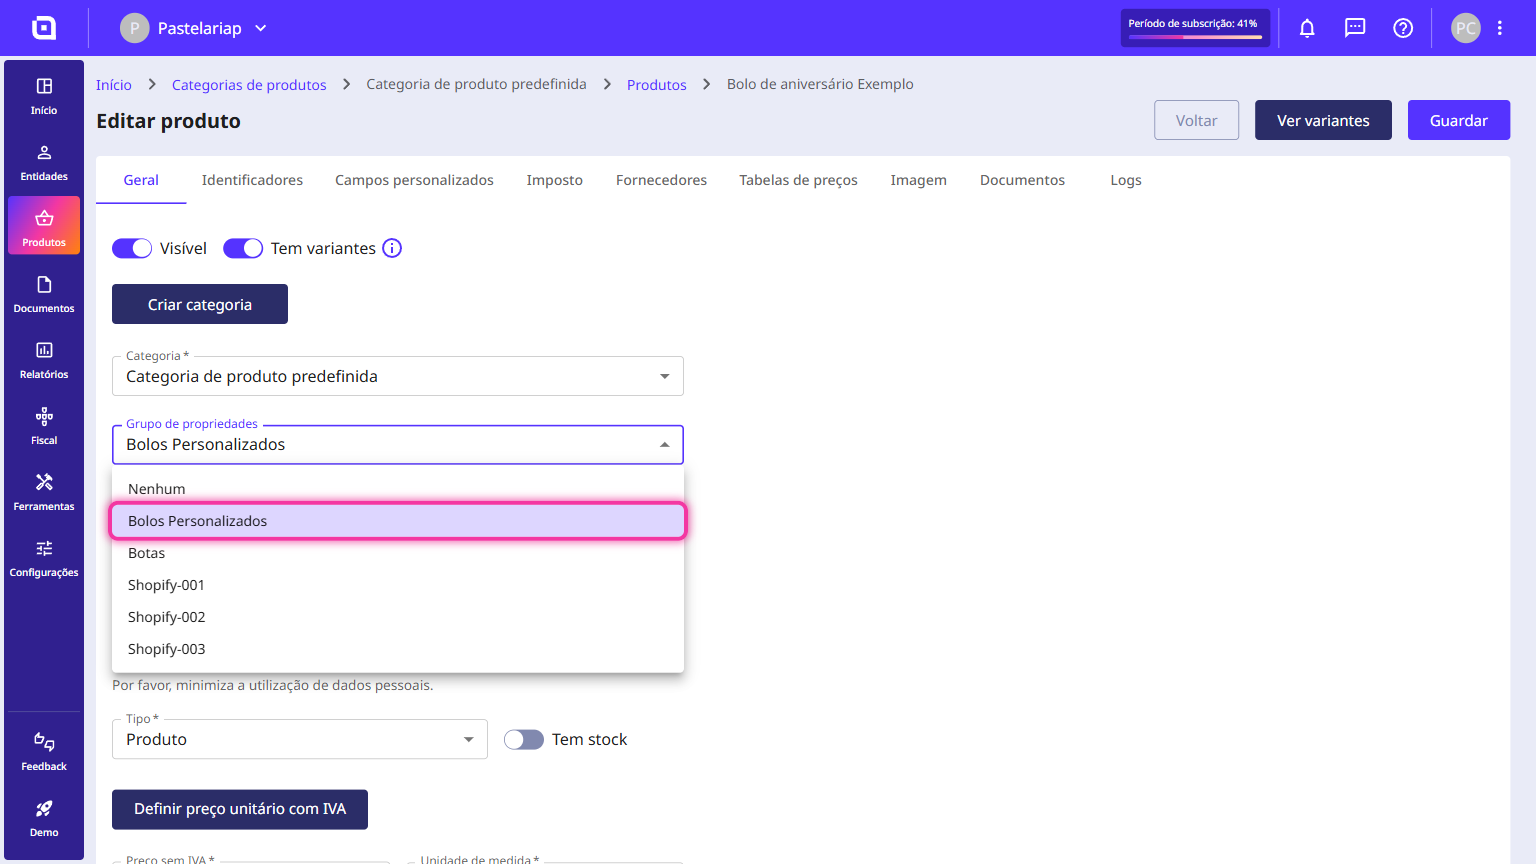
4. Open the Property group field, which appears just below Category, and choose the group you created (e.g. Custom Cakes).
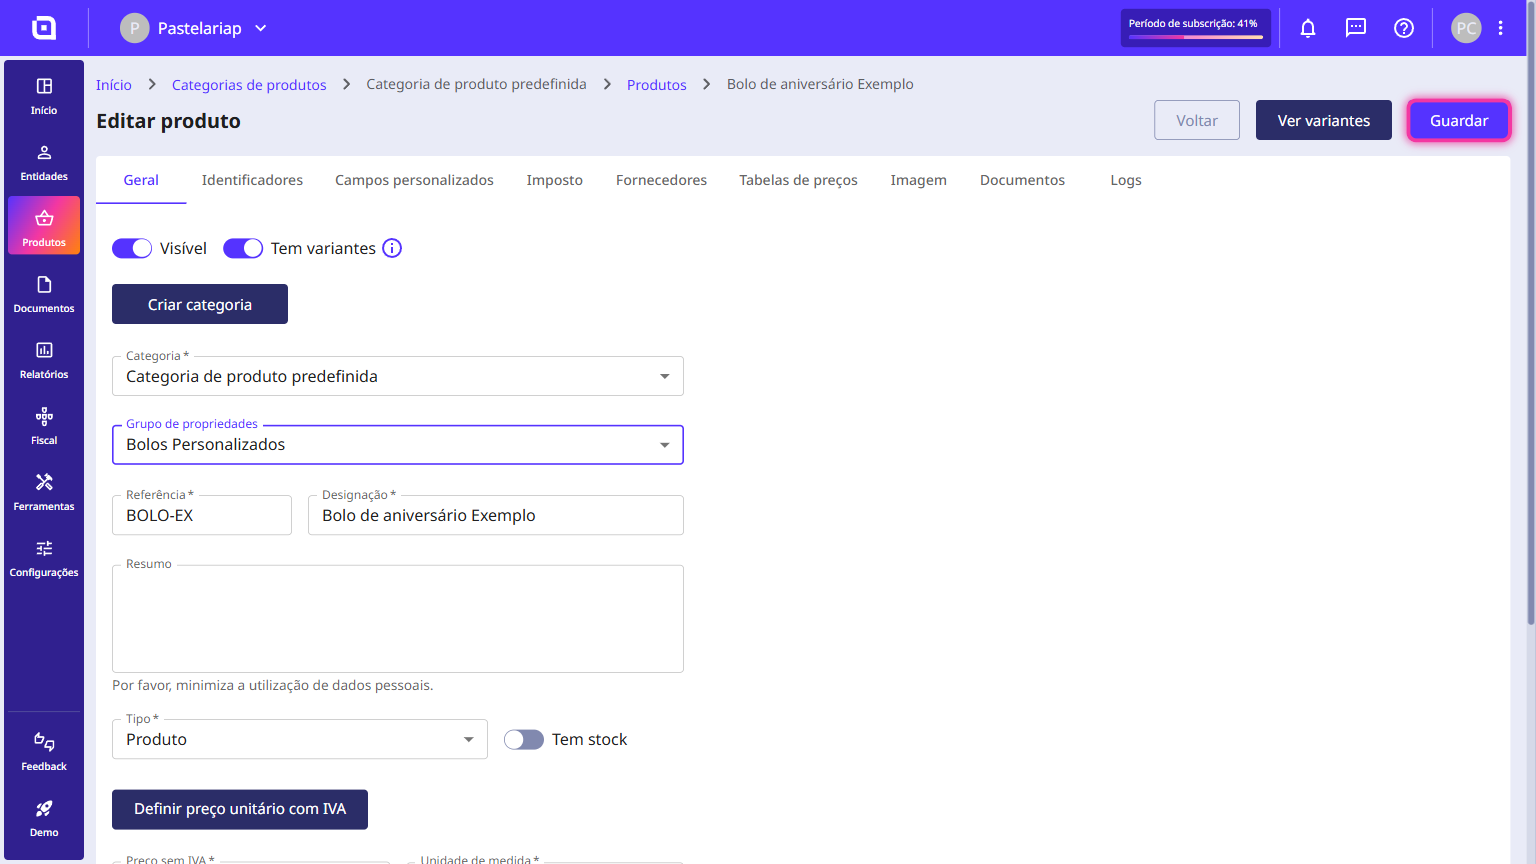
5. Click the Save button in the top right corner.
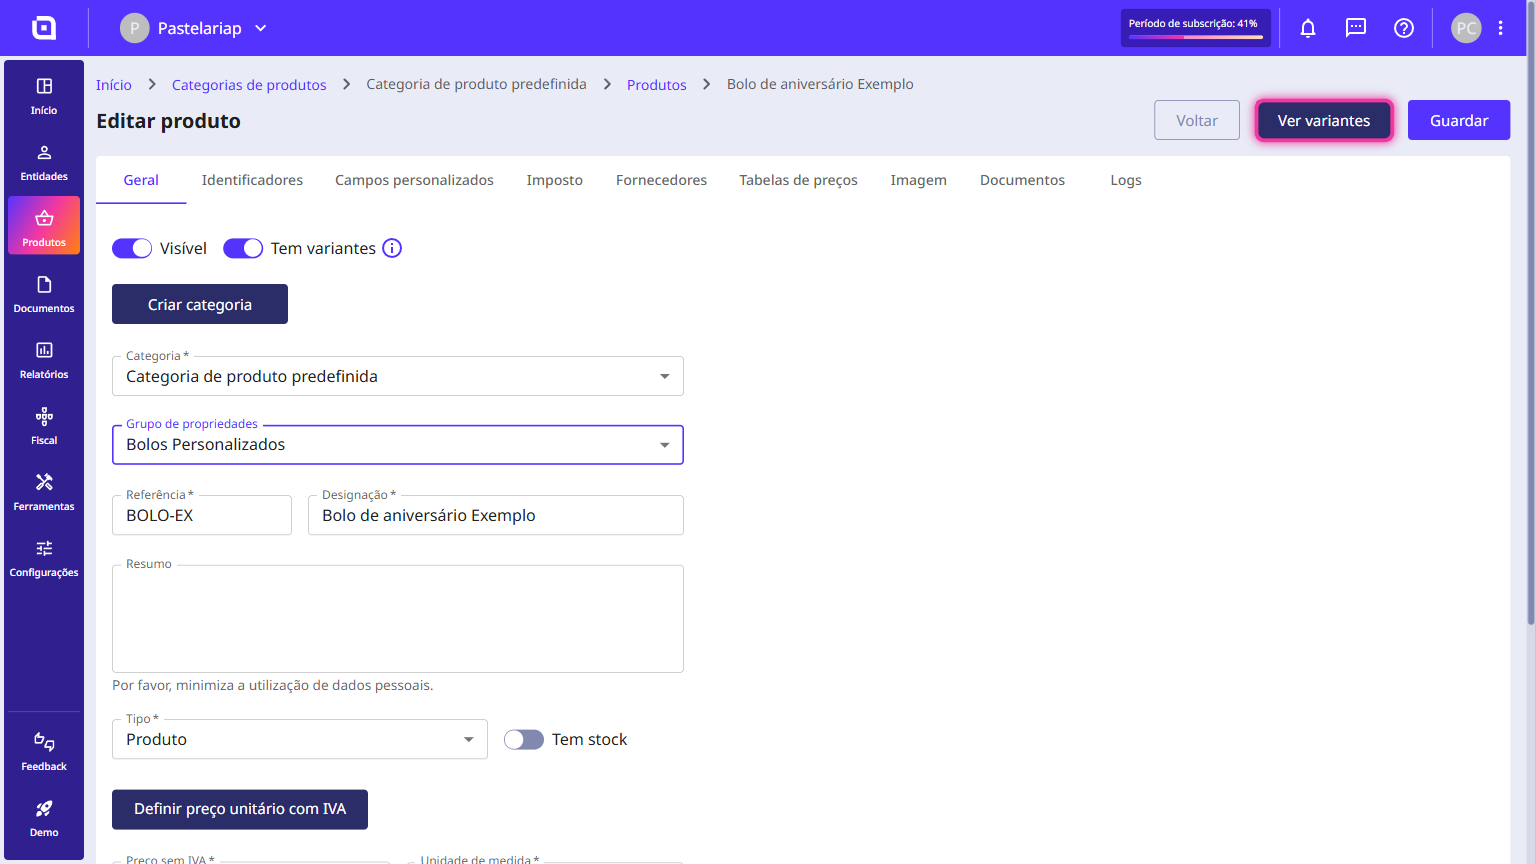
6. The record now shows the View variants button at the top. Click it to open this product's variants page.
7. On the Variants page, click the Create variant button in the top right corner.
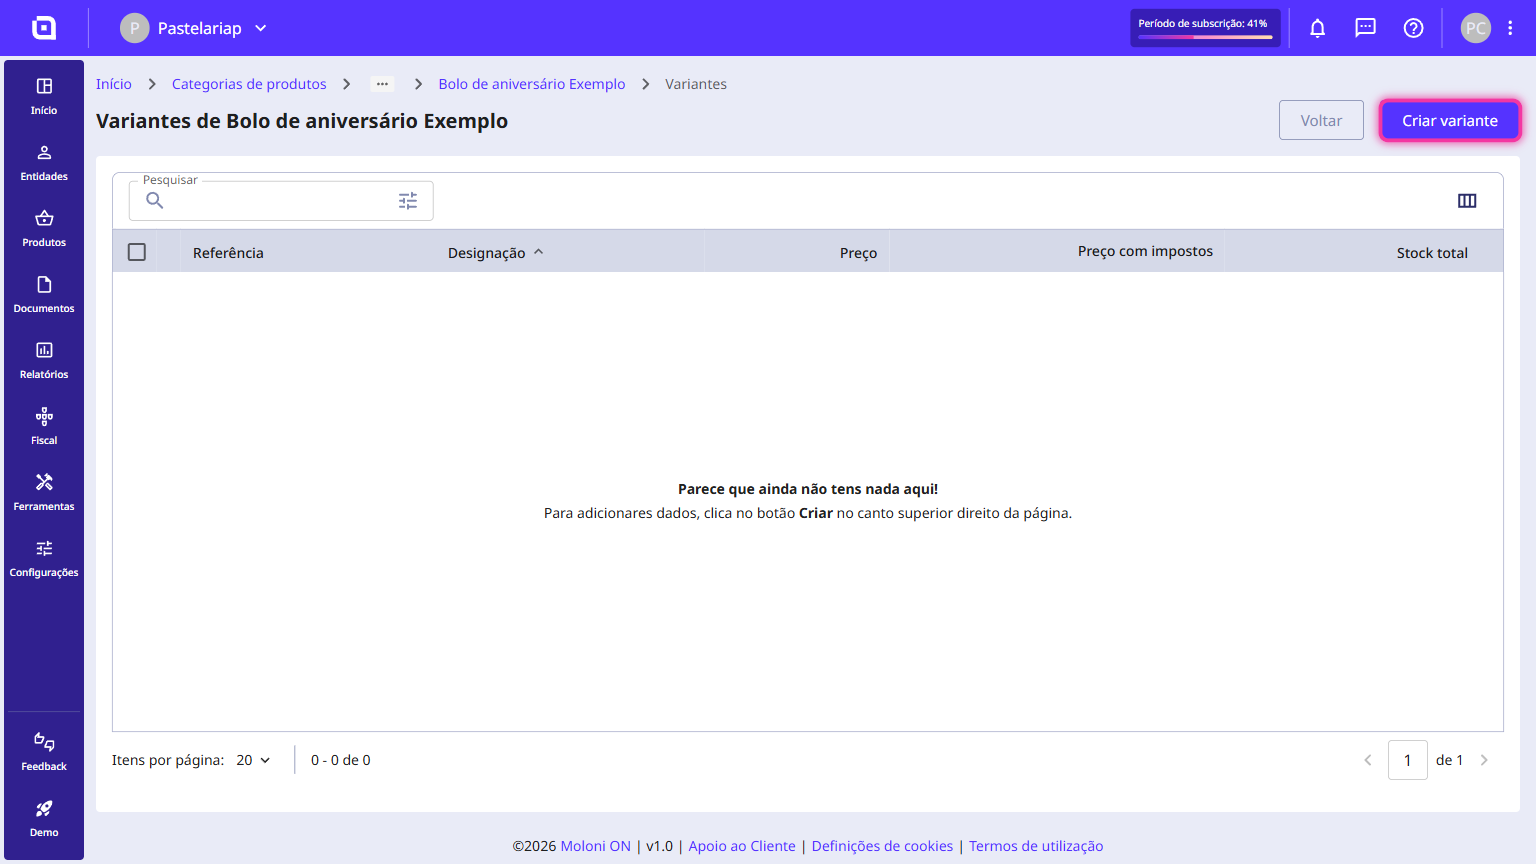
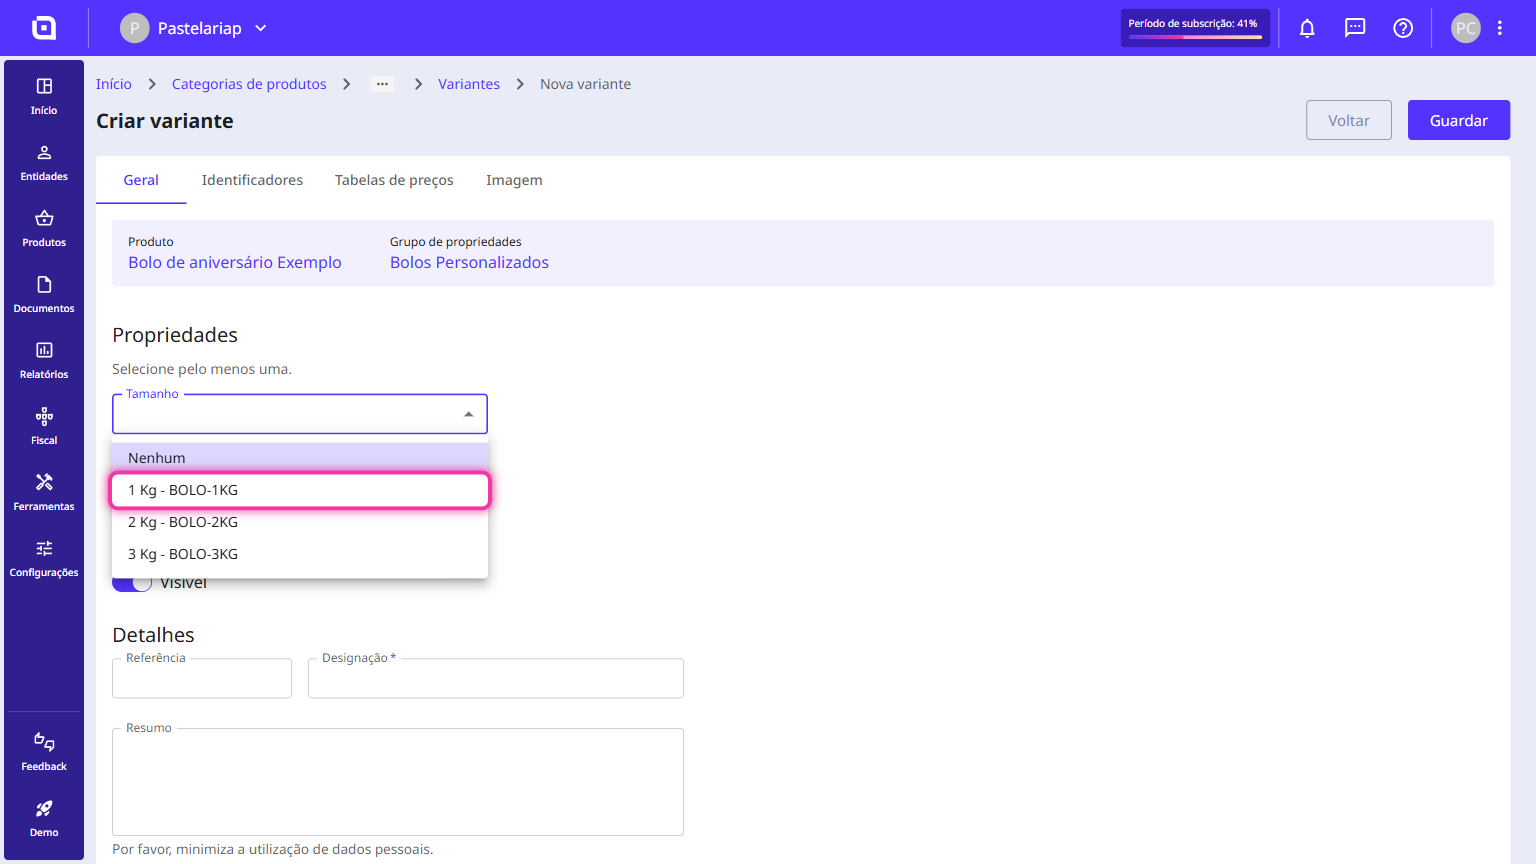
8. Under Properties, choose the values for this combination (e.g. the Size and the Filling).
9. Fill in the variant's Details and the Price without VAT. For the Reference and the Description, click the wand icon next to each field and Moloni ON builds them from the values you chose. If you need to, complete the variant's remaining tabs as well.
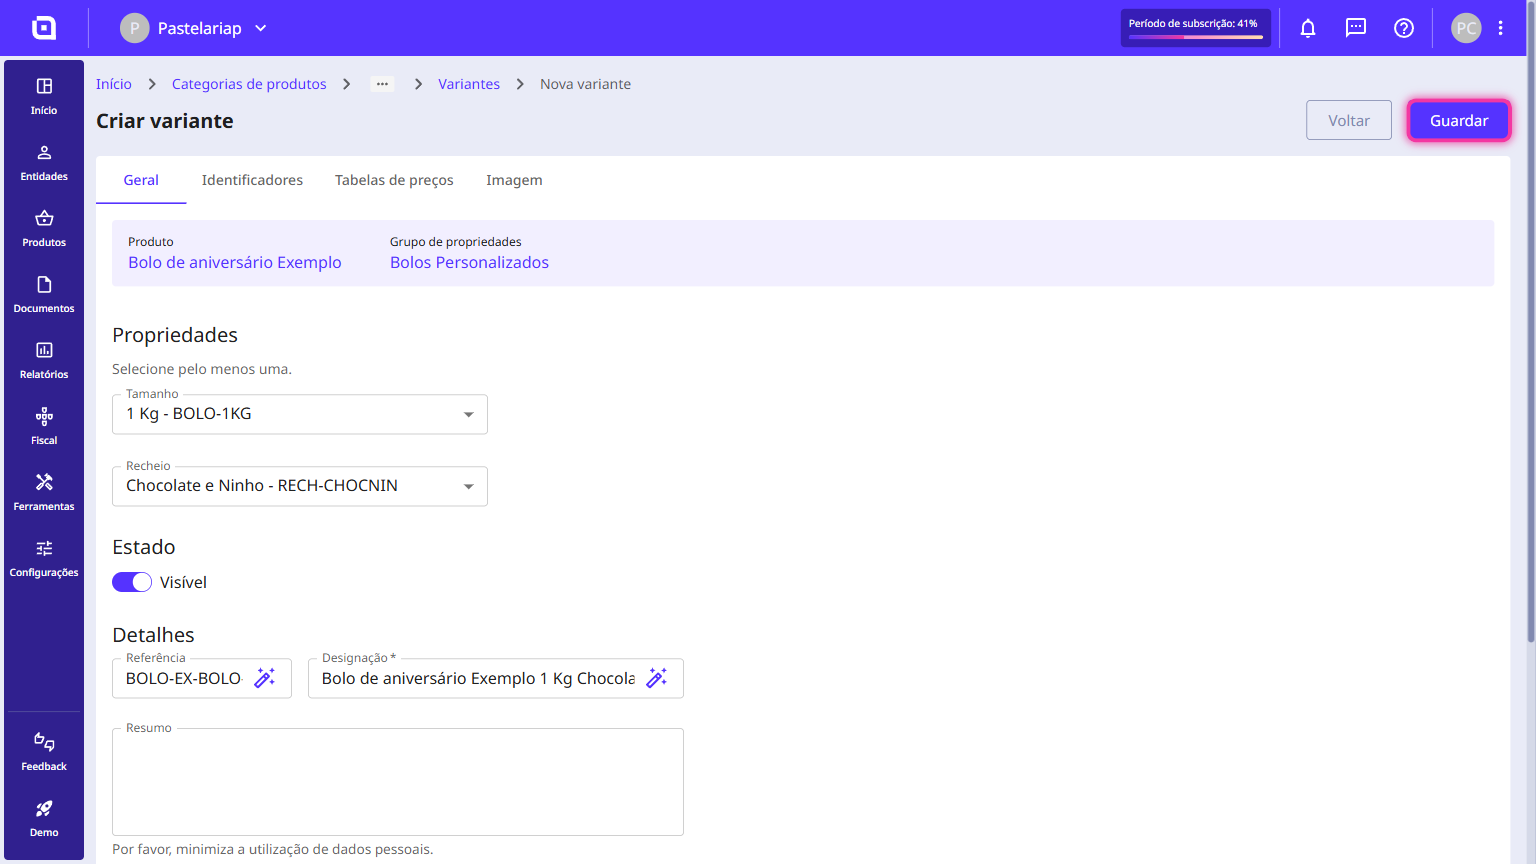
10. Click the Save button in the top right corner.
11. The variant is added to the table. Repeat steps 7 to 10 for each combination you want to sell.