How to create an estimate
What is an estimate?
It is a pre-contractual document where a supplier details prices, payment terms and deadlines for a customer before the sale is closed.
Follow these steps:
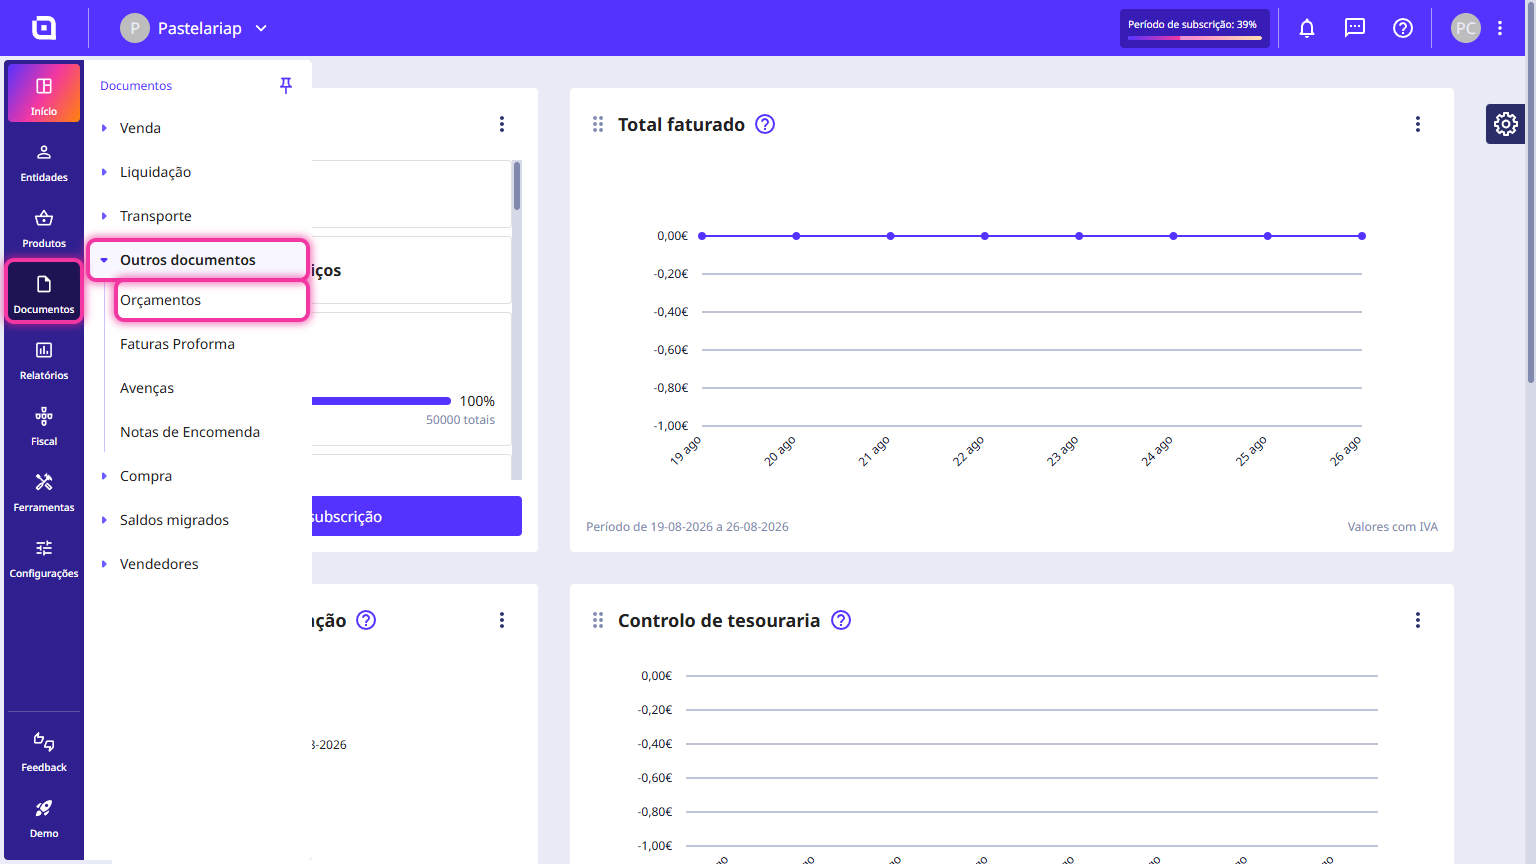
1. In the Client Area, access the Documents menu, click on Other documents and select Estimates.
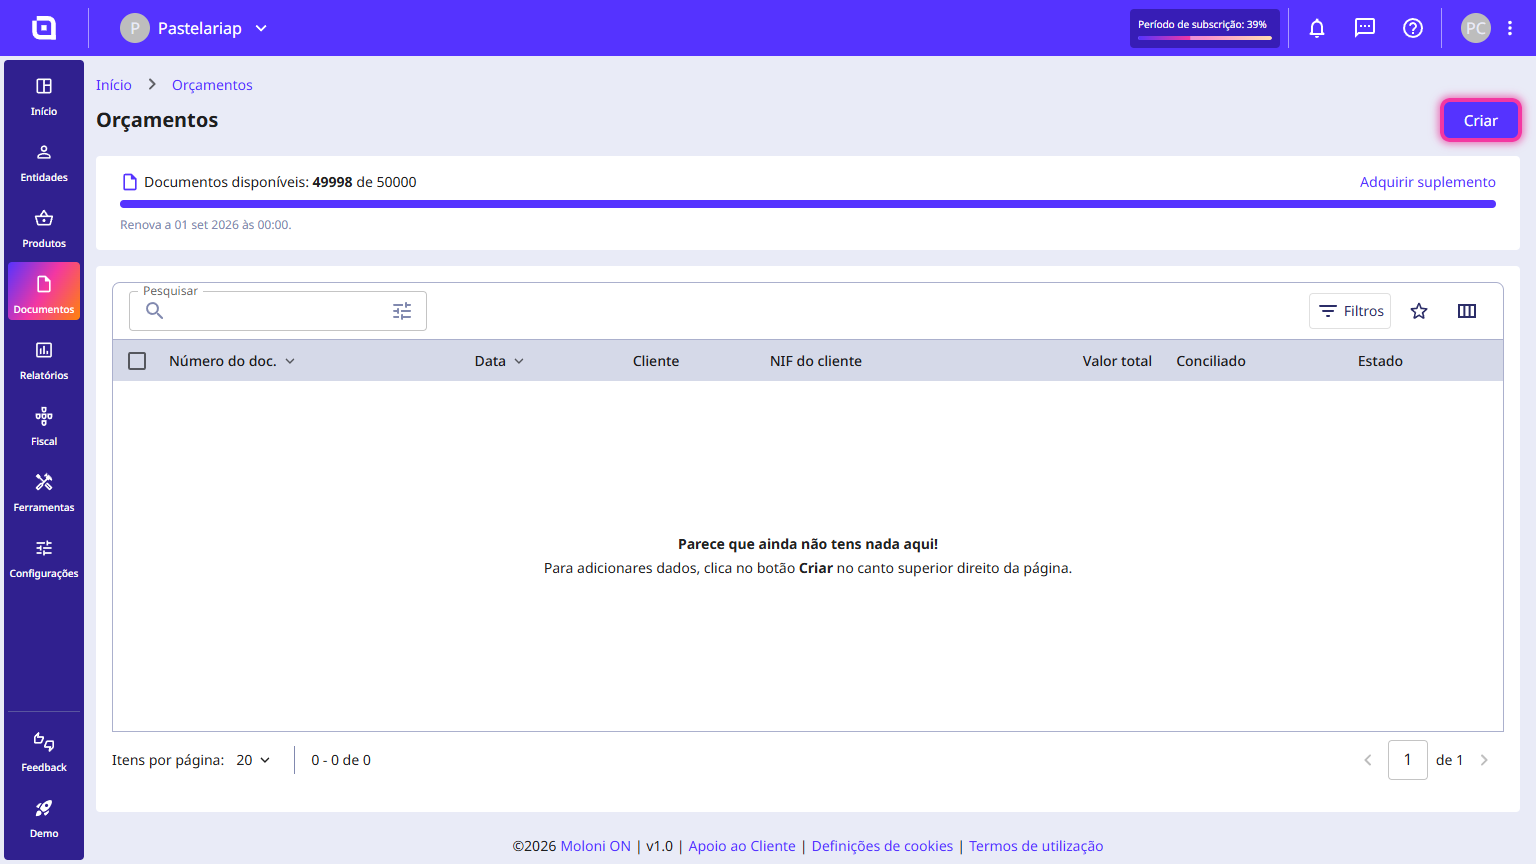
2. Click the Create button.
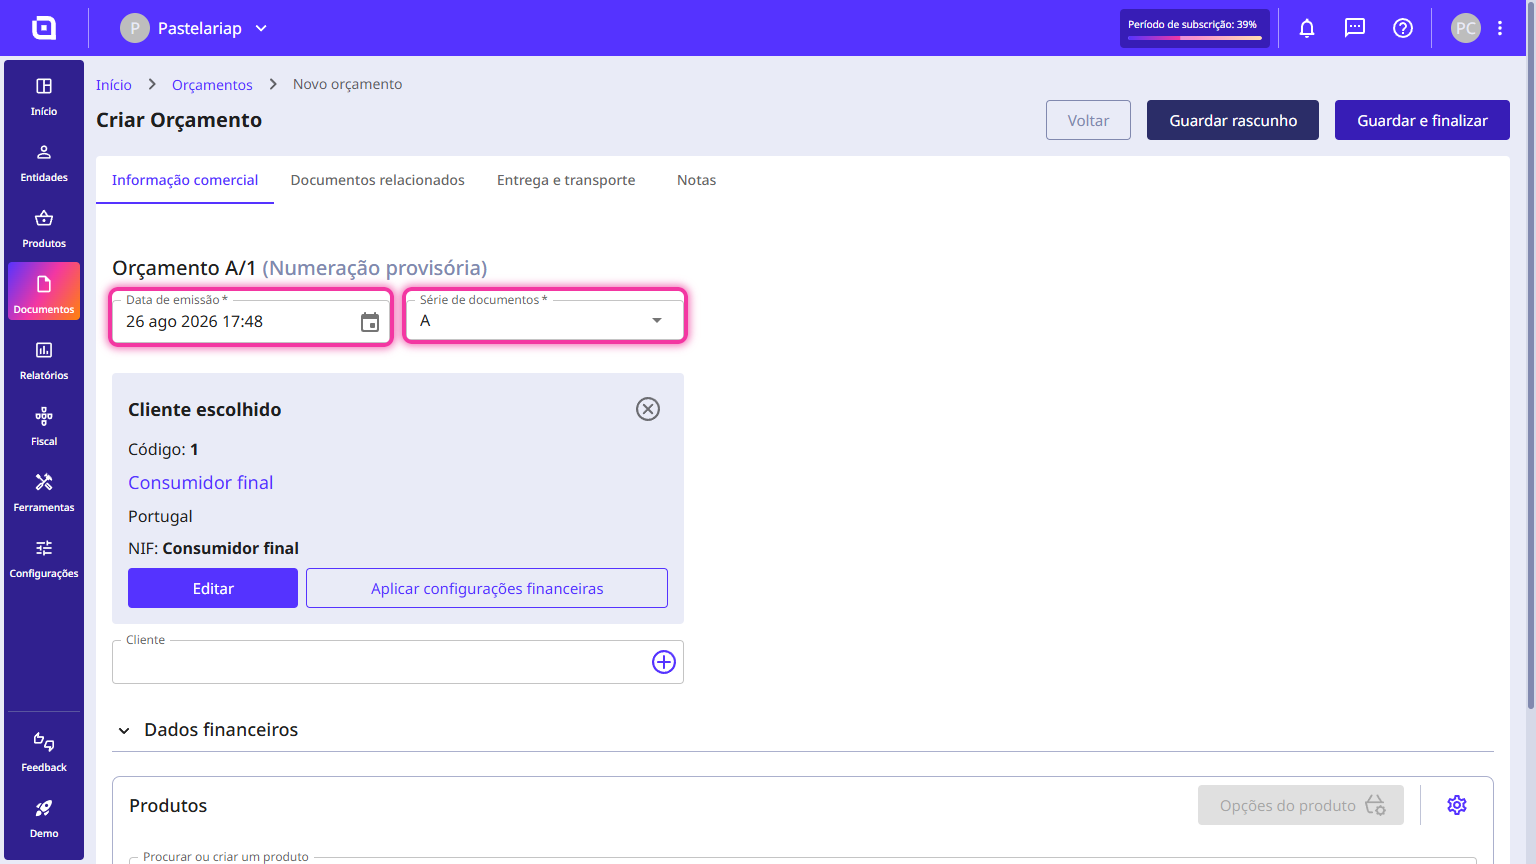
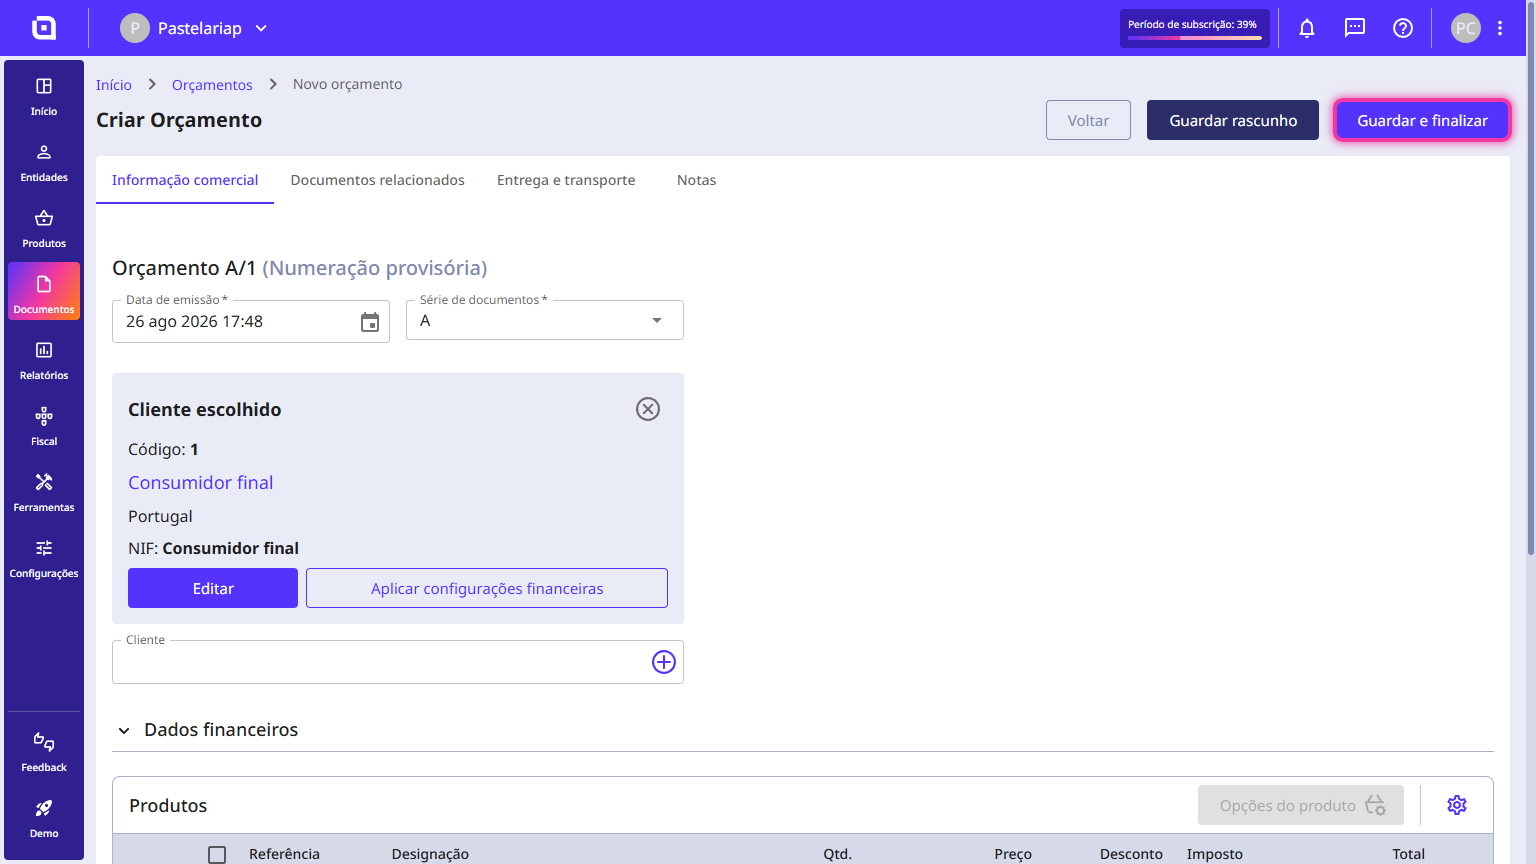
3. Select the issue date and the document set.
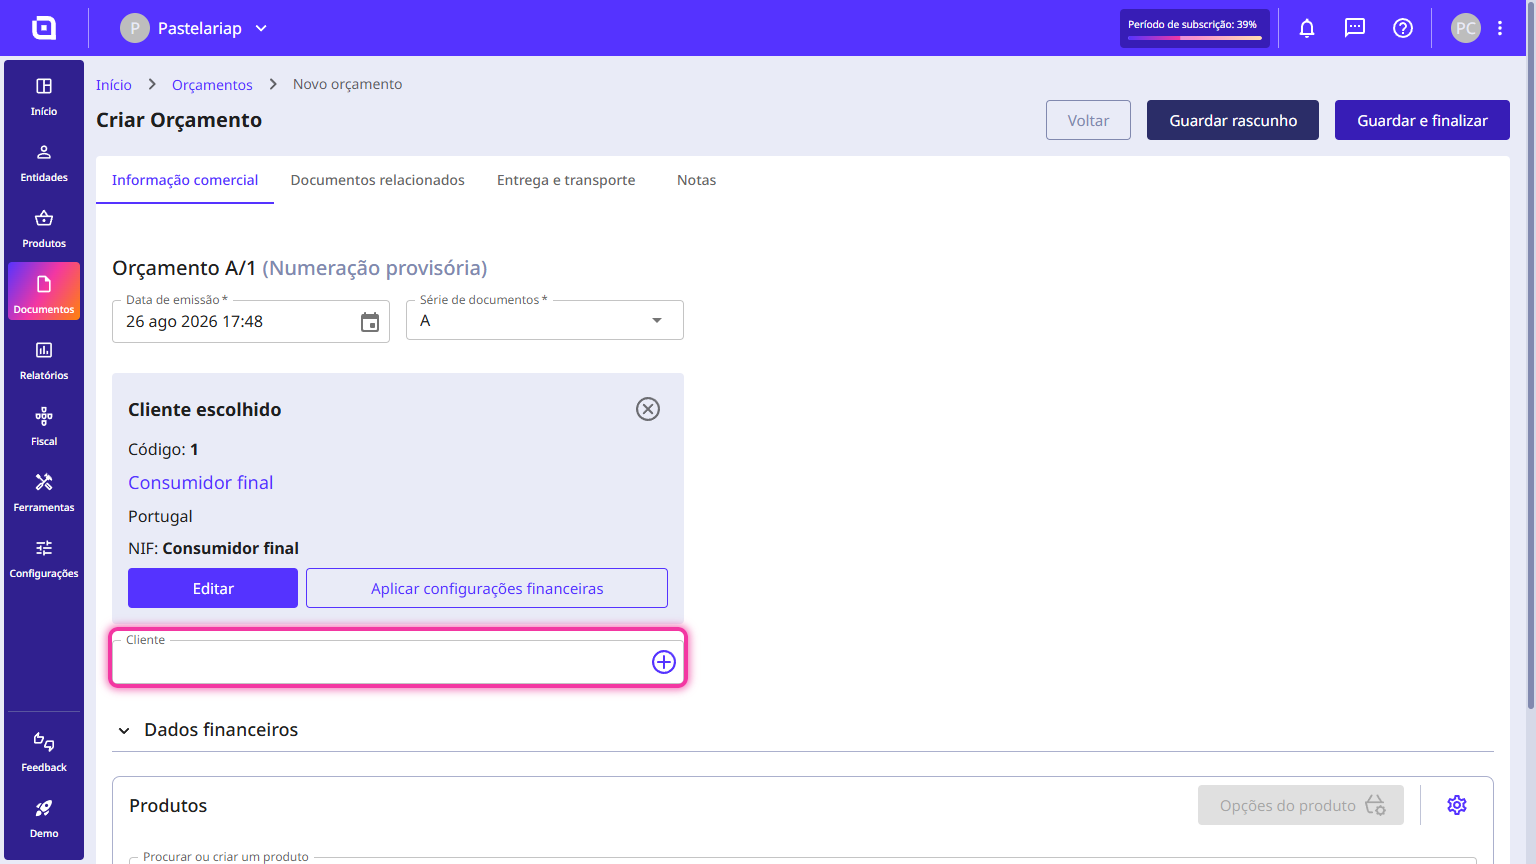
4. In the Customer field, enter the desired customer. If the customer does not yet exist in the account, you can create one using the + button.
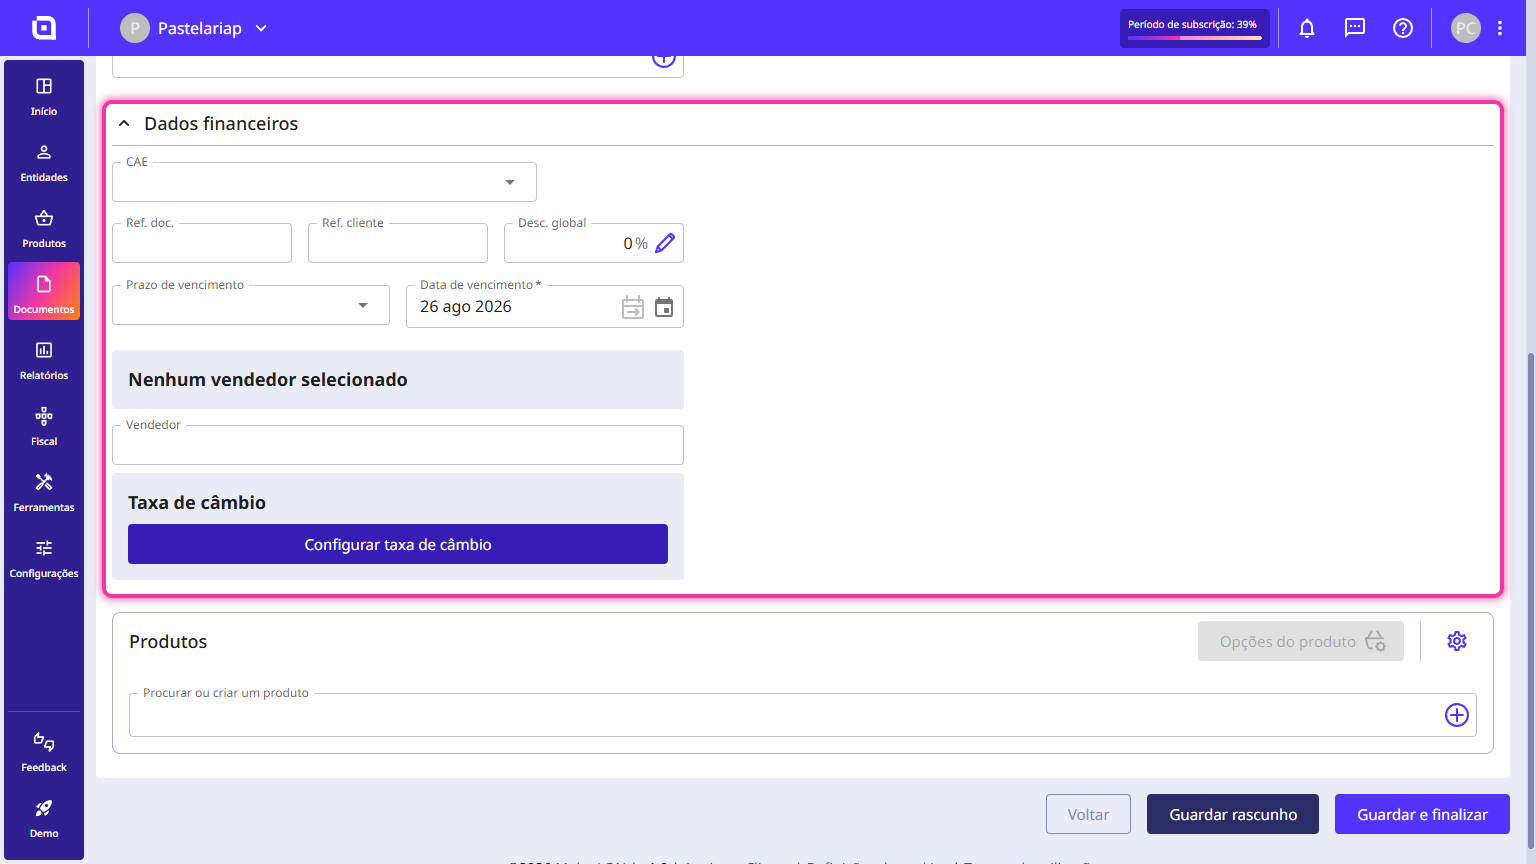
5. In the Financial data section, you can add information to your estimate, such as the due date, the salesperson or a customer reference you need to include in the document.
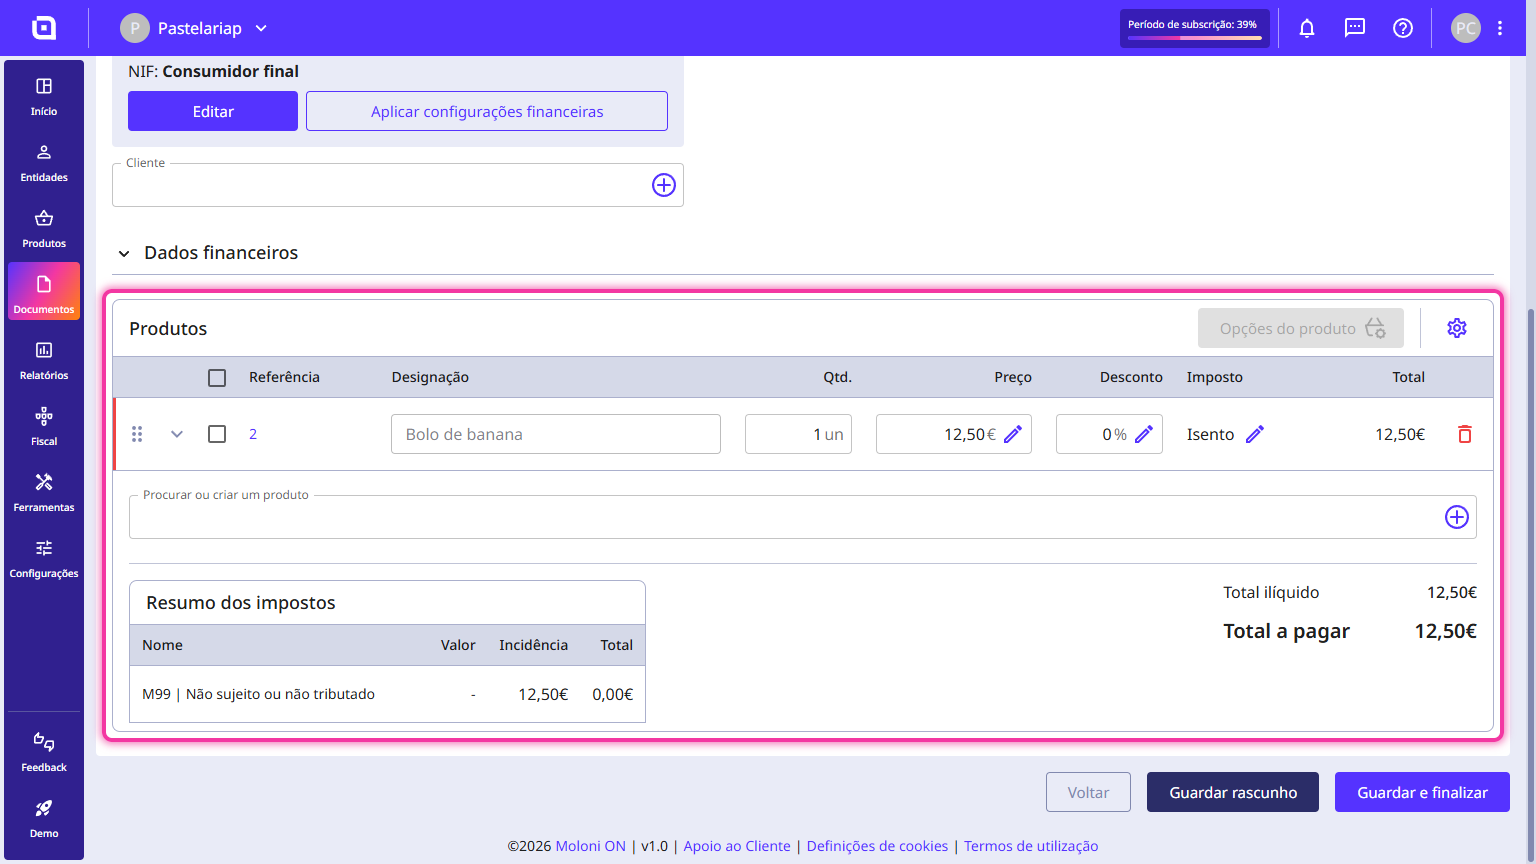
6. In the Products section, you can add all the products or services you need to include in the estimate. You can search for a product that already exists in the account or create a new one.
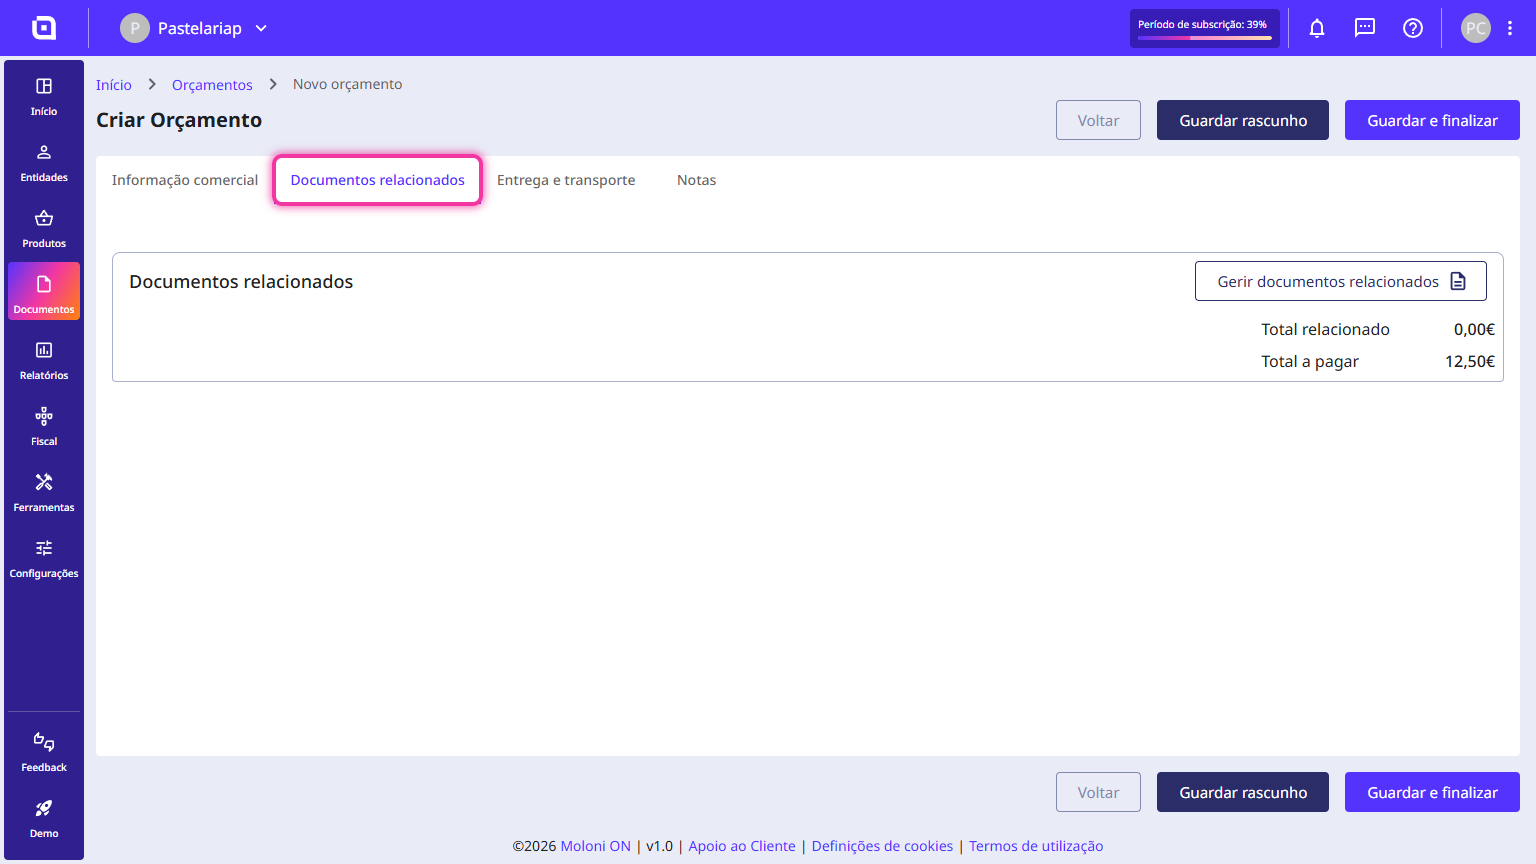
7. In the Related documents tab, you can link this estimate to other types of documents.
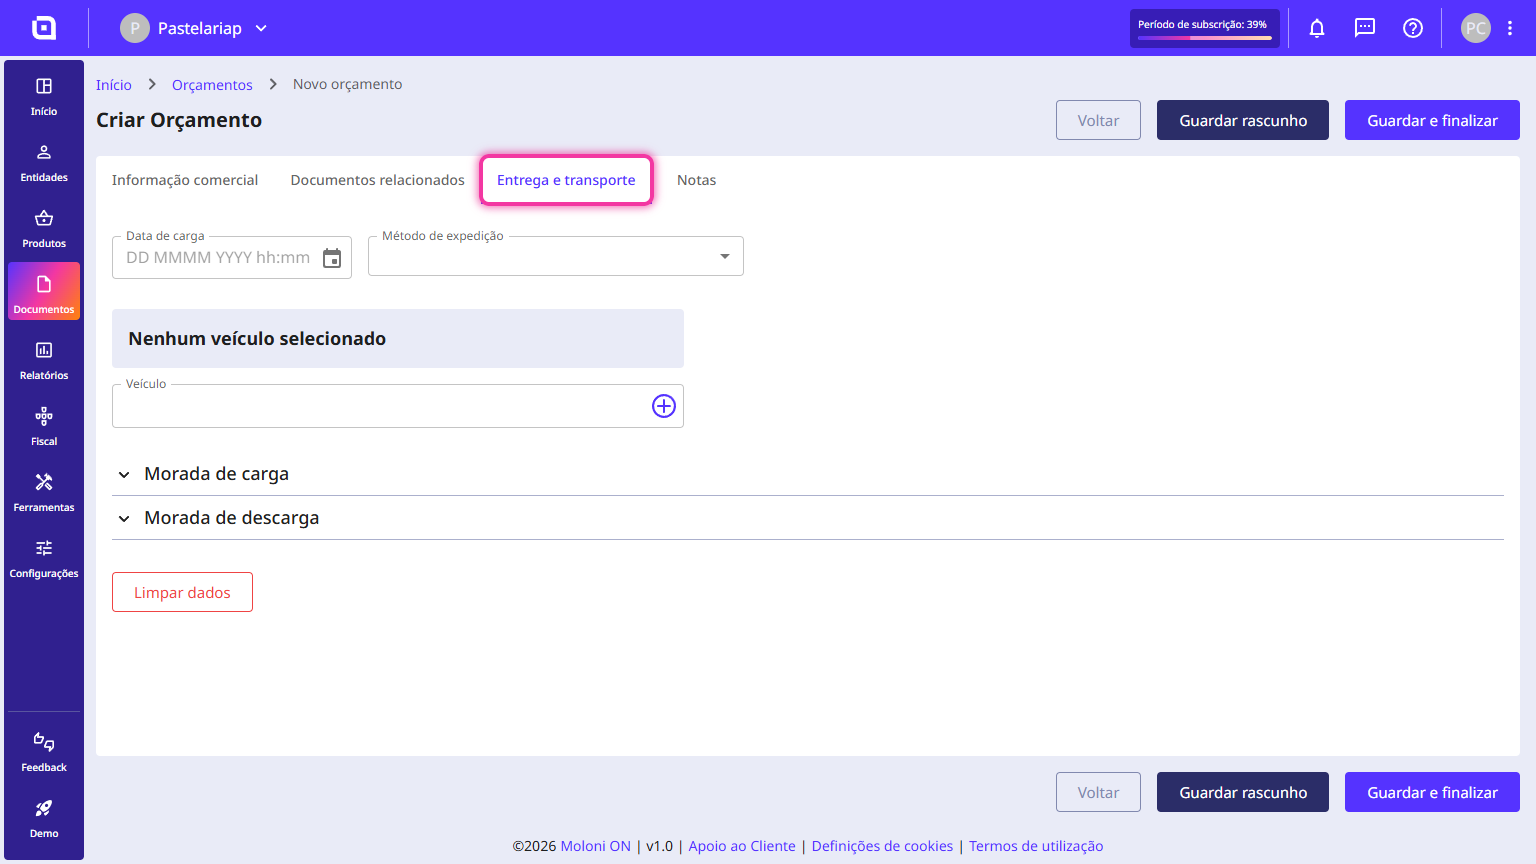
8. In the Delivery and transportation tab, you can fill in logistical data such as the loading date and time, the shipping method and the loading and unloading address.
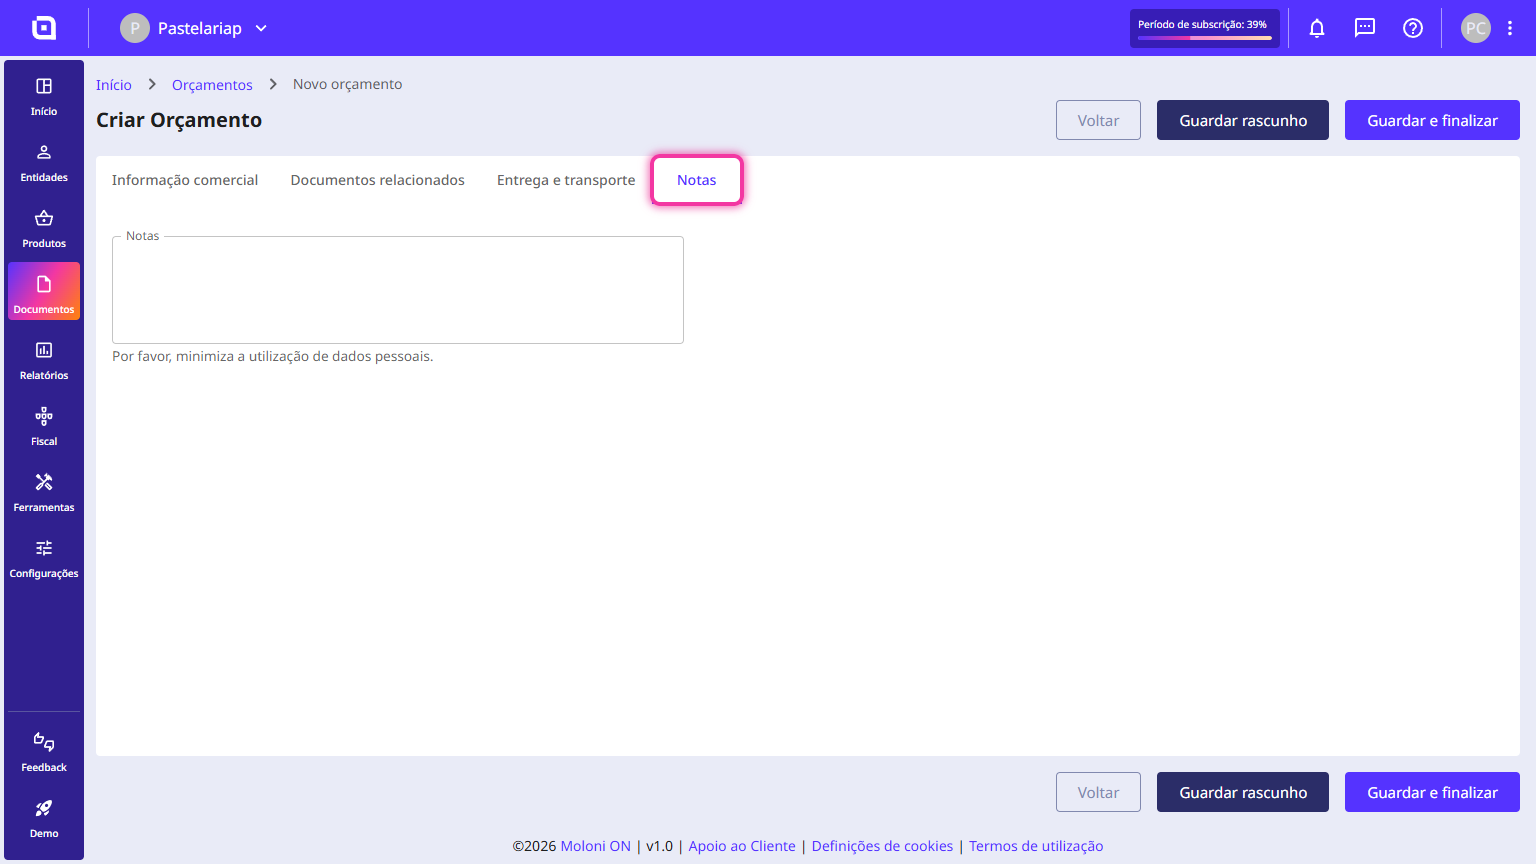
9. In the Notes tab, you can add any extra information or details.
10. Confirm and click the Save and finish button.
The estimate has been created and added to the estimates list.