How to create a receipt
Carefully check the distribution of values for each invoice before completing the document. Once the receipt is issued, it will not be possible to edit or correct these values.
What if the payment is only partial?No problem! The receipt will be issued only for the amount you specified, and the invoice will remain in your outstanding list, but only with the remaining balance. The next time you create a receipt for this customer, Moloni ON will alert you that there is still an outstanding amount to settle.
Follow these steps:
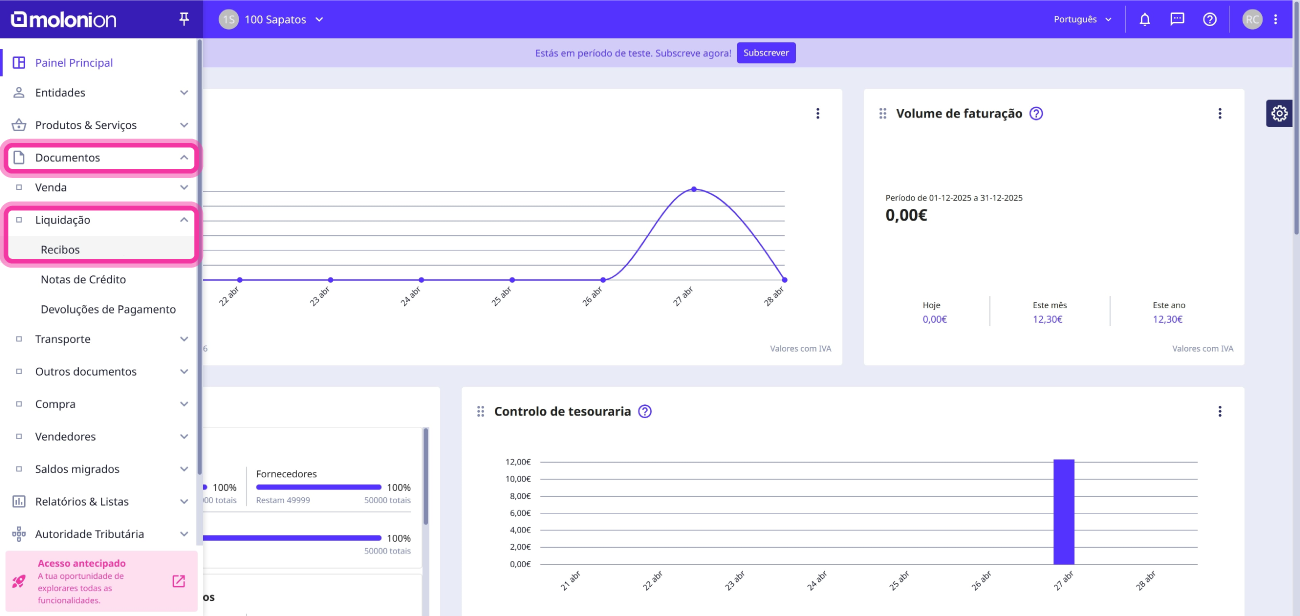
1. Go to the Documents > Settlement menu and select Receipts.
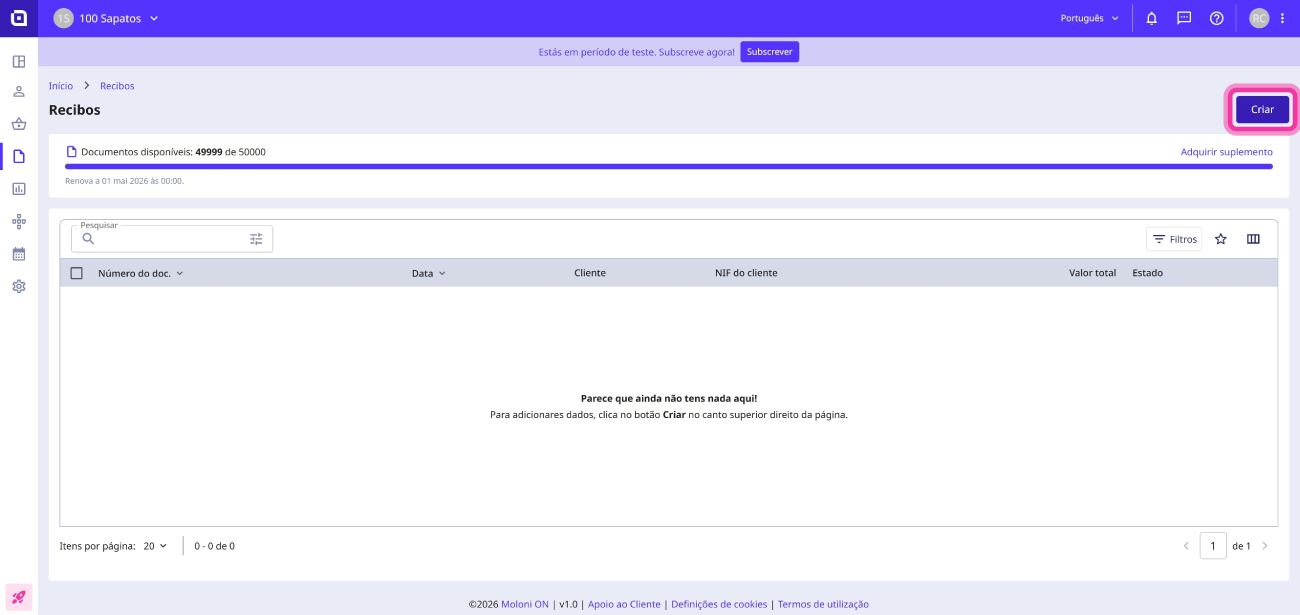
2. Click the Create button.
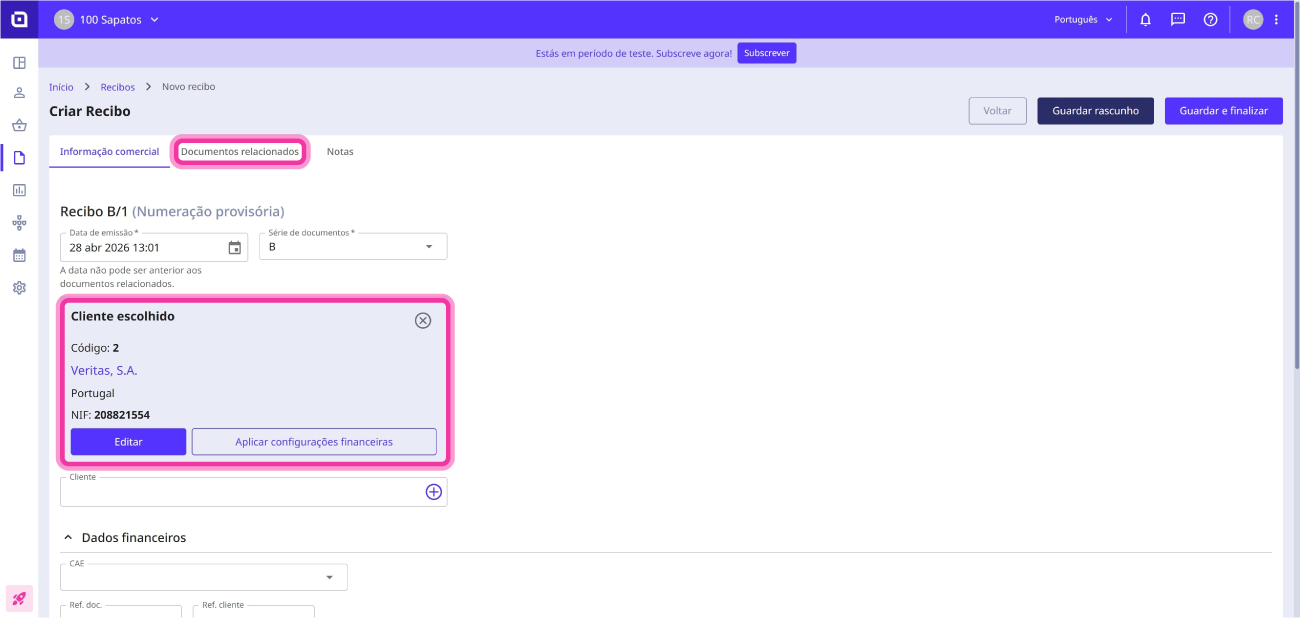
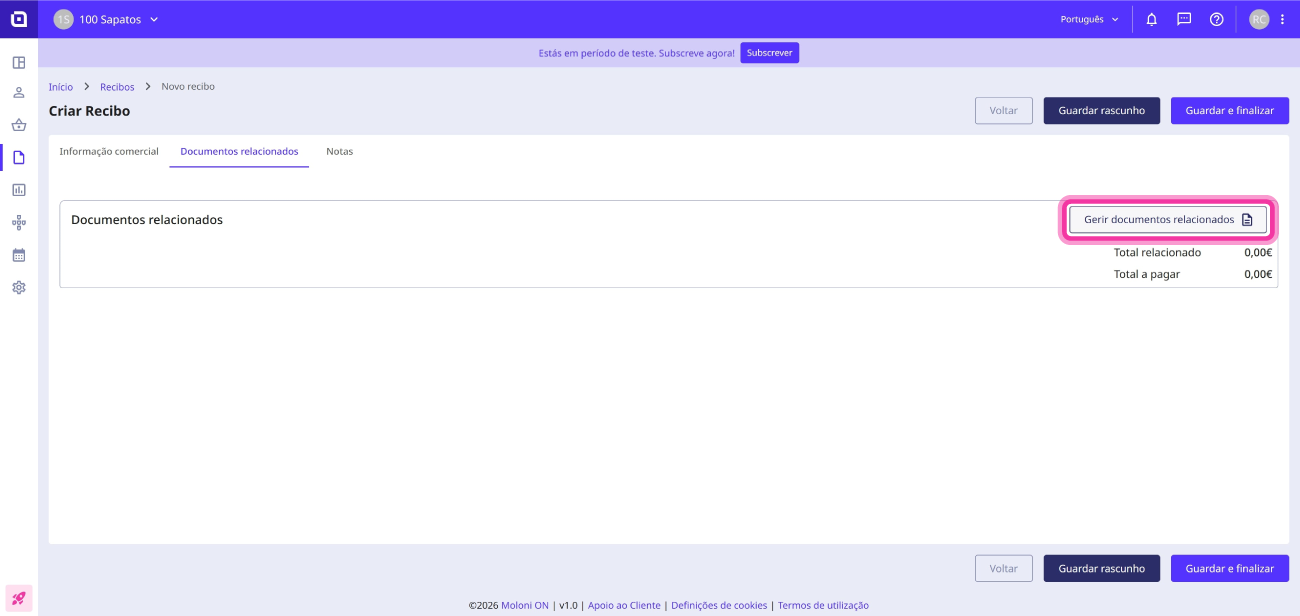
3. Select the desired customer, fill in all the necessary details and click on the Related documents tab.
4. Click on Manage related documents.
5. Select the invoice you want to include in this payment and click Apply.
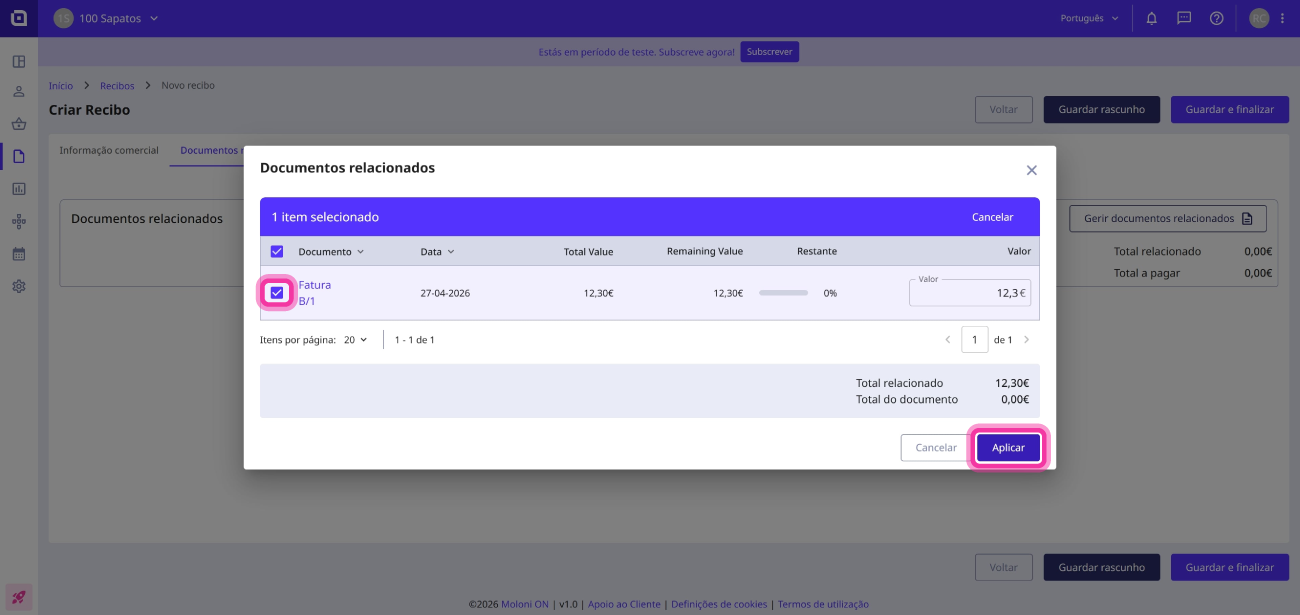
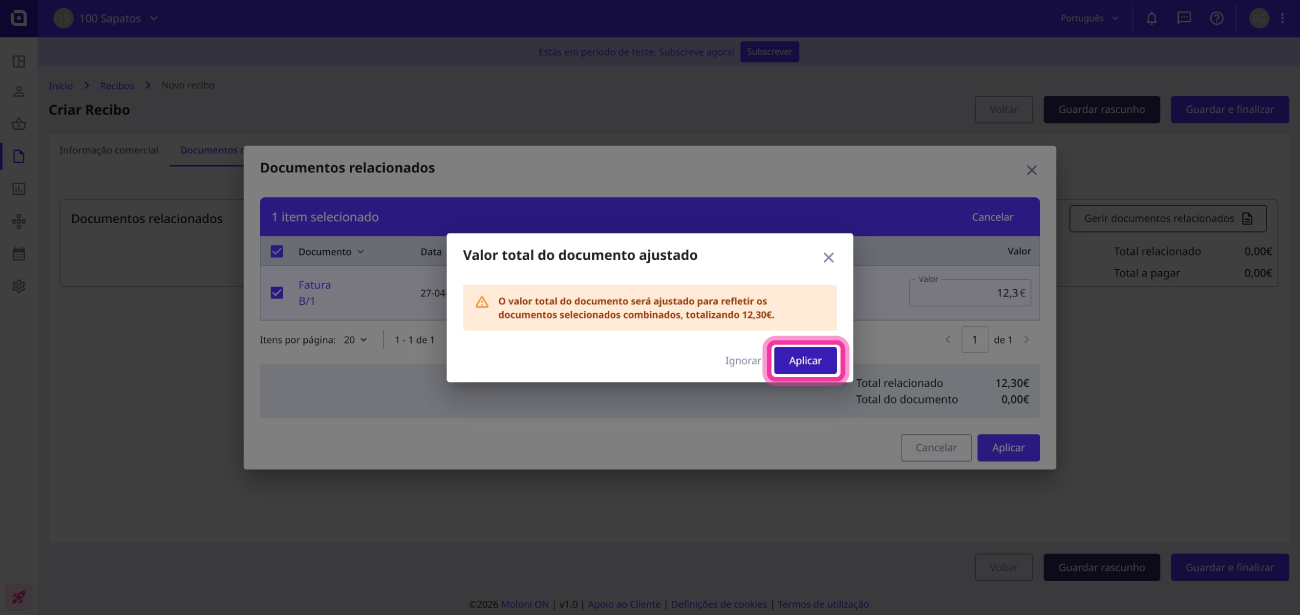
If the amount to be received is different from the invoice total, you will need to adjust the value of the related documents.
6. Confirm the total value of the adjusted document by clicking Apply.
7. Click on Commercial information.
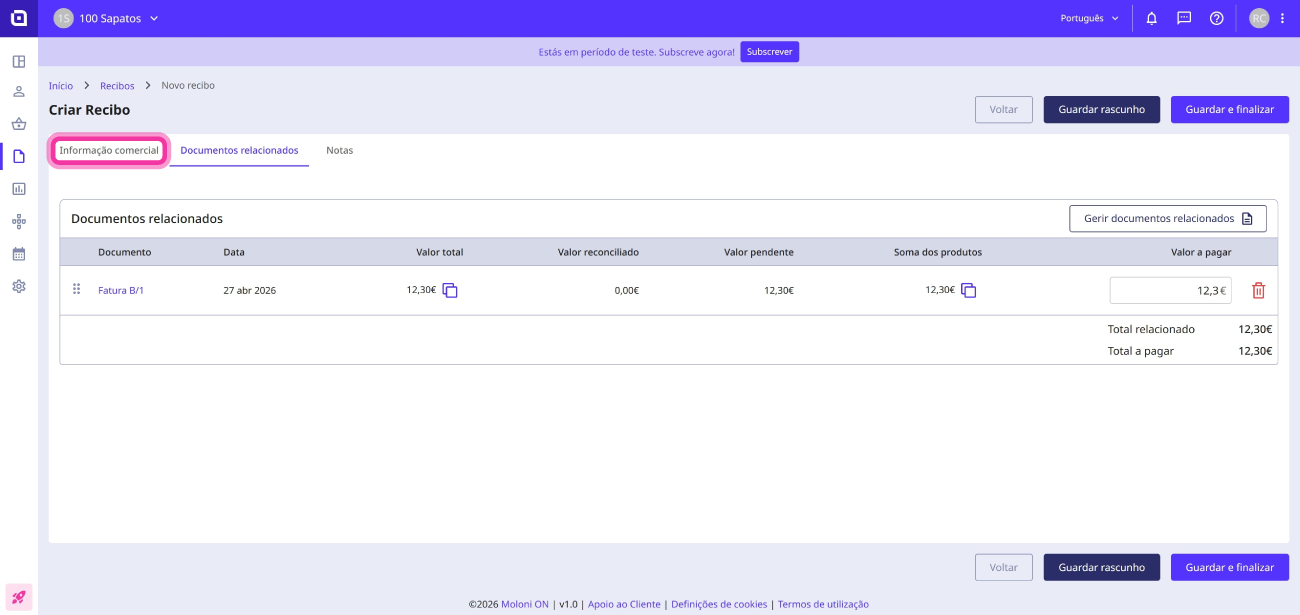
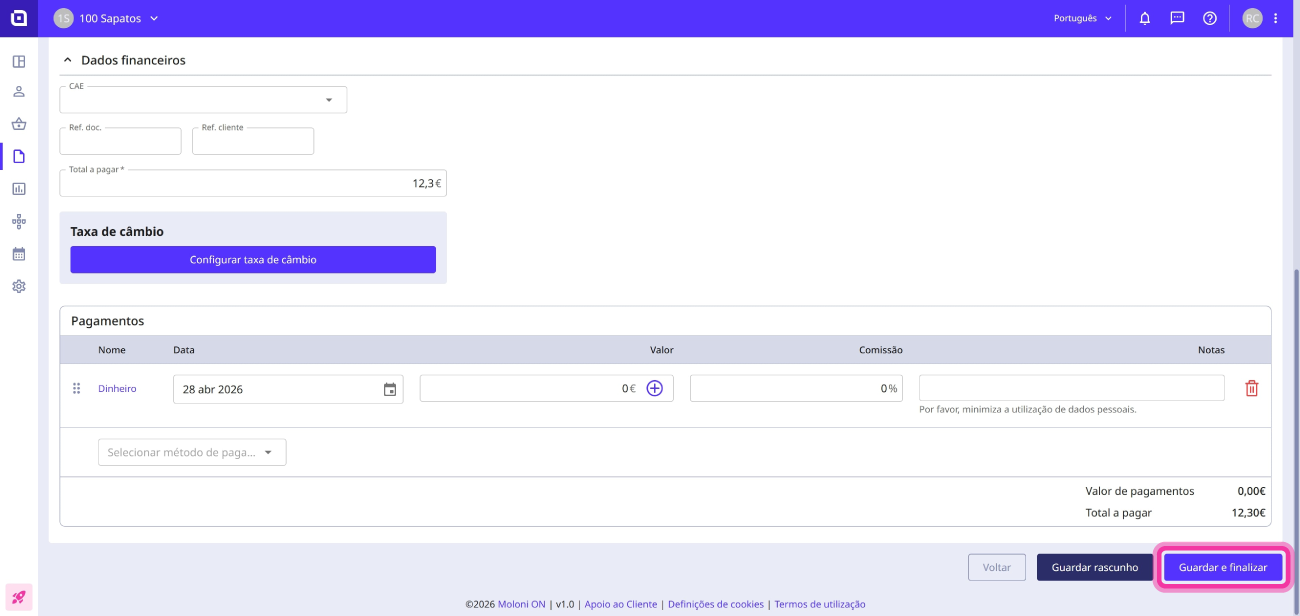
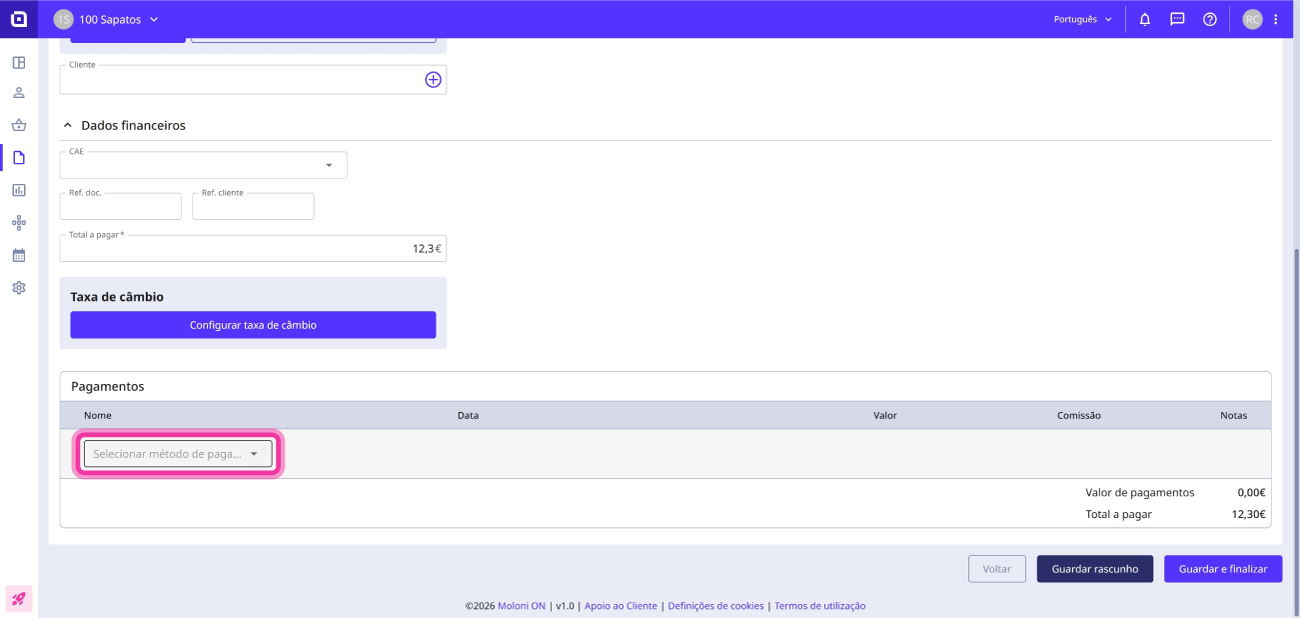
8. Select a payment method.
9. Finally, click on Save and finalise.