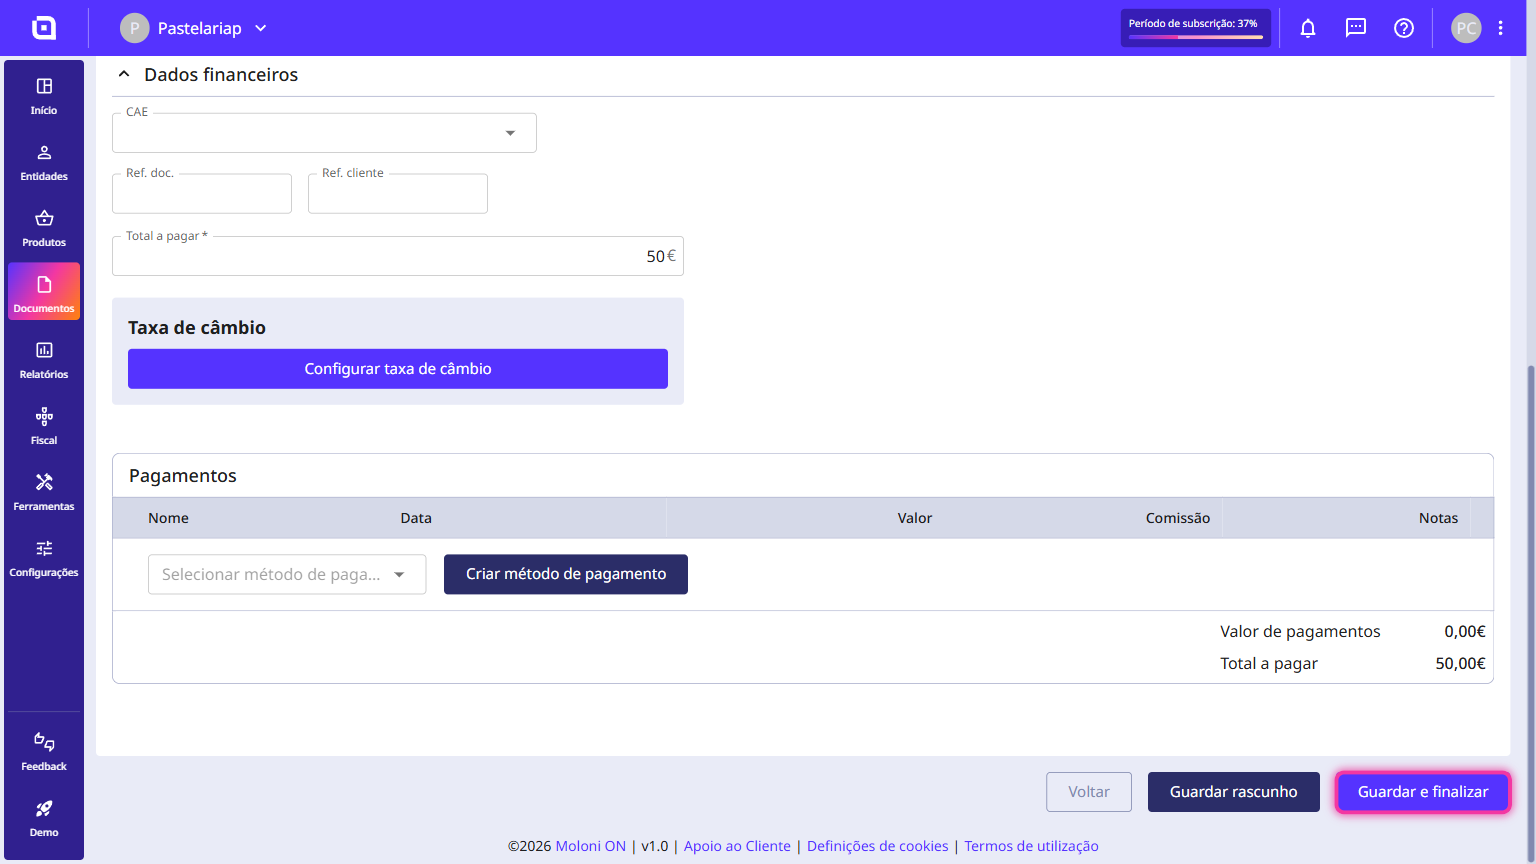
How to convert an invoice into a receipt
There are 2 ways to convert an invoice into a receipt:
- Automatic reconciliation: converts the invoice directly into a receipt;
- Manual reconciliation: creates a receipt and then links it to the invoice.
No problem! The receipt will be issued only for the amount you specified, and the invoice will remain in your outstanding list, but only with the remaining balance. The next time you create a receipt for this customer, Moloni ON will alert you that there is still an outstanding amount to settle.
For this example, we will use Automatic reconciliation (the fastest method).
Follow these steps:
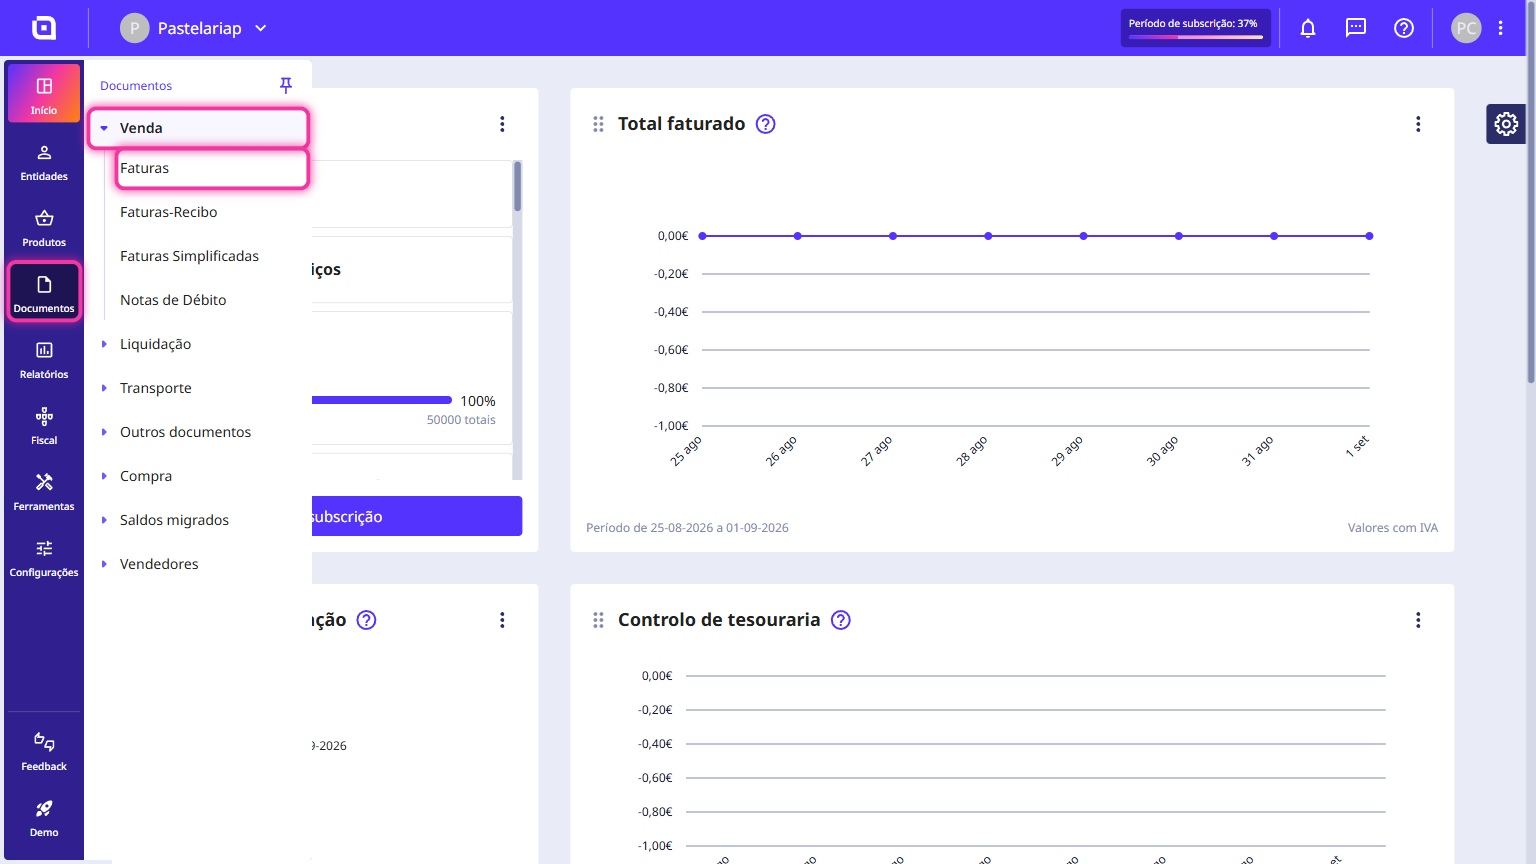
1. In the Client Area, go to the Documents menu, select Sales and click on Invoices.
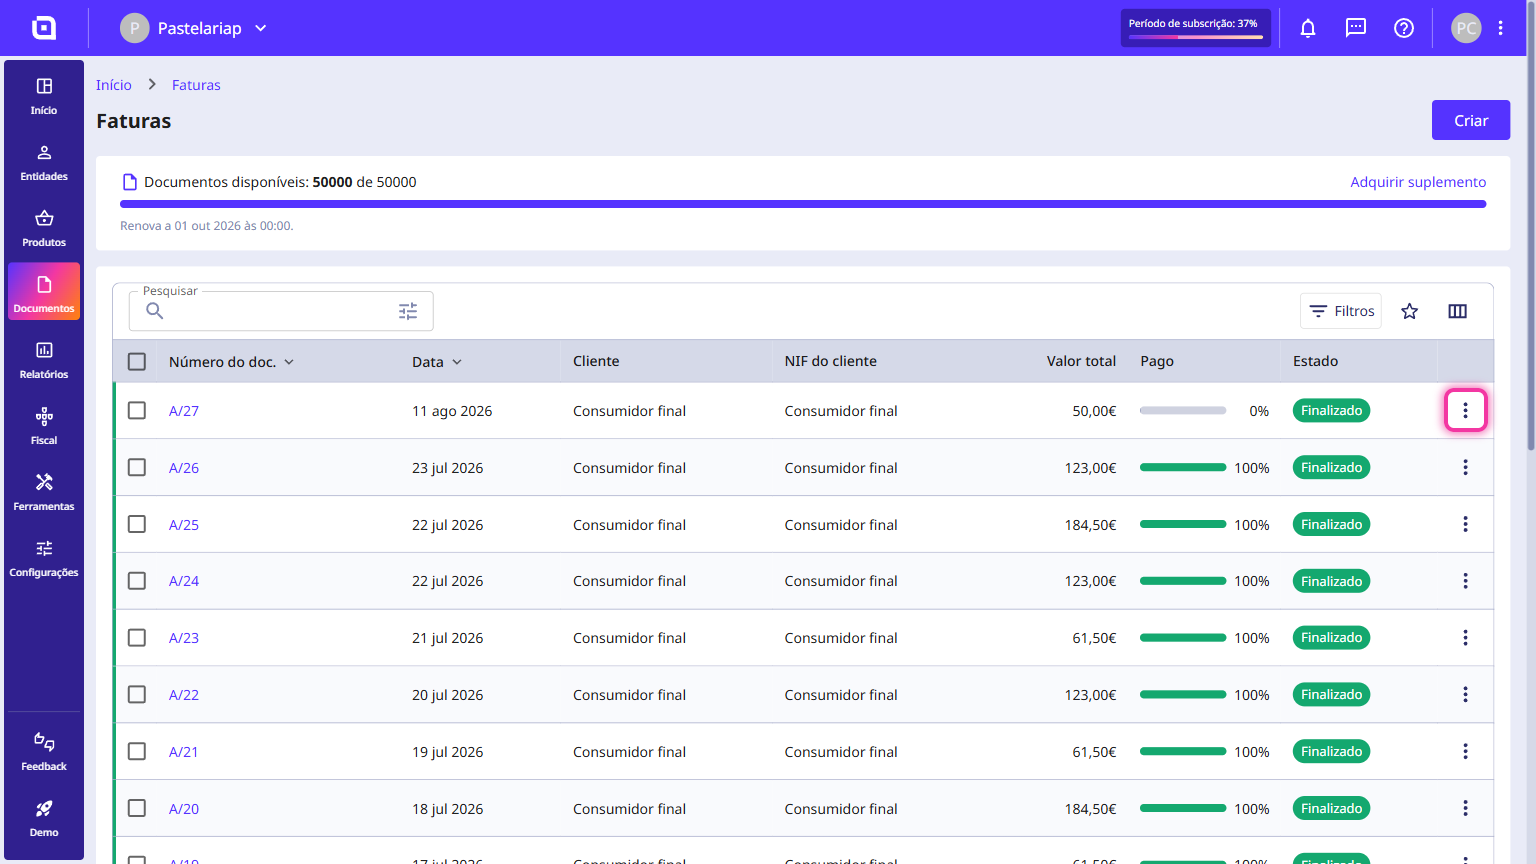
2. Select the desired document and click on the options menu available on the right side of the document line (three vertical dots icon).
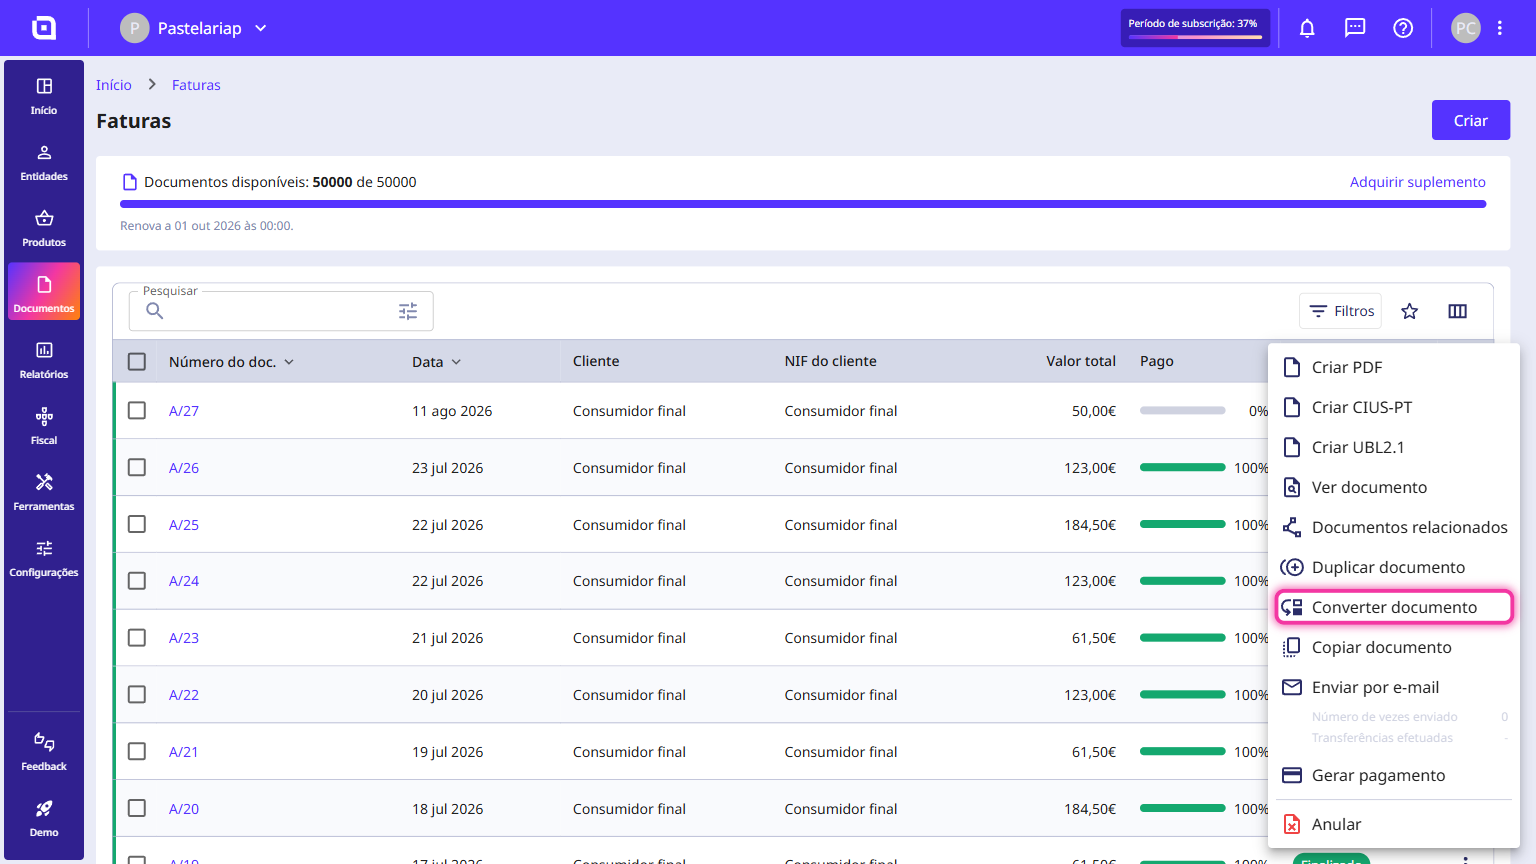
3. Click on Convert document.
4. Select Receipt.
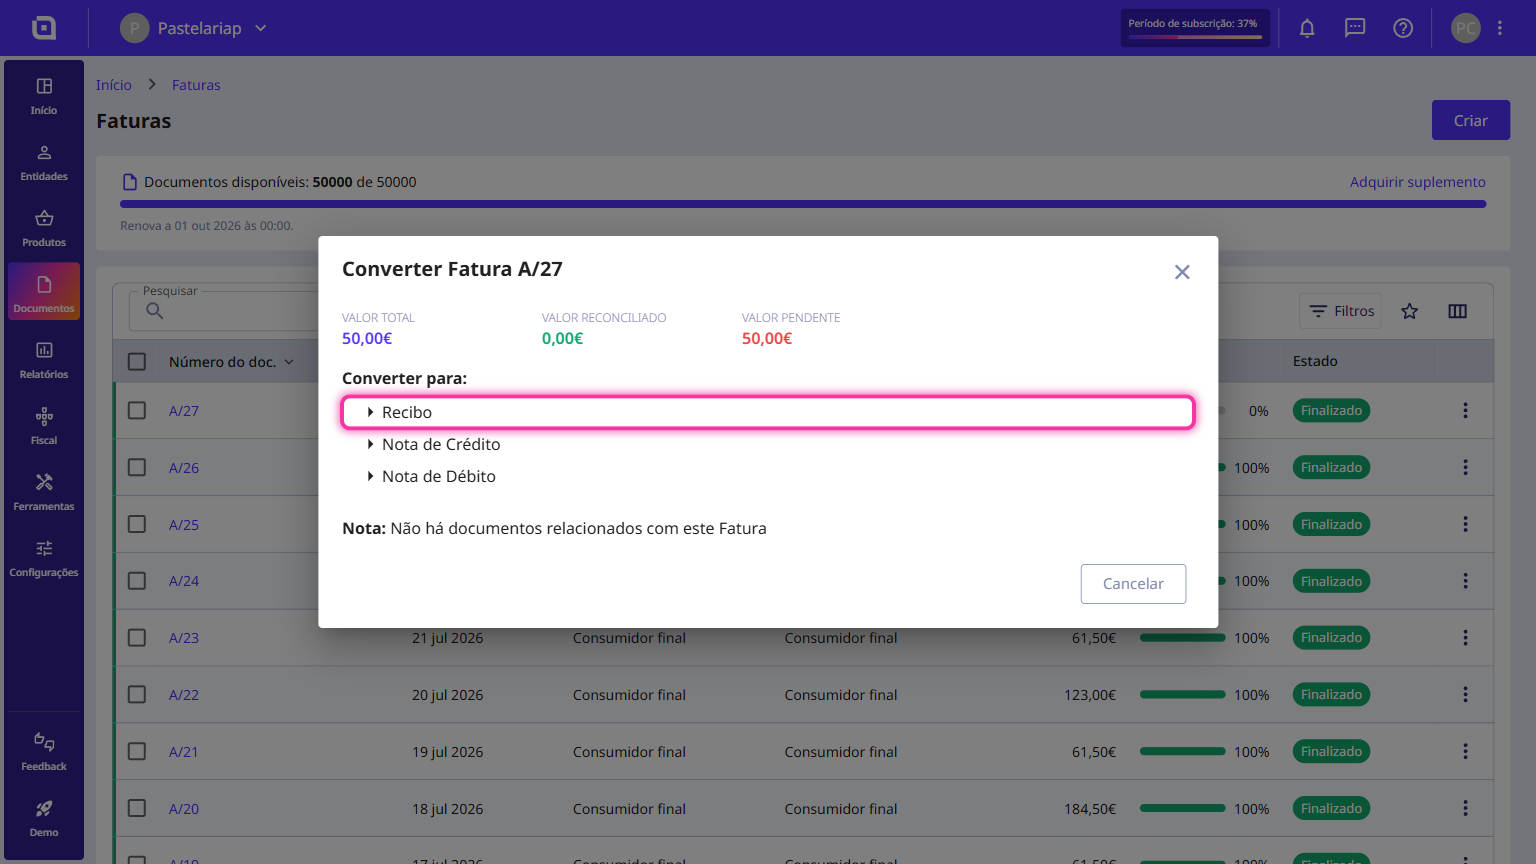
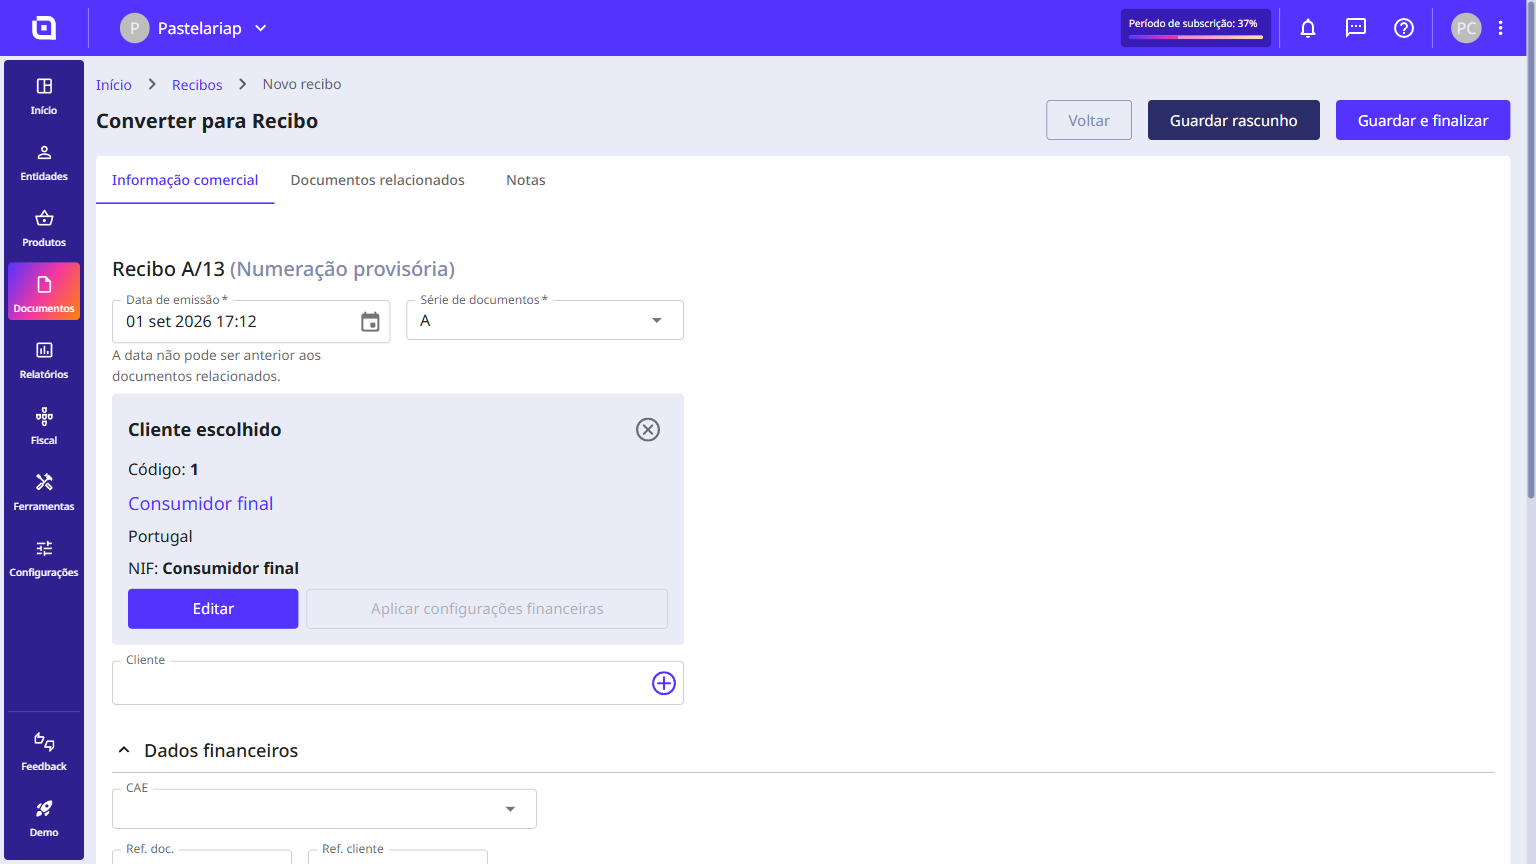
5. Moloni ON automatically creates the receipt already linked to that invoice. Fill in all the necessary details.
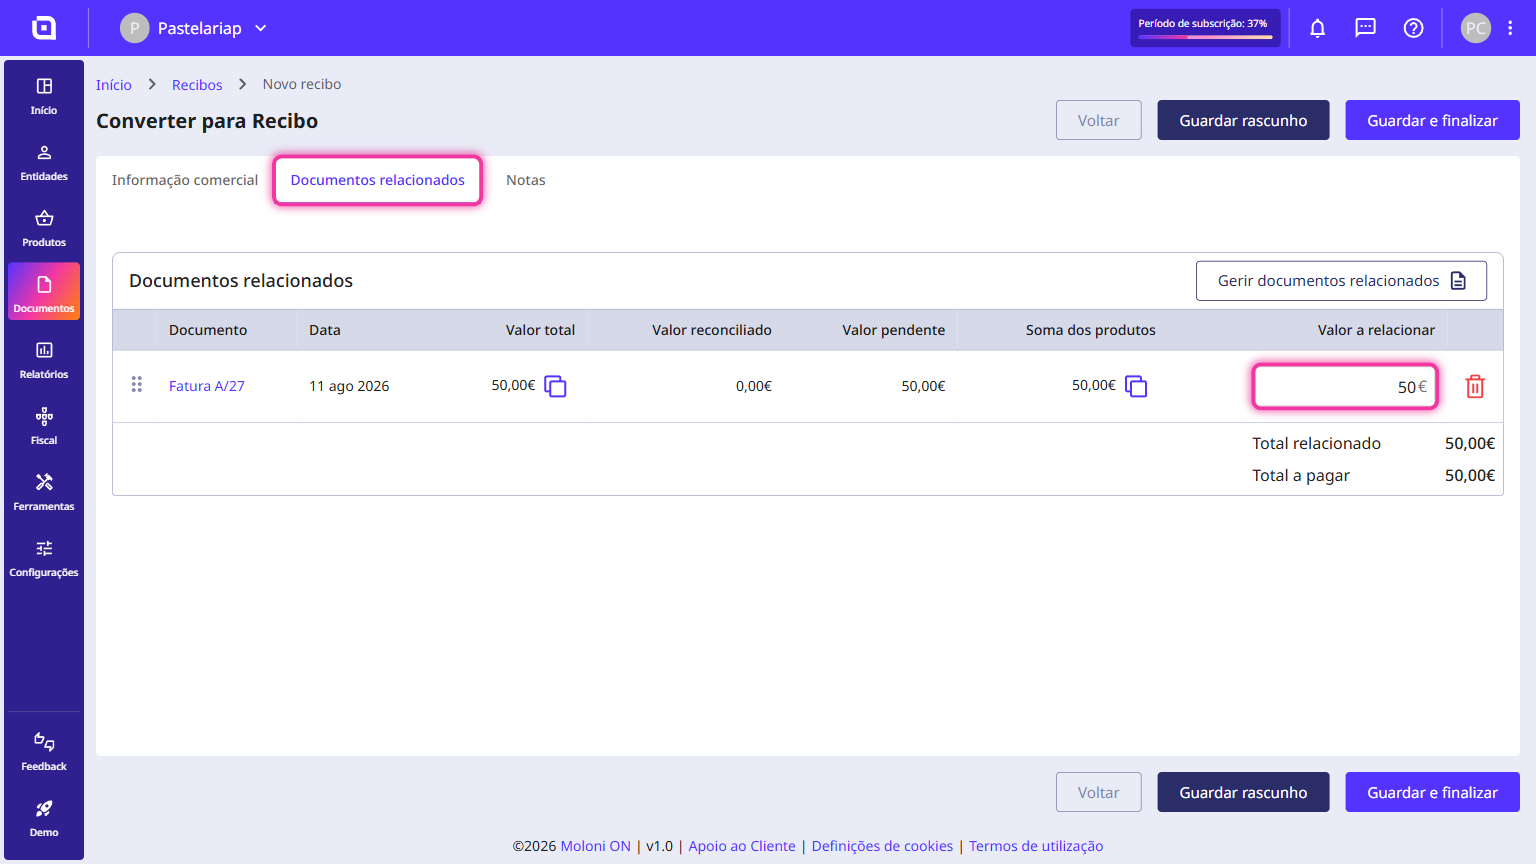
6. If the amount to be received is different from the invoice total, you will need to adjust the value of the related documents in the Related documents tab.
7. Select the payment method.
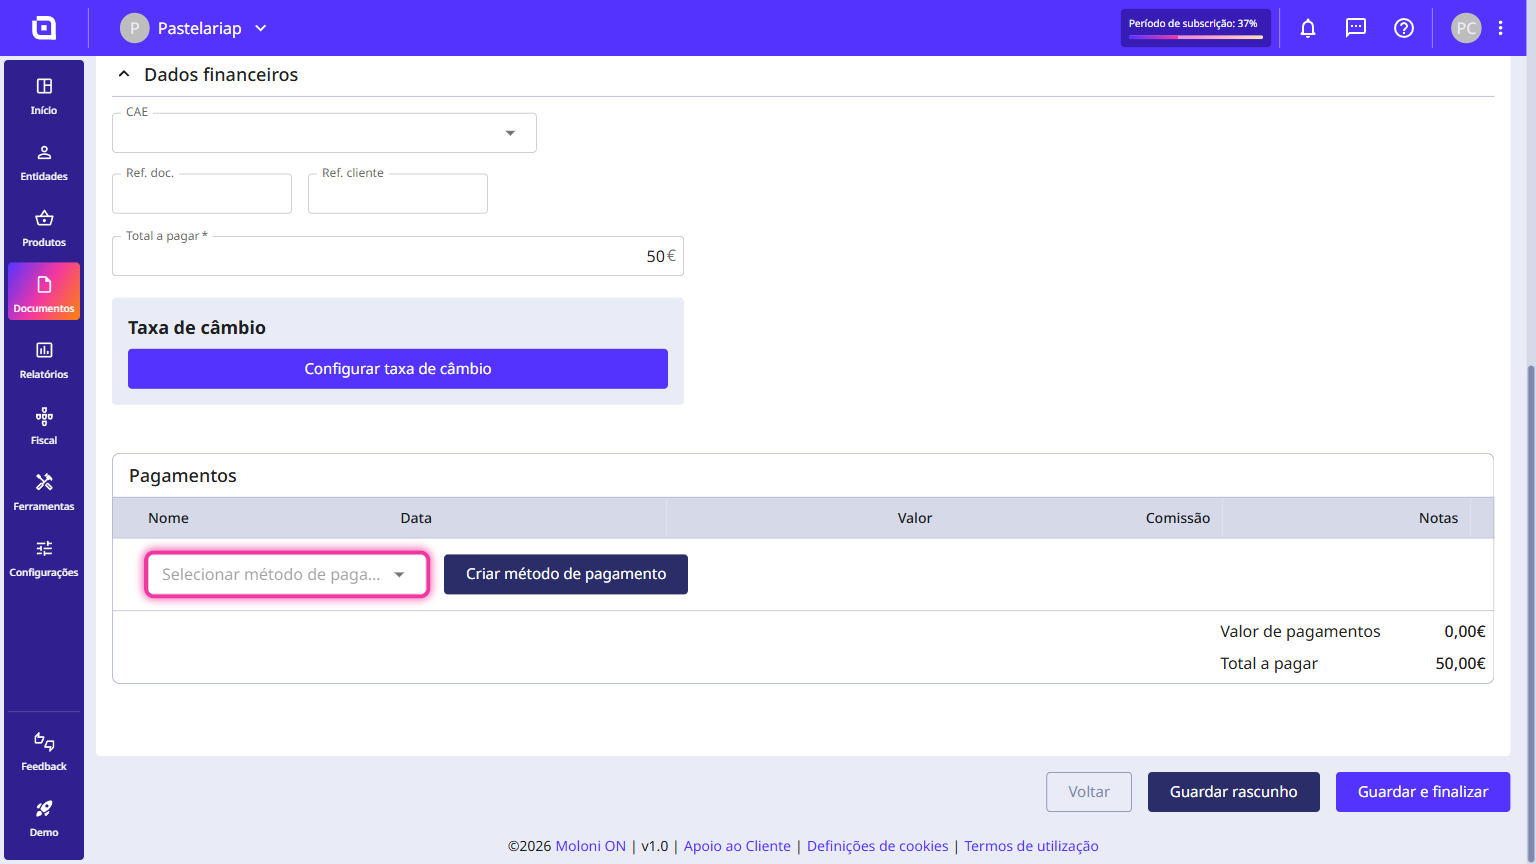
8. Finally, click on Save and finish.